
Surprise! It’s not just the flowers blooming this spring; it’s also our creativity, bursting forth in color and cheer. As I sat in my sunlit craft corner, the idea for this Daisy Delight Granny Square bloomed. This vibrant daisy granny square project is an ideal blend of ease and aesthetic appeal, making it the perfect yarn companion for both newcomers and seasoned enthusiasts looking for a quick bash of joy. The simple construction and bright colors ensure that anyone can create something beautiful without feeling overwhelmed. Plus, it’s a wonderful stash-buster—ideal for using up those leftover yarn bits in shades of yellow, white, and green. Whether you’re crafting for yourself or as a thoughtful gift, this granny square beautifully showcases the spirit of spring, inviting warm feelings with each stitch. Curious about how to bring more blooming beauty into your crochet life? Let’s dive into this delightful project together and explore the endless possibilities!
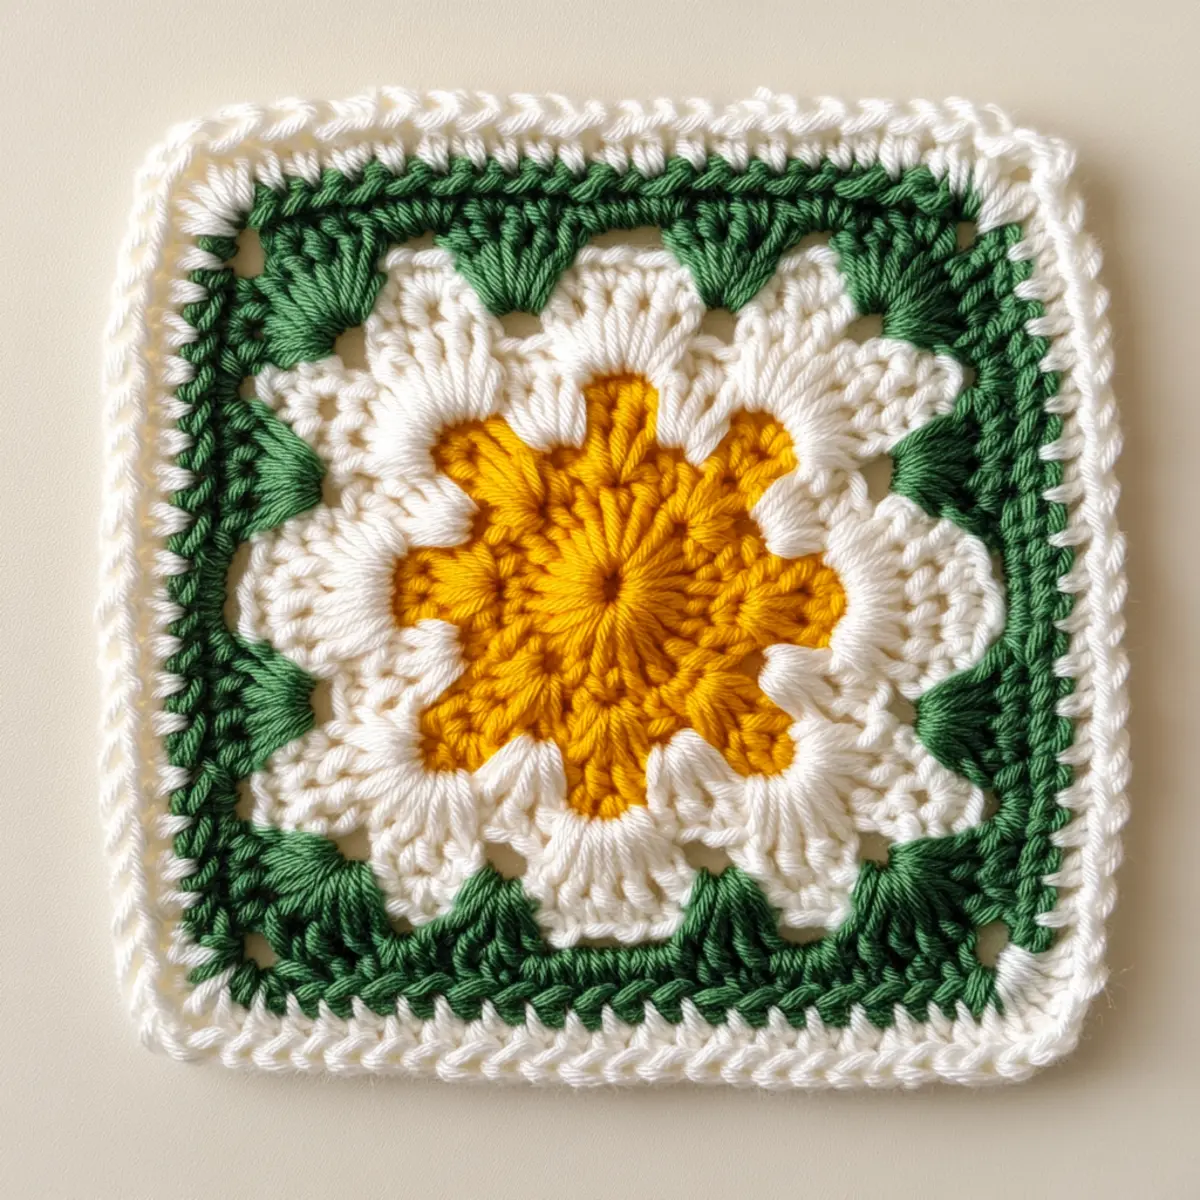
Daisy Granny Square Materials & Tools
Yarn
- Worsted weight yarn – Recommended for achieving a balance of softness and structure; consider blends of cotton and acrylic for a gentle touch.
- 50-75 yards of yellow – Essential for the daisy’s cheerful center; this amount is enough for several squares yes.
- 50-75 yards of white – Needed for the petal accents; feel free to mix textures with acrylic for added dimension.
- 50-75 yards of green – Perfect for the leaves; bring in some fun contrasting shades for your unique flair.
Tools & Notions
- 5 mm (H-8) crochet hook – Ideal for working with worsted yarn, ensuring the perfect tension.
- Yarn needle – Handy for weaving in ends once your squares are complete for a polished final touch.
- Scissors – Essential for snipping yarn tails efficiently and making the finishing process smooth.
What Makes This Daisy Granny Square Special?
Simplicity is at the heart of this pattern, making it accessible to crocheters of all skill levels. The clear instructions and straightforward design ensure a fast-project finish, perfect for those last-minute gift ideas or cozy home decor. Texture plays a crucial role as the granny square’s clusters create volume and depth, giving that handmade charm a noticeable lift. Thanks to its stash-friendliness, you can easily gather whatever leftover yarn you have on hand; think of it as a fun excuse to experiment with colors! You can even explore this free amigurumi pattern or check out our easy amigurumi projects for additional inspiration. Lastly, customizability ensures that your designs reflect your personal style—whether you choose pastel shades for a soft look or bright hues for a vibrant pop, the options are endless. Ready to get started on this delightful journey?
Gauge & Sizing Notes for Daisy Granny Square
Checking your tension is crucial for the Daisy Granny Square as it affects both the appearance and the overall size of your project. The standard gauge is 4×4 inches (10×10 cm) with a stitch count of 12 dc across and 9 rows of double crochet, ensuring the squares are uniform and fit well together. If your swatch doesn’t match this gauge, consider adjusting your hook size—use a smaller hook for tighter stitches or a larger hook for looser ones. You can also modify the starting chain or the number of rounds to resize your square based on personal preference. Keeping the focus on the daisy granny square’s shape and design will yield a delightful floral motif perfect for any spring-themed crafting.
Step-by-Step Pattern for Daisy Granny Square
Row 1: Create the Magic Ring
Begin by making a magic ring (or adjustable loop) with your yellow yarn. This creates the center of the daisy; make sure it’s snug but not too tight. Chain 2 (this counts as the first double crochet), and then work 11 double crochets (dc) into the magic ring. Pull the tail to tighten the ring; it should have 12 stitches in total.
Row 2: Form the Daisy Center
Slip stitch (sl st) into the top of the first double crochet to join the round. Next, chain 2 and work 1 double crochet in the same stitch. Then, create 1 half double crochet (hdc) in the next stitch, and 2 double crochets in the following stitch. Repeat this pattern around until you reach the end of the round, giving you a flower-like center. (12 hdc, 24 dc total)
Row 3: Petals Begin
For each petal, chain 3, then yarn over and work 2 double crochets (dc) into the next stitch. Now, chain 1; this will create the base of the petal. Skip the next two stitches and repeat this process for all petals around the circle, leading back to the starting point, for a total of 12 petals.
Row 4: Join Petals
To finish off the petal round, join the last stitch with a slip stitch to the starting chain 3. Cut the yellow yarn and secure it. Attach your white yarn in any petal’s base for the next phase.
Row 5: Create White Petals
For the first white petal, chain 3 and then work 2 double crochets into the same space as your slip stitch. Then chain 1, skip the next petal, and in the following petal base, repeat the 3 double crochets and a chain 1 (dc, dc, dc, ch 1). Do this around to create fluffy white petals.
Row 6: Secure the White Petals
Finish the round by joining with a slip stitch in the top of the starting chain 3 from the beginning of the round. This round should deliver soft white petals fluttering around the daisy center, bringing the design to life.
Row 7: Attach Green Yarn
Once your white petals are established, cut and secure the white yarn. Join your green yarn in the base of any white petal with a slip stitch. Chain 1 and single crochet (sc) around the entire square corner to form the green base.
Row 8: Granny Square Rounds
As you create the square, pay attention to the corners. In every corner, work (sc, chain 3, sc) to form a neat corner. This structure allows the granny square to expand equally in each direction while the floral design pops in the center.
Row 9: Repeat for Size
Continue working the granny square by repeating the previous round until you reach your desired size. You can typically complete 2-3 additional rounds of green to have a well-sized granny square, usually measuring about 6-8 inches.
Row 10: Finalize Edges
Around each edge of your square, work 1 single crochet on each stitch and make sure to reinforce your corners with the (sc, ch 3, sc) routine. This confidence in your edging will ensure a clean finish. Count your stitches regularly here to keep the form consistent.
Row 11: Block the Square
Once your square is the desired size, gently block it. Soak if necessary, then lay flat to dry in shape. This helps to maintain structure and enhances the beautiful texture of the stitches, creating a polished granny square that you can be proud of.
Row 12: Weave in Ends
Finish by weaving in any loose ends using your yarn needle once the square dries. This brings your daisy granny square to completion, ready to showcase or use in any project you desire. Enjoy mixing colors and making more squares for a vibrant collection!
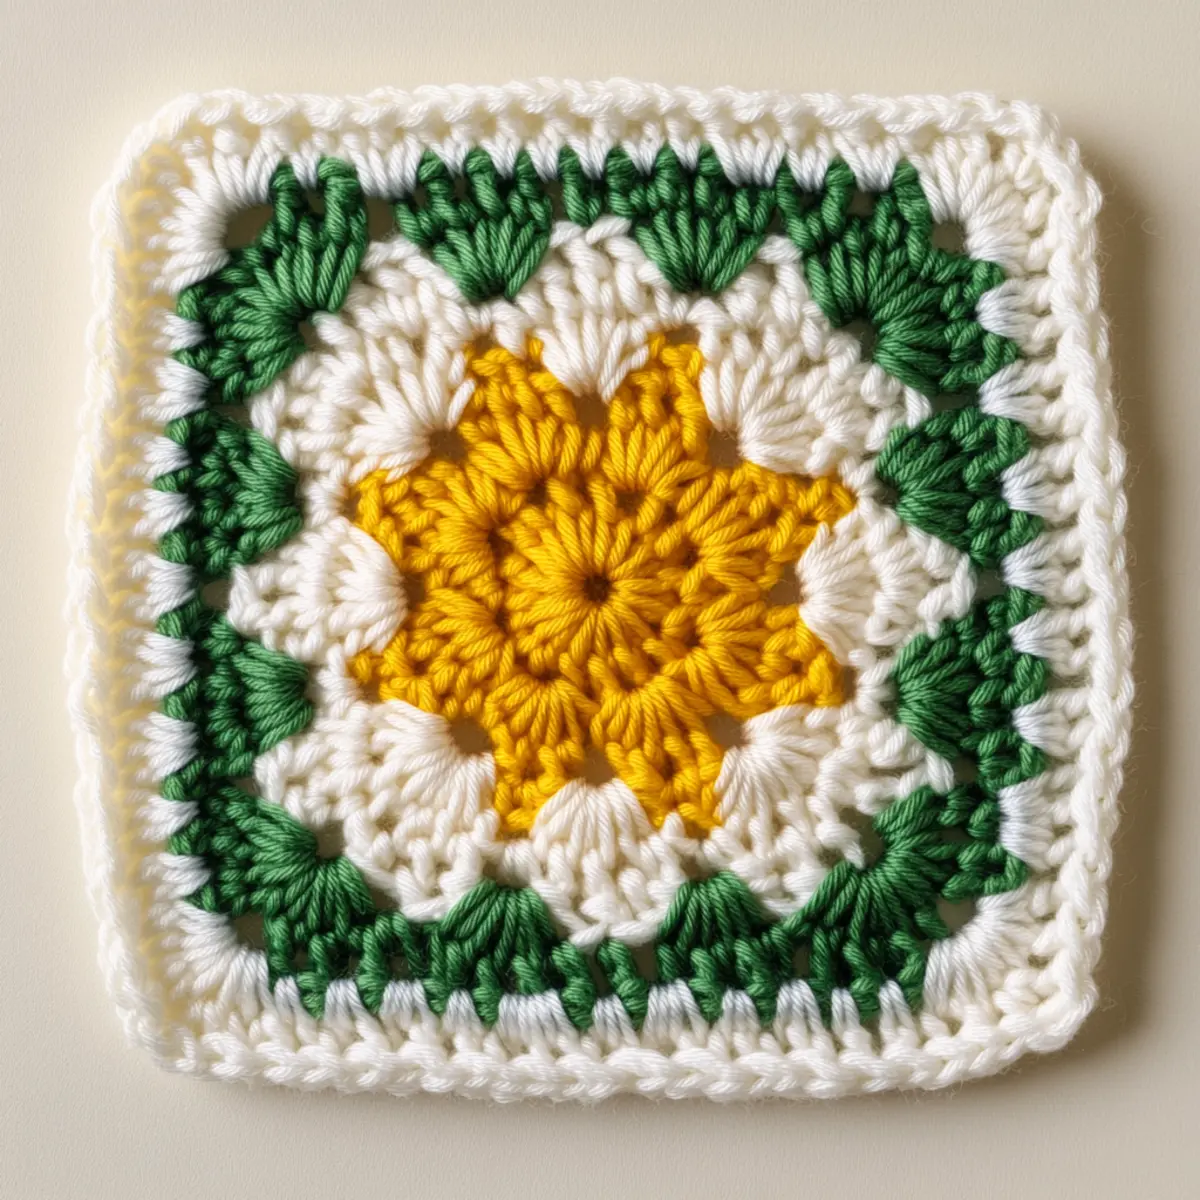
daisy granny square variations
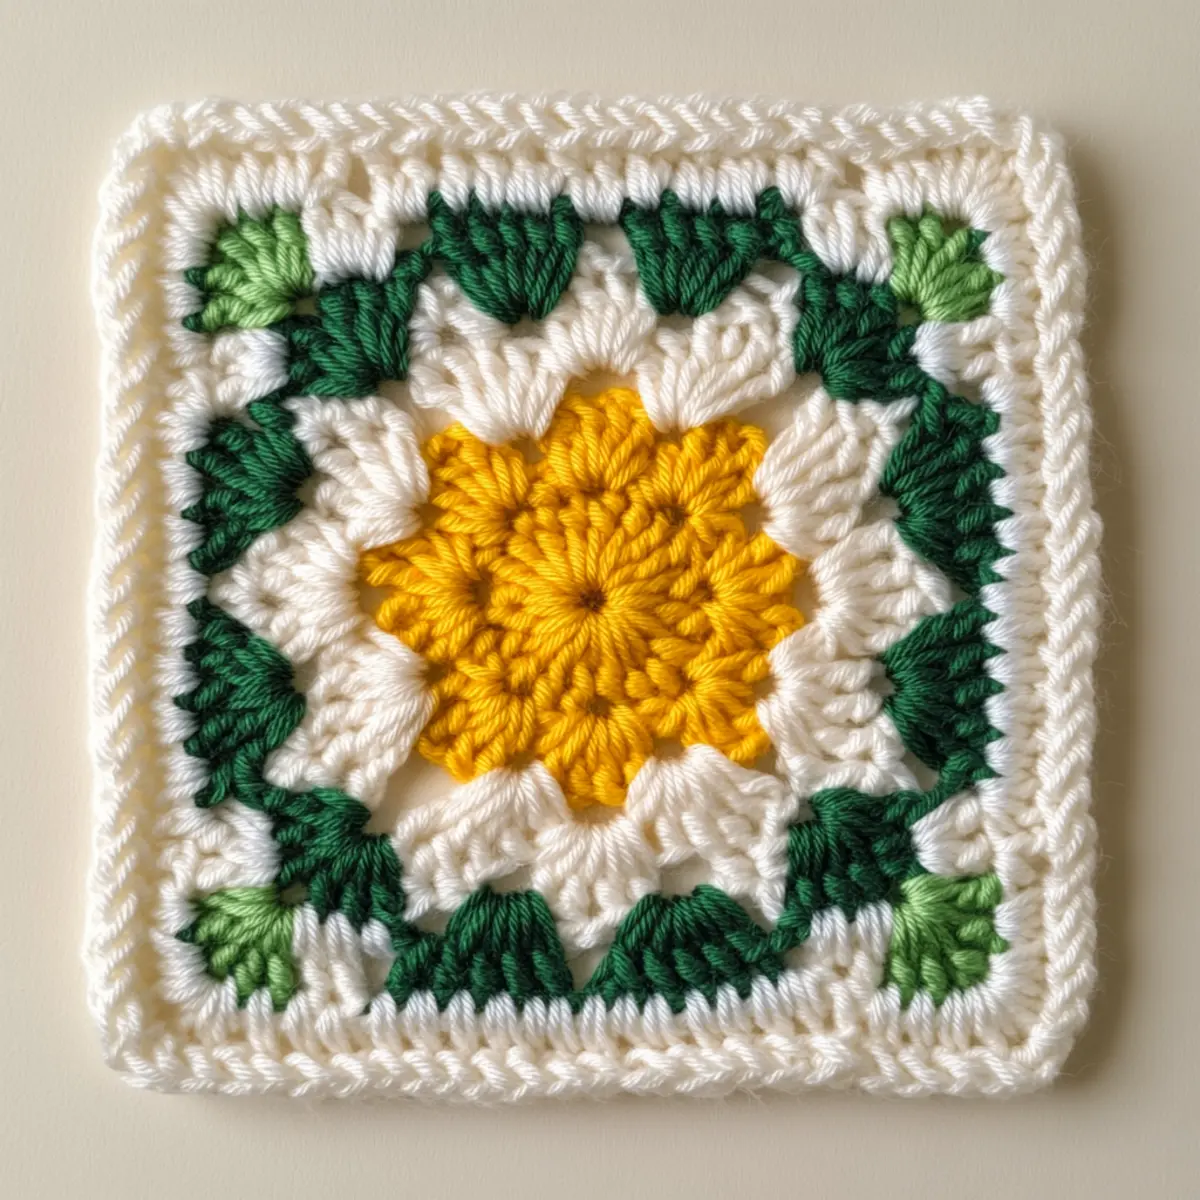
Feel free to customize your daisy granny square with these fun variations to suit your style and materials.
- Color choices: Explore using pastel shades for a soft, dreamy aesthetic, or vibrant colors for a bold statement.
- Add texture: Experiment with textured yarn or a blend of yarns for unique depth in your petals and border.
- Different motifs: Mix it up by incorporating other floral designs or geometrical shapes in your granny square for a playful twist.
- Larger hook: Using a larger hook can result in an airy texture, achieving a grander size for blankets or throws.
- Larger squares: Increasing the granny square rounds allows for a stunning throw or wall piece to make a vibrant statement in any room.
- Bamboo fiber: Swap out your usual yarn for soft bamboo fibers for a lovely sheen and sustainable touch in your projects.
- Metallic strands: Add a strand of metallic yarn into your design for a modern, shimmery update to the classic granny square.
For a bigger impact, consider sewing multiple squares together to create a stunning blanket or bag, making it not only beautiful but practical. This means you can showcase your creativity while ensuring each piece has its own personality, making your daisy granny squares truly unique. Don’t forget to look at our Free Amigurumi Harry for another fun project that pairs beautifully with these squares.
Expert Tips for the Daisy Granny Square
Stay Counted: Always count your stitches after each round. Losing track can lead to uneven shapes or extra stitches in your daisy granny square.
Avoid Twists: When creating the foundation chain, ensure it’s not twisted before joining. A twisted chain will lead to uneven edges and make the granny square tough to work with.
Keep it Tight: If you find dropped stitches in your work, it might be due to loose tension. Maintain consistent pressure on your hook to avoid this issue.
Magic Ring Method: Use the magic ring for a neat start of the daisy center. A standard chain circle can leave gaps that detract from the overall finish.
Choose Colors Wisely: Experiment with color combinations. Vibrant hues will give a lively look, while pastels create a soft, elegant aesthetic. Whichever you choose, it enhances your daisy granny square beautifully.
How to Wash and Care for Your Daisy Granny Square
Machine Washing: If needed, use a gentle cycle with cold water. Ensure your daisy granny square is inside a mesh laundry bag to prevent tangling.
Hand Washing: For delicate care, fill a basin with lukewarm water and a mild detergent. Gently submerge and squeeze; avoid wringing.
Drying: Always lay your granny square flat to dry. Hanging can distort its shape and affect the floral design details.
Blocking: Consider blocking after finishing to enhance texture and maintain the structure of your daisy granny square. Simply dampen and lay flat, adjusting as necessary.
Daisy Granny Square FAQs
Can I substitute yarn for the daisy granny square?
Absolutely! While worsted weight yarn works best, you can experiment with different fibers. Just ensure they match in weight to maintain uniformity in your squares.
How can I adjust the size of the granny square?
To resize, simply add or reduce the number of rounds you crochet. Be mindful of maintaining consistent stitch counts, especially at the corners for better shaping.
What if my square keeps curling?
Don’t panic! Curling often occurs with the first few rounds. Make sure you’re using the right tension and consider blocking once finished to help it lay flat.
What crochet hook size should I use?
A 5 mm (H-8) crochet hook is recommended for this project. Adjusting your hook size can change the drape of your square, so feel free to experiment based on your comfort.
What do I do about dropped stitches?
If you discover a dropped stitch, you can pick it back up with your hook and continue. For a final finish, weave in the ends properly once your work is complete. Regular counting can help prevent this issue from occurring.
How do I store my finished granny squares?
Store your completed squares in a cool, dry place. Avoid direct sunlight to keep colors vibrant and prevent fading. Use a breathable bag or box to avoid dust accumulation.
Leave a Reply