
Spring is blossoming, and nothing embodies that cheerful essence quite like the delightful Baby Chick Amigurumi! This easy amigurumi pattern is not just a quick project; it’s a way to fill your home with warmth and charm, perfect for brightening up Easter baskets or as an adorable décor piece. Crafted with a no-sew technique, even beginners will find joy in stitching up this cute companion. Plus, it’s a fantastic way to use up some of that yarn stash while creating a memorable gift for loved ones. Why not gather your materials and unleash your creativity with this charming design? You’ll be hooked in no time!
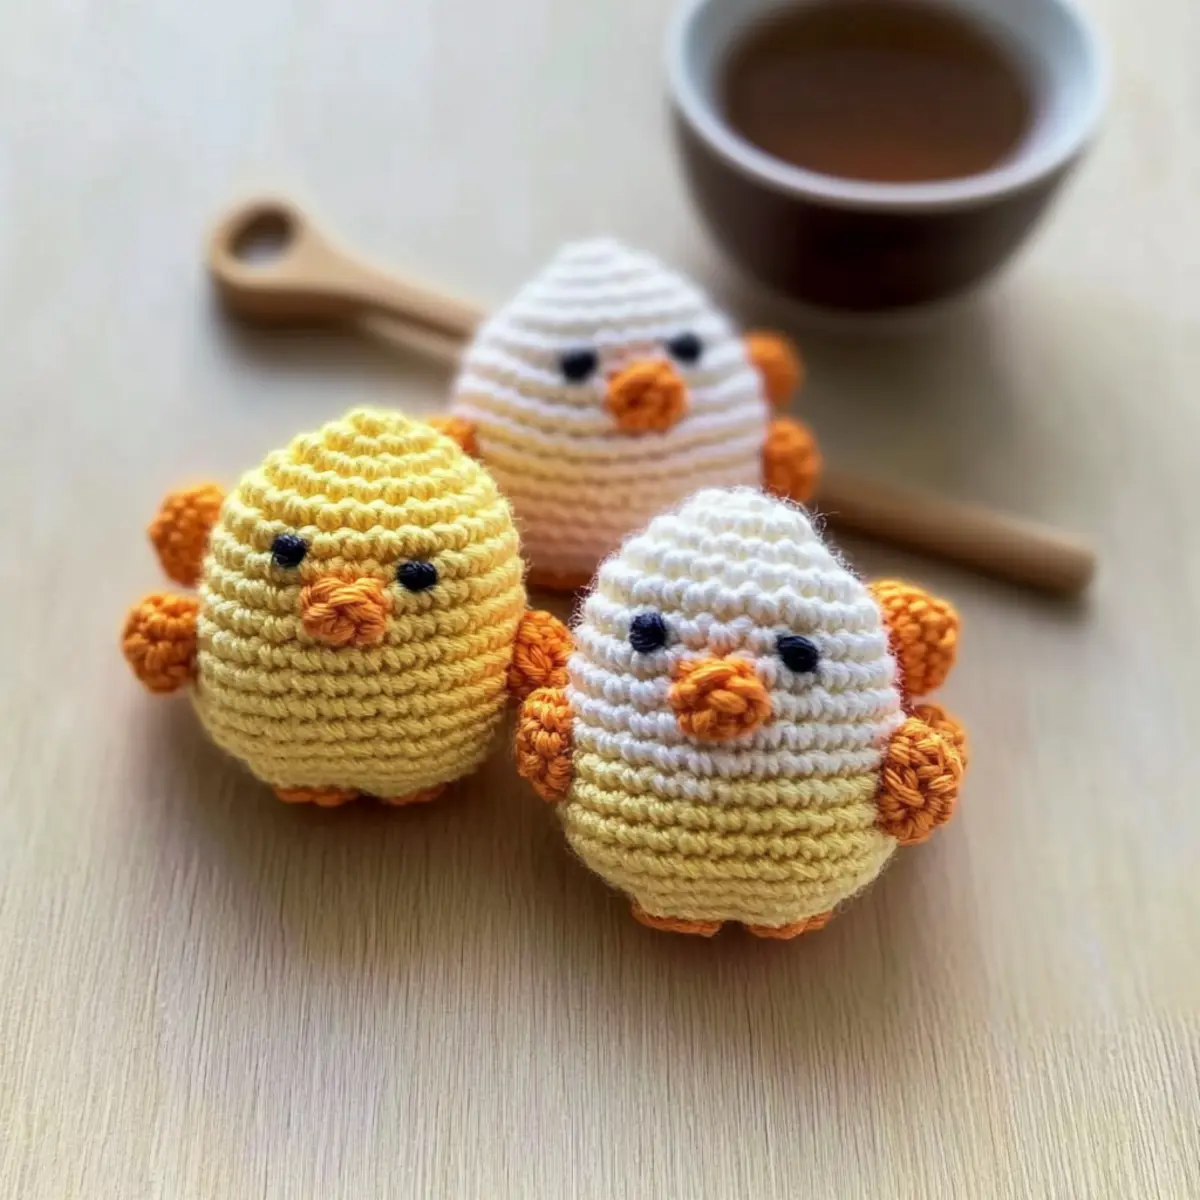
Easy Amigurumi Materials & Tools
Note: Gather these materials to create your delightful Baby Chick Amigurumi, perfect for Easter gifts!
Yarn
• Worsted Weight Yarn – Use about 30 yards of yellow (Color A) and 5 yards of orange (Color B) for the feet and beak.
• Acrylic or Cotton Blend – Opt for a soft, durable fiber that enhances the cuteness of your easy amigurumi.
Tools & Notions
• 3.5 mm (US E/4) Hook – Stick to this size for best results without sizing up.
• Safety Eyes (6 mm) – Ensure these are securely attached for a charming look.
• Tapestry Needle – Handy for weaving in ends and finishing your project neatly.
• Stuffing (Fiberfill) – Lightly fill your chick to keep it cuddly and squishy.
• Stitch Markers (Optional) – Useful for keeping track of rounds as you crochet.
Why Is This Amigurumi So Appealing?
Charming Design: The Baby Chick’s compact and adorable shape makes it a delightful addition to any Easter celebration, serving as both a gift and a fun decorative piece.
No-Sew Simplicity: Enjoy the ease of assembling this cute creation without the hassle of sewing, making it perfect for beginners and seasoned crafters alike.
Quick Project: With just a few rounds, this amigurumi works up in no time, allowing you to create multiple chicks for a festive display or rapid gifting.
Cute Texture: The playful bobble stitches offer a satisfying tactile experience, making this little chick not only pleasing to the eye, but also enjoyable to touch.
Stash-Buster: Using only a small amount of yarn, it’s an excellent way to utilize leftover supplies and contribute to eco-friendly crafting. And if you’re eager for more projects, check out other easy amigurumi patterns that bring joy to every occasion!
Gauge & Sizing Notes
Don’t skip the gauge swatch! Checking your tension is crucial for ensuring that your Baby Chick Amigurumi turns out as adorable as intended. For this pattern, a standard gauge measurement is 4×4 inches (10×10 cm) = 12 stitches by 10 rows worked in single crochet using a 3.5 mm hook. If you desire to make your chick larger or smaller, simply adjust your starting chain or rounds in multiples of 12 for width and 10 for height. If your tension doesn’t match, no worries—if your swatch is too small, try going up a hook size, and you’ll be on your way to crafting the perfect easy amigurumi!
Step‑by‑Step Pattern for Easy No-Sew Baby Chick Amigurumi
Row 1: Start the Body
Ch 2, then work 5 sc in the 2nd ch from hook to form a small circle. This will set the foundation for your Baby Chick Amigurumi. Your work should feel tight yet slightly rounded, creating a snug base as it begins (5 sc).
Row 2: Increase the Circle
Inc in each sc around by working 2 sc in each stitch. This will help to widen the base of your chick, rounding it nicely. As you complete this row, you’ll notice your stitch count doubling, creating a fuller shape (10 sc).
Row 3: Shape the Body
Now, (sc, inc) repeat 5 times around for added height. This creates a pleasant roundness in the body, essential for your Baby Chick’s shape. By the end of this round, you should have a nice dome forming (15 sc).
Row 4: Maintain Size
Continue by sc around for one full round, keeping things uniform. Your Baby Chick Amigurumi should start to feel compact and sturdy. Make sure your tension remains even to keep the shape intact (15 sc).
Row 5: Further Increases
Work (2 sc, inc) for 5 repetitions to further puff out the body. This step enhances the chick’s figure, making it adorable and plump. Ensure that it remains in the round, building up its character nicely (20 sc).
Row 6: Adding Features
At this point, insert safety eyes between Rounds 4 and 5, spacing them about 3-4 stitches apart. This step gives your Baby Chick that charming expression. The eyes should be focused and secure, ready to add cuteness to your project.
Row 7: Bobble Texture
For this round, it’s time to add texture! Begin with 6 sc, then create a bobble stitch (bbl) with 3 dc, followed by another 6 sc, and repeat the bobble. Finish this round with 11 sc to round it out. Aim for a playful look as the bobbles add character (20 sc).
Row 8: Finalize Body Shape
Sc around once more to reinforce the structure of your Baby Chick. This will ensure that the body is solid and well-formed as you prepare for the final touches. At the end, your chick should be taking a delightful shape (20 sc).
Row 9: Decrease to Close
Begin decreasing by working a dec, sc, and then switch to Color B (Orange) for a bobble. After the bobble, change back to the main color, then dec, sc, another bobble, and finally (dec, 2 sc) for three repetitions. This creates an adorable tapered look at the base (15 sc).
Row 10: Squeeze the Shape
Now, work (sc, dec) for 5 times to narrow down the top of your Baby Chick. This will give it a sweet, compact look as it starts to take final shape. Your chick will be looking so inviting now (10 sc).
Row 11: Final Decreases
Finish with a dec x 5 to close off any remaining opening. As you complete this step, your Baby Chick’s body should be almost ready for stuffing. The shape should feel cute and plump (5 sc).
Step 12: Finishing Touches
Before sealing your work, add stuffing to achieve the desired squishiness. To finish, fasten off by sewing through the front loops, creating a smooth closure. Your Easy No-Sew Baby Chick Amigurumi is now complete and brimming with charm!
Expert Tips for Baby Chick Amigurumi
-
Count Your Stitches: Keep track of your stitches after each round to prevent losing shape and maintain that adorable compactness.
-
Light Stuffing: Be mindful to add just the right amount of stuffing to keep your chick squishy, yet firm without overfilling it.
-
Safety Eyes Secure: When inserting safety eyes, make sure they are tightly secured to avoid any accidents during playtime.
-
Add Bobbles Carefully: Master the bobble stitch by practicing on a small swatch first; this ensures your Baby Chick has a polished, finished look.
-
Finishing Touches: When fastening off, stitch through the front loops smoothly to prevent any gaps that might compromise the integrity of your cute amigurumi.
Easy Amigurumi Variations & Substitutions
Feel like sprinkling your creative magic on this adorable Baby Chick Amigurumi? Let’s explore some delightful ways to make this project uniquely yours!
-
Yarn Alternatives: Swap acrylic for cotton for a softer finish that’s perfect for little hands. Both are wonderful, and cotton gives a lovely drape too!
-
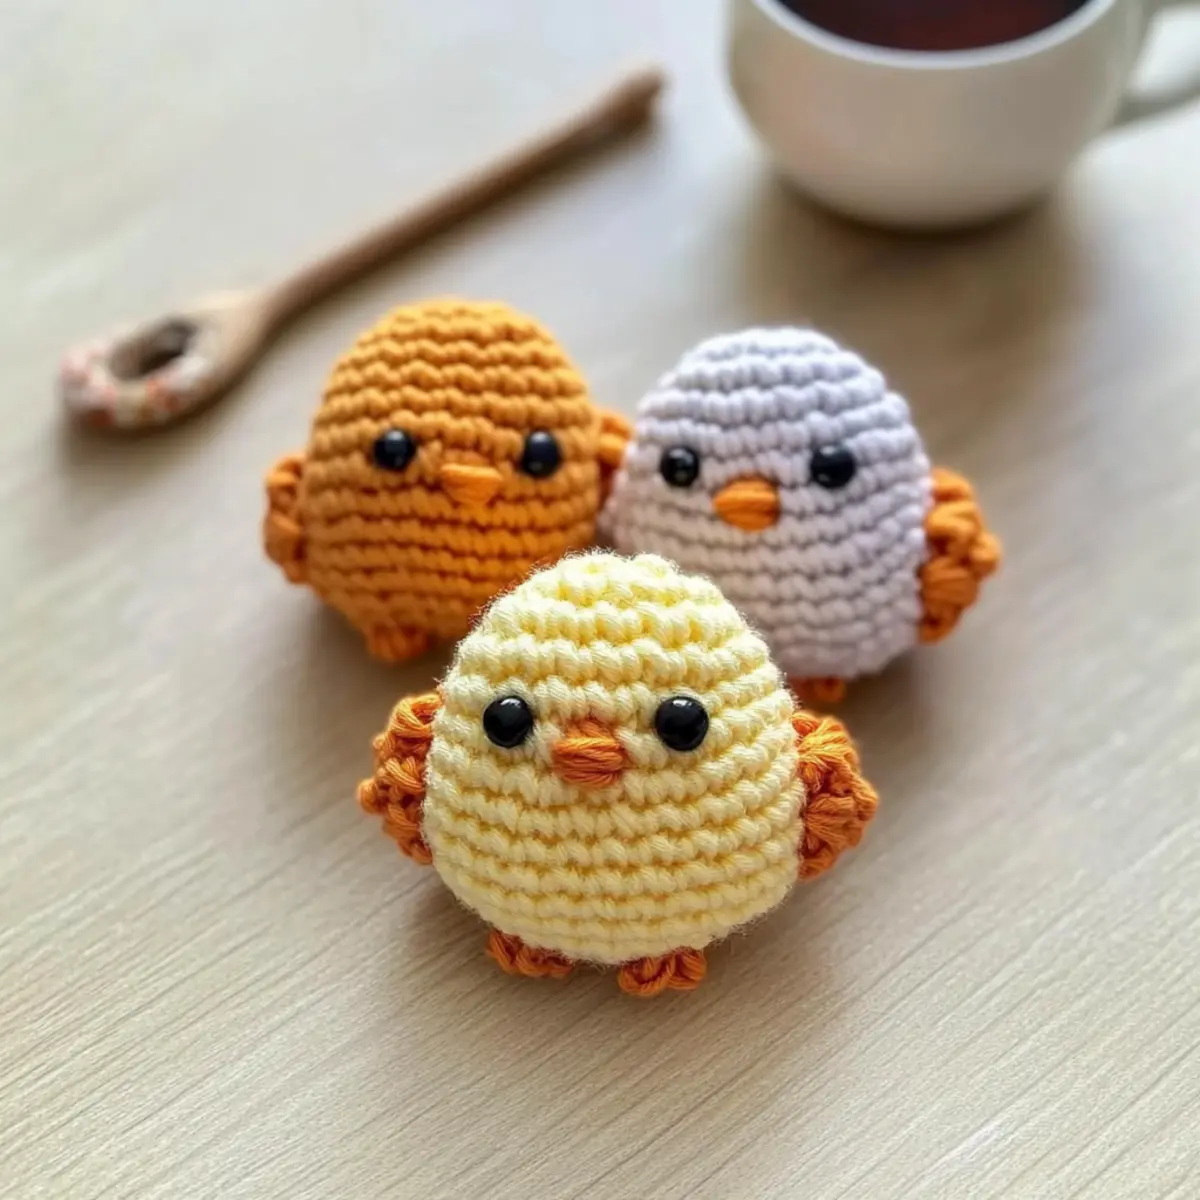
Color Play: Embrace a rainbow of hues! Use vibrant colors to craft a colorful flock of chicks that will brighten any space. Each chick can reflect a different personality!
-
Size Adjustments: For a larger friend, try using bulkier yarn and a larger hook. This instant upgrade transforms your little chick into a standout piece for seasonal décor.
-
Eye Options: If you’re making this for a child, consider embroidering the eyes for a safer option. This technique gives a custom flair and adds a personal touch.
-
Accessory Additions: Think outside the box! Consider adding a little bowtie or party hat for a fun twist that enhances playtime experiences. Accessories can spark imagination!
-
Textured Borders: To give your amigurumi a polished look, add a simple scalloped border at the base. This one small detail can elevate the overall aesthetic!
-
Seasonal Themes: Change the color scheme to suit any holiday! Pastels for spring, warm tones for autumn; let your inspiration guide your yarn choices.
-
Pom-Pom Feet: For a fluffier touch, attach small pom-poms instead of crocheted feet! This playful addition will add texture and whimsy to your creation.
For even more creative ideas, you may also enjoy diving into other fantastic easy amigurumi patterns that celebrate seasonal joy and creativity! Each pattern brings its unique charm, perfect for every crafting adventure. Happy crocheting!
Washing and Care for Your Baby Chick Amigurumi
-
Hand Washing: Gently wash your Baby Chick Amigurumi in cool water. Avoid vigorous agitation to prevent any pilling or felting of the yarn.
-
Drying: After washing, squeeze out excess moisture carefully without wringing. Lay your baby chick flat on a clean towel to air dry, allowing it to maintain its adorable shape.
-
Storage: Keep your amigurumi in a cool, dry place, away from direct sunlight to prevent fading. This will help preserve its vibrant colors and texture for future enjoyment.
-
Safety Considerations: For longevity, avoid exposing your Baby Chick to heat sources, which can compromise safety eyes and stuffing integrity.
Easy No-Sew Baby Chick Amigurumi FAQs
Can I use a different yarn type for this amigurumi?
Absolutely! While the pattern recommends worsted weight acrylic or cotton, you can use other fibers as long as they have a similar thickness. Just be mindful that different fibers may affect the final texture and squishiness!
How do I make my Baby Chick bigger or smaller?
To adjust the size, simply increase or decrease the number of stitches in each round. For a larger chick, add more increases, or for a smaller one, reduce the number of stitches by a few. Remember to maintain the shape’s integrity by counting your stitches!
Why does my work curl while crocheting?
Don’t panic! Curling usually happens when your stitches are too tight. Try loosening your tension, or you might be using an incorrect hook size. Check the recommended size and switch if necessary for a flatter, well-shaped project.
What size hook should I use for this pattern?
For this Easy No-Sew Baby Chick Amigurumi, I recommend using a 3.5 mm (US E/4) hook. Although you might be tempted to try a larger size for a looser fabric, stick with the suggested hook for the best results and stitch definition.
How do I fix dropped stitches?
It’s an easy fix! Simply use your tapestry needle to weave the yarn through the dropped stitch, securing it back in place. If you’re worried about it happening often, practice counting your stitches as you crochet to catch mistakes early on.
What if I can’t find safety eyes?
No worries! If safety eyes aren’t available, you can embroider the eyes on your chick. Use black yarn for a simple look or get creative with colors to match your style. It adds a personal touch and is a great option for little ones!
Leave a Reply