
There’s something magical about bringing the allure of nature indoors, and that’s precisely what my new crochet flower bouquet achieves! This project allows you to create a stunning, everlasting arrangement that’s perfect for decorating your home or gifting to a loved one. With its enchanting design, this crochet flower bouquet is an eco-friendly alternative to traditional flowers, freeing you from the worry of wilting blooms. Plus, it’s a fantastic stash-buster, using up yarn scraps while providing a cozy, creative outlet. You can customize colors and sizes to match your unique style—what’s more personal than that? As you dive into this project, you’ll find joy in each stitch and the satisfaction of crafting something beautiful and enduring. I can’t wait for you to explore the endless possibilities this bouquet offers—what colors will you choose?
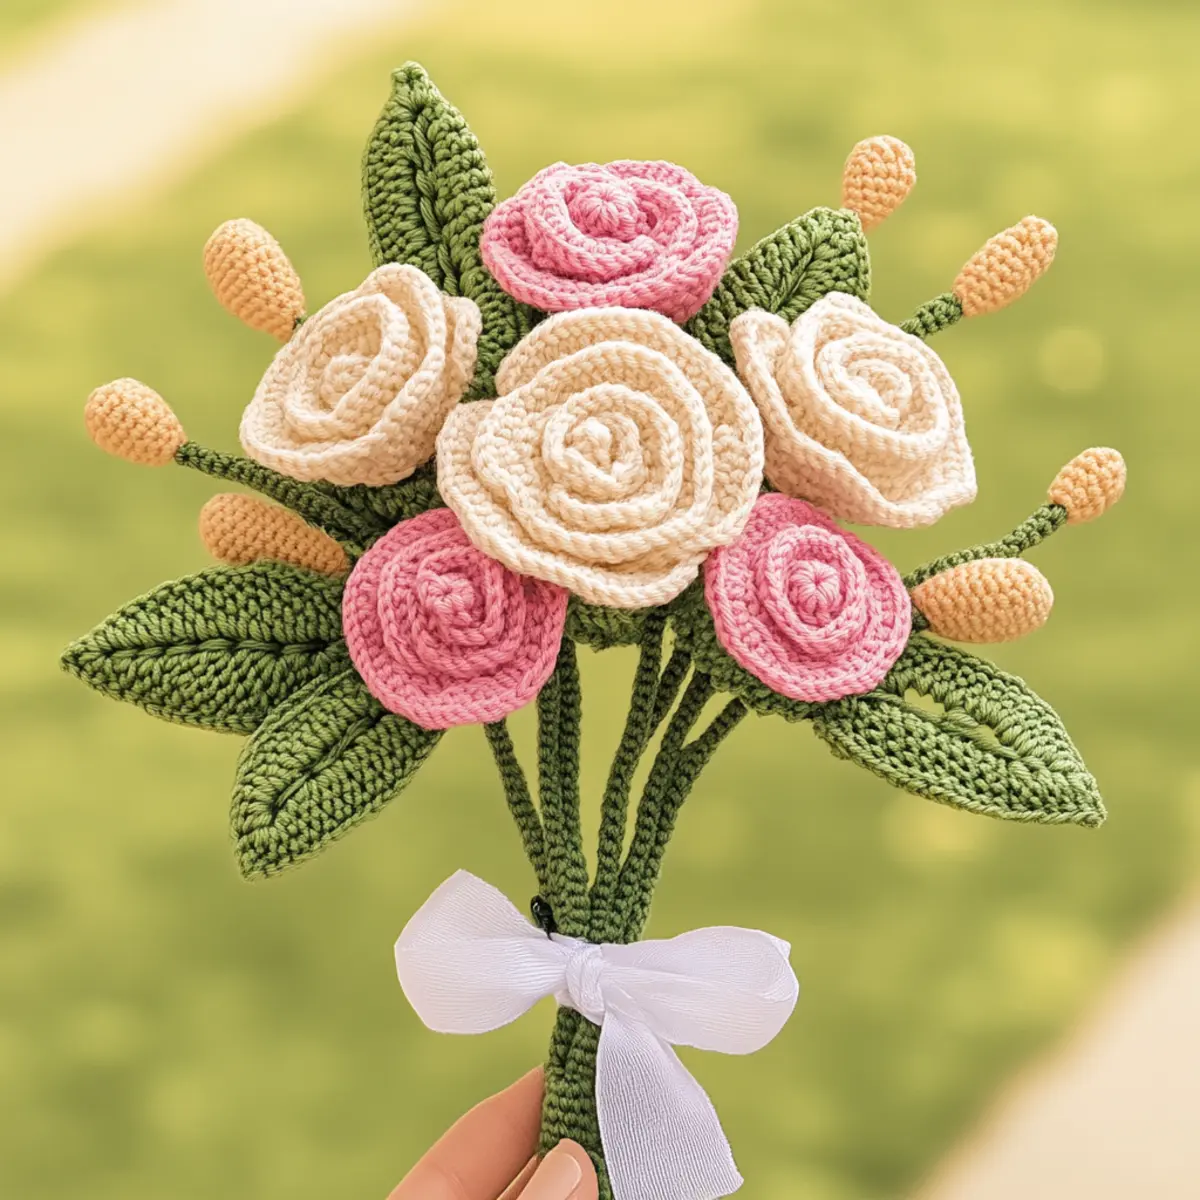
Crochet Flower Bouquet Materials & Tools
Yarn
— You’ll need approximately 200-300 yards of DK weight yarn in various colors: soft pinks, neutral beiges, and rich greens for a beautiful crochet flower bouquet.
Tools & Notions
— A 3.5mm (E) crochet hook is ideal for crafting the intricate details.
— Safety eyes can be added for embellishments, enhancing the floral design further.
— Keep a yarn needle handy for weaving in ends, ensuring your project looks polished.
— Don’t forget a pair of scissors for easy trimming as you work on your crochet flower bouquet.
Why You’ll Love This Pattern
Simplicity is at the heart of this crochet flower bouquet, making it an approachable yet rewarding project for intermediate to advanced crafters. Textured leaves and flowers create a visually striking arrangement that’s incredibly satisfying to create. Plus, it’s a fantastic stash-friendly project, allowing you to use up those odd skeins of yarn in your collection. Not to mention, each bouquet can be personalized to your taste, so you can experiment with different colors and styles, creating something truly unique—just like the ones featured in our Cute Customizable Crochet patterns. The time-saving aspect of this pattern is another highlight; you can whip up a gorgeous bouquet in just a few hours, perfect for special occasions or last-minute gifts. Finally, the aesthetic appeal is undeniable; no one would guess that your stunning bouquet is crocheted rather than freshly picked, making it a conversation starter in any home.
Gauge & Sizing Notes for Crochet Flower Bouquet Checking your tension is vital for this crochet flower bouquet project to ensure each flower retains its form and the final arrangement has a polished appearance. To achieve this, make a gauge swatch that measures 4×4 inches using the recommended 3.5mm (E) hook and your yarn. If your swatch differs from this gauge, adjust your starting chain or number of rounds to resize the flowers and leaves accordingly. For example, if your swatch is larger, switch to a smaller hook or reduce stitch count per round. If it’s smaller, consider a larger hook or adding stitches to keep your design consistent. Knowing these adjustments ensures that your bouquet looks lovely and maintains its respective sizes, creating a beautiful and harmonious display.
Step-by-Step Pattern for Crochet Flower Bouquet
Row 1: Start with a Magic Ring Begin by creating a magic ring (mr) to form the center of your first flower. Use soft pink yarn and secure it with a ch1, ready for your first round of stitches. (1)
Row 2: Create the Center In the magic ring, work 6 sc into the loop, pulling gently on the tail to close the ring. This will form the base of your flower. Count your stitches to ensure there are 6 (2)
Row 3: Increase Stitches For the next round, work 2 sc in each stitch around to increase the size. This should give you 12 sc by the end of this round, forming a fuller shape for your crochet flower bouquet (3)
Row 4: Form Petals In the next row, you’ll work 1 sc in the first stitch, then inc in the next. Repeat around for a total of 18 stitches by the end of this round. This will help create a lovely petal shape (4)
Row 5: Begin the Petals For the fifth round, do a sc in each stitch around, maintaining the count at 18. You want a tighter stitch here for better stability in your petals (5)
Row 6: Create the Flower Petals Now we’ll start forming the petals. In the next round, you’ll work (sc, ch2, dc) in the same stitch to create petal shapes. You’ll create 6 petals in total (6)
Row 7: Complete the Flower Join with a sl st to the top of the first petal to finish, then fasten off. Don’t forget to weave in your ends! Your first flower for the bouquet is complete (7)
Row 8: Create Leaves Start a new leaf by chaining 10. In the second chain from the hook, work an hdc (half double crochet) followed by 3 dc, and finish with an hdc in the last chain. Turn and work back down the same chain (8)
Row 9: Shape Your Leaf As you return, you will dec (decrease) the last hdc to create a point. This forms a lovely leaf shape for your crochet flower bouquet (9)
Row 10: Make More Leaves Repeat the above steps to create 2-3 more leaves in various shades of green, adding some variety to your bouquet’s foliage (10)
Row 11: Assemble the Bouquet Once you’ve completed your flowers and leaves, arrange them together. Use sl st to attach the flowers to the leaves in a natural layout. You want to create a balanced bouquet (11)
Row 12: Final Touches Tie your bouquet together using a piece of white ribbon. This gives a beautiful finishing touch while securing your crochet flower bouquet in place (12)
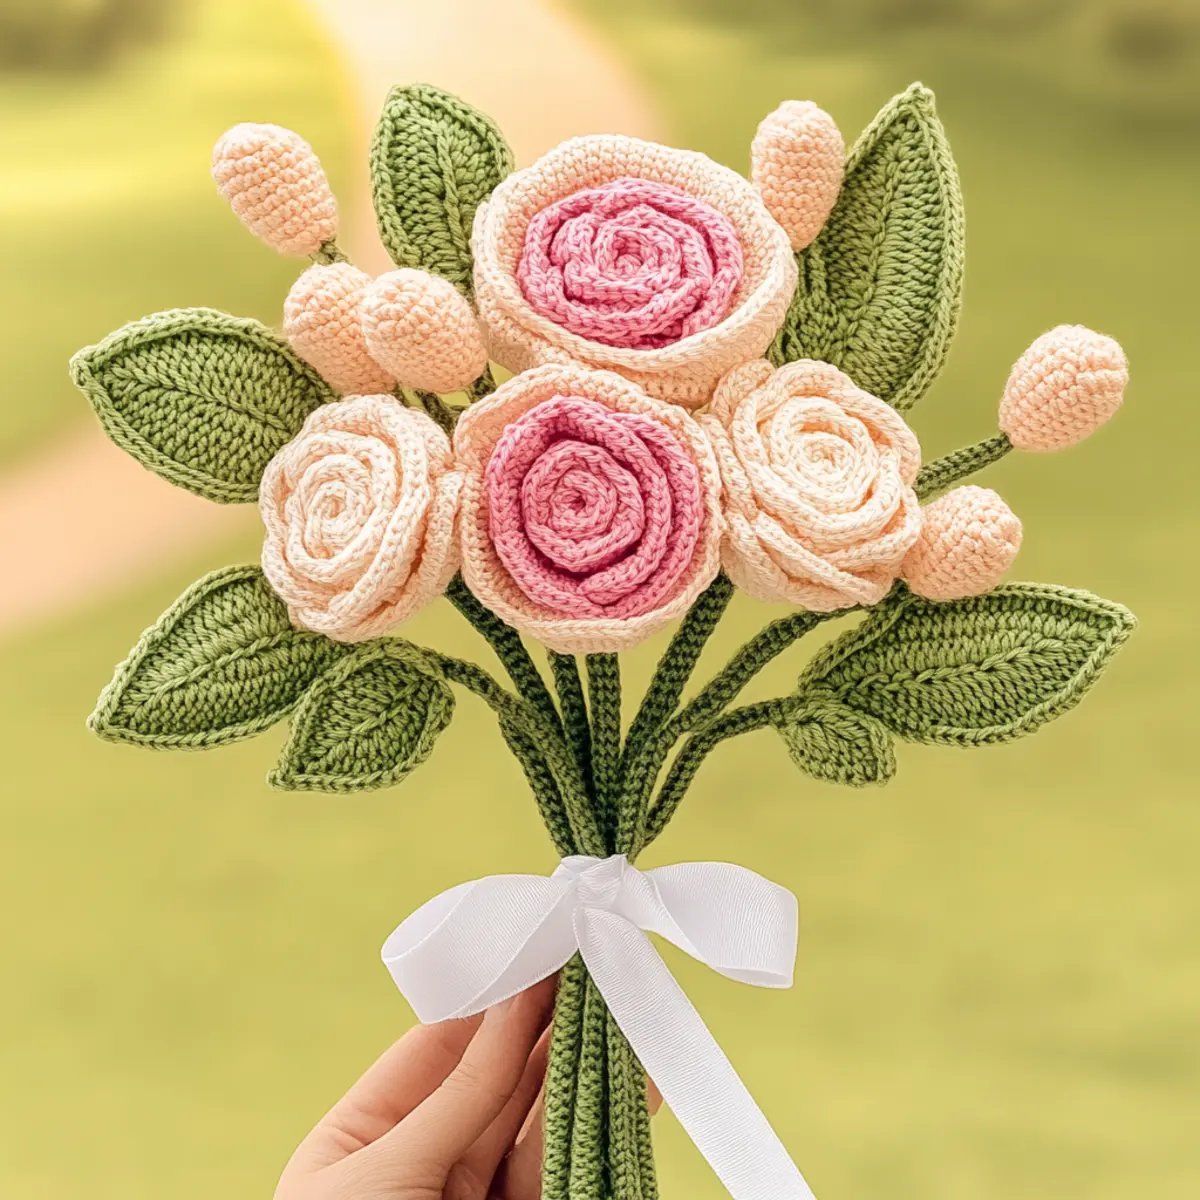
Crochet Flower Bouquet Variations
Feel free to customize your crochet flower bouquet to suit your unique style and preferences!
- Yarn Swaps: Consider substituting standard DK weight yarn with cotton for sturdier petals or wool for added warmth and texture.
- Color-Blocking: Try combining contrasting shades, like deep reds and vibrant yellows, to create an eye-catching statement piece that stands out in any decor.
- Larger Flowers: For a bolder look, increase your hook size to create flowers with oversized petals, making them perfect as a focal point in your home.
- Mixed Flower Designs: Blend in different flower types—like daisies or tulips—to create a diverse bouquet. This adds interest and dimension to your arrangement!
- Seasonal Themes: Adjust the color palette to fit seasonal themes; think pastels for spring or rich oranges and browns for autumn. You can make multiple bouquets to celebrate each season!
- Embellished Textures: Incorporate beads or sparkly yarn for added charm, especially for special occasions like weddings. A hint of shine can take your bouquet to the next level.
- Fragrance Addition: While crochet flowers can’t smell like real ones, you could add a few lavender flowers within the bouquet that can imbue a gentle scent into your space.
Unlock your creativity with each alteration and bring your crochet flower bouquet to life in a way that feels personal to you! Enhance your crafting experience further with our Cute Customizable Crochet or Beginner Friendly Crochet projects for variety.
Expert Tips for Your Crochet Flower Bouquet
Count Stitches: Always count your stitches after each round to avoid losing track and ensuring your flowers maintain their intended shape. This prevents dropped stitches that can alter the bouquet’s overall look.
Consistent Tension: Keeping your tension even is essential for all flowers. If your tension varies, you might end up with petals that are too loose or too tight. This affects your crochet flower bouquet’s form.
Twisting Chains: When starting chains for leaves or petals, make sure they aren’t twisted. A twisted chain can lead to an irregular shape, impacting the aesthetic quality of your project.
Choose the Right Hook: If your stitches seem tight or difficult to work with, consider using a larger crochet hook. This can help create a more consistent and relaxed fabric for your crochet flower bouquet.
Experiment with Colors: Don’t hesitate to play with different yarn colors and combinations. Unique palettes can create stunning visual effects in your bouquet, making it even more eye-catching!
Block for Best Results: Once you finish your flowers and leaves, blocking them can enhance their shape. It’s especially important for keeping those petals and leaves looking fresh and defined in your crochet flower bouquet.
How to Wash and Care for Your Crochet Flower Bouquet
Machine Washing: If you need to wash your bouquet, place it in a mesh bag and use a gentle cycle with cold water to preserve its shape and colors.
Hand Washing: For best results, hand wash your crochet flower bouquet in cool water with a mild detergent. Gently squeeze to clean, but avoid vigorous scrubbing to prevent damage.
Drying: Always lay your bouquet flat to dry after washing. This eliminates the risk of distortion and keeps your crochet flower bouquet looking lovely.
Storage: Store your bouquet in a cool, dry place. Avoid exposing it to direct sunlight or moisture, which can fade colors and harm the fibers.
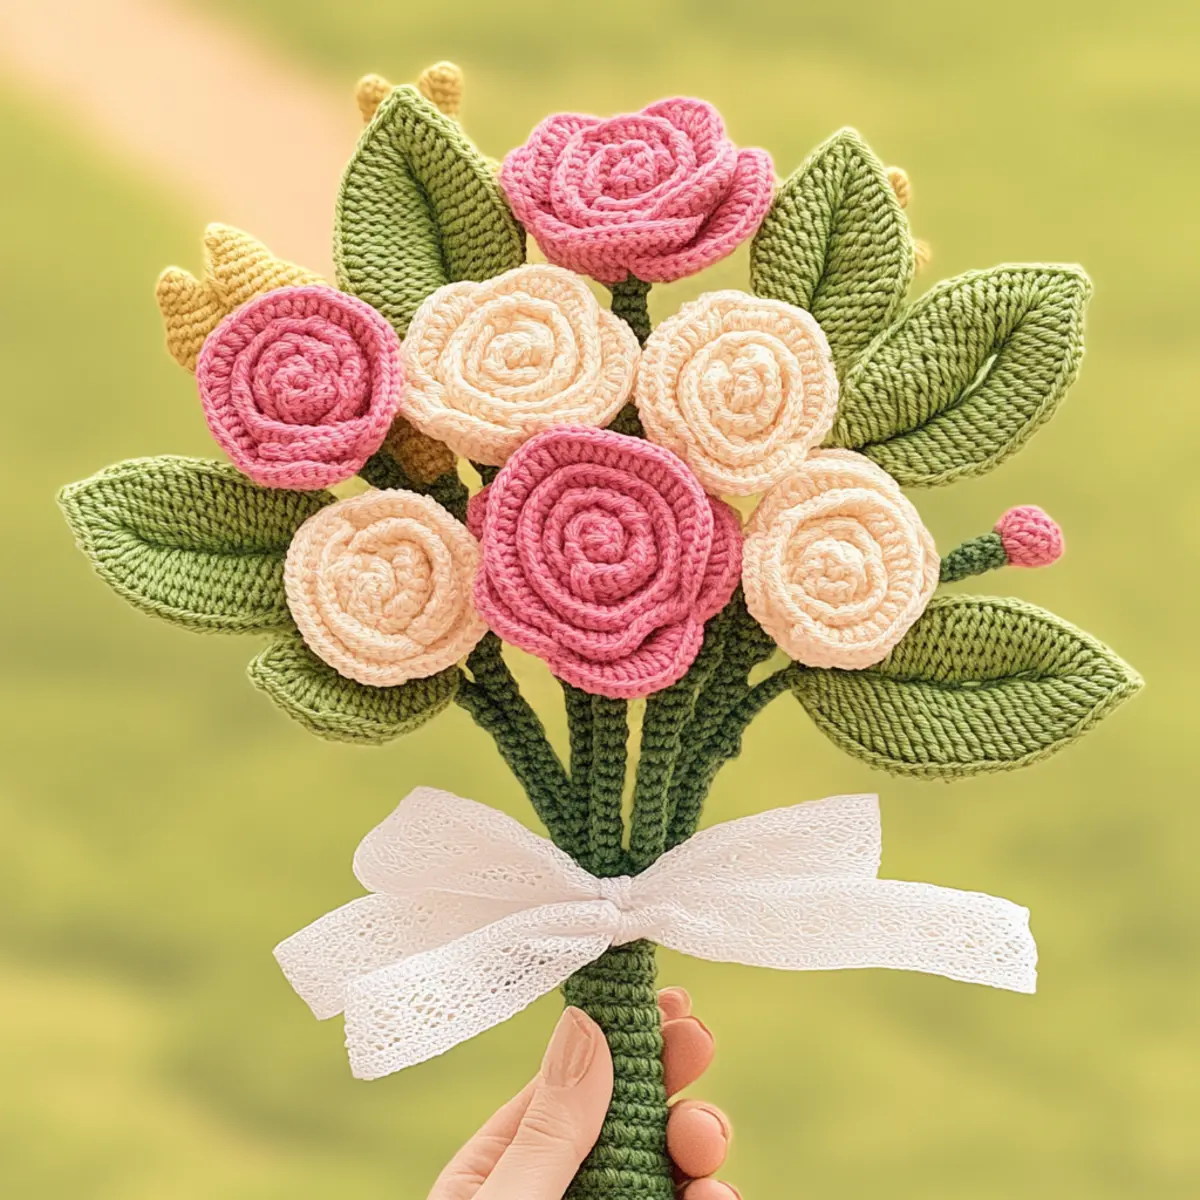
Crochet Flower Bouquet FAQs
Can I use different yarn weights for this project?
Absolutely! You can experiment with various yarn weights, but be aware it will affect the final size. Using thicker yarn will create larger flowers, giving a more dramatic effect.
What if my flowers curl up?
Don’t panic! Curling flowers can often be resolved with a good blocking. Simply wet the flowers and shape them as desired, then let them dry in place.
How can I increase the size of my bouquet?
To make a larger bouquet, create more flowers using the same or different patterns. You might also want to feature a variety of flowers like daisies alongside roses for a fuller arrangement.
What size hook should I use?
For this crochet flower bouquet, a 3.5mm (E) hook is ideal. However, if you notice your stitches are too tight or too loose, feel free to adjust to a larger or smaller hook accordingly.
Can I gift this bouquet as a present?
Definitely! This crochet flower bouquet makes a thoughtful and lasting gift. Perfect for weddings, anniversaries, or just because, your loved ones will appreciate the handmade touch!
What if I run out of yarn?
If you find yourself low on yarn, you can switch to a similar weight in a coordinating color. This not only keeps your project going but also gives it a unique twist!
Leave a Reply