
There’s nothing quite like the satisfaction of wrapping your hands around a hook and watching a stunning creation emerge from a simple ball of yarn. Today, I’m excited to share with you my Beginner-Friendly Free Crochet Mesh Tote Bag Pattern, a stylish and practical project that works up quickly, making it perfect for those last-minute gift needs or spontaneous beach trips. This lightweight bag features an open, net-like texture that adds a touch of elegance to your everyday errands. As an added bonus, it’s completely customizable, allowing you to play with your favorite colors and make it uniquely yours. Get ready to dive into this delightful crochet adventure and elevate your crafting skills with each stitch!
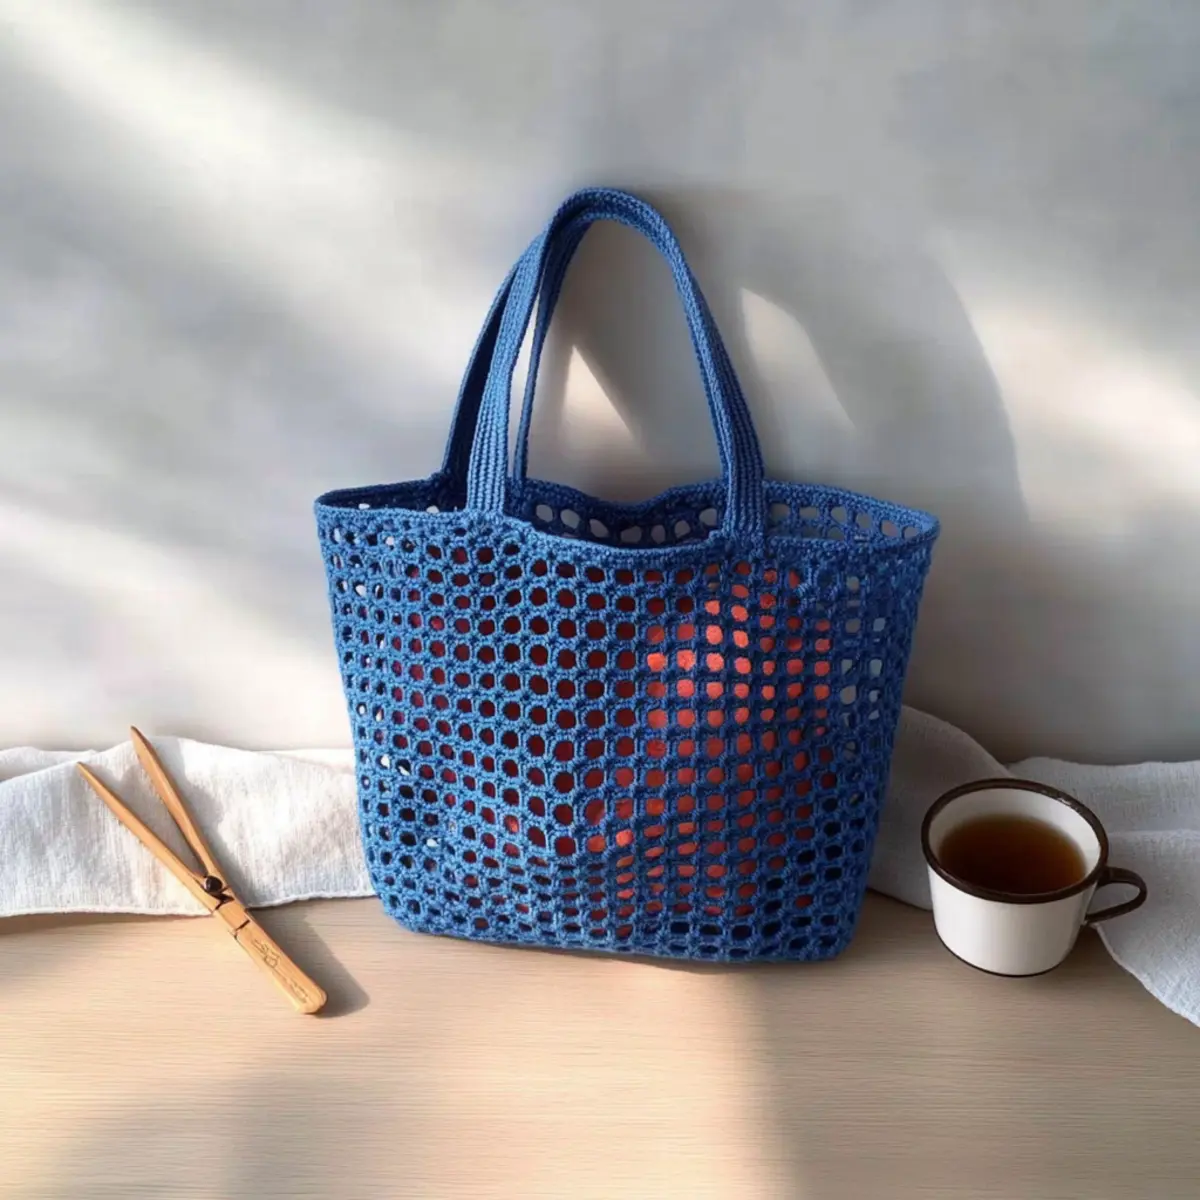
Beginner-Friendly Mesh Tote Bag Materials & Tools
Yarn
• Medium Weight Yarn (Category 4) – Use cotton or acrylic with approximately 200–300 yards (180–275 meters) for a stylish look.
Tools & Notions
• 5.0 mm (H-8 US) Hook – The perfect size for creating that lovely open mesh texture.
• Stitch Markers – Essential for keeping track of your rows and marking the first stitch.
• Tapestry Needle – Ideal for weaving in yarn ends to give your tote a polished finish.
• Scissors – Handy for cutting your yarn with ease.
Get ready to create your Beginner-Friendly Crochet Mesh Tote Bag and enjoy the process of transforming yarn into a beautiful, functional piece!
Why is this bag perfect for you?
Simplicity, This pattern is designed especially for beginners, ensuring that everyone can create a beautiful piece without feeling overwhelmed.
Stylish & Practical, Its elegant mesh design makes it perfect for any occasion, whether you’re running errands or enjoying a day at the beach.
Quick Project, You’ll love how fast this bag works up, giving you a sense of accomplishment and a usable product in no time.
Customizable, Change colors or patterns to match your personal style—try our tips on how to experiment with different colors for a unique flair!
Lightweight yet Sturdy, The airy structure ensures easy carrying while remaining durable enough for everyday use.
Fun & Creative, Each stitch is a step toward unlocking your creativity, making this project a joy to work on!
Gauge & Sizing Notes
Don’t skip the gauge swatch! Ensuring your crochet gauge correctly matches the pattern is essential for creating a perfectly sized mesh tote bag. For this project, aim for a gauge of 4×4 inches (10×10 cm), which should measure 14 double crochets by 8 rows. If you’re looking to make your bag larger or smaller, simply adjust the starting chain in multiples of 3. For example, to increase the width, add more stitches in groups of three to your foundation chain. If your swatch comes out too small, try switching to a larger hook size. Remember, taking the time to check your tension swatch will ensure your beautiful mesh tote bag turns out just as you envision!
Step‑by‑Step Pattern for Beginner-Friendly Crochet Mesh Tote Bag
Row 1: Starting the Base Panel
Begin by making a foundation chain of 55. Starting from the second chain from the hook, work 54 single crochets (sc) across the row. Remember to mark your first sc to track your rows easily. Your work should be a neat, straight line of stitches, laying flat (54 sts).
Rows 2 – 18: Building the Base Panel
For each subsequent row, chain 1, and work 1 sc in each stitch across. Be sure to mark the first sc of each row to keep your count accurate. Repeat this pattern until you reach a total of 18 rows, creating a sturdy rectangle for your tote bag base (54 sts per row).
Step 1: Single Crochet Border
To finish the base, create a border. Chain 1, and work 1 sc in each stitch around all four edges of the rectangle. Ensure you place 3 sc in each corner stitch to maintain shape. This border will give your bag a polished look while providing extra durability (total perimeter stitches will vary).
Row 1: Starting the Mesh Body
Now, shift to the mesh body. Begin with chain 2, which counts as your first double crochet (dc). Skip the next 2 stitches, then dc in the following stitch. Chain 2, skip the next 2, and repeat this pattern across the row. You should finish with a gap at the end where the last chain-2 forms your mesh (26 gaps made).
Row 2: Transitioning to Solid Body
Start with a chain 1 and work a single crochet (sc) in the top of each dc and under each chain-2 gap from the previous row. This establishes a solid round after the mesh. Slip stitch to the first sc to close the round neatly, with your work starting to take shape and height (54 sts).
Continuation of Body: Alternating Rounds
Continue alternating between mesh rows and solid rows until your bag reaches the desired height. For each mesh row, repeat Row 1 instructions, and for each solid row, follow Row 2. You will create a lovely, open texture with depth until you reach about 32 total rounds for a spacious tote.
Step 2: Creating the Handles
To form the handles, count and mark the center points on the top of your bag for symmetry. Chain to your desired length (e.g., 120 for medium straps) using a sturdy method. Connect the ends to the bag with sc, ensuring they’re secure. Make another identical strap, keeping them even.
Step 3: Reinforcing the Handles
For added durability, work additional rounds of sc around the bag edge and the straps’ base. This will not only reinforce the handles but also provide a finished look, blending them seamlessly into the bag. Ensure your work is tight and secure for lasting strength.
Final Steps: Finishing Touch
Make one last round of single crochet around the top edge of the bag for a smooth finish. After completing this round, fasten off your yarn, leaving a tail. Weave in all loose ends with a tapestry needle to tidy up your project. Your stylish Beginner-Friendly Crochet Mesh Tote Bag is complete!
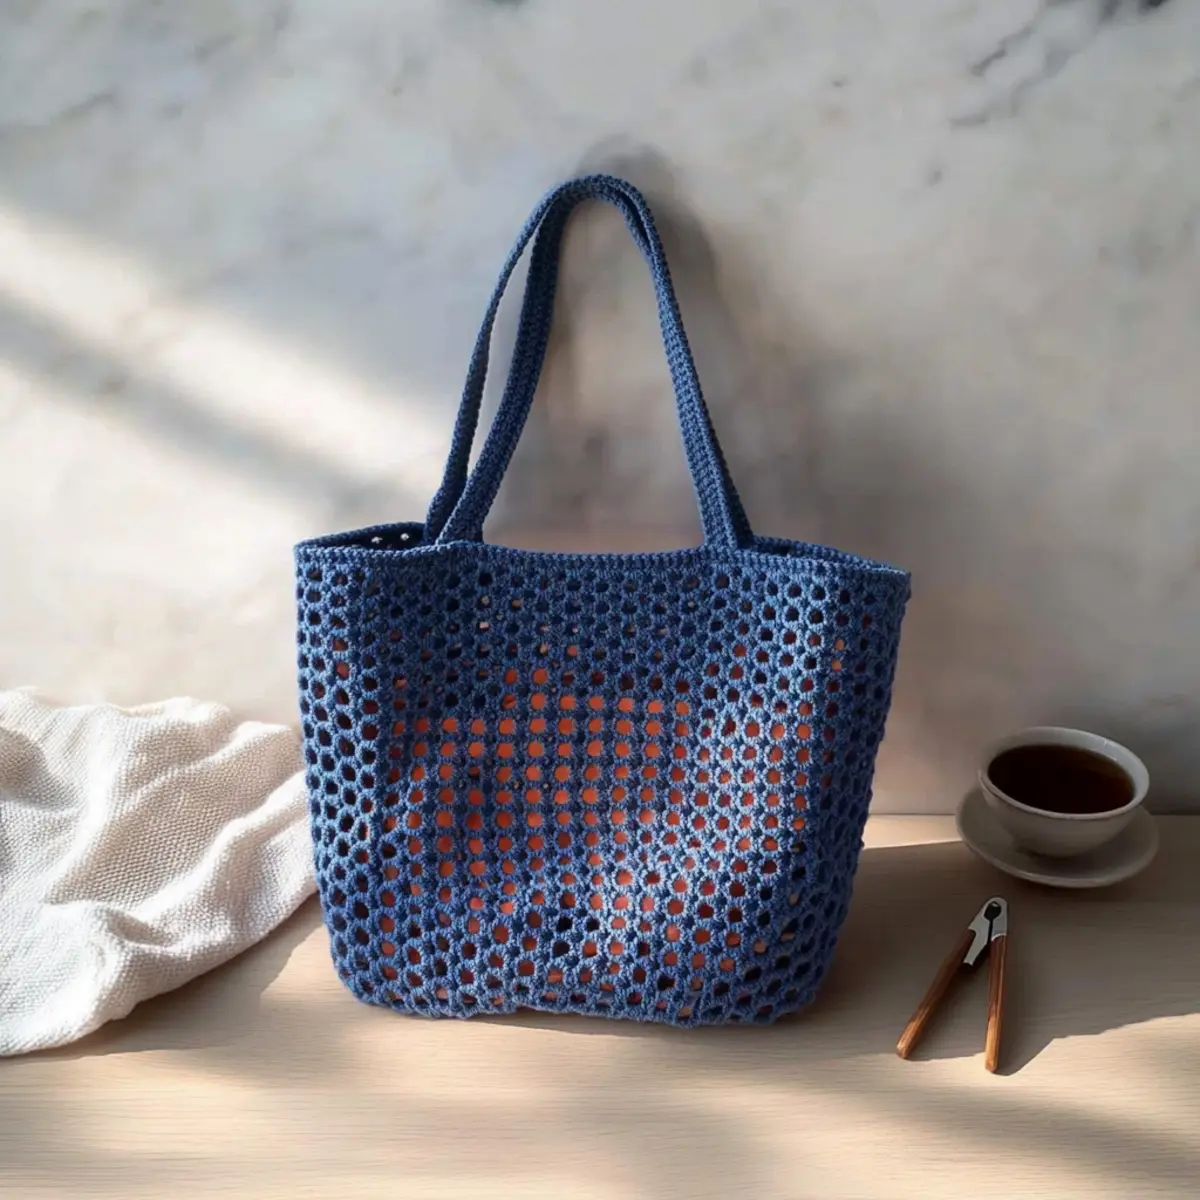
Variations & Substitutions for the Mesh Tote Bag
Feel free to embrace your creativity and customize this crochet pattern to suit your style and preferences!
- Yarn Substitutions: Switch cotton for acrylic for a more budget-friendly option without sacrificing style. Each fiber brings a unique texture.
- Color Blocking: Combine multiple colors in your design for a vibrant, striped effect. This playful approach can make your tote truly one-of-a-kind!
- Different Yarn Weight: Consider using lightweight cotton (Category 3) for a more delicate bag or bulky yarn (Category 5) for a chunkier look, adjusting your hook size accordingly.
- Textured Straps: Add a fun twist by incorporating a shell stitch or ribbing into your straps to elevate the overall design. It’s a small detail that makes a big impact!
- Applique Additions: Personalize your bag with cute crochet appliques, like flowers or hearts, sewn onto the surface. They provide character and reflect your unique style.
- Versatile Sizing: Simply adjust your foundation chain to create larger or smaller versions of the tote—perfect for making a mini pouch for essentials or a larger beach bag!
- Fringe Fun: Add a playful fringe to the bottom of your tote for a fun boho touch that enhances the aesthetic appeal. It’s a simple addition that adds tons of personality!
- Decorative Borders: Experiment with different finishing borders such as picots or simple shell borders for a fancy touch that frames your masterpiece beautifully.
Feel inspired to explore these variations, and check out some ideas on how to experiment with different colors for an even more personalized touch. Happy crocheting!
How to Wash and Care for Your Mesh Tote Bag
- Machine Washing: Use a gentle cycle in cold water to prevent any felting or pilling of your mesh tote bag. This helps maintain its beautiful texture while keeping it fresh!
- Hand Washing: For a more delicate approach, soak your bag in cold water with a mild detergent. Gently agitate it to clean without stressing the fibers, ensuring longevity.
- Drying: Always lay your finished bag flat to dry away from direct sunlight. This preserves its shape and prevents any unwanted stretching or distortion.
- Storage: When not in use, store your tote bag in a cool, dry place. Avoid folding it to help maintain its structure and prevent creases in the beautiful mesh design.
Expert Tips for the Best Mesh Tote Bag
- Keep Count: Consistently track your stitches at the end of each round to ensure uniformity in shape and size—it’s easy to lose count, so stay vigilant!
- Consistent Tension: Maintaining even tension throughout the project will create a smoother finish and a cleaner edge. Practice makes perfect!
- Check Gauge: Before starting, crochet a small swatch to check your gauge, especially since different yarns may affect the final size of your mesh tote bag.
- Secure Straps: Reinforce your bag handles with extra rounds of single crochet for additional durability; this will help carry heavier items securely.
- Weaving in Ends: Take your time to properly weave in any loose ends at the end to give your bag a polished and professional look.
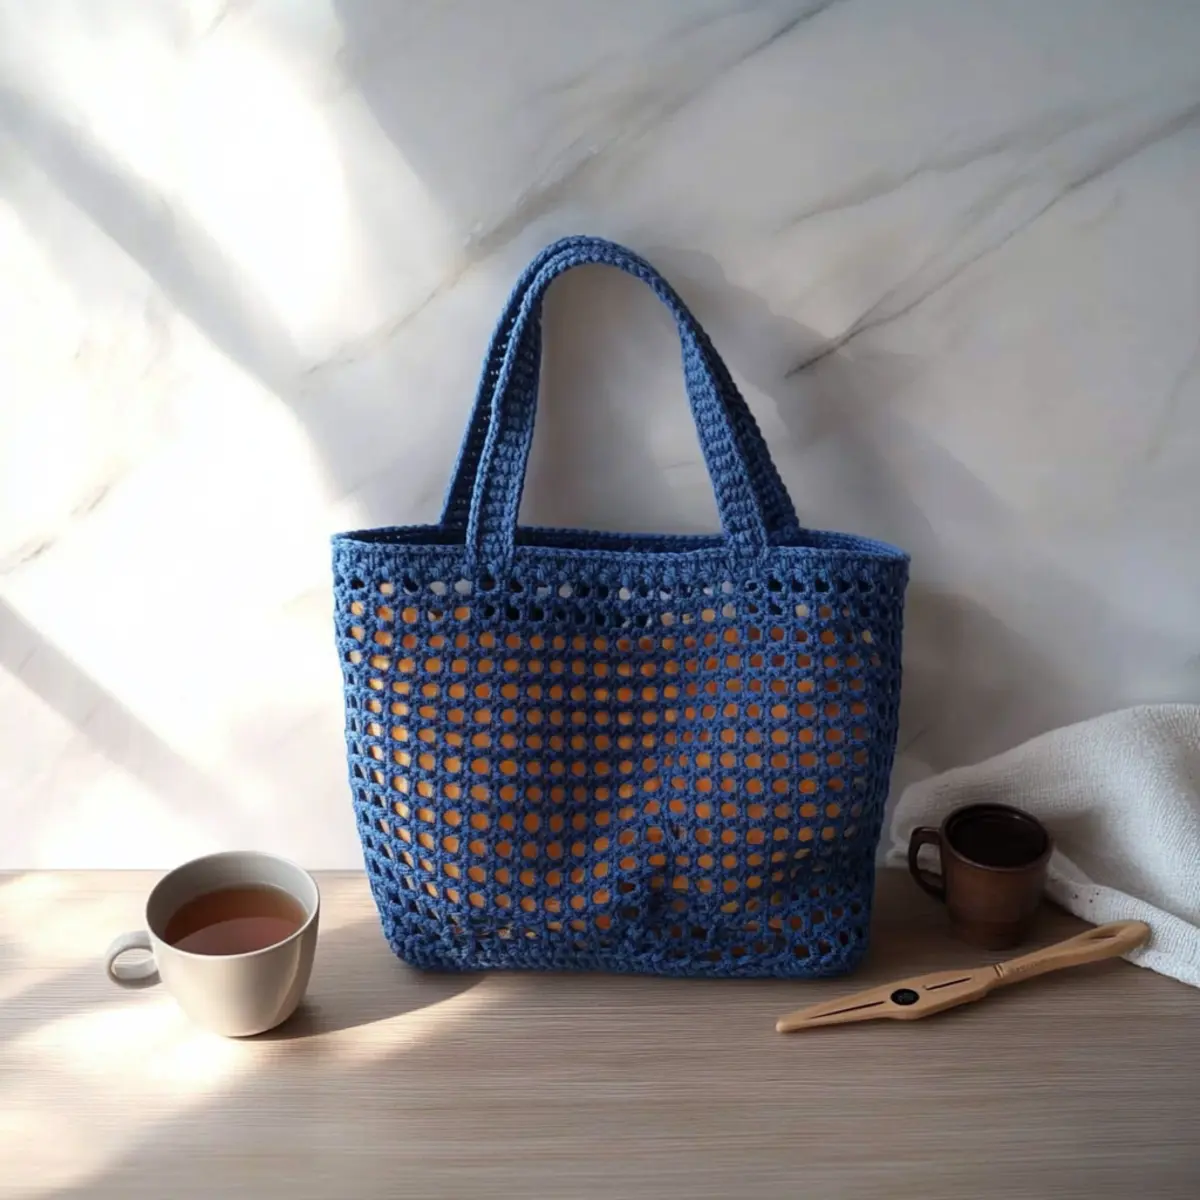
Beginner-Friendly Free Crochet Mesh Tote Bag Pattern FAQs
Can I use a different yarn than what’s suggested?
Absolutely! While this pattern calls for medium weight yarn (Category 4), you can substitute it with other yarns like cotton or acrylic. Just keep in mind that the thickness of your chosen yarn may affect the final size and drape of the bag. If you’re unsure, I recommend doing a gauge swatch first to find the right fit for your hands and style!
How can I make the tote bag larger or smaller?
To customize the size of your mesh tote bag, simply adjust the foundation chain based on the width you desire. For instance, if you want a larger bag, add more chains in multiples of 3, plus 1. Don’t forget to tweak the height by adding or reducing the number of mesh and solid rounds—you’ll create a perfect fit that meets your needs!
Why does my work keep curling at the edges?
Don’t panic! If your edges are curling like a bowl, it could be due to tension issues or not having the correct stitch count. Try to ensure that your tension is even throughout your work, and check your stitch count at the end of each round. This is a common issue, especially for beginners, so take a little time to adjust your technique.
What hook size should I use for this pattern?
For this bag, you’ll need a 5.0 mm (H-8 US) hook, which is perfect for creating an airy feel. If you’re using a thicker or thinner yarn, you might want to adjust your hook size accordingly. The goal is to achieve a nice mesh texture, so always feel free to experiment to find what works best for you!
How do I fix dropped stitches?
It’s an easy fix! When you find a dropped stitch, gently pull on the yarn to unravel the stitches back to the drop. Then, using your hook, insert it back into the correct stitch, being careful to keep your tension consistent. If you’re feeling uncertain, taking a moment to watch video tutorials can be super helpful to visually grasp the technique.
Can I add other stitch patterns to this bag?
Absolutely! This pattern welcomes creativity. You can integrate stitch patterns like half-doubles or shells for added texture. Just make sure to keep your alterations compatible with the overall tension of the bag to maintain its structure. Experimenting with these patterns can give your tote bag a unique flair that’s all your own!
Leave a Reply