
The moment I picked up my crochet hook to create this charming crochet flower bouquet, I felt an invigorating sense of enthusiasm wash over me. Each stitch felt like a step closer to crafting something delightful, a medley of color and texture that I could display or gift. This project not only serves as a captivating decoration, but it also offers the benefit of being an everlasting keepsake. Unlike real flowers that wilt and fade, this bouquet brings lasting beauty to any space, inviting warmth and joy. Plus, it’s a fantastic way to bust your yarn stash! The ability to customize the flowers in colors that resonate with your personality or match a specific season adds an extra layer of charm. As I dove into the world of amigurumi, I found each flower carried its own character and story, waiting to bloom into a unique masterpiece. Now, aren’t you curious about how to bring this whimsical creation to life?
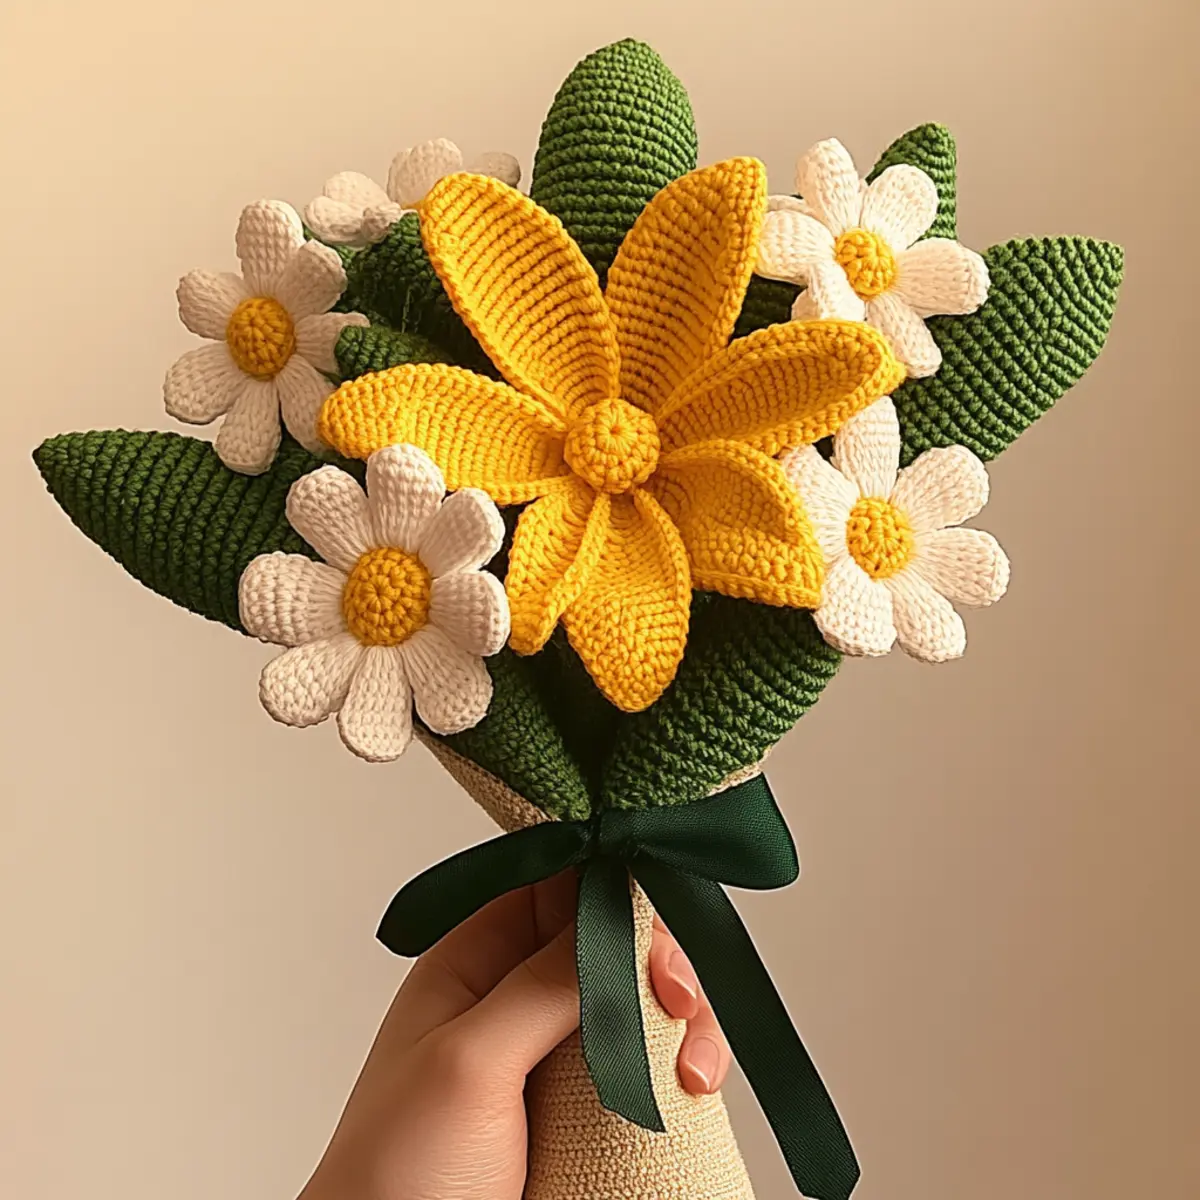
Crochet Flower Bouquet Materials & Tools
Yarn
— Use medium-weight yarn (category 4) in cotton or acrylic for both durability and aesthetic appeal. Aim for about 200-300 yards in a variety of colors like yellow for lilies, white for daisies, and green for leaves.
Crochet Hook
— A 4.0 to 5.0 mm (G-H) crochet hook is ideal for shaping your crochet flower bouquet.
Notions
— Don’t forget a yarn needle for weaving in ends and safety eyes for added realism. A pair of scissors will be essential for crafting clean finishes, and a decorative ribbon can be added to wrap your bouquet beautifully.
Extras
— Consider experimenting with softer yarn types for a plushier bouquet or adjusting the size of flowers for varied aesthetics; mini bouquets can serve as adorable decor!
Why You’ll Love This Pattern
Simplicity is key with this crochet flower bouquet. The straightforward techniques needed, such as single and double crochet, make it accessible for crafters of varying skill levels. Endless customizability ensures that you can personalize each flower with your favorite colors, reflective of the seasons or special occasions. This project is a perfect stash-buster, allowing you to use up that leftover yarn while creating something beautiful. The aesthetic appeal of a vibrant bouquet adds color and charm to any room, making it more inviting. Plus, the time-saving nature of this pattern means you can whip up a stunning bouquet for a quick gift or a special occasion. If you’re interested in similar projects, why not check out this Cute Customizable Crochet pattern or explore the delightful Crochet Tulip Flower pattern? With this bouquet, you’re not just crocheting; you’re creating memories.
Gauge & Sizing Notes for Crochet Flower Bouquet
Checking gauge is crucial for your crochet flower bouquet to ensure your flowers and leaves maintain the expected size and shape. Aim for a standard 4×4 inch (10×10 cm) gauge with 16 dc and 12 rows to create a cohesive look. If your tension doesn’t match these numbers, adjust your starting chains or rounds accordingly to resize your flowers. For instance, adding 2 extra chains will give a slight increase in flower diameter. Should your swatch look off, you might need different hook sizes or yarn brands; choosing a thicker yarn will make your flowers larger, while a finer yarn can achieve a more delicate look. Remember, achieving the right gauge with your crochet flower bouquet results in a polished final product, enhancing its charm and suitability as a keepsake gift.
Step-by-Step Pattern for Crochet Flower Bouquet
Row 1: Lily Petals Start Begin with a magic ring (MR) and ch 3 to form your first petal. Work 10 dc into the MR, then pull tight to close the ring. (10 dc)
Row 2: Shape Petal Edges Ch 1 and sl st into the first dc for a rounded shape. Repeat this technique for each petal, creating a total of 6 petals around the MR. (6 petals)
Row 3: Daisies Start Create the center of the daisy using 6 sc in a MR. Pull tight to secure and turn the work over. (6 sc)
Row 4: Daisy Petals To form petals, ch 3 and inc in center with 2 dc, ch 1, and sl st back into the center; repeat this step for each of the 5 petals. (5 petals)
Row 5: Assemble Flowers Attach the lily and daisy flowers to a single stem using a long sc. Make sure to stitch tightly so the assembly holds firm. Aim for balance in flower placement for visual harmony. (1 stem)
Row 6: Create Leaves For each leaf, start with a ch of 10, then dc in the 4th ch from the hook. Work additional dc into each ch until you reach the end for a nice ribbed effect. (10 dc)
Row 7: Leaf Shaping Turn your work and hdc back down the other side of the foundation chain to form a leaf shape. Attach to the stem where desired, overlapping flowers. (1 leaf)
Row 8: Adding Details Use contrasting yarn to thread in eyes or extra enhancements on your flowers for added character. Sew these onto the flowers securely. (2-3 details)
Row 9: Shape Final Look Lightly block the flowers with steam by gently shaping them to open up the petals more. You want the bouquet to have a natural, full appearance. (1 bouquet)
Row 10: Wrap the Bouquet Using a decorative ribbon, carefully tie the stems together for a finished bouquet look. Ensure the flowers are evenly spread out and visually appealing. (1 wrap)
Row 11: Final Details Check Go through your assembled bouquet to make sure everything is tied securely. Adjust flowers as necessary before the final set. (1 final bouquet)
Row 12: Personalize Your Bouquet Feel free to experiment with different color combinations or additional flower types like roses or tulips for a varied bouquet. This can help match decor themes or seasonal preferences. (1 personalized bouquet)
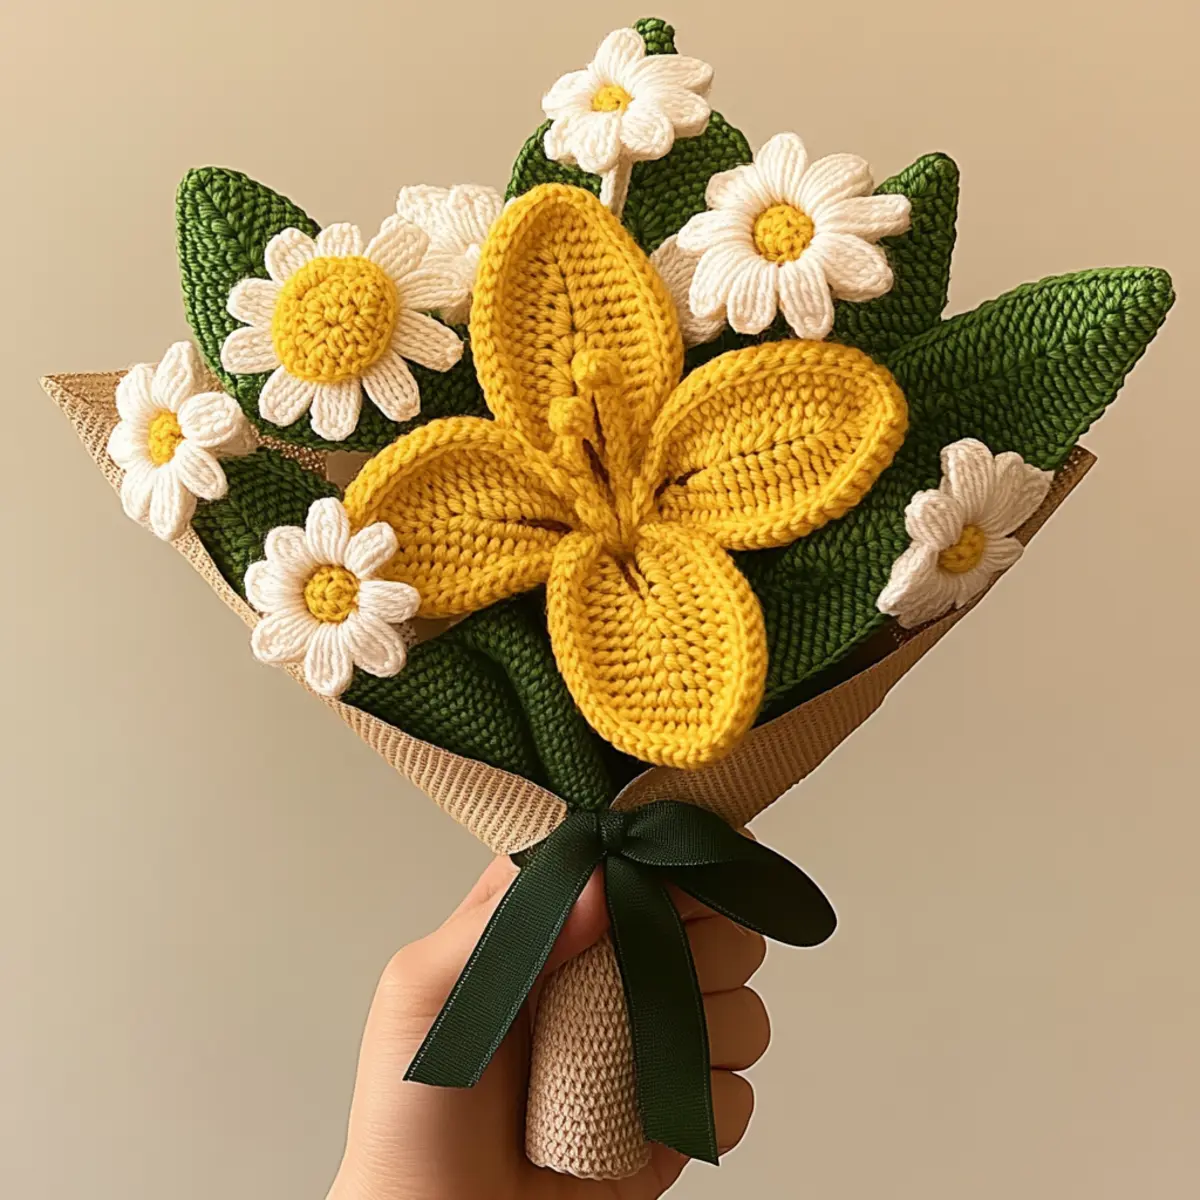
Expert Tips for the Best Crochet Flower Bouquet
Keep Tension Consistent: Maintaining even tension prevents inconsistencies in flower shape. Use stitch markers to help track your position in rounds.
Check Your Count: Regularly verify your stitch count to avoid losing track, especially during multi-round constructions. This can save you from late-game unraveling!
Avoid Twisted Chains: To prevent twists in your foundation chain, lay it flat as you work. Checking for twists at each stitch ensures an easier assembly.
Balance Assembly: Regularly step back and assess your flower arrangement as you build the bouquet. It’s much easier to adjust before securing everything with ribbon.
Steam Block Flowers: Lightly blocking your flowers helps them hold their shape better and enhances their appearance by creating an open petal effect.
Use Color Variations: Experiment with your yarn colors to bring out the unique personality of your bouquet. Choose seasonal colors for added flair.
Crochet Flower Bouquet Variations
Feel free to customize your crochet flower bouquet to match your style or occasion!
- Color Choices: Experiment with your favorite colors or seasonal palettes for a dynamic look. Pastels for spring and deep hues for autumn can change the bouquet’s mood.
- Yarn Types: Swap medium-weight yarn for softer alternatives like alpaca blend for a fluffier finish. This adds a cozy texture that’s perfect for gift giving.
- Size Adjustments: Scale down the flowers to create mini bouquets ideal for table centerpieces. Alternatively, larger blooms can make a bold statement in any room.
- Extra Flower Types: Include different flowers such as roses or tulips for added variety. Each flower can tell a different story; combine them for an enchanting effect.
- Detailed Embellishments: You can enhance your bouquet with beads or wire accents, adding a touch of elegance or whimsy depending on the desired aesthetic.
- Textured Leaves: Instead of plain leaves, use textured stitches such as post stitches or popcorn stitches to elevate their look. This creates a delightful contrast against the flat petals.
- Theme-Based Colors: Target specific themes like winter white for holidays or bright neons for summer parties. Seasonal bouquets make perfect decorations for various occasions.
By experimenting with these variations, you can create a truly unique crocheted keepsake that reflects the personality of the recipient. Explore more cute and customizable crochet projects to expand your crafting repertoire!
How to Wash and Care for Your Crochet Flower Bouquet
Machine Washing: Use a gentle cycle and cold water; avoid using fabric softeners to preserve the yarn’s texture and color integrity of your crochet flower bouquet.
Hand Washing: Fill a basin with cool water and mild detergent, gently agitate. Rinse thoroughly to avoid residue catching on flower petals or yarn.
Drying: Lay your bouquet flat on a towel and reshape it if necessary. Avoid hanging to prevent stretching or distortion of flower shapes.
Storage: Keep your bouquet in a dry, cool place away from direct sunlight to maintain color vibrancy and structure.
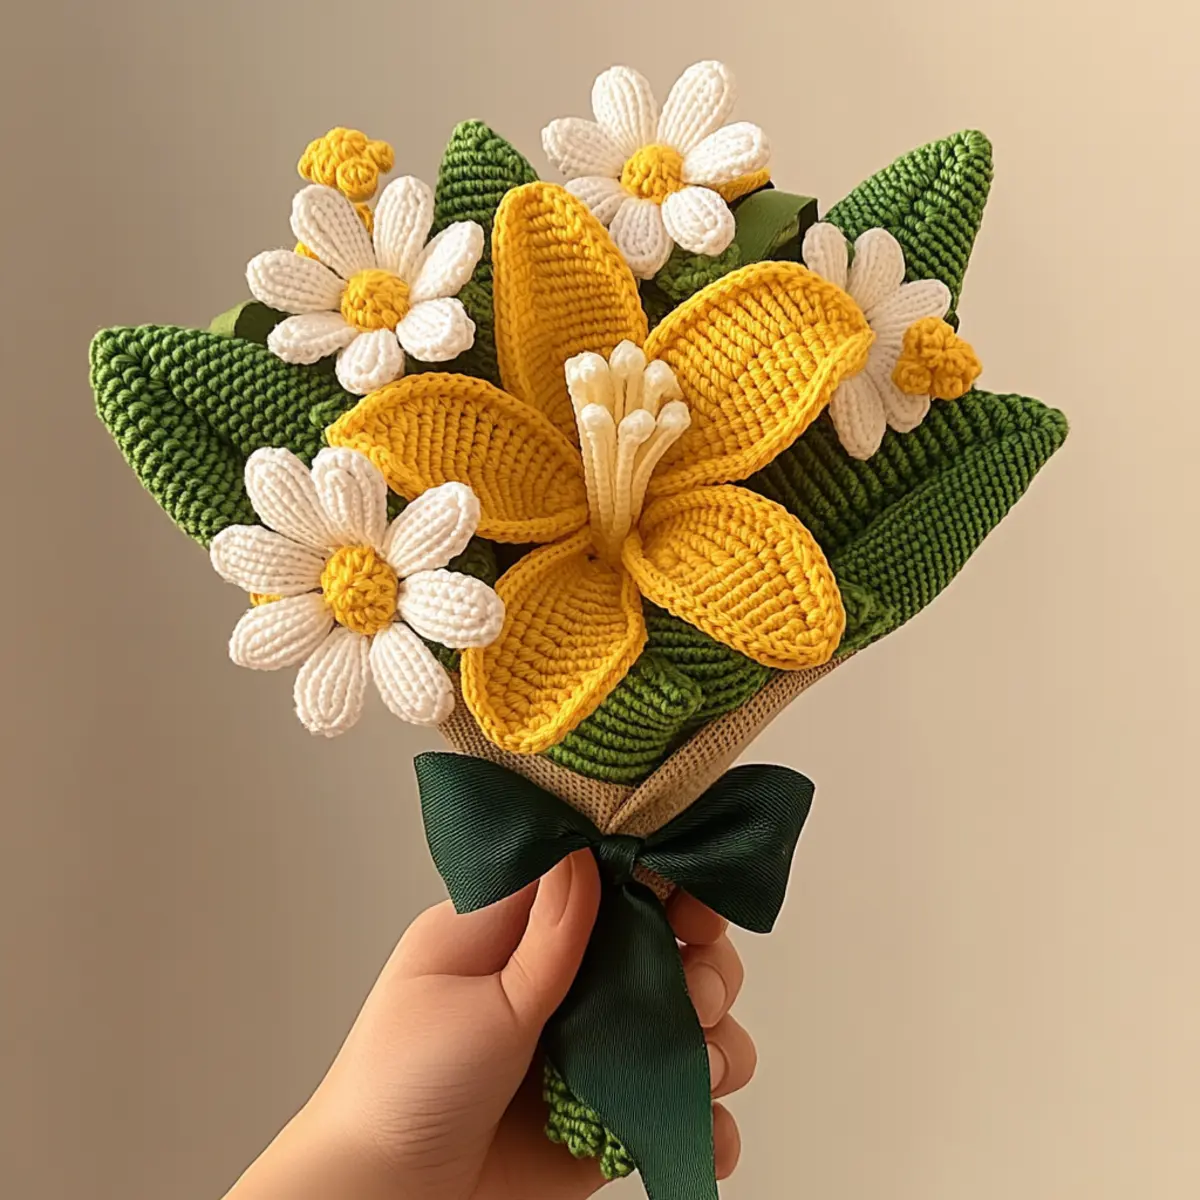
Crochet Flower Bouquet FAQs
Can I use different yarn types?
Absolutely! You can substitute with various fibers, like wool or bamboo, for different textures. Just adjust your hook size accordingly for the best results.
How do I adjust the size of my bouquet?
You can make larger or smaller flowers by modifying the number of rounds or stitches. Mini bouquets are lovely for table decor, and you can personalize them to suit your space.
What do I do about curling petals?
Don’t panic! Curling petals are common in crochet. Steam-blocking can help reshape them, giving a more polished look to your bouquet.
What if I drop a stitch?
If you drop a stitch, simply undo a few stitches back to the last secure point, and carefully rework the stitch back in. Regular counting can help catch this early.
What hook size should I use?
A 4.0 to 5.0 mm (G-H) hook is recommended for standard medium-weight yarn. Check your gauge to ensure consistent flower dimensions.
How do I add more flowers to my bouquet?
You can always incorporate more flowers into your arrangement! Just follow the same assembly methods, ensuring the additional flowers are well-constructed and securely attached for a fuller look.
Leave a Reply