
As I was sipping my morning coffee, the bright colors of spring were starting to peek through my window, inspiring me to bring a touch of that joy indoors. Enter the charming crochet tulip flower—a delightful and customizable decoration that captures the essence of blooming blossoms in a way that lasts. This beginner-friendly pattern works up quickly, making it the perfect stash-buster for those vibrant yarns you’ve been saving. Plus, there’s no sewing involved! Whether you choose to showcase your tulips in a vase or incorporate them into a floral arrangement, the cozy charm they bring will elevate any room. Ready to create your own garden of delightful tulips? Let’s get stitching!
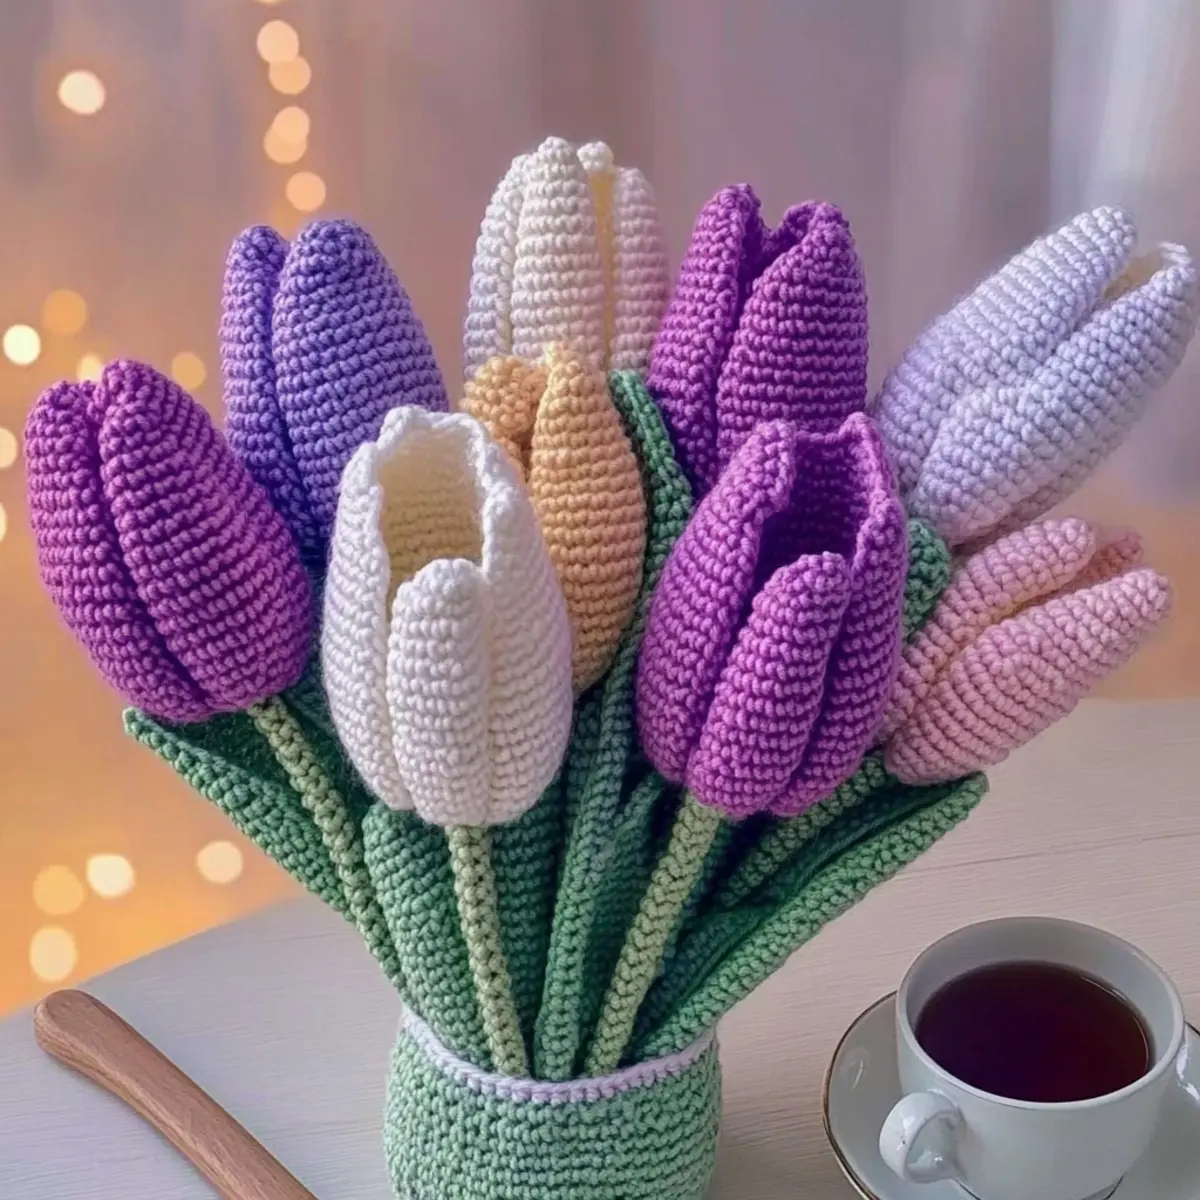
Tulip Flower Materials & Tools
Note: Gather these supplies to start crafting your charming tulip flower!
Yarn
• Worsted Weight (4) Yarn – Use acrylic or cotton yarn in your favorite spring colors for vibrant tulips; about 50-100 yards needed per flower, depending on size.
Tools & Notions
• 4.0mm (G/6 US) Hook – A standard size for worsted weight yarn to help you achieve the best tension.
• Stitch Markers – Perfect for tracking your stitch counts or rounds, making your project smoother.
• Tapestry Needle – Essential for weaving in ends or sewing together your tulip’s components effortlessly.
• Floral Wire (Optional) – Use this for creating bendable stems, giving your tulips a realistic touch if desired.
Why is this tulip pattern perfect for you?
Charming Design: The lovely tulip shape effortlessly adds a whimsical touch to your home decor.
Beginner-Friendly: No previous crochet experience? No problem! This pattern is simple and easy to follow.
Customizable Colors: Mix and match your favorite yarns for endless design possibilities that suit any season.
Quick to Craft: With minimal yardage required, you’ll have a beautiful bouquet in no time!
Versatile Use: Perfect for vases or as part of a larger floral arrangement, these tulips can brighten up any space. If you’re looking for more versatile projects, check out our other springtime patterns.
Gauge & Sizing Notes
Don’t skip the gauge swatch! Even though the charming crochet tulip flower is a decorative piece, checking your tension ensures your petals turn out just right. Aim for approximately a 4×4 inch (10×10 cm) square, which should measure 12 stitches by 10 rows with worsted weight yarn and a 4.0 mm (G/6 US) hook. If you want to make your tulip larger or smaller, adjust the petal section by increasing or decreasing rounds. If your swatch is too tight, simply try going up a hook size. Remember, a little attention to gauge makes crafting this beautiful tulip flower all the more rewarding!
Step‑by‑Step Pattern for Charming No-Sew Crochet Tulip Flower
Row 1: Creating the Flower Base
Start with a magic ring. Work 6 sc into the ring, pulling the yarn tail to tighten the circle. Join with a sl st to the first sc to form a round. Your work should feel compact, creating a solid base for your tulip flower (6 sts).
Round 2: Forming the Petals
Begin Round 2 by chaining 2 (this counts as your first dc). Into the same stitch, crochet 2 dc, followed by 2 more dc in each stitch around (6 petals total). Join with a sl st. You should see the petals starting to form, creating a lovely tulip shape (12 sts).
Round 3: Expanding the Petals
In this round, chain 2 (counts as 1 dc). Work 1 dc, inc in each stitch around, doubling the petal count as you go (12 petals total). Join with a sl st to the first dc. Your petals will begin to look fuller and more pronounced, showcasing the tulip’s beauty (24 sts).
Row 4: Petal Shaping
For added dimension, chain 2 (counts as 1 dc). Work dc in the next 2 sts, dc2tog across the round, which will help shape the petals. This will help refine the flower’s delicate look while still increasing slightly as needed (18 sts).
Row 5: Preparing for Leaves
To finish the flower part, simply slip stitch into the next two stitches and fasten off. Weave in your ends securely. The tulip flower should now have a lovely depth, with defined petals that look ready to bloom.
Step 1: Creating the Leaves
Using a new green yarn, chain 10. In the 3rd chain from the hook, work 1 dc, then 1 hdc in the next chain, followed by 5 sc in the next stitches. In the last two chains, make 1 hdc and 1 dc. Your work should look like a tapered leaf (1 leaf completed).
Step 2: Attaching the Leaves
Position the leaf at the base of your tulip flower. Use a tapestry needle to sew the bottom of the leaf to the flower securely, ensuring the leaf bends gently. You can make multiple leaves if you prefer, giving the tulip a fuller look.
Step 3: Final Touches
Optionally, add floral wire to the base of the tulip for flexibility in positioning. Cut a length that suits your vase or display. Insert it carefully into the crochet stem, securing with additional yarn if necessary, to achieve a natural look for your gorgeous spring tulip decoration.
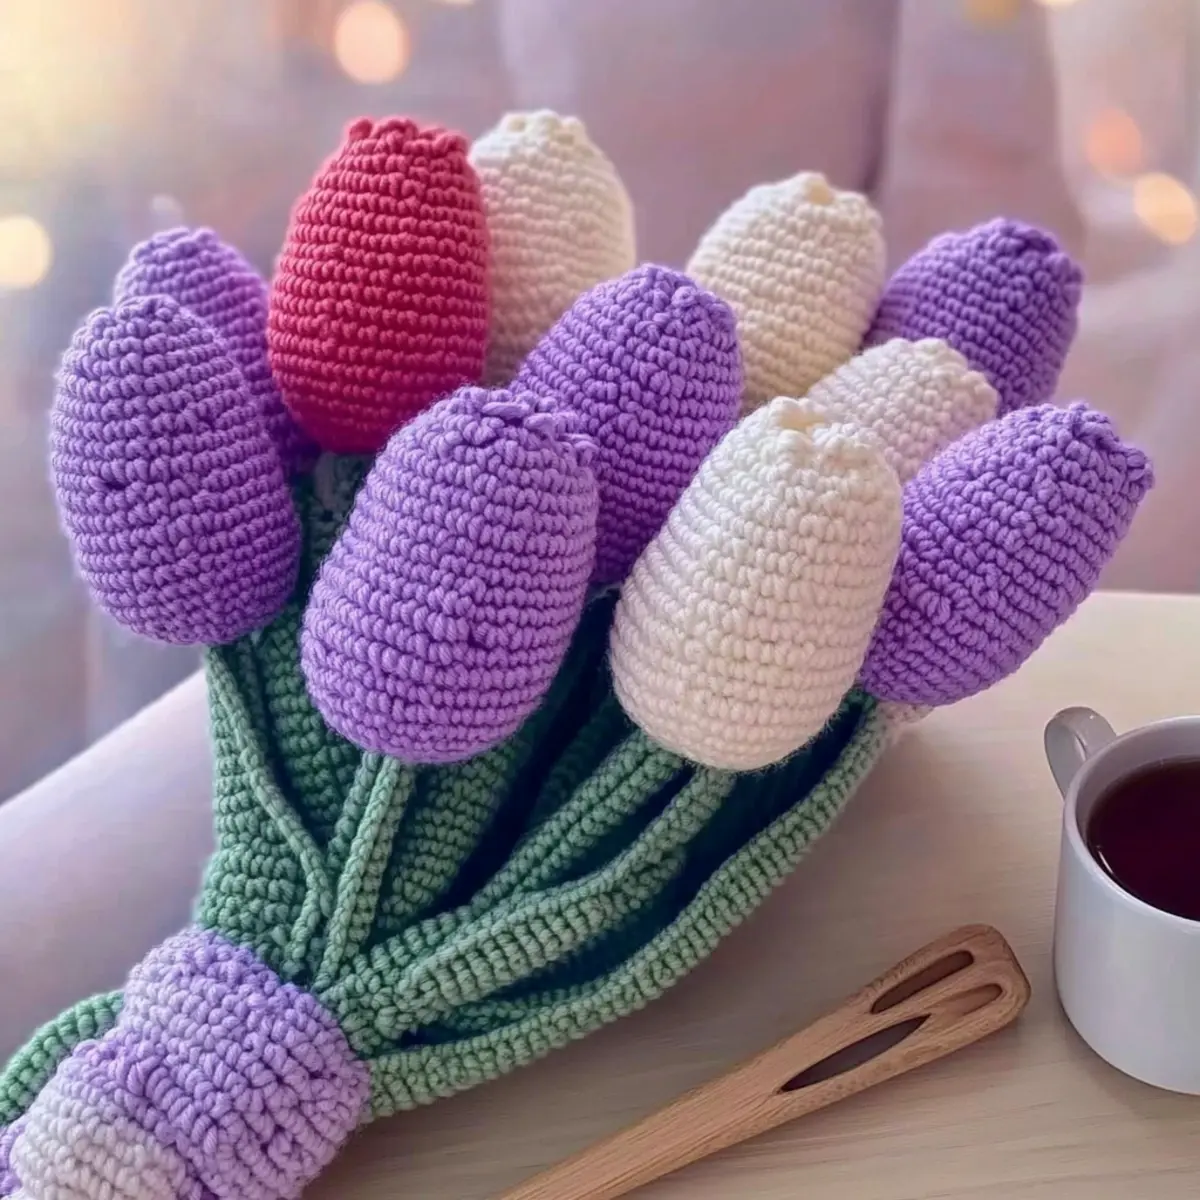
Crochet Tulip Flower Variations
Let your creativity blossom with these delightful variations for your tulip flowers!
-
Yarn Weight Swaps: Opt for lighter or heavier yarn to create tulips in varying sizes. A lighter yarn produces petite blooms, while a heavier weight amplifies dimension.
-
Fiber Alternatives: Try using cotton for a more natural look or stay with acrylic for vibrant colors. Each fiber lends a unique feel and drape to your tulips.
-
Color-Blocking Ideas: Embrace a multi-colored tulip by using color-blocking techniques. Combine two or three shades by changing colors for each petal row, making a dazzling statement.
-
Leaf Sizes: For a whimsical twist, make wider leaves for a fuller flower or skinny leaves for daintier blooms. Adjusting the leaf size offers a new personality to your tulips!
-
Textured Touches: Add pom-poms to the tips of your tulip petals for a fun, playful vibe. A fringe or border stitch can add a delightful finishing touch as well!
-
Sizing Adjustments: Modify your tulip flower size easily by increasing or decreasing the number of rounds in the petal section. Create a whole garden of tulips in assorted sizes!
-
Wire Stems: Incorporate floral wire within the stems to achieve flexible, bendable tulips. This little adjustment allows you to style your flowers with added life and personality.
-
Decorative Bases: Consider crafting a decorative base for your tulips using matching yarn. This small addition can anchor your flowers and make them stand tall in your favorite vase.
Your crochet tulips will bloom beautifully in these variations, so don’t shy away from experimenting! If you want to explore more fun projects, check out our guide on crafting beginner-friendly floral décor.
Expert Tips for Crochet Tulips
- Count Stitches: Consistently check your stitch count at the end of each round to maintain the tulip’s shape. Losing track can lead to uneven petals!
- Adjust Tension: If your petals aren’t soft and draping as desired, consider using a larger hook size or adjusting your yarn tension for that perfect look.
- Color Choices: Experiment with contrasting colors for a striking tulip effect. Changing colors every few rows creates a fun, striped appearance!
- Leaves Stability: When attaching leaves, ensure they are secured tightly to the base to prevent flopping. Use floral wire to give them a bendable, sturdy feel.
- Final Touches: After assembly, gently shape your petals and leaves for that lifelike charm. A cozy crochet tulip should bring a smile with its realistic appearance!
How to Wash and Care for Your Crochet Tulip
- Hand Washing: Gently hand wash your crochet tulips in cold water with mild detergent to preserve their colors and shape. Avoid twisting or wringing to minimize distortion.
- Drying/Blocking: Lay the tulips flat on a clean towel to dry completely, reshaping the petals and leaves as needed to maintain their charming look.
- Storage: Store your crocheted tulips in a cool, dry place, and avoid direct sunlight to prevent fading. Keep them in a breathable bag to retain their fresh appearance.
- Avoid Machine Washing: Avoid machine washing to preserve the integrity of the yarn used in your adorable crochet tulips.
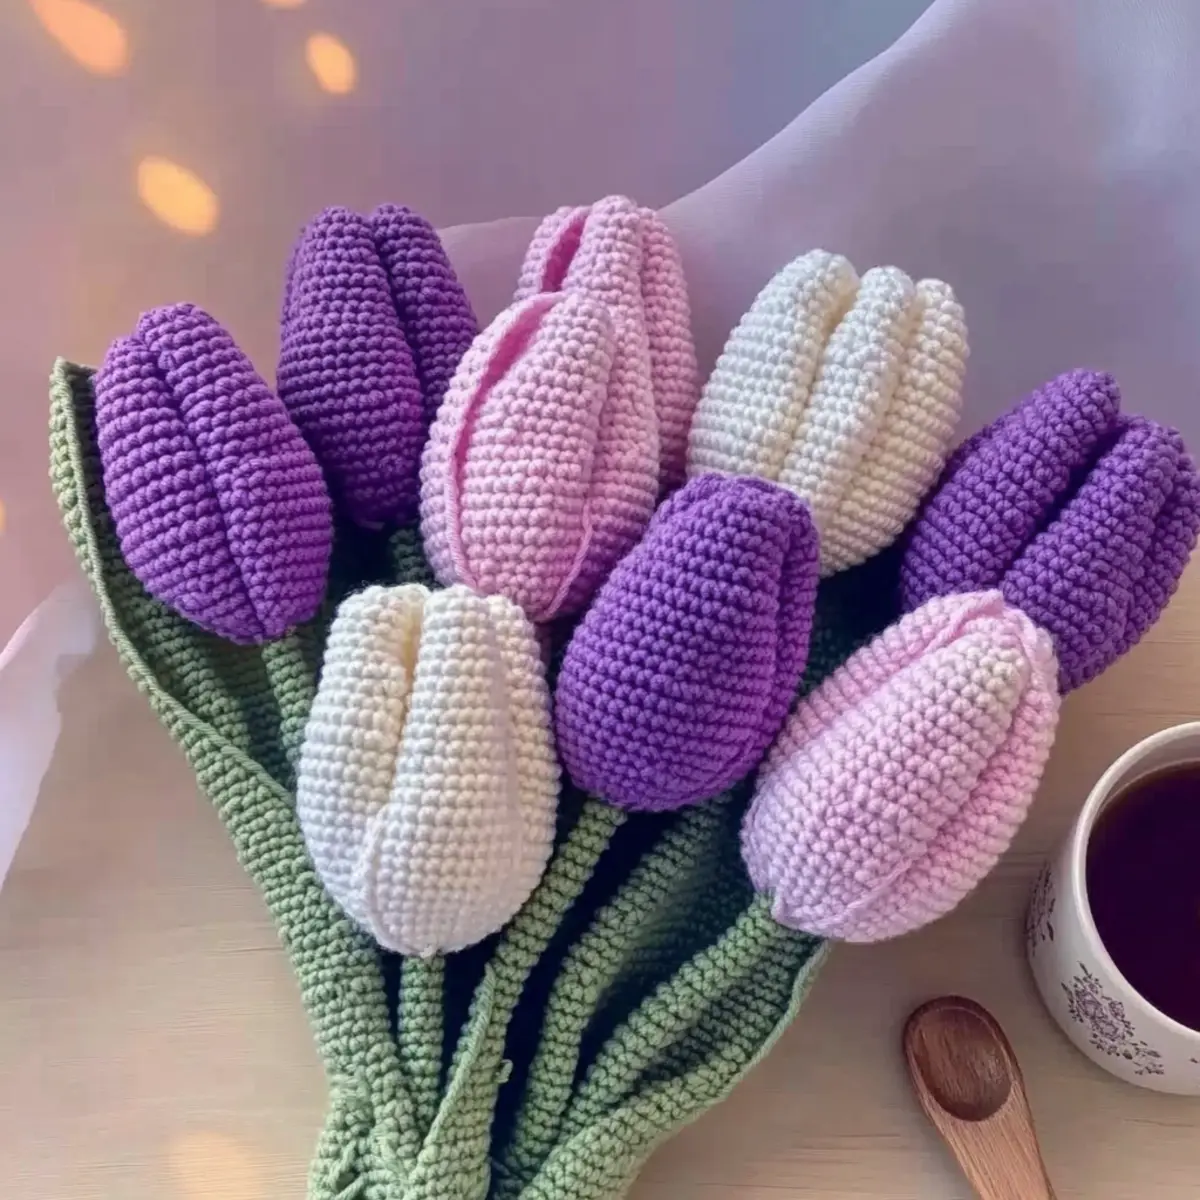
Charming No-Sew Crochet Tulip Flower for Spring Decor FAQs
Can I use cotton yarn instead of acrylic for this tulip pattern?
Absolutely! While this pattern is designed with worsted weight acrylic or cotton yarn in mind, you can swap them freely. Just keep an eye on your tension, as cotton yarn may lead to a sturdier form that contrasts beautifully with the soft draping of acrylic.
How can I make my tulip flowers larger?
To create bigger tulips, simply increase the number of rounds in the petal section. You can also add more stitches in each round. Remember to count your stitches consistently, and don’t be afraid to experiment until you achieve your desired size!
Why is my tulip flower curling at the edges?
Don’t panic! If your petals are curling upwards, it might be due to tighter stitches. You can fix this by gently blocking your flower—simply lay it flat and lightly dampen it, shaping the petals as you wish. Alternatively, try using a bigger hook to create looser stitches in future projects.
What size hook should I use with my yarn?
For this tulip pattern, a 4.0 mm (G/6 US) hook is recommended. However, if you prefer a softer or firmer texture, adjust the hook size accordingly. A larger hook will give you looser, draping petals, while a smaller hook will create a more structured look.
How do I fix dropped stitches while crocheting?
It’s an easy fix! If you notice a dropped stitch, simply grab your tapestry needle and weave the yarn back into the stitch, following its path. It can be a bit tricky, but take your time—you’ve got this! If it happens frequently, check your tension to see if you’re crocheting too tightly.
Can I change the colors in the middle of my tulip petals?
Absolutely! Mixing colors throughout your petals can create a lovely striped effect. Just make sure that when you change shades, you do it at the end of a round to keep your stitches tidy. It’s a fantastic way to show off your color palette and add personality to your tulips!
Leave a Reply