
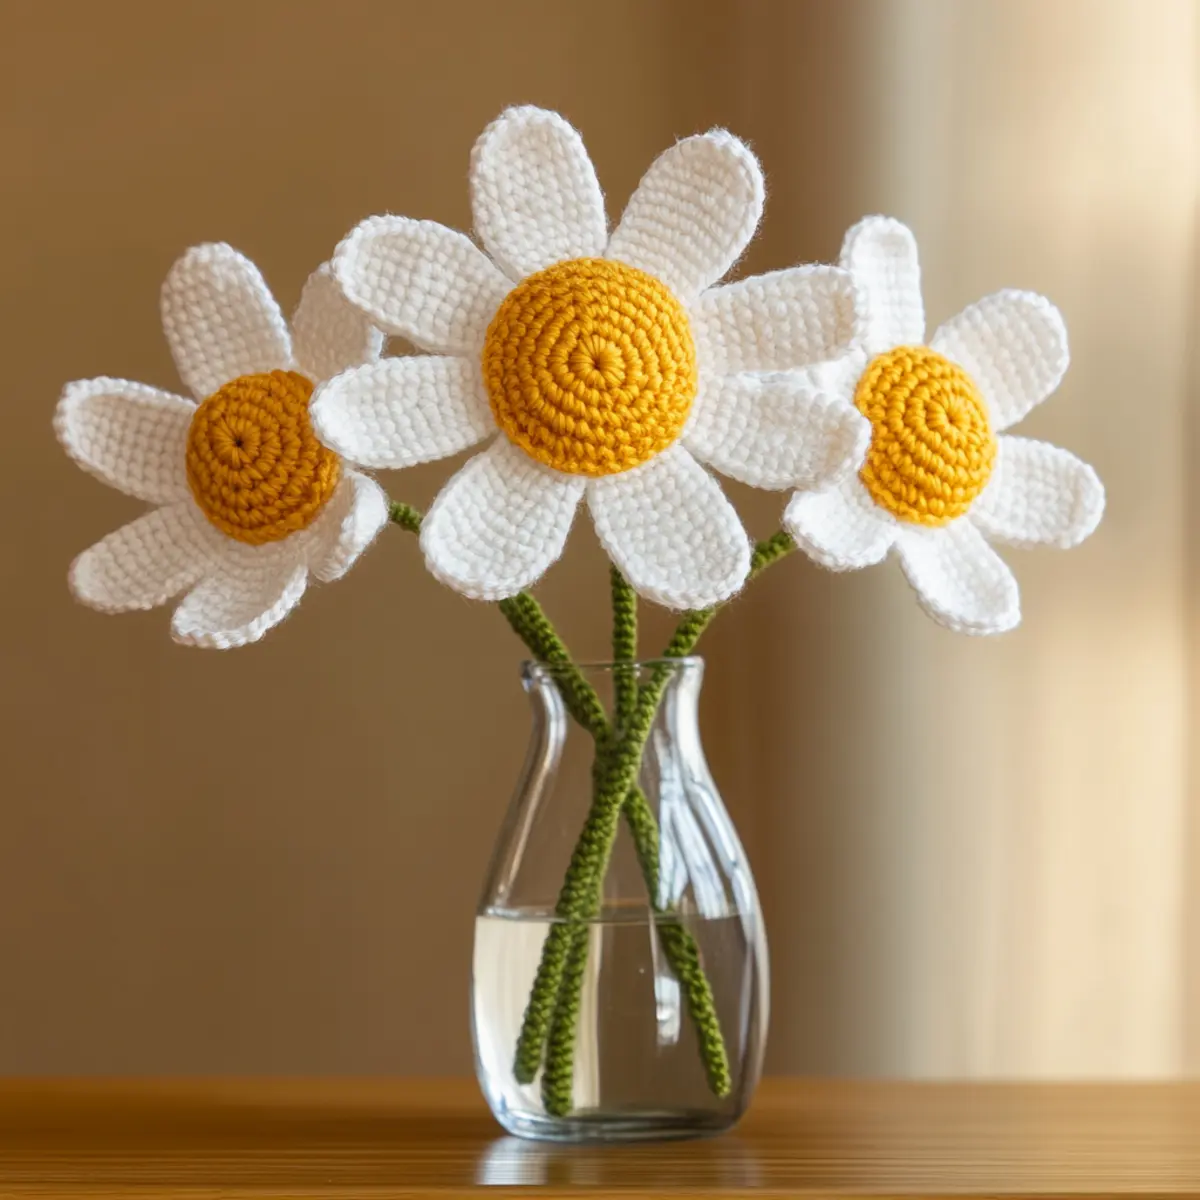
As I sat down to create something fresh and vibrant for my home, I felt that immediate spark of inspiration: a Charming Crochet Daisy Bouquet. This delightful project allows you to showcase your crochet skills with intricate stitches while adding a cheerful touch to your decor. Not only is this crochet daisy pattern maintaining that joyful spring aesthetic year-round, but it’s also a practical stash-buster for all those leftover yarn scraps! Imagine the delight of having a display of beautiful daisies to brighten your indoor space without the upkeep of real flowers. The joy of crafting doesn’t have to end with completion; each time I glance at my finished bouquet, I’m reminded of the possibilities of color and creativity. With this pattern, you’ll feel accomplished and enjoy the charm these flowers bring. What hues will you choose for your own crochet flowers? Let’s dive into the details and see how you can transform your yarn stash into a stunning arrangement that will warm your home.
Crochet Daisy Pattern Materials & Tools
Yarn
- Worsted weight yarn – Use soft cotton in white for petals and yellow for centers; approximately 200 yards total for a full bouquet.
Tools & Notions
- 4.0 mm (G-6) crochet hook – Essential for working within the right gauge for your project.
- Yarn needle – Necessary for weaving in ends and assembling your flowers.
- Stitch markers – Helpful for tracking rounds and maintaining consistent petal shapes. Consider these as part of your essential tools when tackling the crochet daisy pattern.
Why You’ll Love This Pattern
Simplicity and beauty make this crochet daisy pattern a standout project. Quickly bring home the cheerful essence of spring with a bouquet that doesn’t wilt! Plus, the Beginner Friendly Crochet aspect means anyone can dive into this enjoyable pattern with ease. Customizable to fit your unique style, you can experiment with colors or even mix flowers by incorporating other patterns like the Cute Customizable Crochet. Not only does this project provide a magnificent decor piece, but it also enhances your crochet toolkit by developing your skills with varied stitches. Stash-friendliness is a win-win; you can use up leftover yarn while creating something beautiful. Enjoy the aesthetic appeal as these lovely daisies add a touch of warmth and charm to your living space.
Gauge & Sizing Notes for Crochet Daisy Pattern
Checking your gauge is crucial for achieving perfectly shaped blooms in your crochet daisy pattern. Aim for a standard gauge of 4×4 inch (10×10 cm) and adjust your tension as needed for sc, dc, and other stitches to ensure consistency. If your swatch doesn’t match the gauge, either adjust your hook size or yarn tension to avoid mismatched flower sizes. For resizing, modify the starting chain for stems or include more petals as needed. Each daisy flower will typically measure about 5 to 6 inches across and 7 inches high, providing a cheerful statement as part of your decor. Remember that sizing may vary based on your personal stitch tension; feel free to adapt the pattern to meet your vision for the perfect bouquet.
Step-by-Step Pattern for Crochet Daisy Pattern
Row 1: Creating the Center
Begin your crochet daisy pattern by making a magic ring using yellow yarn. Work (6) sc into the ring and pull tight to close, establishing the center of your daisy.
Row 2: Building Up the Center
Continue with the center in yellow by crocheting 2 sc in each stitch around, resulting in a total of (12) stitches for the next round. This gives your flower center a nice, rounded look.
Row 3: Expanding the Center
For the third round, crochet (1 sc in the next stitch, then inc in the next stitch) around. This should add up to (18) stitches total, allowing your daisy center to grow.
Row 4: Finishing the Center
Next, work (1 sc in the next 2 stitches, then inc) around your center. At the end of this round, you will have (24) stitches. The center is now fluffy and ready for petals.
Row 5: Starting Petals
Switch to white yarn; attach to the top of your center with sl st. To form petals, ch 3, dc in the same stitch, then (dc, ch 2, sl st) in the next stitch. Repeat this for a total of (6) petals; they should elegantly flare out.
Row 6: Petal Round
Now, chain to align with the previous petals, and create a petal structure that makes them alternatingly shorter. You should have (6) beautiful petals seamlessly attached to your daisy center.
Row 7: Create Stems
Using green yarn, begin a simple chain for the stem, making it as long as you wish. Work straight with sl st every 2 chains or so until you reach your desired thickness. This will give your daisy bouquet a sturdy support.
Row 8: Assembling Flowers
It’s assembly time! Carefully sew the petals to the center of your flowers; make sure to secure them tightly so they do not fall apart. Ensure the petals are spreading evenly for a full look.
Row 9: Attaching Stems
Secure each completed flower to its stem by sewing at the base of the flower. Consider using extra yarn or floral tape to reinforce the attachment of the flower to the stem for additional stability.
Row 10: Finishing Touches
Now that your flowers are constructed, you can arrange them in a vase. If needed, secure the flowers with more yarn or even floral tape to create a bouquet that stands beautifully.
Row 11: Blocking for Shape
To finalize your daisy project, consider light blocking. Gently steam the petals while they are laid flat to enhance their shape and structure, keeping your crocheted flowers looking pristine.
Row 12: Display Your Creation
Finally, place your stunning crochet daisy bouquet in a bright spot of your home – a reminder of spring and the joy of crafting. Enjoy your beautiful display, perfect for any cheerful decor ambiance.
Expert Tips for the Best Crochet Daisy Pattern
Tension Matters: Keeping consistent tension is key! Too tight or loose stitches change the daisy’s appearance. Ensure uniformity for a lovely bouquet.
Accurate Counting: Count your stitches as you crochet petals. Miscounts can lead to uneven flowers or even missing petals altogether. Use stitch markers for clarity.
Strong Assembly: Ensure flowers are well-sewn to their centers. A robust connection prevents petals from sagging or falling off, enhancing the overall look of your bouquet.
Blocking Benefits: A light steam blocking can redefine the shape of your daisies. This helps them maintain a nice form that enhances their aesthetic appeal.
Color Coordination: Experimenting with different colors for the petals keeps things interesting! Pink or purple adds personalized charm while sticking to the crochet daisy pattern’s essence.
Yarn Choice: While worsted weight yarn works beautifully for this project, feel free to explore other mediums, like bulky yarn, for larger flowers. Each variation creates a unique impact.
How to Wash and Care for Your Crochet Daisy Bouquet
Machine Washing: If you opt to machine wash, use a gentle, cold cycle to avoid agitating the daisy flowers. Place them in a mesh garment bag for extra protection.
Hand Washing: Hand wash your daisy bouquet in cool water with a mild detergent. Avoid wringing them out to retain their shape as much as possible.
Drying: Always lay your crocheted daisies flat on a clean, dry towel to air dry. This prevents distortion while drying and helps maintain the form of the petals.
Storage: When storing your crochet bouquet, keep it in a cool, dry place. Avoid compressing it under other items to prevent the petals from becoming misshapen.
crochet daisy pattern Variations
Feel free to make this project your own! Customize your daisy bouquet in ways that reflect your unique style and preferences.
- Color Swaps: Experiment with pastel shades like lavender or mint for a modern twist.
- Yarn Choices: Consider using bamboo or linen yarn for a different texture; both offer a beautiful, natural finish.
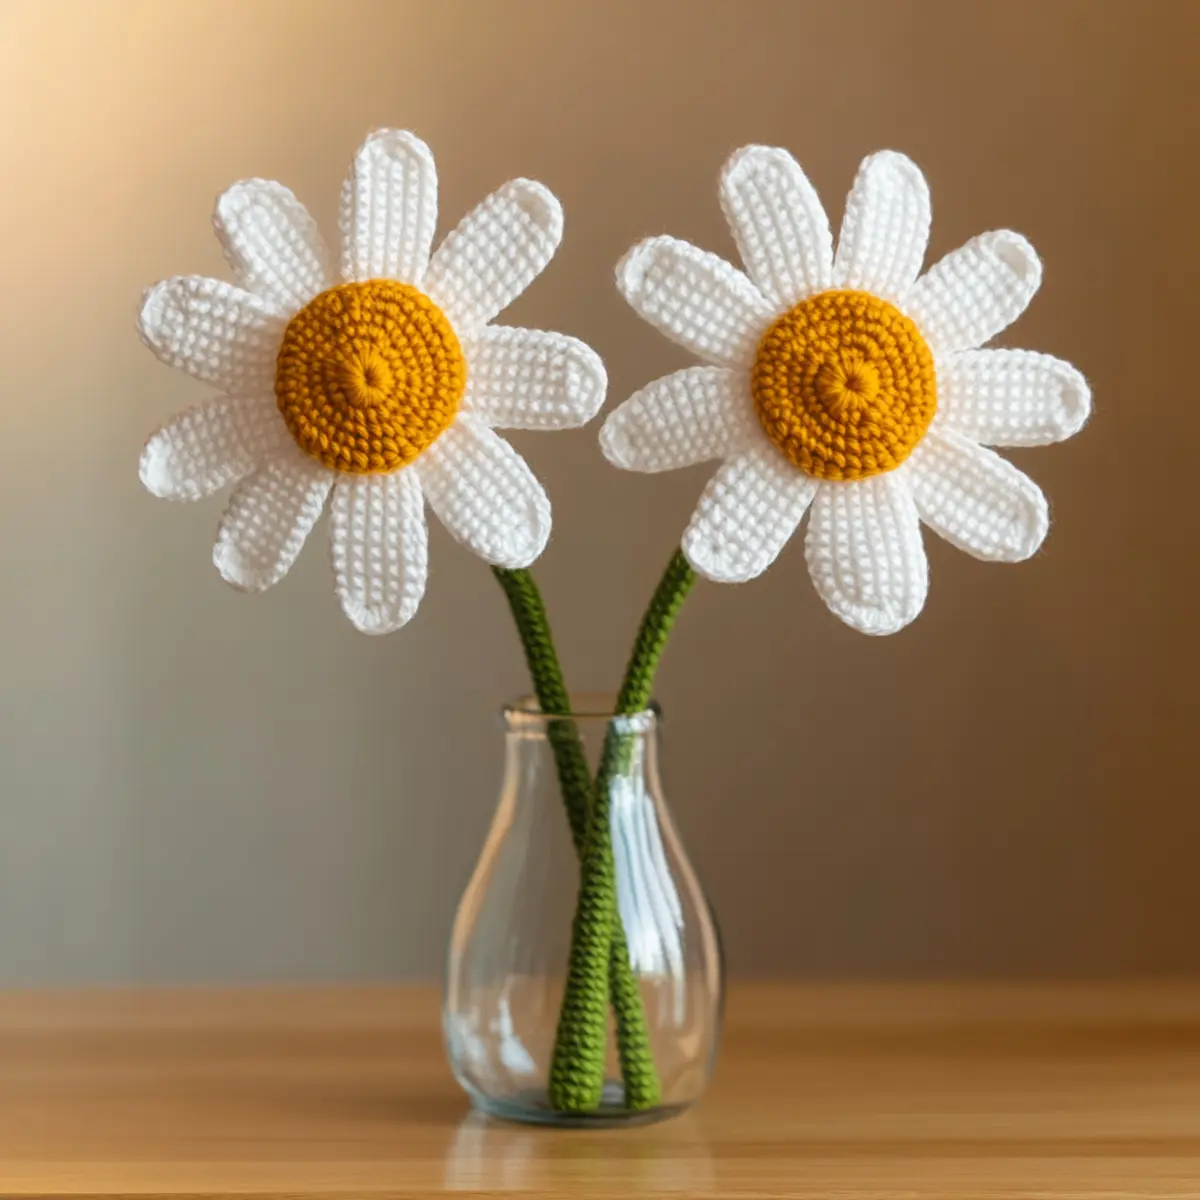
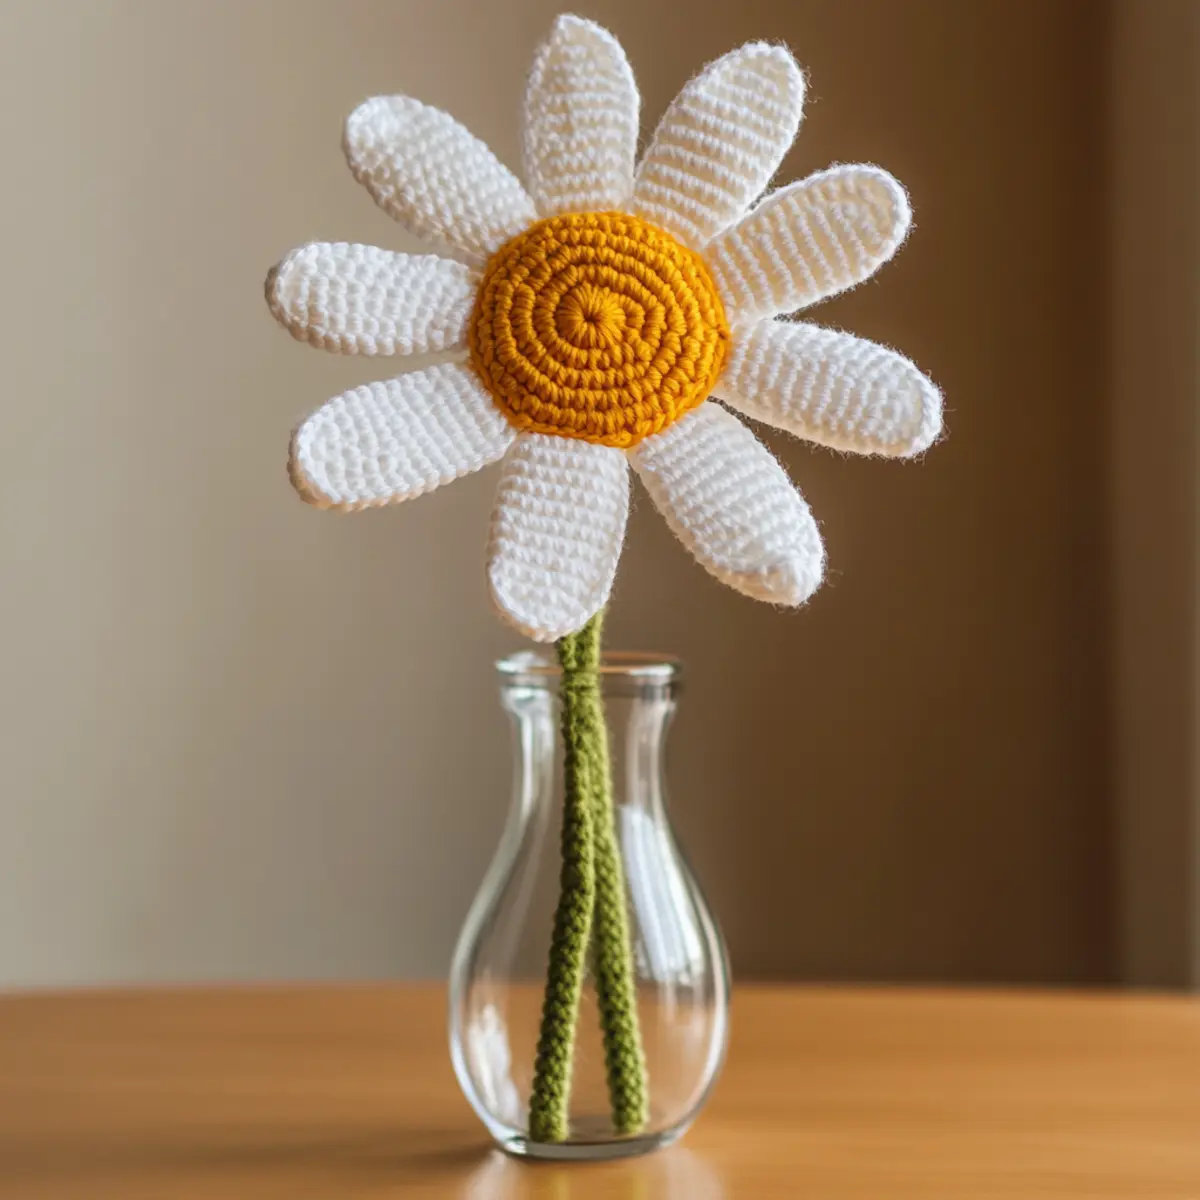
- Bouquet Size: Adjust the number of daisies in your bouquet; a single bloom can also make a lovely standalone piece.
- Petal Shape: To create varied petal shapes, try alternating between longer and shorter petals for a whimsical effect.
- Thicker Stems: For sturdier stems, crochet your green yarn in the round instead of chaining; this adds dimension.
- Mixed Flowers: Integrating other flower patterns like roses or lilacs can create a stunning mixed bouquet that’s visually engaging.
- Seasonal Themes: Think about incorporating seasonal themes. For autumn, use orange and brown yarn for a warm, festive arrangement.
- Stitch Variations: Change the petal stitches by adding shells or clusters for a bolder appearance. This could also involve using different crochet techniques, like bobbles, to enhance stylistic appeal.
Each of these suggestions allows you to express creativity while enjoying the craftsmanship involved in your crochet daisy project. Explore new materials and techniques to find the perfect combination that suits your aesthetic! Check out these Cute Customizable Crochet ideas to get started.
Crochet Daisy Pattern FAQs
Can I substitute yarn for this pattern?
Absolutely! You can use any medium-weight yarn, but ensure it’s soft and retains its shape well. Experiment with cotton blends for varied textures and looks.
How can I adjust the sizing of the daisies?
Don’t worry! To resize the flowers, simply alter the starting chain length for the stems, or add more petals. This way, you can customize your bouquet’s look!
What if my petals curl after I finish?
Don’t panic! Curling petals typically occur from tension issues. Lightly steam blocking can help reshape them. For future petals, maintain consistent tension while crocheting.
What crochet hook size is recommended?
A 4.0 mm (G-6) crochet hook is recommended for this crochet daisy pattern to achieve the best gauge. Adjust the hook size if your tension is off to maintain uniform flowers.
Why are my petals uneven?
It often comes down to stitch counting. Keeping a close eye on your counts and using stitch markers will significantly help in achieving symmetry in your petals.
Can I mix this pattern with other floral patterns?
Absolutely! Mixing in different crochet flower patterns adds personality and diversity to your bouquet. Daisies combined with other blooms create a delightful display.
Leave a Reply