
Creating a crochet dahlia flower is a delightful experience that sparks joy the moment you pick up your hook. The attention to detail in this floral motif adds a touch of nature to your décor, transforming any space into a vibrant oasis. I find that crafting this crochet dahlia flower is incredibly rewarding, especially since it employs simple techniques and uses readily available materials. This project is not only a fantastic stash-buster, but it also allows for creative expression, making it perfect for both beginners and seasoned crafters. The layering effect of the petals adds a stunning visual appeal that captures the beauty of real dahlias. And the best part? You’ll have a gorgeous handmade item to showcase in your home or gift to a loved one. Engage with this pattern and discover the tactile pleasure of working with yarn and watching your creation blossom. Are you ready to dive into this floral adventure?
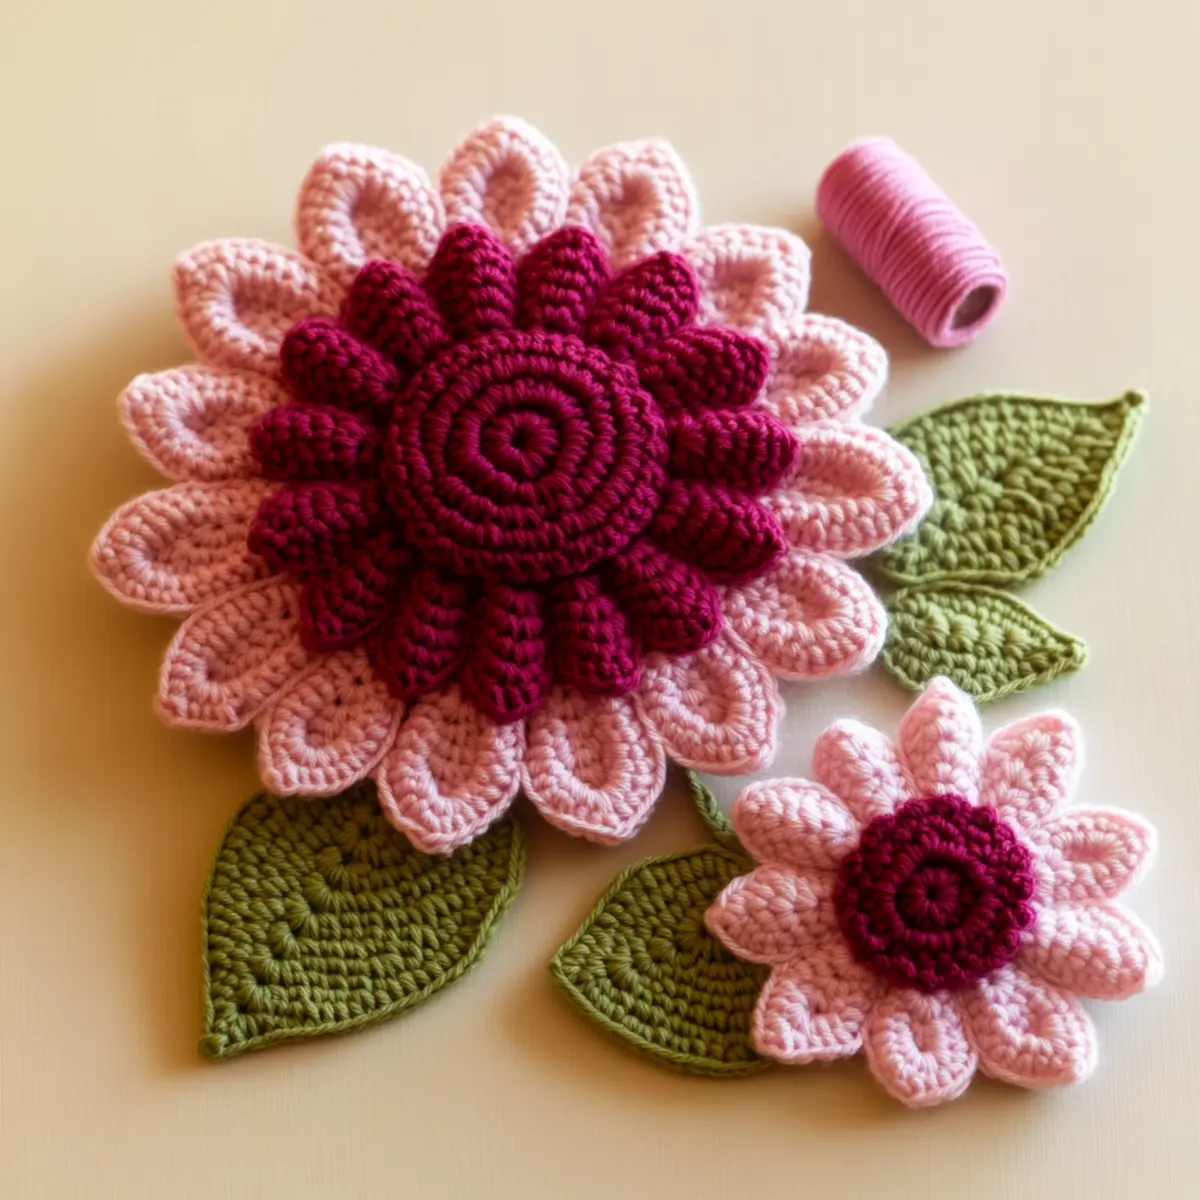
Crochet Dahlia Flower Materials & Tools
Yarn
Worsted weight yarn – Approximately 200-300 yards in various shades of pink, plus contrasting colors for layers. This ensures that your crochet dahlia flower stands out beautifully.
Tools & Notions
3.5mm to 4.0mm crochet hook (E or G) – This size works best for the delicate stitch work needed for the petals.
Stitch markers – Helpful for keeping track of your rounds as you create the intricate layers.
Yarn needle – Essential for weaving in ends and securing the final assembly of your dahlia.
Safety eyes (optional) – If you wish to add a charming character or detail for a unique touch.
Why You’ll Love This Pattern
Simplicity is the heart of this crochet dahlia flower pattern, making it accessible for all skill levels. Each section unfolds effortlessly, allowing you to get lost in the beauty of your stitches. Texture is another standout feature; using alternating stitches creates mesmerizing layers that give depth to your flower. Thanks to its stashed-friendliness, you can easily use leftover yarn from past projects. If you’re looking to experiment, this pattern encourages customizability; change colors or stitch patterns to create unique blooms every time. Plus, it’s a time-saver—you can whip up a stunning piece in just a couple of hours while enjoying a relaxing crafting session. If you like exploring other floral projects, check out Crochet Flowers Delightful or create a cozy feel with the Crochet Flower Pillow!
Gauge & Sizing Notes for Crochet Dahlia Flower
Getting the right gauge is crucial for your crochet dahlia flower to ensure the petals layer correctly and the overall shape looks beautiful. Aim for a standard gauge of 4×4 inches (10×10 cm) to achieve the desired drape. If you find your swatch is coming out too tight, consider using a larger hook to loosen the tension, allowing the flower’s layers to bloom as intended. If you want to resize your dahlia flower, adjust the starting chains or rounds; for a larger flower, incorporate more stitches in the base. Conversely, for a smaller flower, simply reduce the number of fans while maintaining the same stitch pattern for consistency. If your gauge does not match, don’t fret; recalibrate your hook and yarn options as necessary, ensuring a lovely final piece that embodies the charm of a crochet dahlia flower. Such adjustments not only help you create a perfect size but also explore different stylistic choices based on yarn weight and color variations.
Step-by-Step Pattern for Crochet Dahlia Flower
Row 1: Start the Center
Begin by making a magic ring. Working into the ring, make 6 single crochet (sc) stitches, pulling tight to secure the ring closed (6 sc).
Row 2: Increase the Base
In this row, you’ll increase the base of the flower. Make 2 double crochet (dc) stitches in each sc stitch from Row 1. This will give you more volume for your flower (12 dc).
Row 3: Shape the Flower
Continue building the dahlia by alternating between 1 dc in the first stitch and 2 dc in the next stitch. This creates a gentle ruffle as you expand outwards (18 dc).
Row 4: Create Layer 1
Switch to half double crochet (hdc) stitches for more depth. In this round, make 1 hdc in the first stitch, then 2 hdc in the next stitch. Continue in this pattern until the round ends (27 hdc).
Row 5: Increase the Petal Base
Now, work into the dc stitches from Row 2. Make 5 dc in the same stitch to form a fan shape, then skip the next stitch and repeat. This creates the petal shapes for your dahlia (9 petals).
Row 6: Layer the Petals
For this round, continue with your petal fans. Between each fan, make 1 hdc stitch to connect them. This helps the petals maintain their shape and structure as you build your dahlia (9 fans and 9 hdc).
Row 7: Adding Color Accents
If you want to introduce contrasting colors, do so here! Change yarn and repeat the fan stitch pattern from Row 5, ensuring to maintain the fan stitches while mixing up the color (9 petals).
Row 8: Complete the Outer Layer
Work into each of the previous fan stitches again, but now add a layer of texture. Make 3 dc in the same stitch, skip the next stitch, then repeat for an enhanced look (12 fans).
Row 9: Prepare for Assembly
To prepare for final touches, join the last round with a slip stitch (sl st). At this point, you want to check your flower’s shape to ensure the petals are satisfactory (12 fans).
Row 10: Secure the Shape
Use a yarn needle to carefully weave in any loose ends, ensuring that the petals remain intact and the flower maintains its shape. This step is vital for seamless finishing.
Row 11: Attach Leaves (Optional)
If you wish to add leaves to your crochet dahlia flower, start by making a few simple leaf shapes using green yarn. Attach them to the base of the flower using sl st or whip stitches (2 leaves, optional).
Row 12: Final Touches
Steam block the entire flower to help the petals lay flat and enhance the overall appearance. This sets the flower beautifully for any decorating or gifting situation, completing your crochet dahlia flower project!
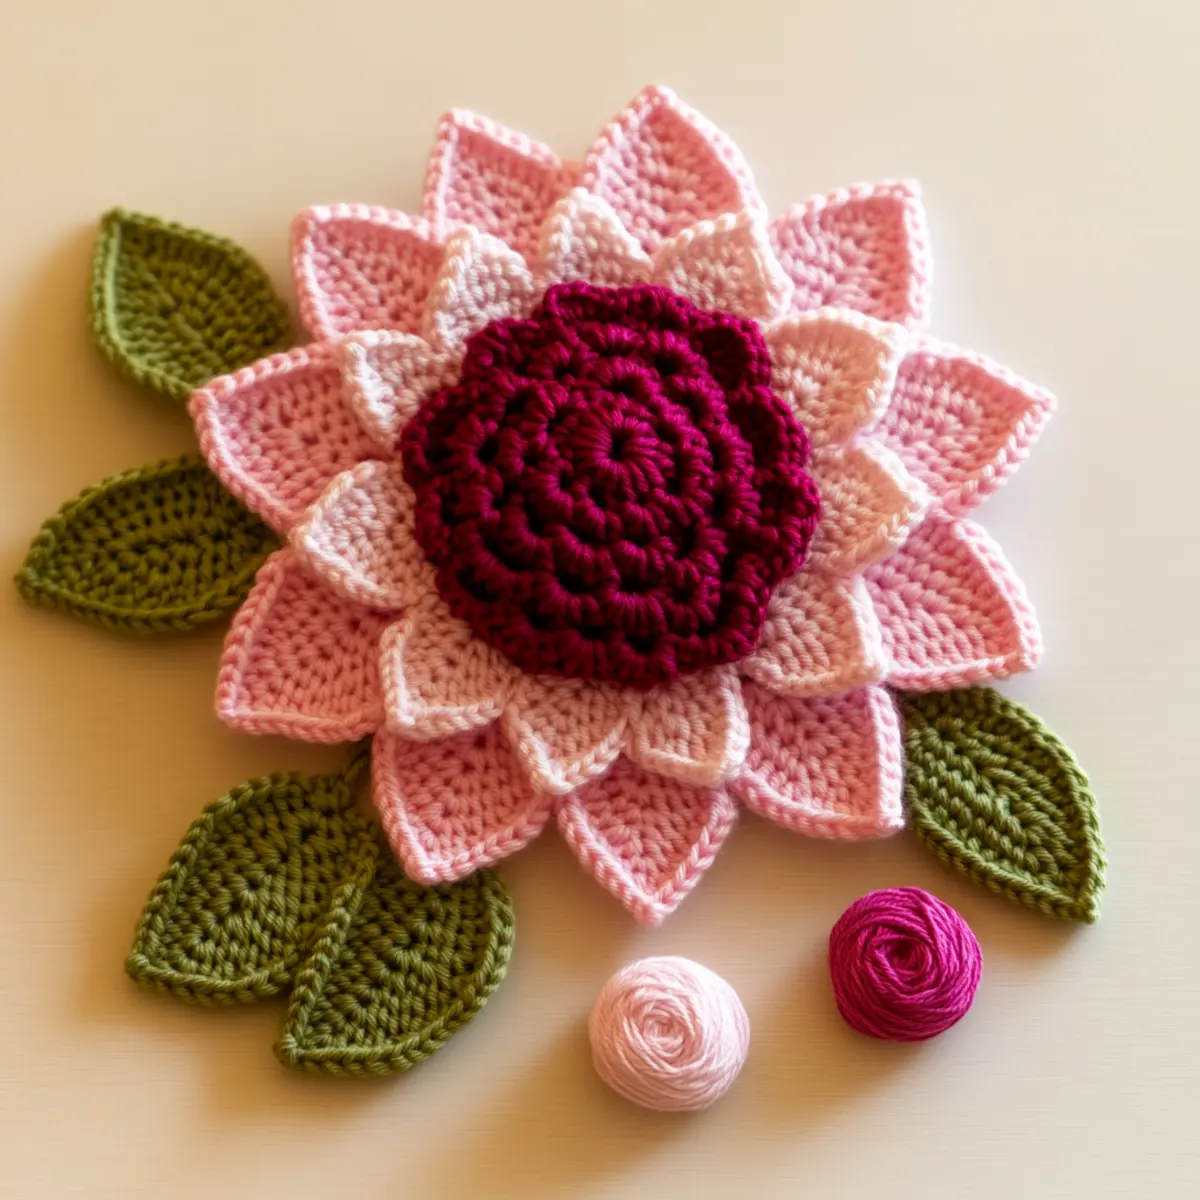
Expert Tips for Crochet Dahlia Flower
Tension Control: Ensure your yarn isn’t too tight for layering; adjust hook size as needed.
Stitch Counting: Keep track of your stitches, especially during color transitions, to avoid losing count and disrupting your design.
Blocking: Always block your finished piece; steam blocking enhances the petals’ appearance and lays them flat for a polished look.
Color Experimentation: Use variegated yarn or multiple shades for dramatic effects; it adds depth and character to your crochet dahlia flower.
Stitch Variation: Introduce different stitches like popcorn or shell stitches to enhance texture and floral appeal in your project.
Safety Check: Reinforce your final assembly to prevent petals from detaching; secure seams tightly while finishing your crochet dahlia flower.
How to Wash and Care for Your Crochet Dahlia Flower
Machine Washing: Use a gentle cycle with cold water; avoid agitation to maintain the dahlia’s structure and shape.
Hand Washing: Recommended for delicate items; gently swish in cool water with mild detergent, then rinse thoroughly to remove soap.
Drying: Lay flat to dry on a clean towel; avoid hanging as it can stretch the petals and distort the flower’s shape.
Storage: Keep in a cool, dry place away from direct sunlight; store in a cotton bag or box to retain the crochet dahlia flower’s vibrant colors.
Crochet Dahlia Flower Variations and Substitutions
Feel free to customize your crochet dahlia to make it uniquely yours!
- Yarn Alternatives: Swap worsted weight yarn for lighter cotton for a more delicate look, perfect for summer décor.
- Color Blocking: Experiment with bold colors like bright yellows and reds for a modern twist that stands out in any room.
- Size Modification: Change your hook size to create petite or oversized dahlias; smaller hooks yield a compact bloom while larger hooks create a grand effect.
- Texture Variety: Incorporate stitch variations like bobble or shell stitches for added visual interest, making your flower even more eye-catching. For instance, alternating between these textures can add depth and dynamic design.
- Gradient Effects: Use a gradient yarn to transition smoothly from light to dark shades. This technique captures the essence of natural blooms and embraces artistic flair.
- Leaf Details: Add shaped leaves in contrasting colors; incorporating these elements can enhance the authenticity of your flower.
- Character Inserts: Include safety eyes or beads to give your flower a whimsical character, making it a fun gift for children.
- Seasonal Colors: Adjust the color scheme to reflect seasonal changes; pale pastels for spring or vibrant oranges and reds for fall will keep your decorations fresh and relevant year-round.
Whether you choose to explore one of these variations or mix several, the possibilities are endless. Crafting allows for delightful amendments to the standard pattern, adding a personal touch as you let your creativity bloom!
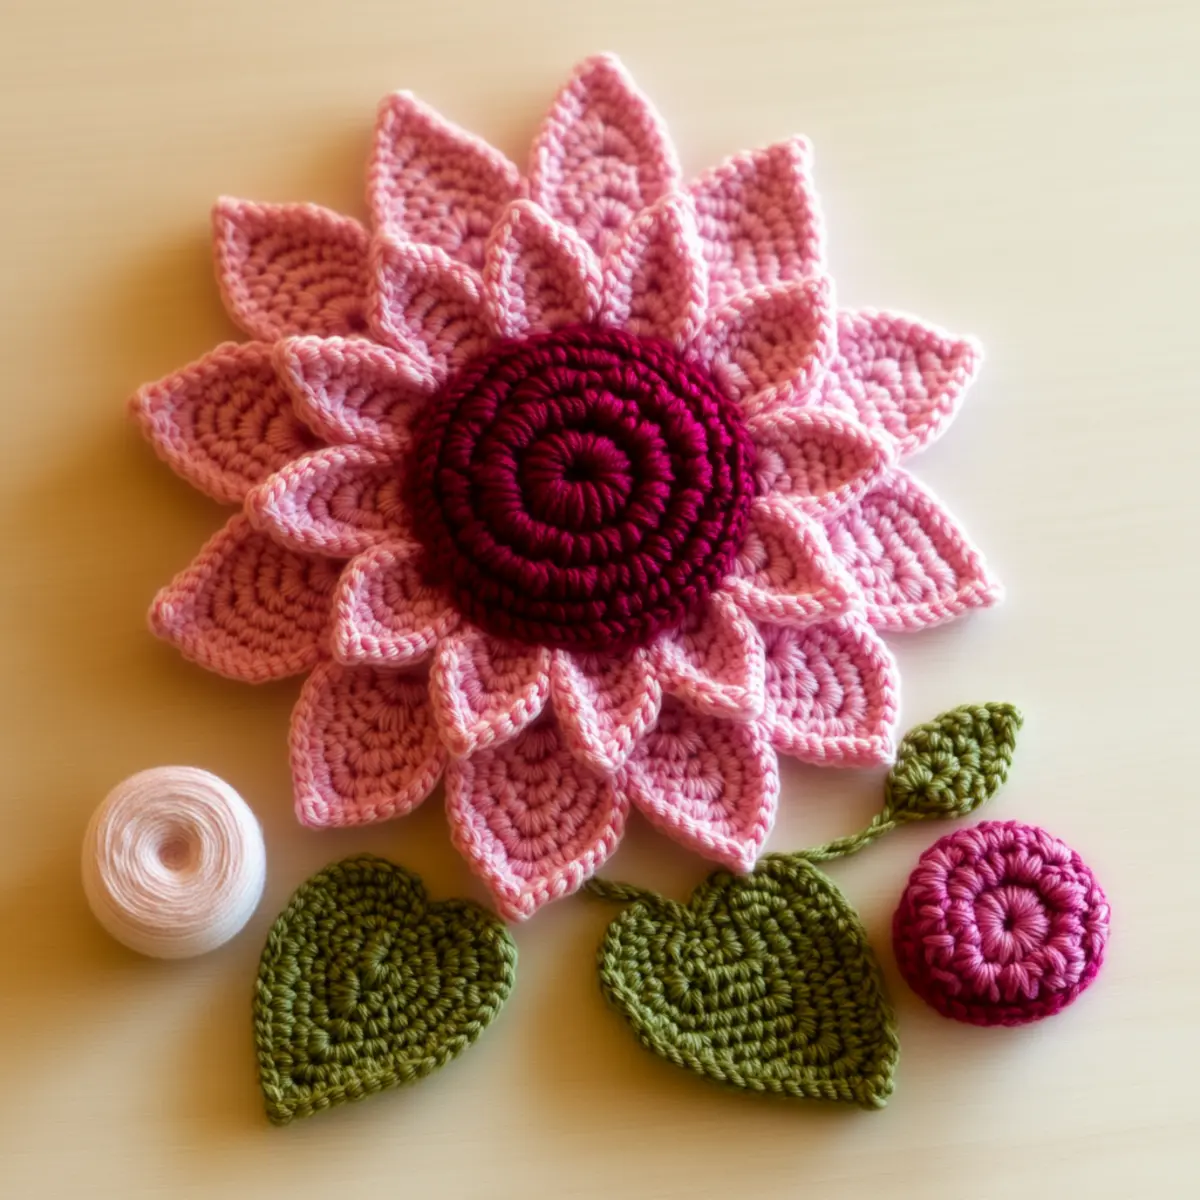
Crochet Dahlia Flower FAQs
What yarn can I use as a substitute?
Absolutely! While worsted weight yarn is recommended, you can substitute with any medium-weight yarn. Just ensure the tension and gauge match for optimal results.
How can I adjust the size of my dahlia flower?
To customize the size, change your yarn weight or hook size. A bulkier yarn will make a larger flower while a smaller hook can make it more compact. Just be mindful to maintain the same stitch pattern.
What should I do if my flower is curling?
Don’t panic! Curling can often be corrected by blocking your crochet dahlia flower. Steam blocking is particularly effective for intricate layers like these.
How do I troubleshoot dropped stitches?
If you notice dropped stitches while working, gently unravel back to the last solid row and rework the stitches carefully. Use stitch markers to help keep track of your rounds in future projects.
What hook size is best for this pattern?
For the crochet dahlia flower, a 3.5mm to 4.0mm crochet hook (E or G) is ideal. This size allows you to create the delicate stitch work needed for the layered petals.
Can I add beads or embellishments to my flower?
Of course! Adding beads or embellishments can increase the visual appeal of your crochet dahlia flower. Just be sure they’re securely attached and appropriate for the intended use, whether decorative or for gifting.
Leave a Reply