
There’s something truly magical about the warmth of a handcrafted pillow—it can instantly brighten up a room and wrap you in comfort. In this post, I’m thrilled to share my latest creation: the Beginner-Friendly No-Sew Crochet Flower Pillow. This delightful project allows you to craft a charming daisy-style cushion that’s soft and inviting, making it an excellent choice for your home décor or a heartfelt gift. What makes this design particularly appealing is its no-sew approach, which not only simplifies the assembly process but also makes it a fantastic, quick project for crafters of all levels. You’ll love how effortlessly it comes together, with plush petals ready to inspire your creativity. Are you excited to bring a touch of floral charm into your space? Let’s get stitching!
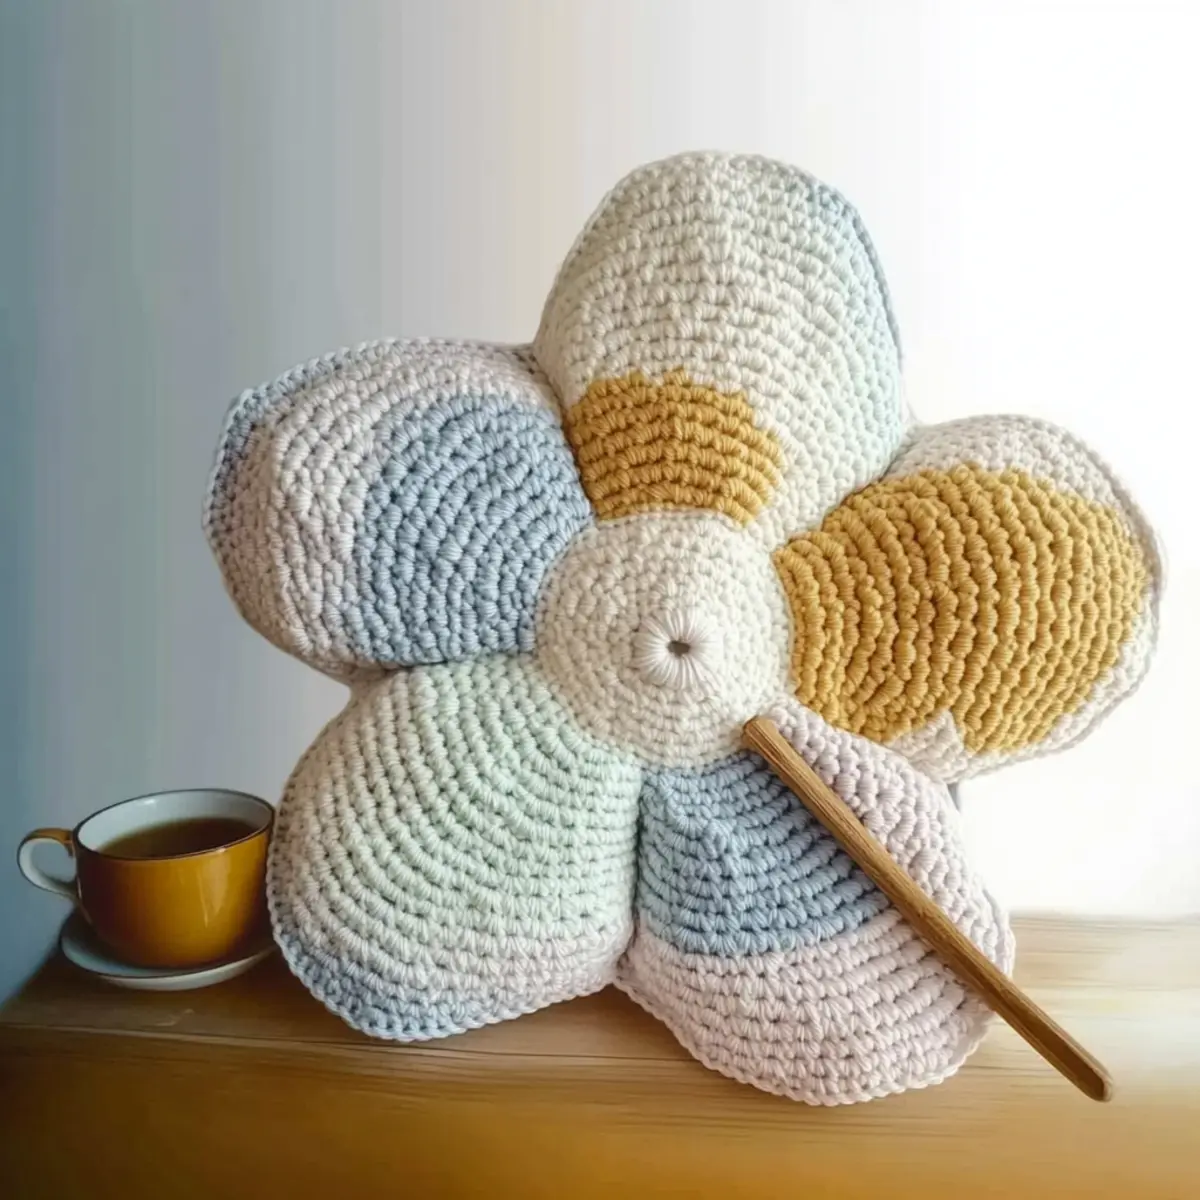
No-Sew Crochet Flower Pillow Materials & Tools
Note: Gather these supplies to embark on your pastel floral creation!
Yarn
• Bulky Chenille or Velvet Yarn (approx. 250 yards) – This plush yarn creates a soft, cozy texture perfect for your flower pillow.
• Acrylic Yarn (Weight #5) – Use this for a firmer finish and a variety of colors to express your creativity!
Tools & Notions
• 9 mm (US M/N) Hook – Ideal for bulky yarn, allowing your stitches to flow smoothly.
• Stitch Markers – Keep track of your rounds and maintain your pattern effortlessly.
• Fiber Filling (e.g., Poly-Fill) – Use to stuff your pillow, ensuring it’s plump and inviting.
• Measuring Tape – Handy for keeping your dimensions in check during the project.
You’re all set to create your no-sew crochet flower pillow that’s a joy to craft and behold!
Why You’ll Love This Pattern
Beginner-Friendly: This no-sew crochet flower pillow is designed for crafters of all skill levels, allowing even beginners to create a stunning piece with ease.
Quick Project: With simple stitches and a straightforward design, this project comes together swiftly, making it perfect for last-minute gifts or a cozy afternoon crafting session.
Plush Comfort: The use of bulky yarn gives your pillow a luscious, soft feel that’s perfect for snuggling or adding a pop of color to your décor.
Versatile Designs: Feel free to explore various floral variations like sunflowers or pastel blossoms, letting your creative side shine through different color combinations! You can find more on customization ideas.
Stress-Free Assembly: Say goodbye to the hassle of sewing—enjoy the satisfaction of quickly assembling your pillow with a seamless technique that minimizes finishing time and keeps it user-friendly.
Get ready to elevate your space with a handmade touch that embodies warmth and charm!
Gauge & Sizing Notes
Don’t skip the gauge swatch! Ensuring the correct tension is key to achieving the perfect size for your no-sew crochet flower pillow. For this project, aim for a gauge of 4×4 inches (10×10 cm), which should equal approximately 12 double crochets by 6 rows. If you want to adjust the size of your pillow, increase your starting chain in multiples of 4 for a wider look or add extra rounds for a plush, larger bloom. If your swatch turns out too small, try going up a hook size to loosen your tension. Remember, the delightful fit of your flower pillow starts with a proper gauge!
Step‑by‑Step Pattern for Beginner-Friendly No-Sew Crochet Flower Pillow
Row 1: Center Formation
Ch 4, sl st into the first ch to form a ring. In the ring, make 6 sc (6 sts). Pull the ring tight. For row 2, work 2 sc in each sc around, creating a plump center (12 sts). Your work should begin to form a small, structured base.
Row 2: Increase for Center Depth
Ch 1 (does not count as a stitch), then inc in the same stitch. 1 sc in next, 2 sc in next; repeat from * to * around (18 sts). This will give your flower pillow a nice stuffed center, keeping the shape round and bouncy.
Row 3: Prepare for Petal Base
Ch 1, then work in reverse, sc in each st around to create a solid base for petals (18 sts). Your work should feel stable and ready to support the upcoming petal round.
Row 4: Petal Formation
Ch 3 (counts as 1 dc), then make 2 dc in the same st. Skip 1 st, then in the next st work 3 dc. Repeat from * to * around, ending with a sl st to the top of the ch 3 to finish this round (6 petals formed). Your work should start to blossom into a flower shape.
Row 5: Adding More Petals
Ch 3 (counts as 1 dc), then make 2 dc in the same space. In the next petal space, work 3 dc. Repeat this pattern in each petal space until complete (12 total dc per petal). The petals should feel fluffy and inviting, ready for further embellishments.
Row 6: Adjusting Petal Texture
Ch 1, and work 1 sc in each dc around (12 sts). This round establishes a tighter texture that enhances the shape of each petal, making them feel plush without losing their volume.
Step 2: Assembly without Joining
Continue to crochet petal rounds without joining. Work 2 dc in each stitch around, creating a textured layer (24 total stitches). This method seamlessly integrates the petals into the pillow, maintaining symmetry and a lovely floral design.
Final Steps: Finishing Touch
Once you reach your desired height, fasten off the yarn. Weave in any ends using your crochet hook. Now, take your fiber filling and stuff the pillow gently until it feels plush but not overstuffed. Your beautiful no-sew crochet flower pillow should now be complete, embracing a perfect fluffy charm.
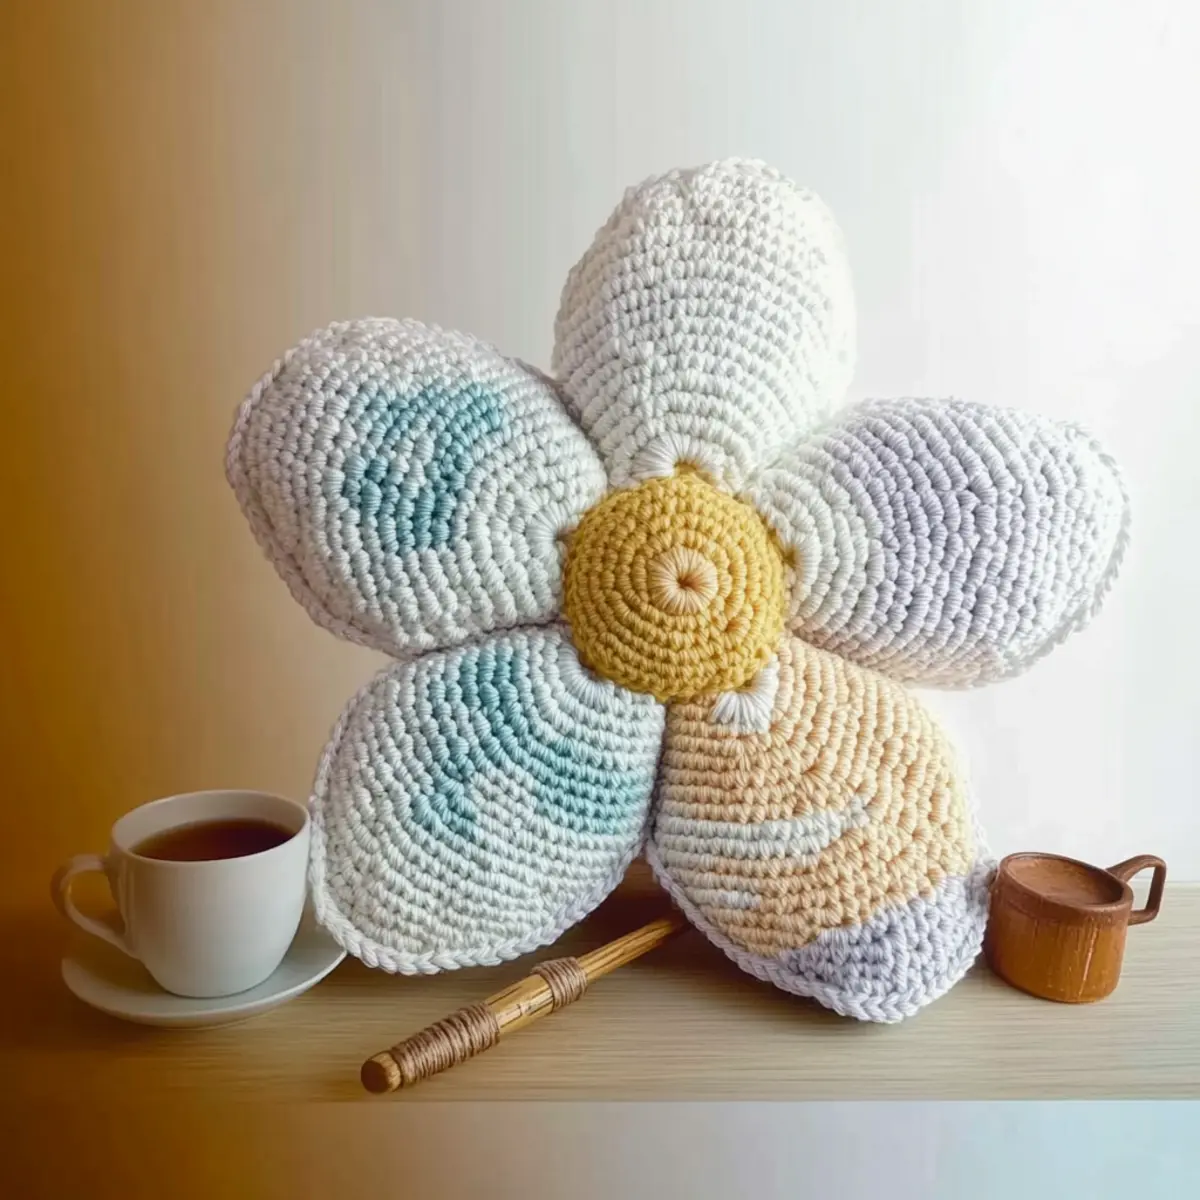
How to Wash and Care for Your Flower Pillow
-
Hand Washing: Gently hand wash your flower pillow in cold water with mild soap to preserve its plush center and prevent any shrinkage. Avoid any harsh scrubbing.
-
Drying: After washing, reshape your pillow while damp and lay it flat to dry in a cool, shaded area. This helps maintain its beautiful form and prevents distortion.
-
Storage: Store your flower pillow in a cool, dry place to keep it fresh. If needed, use a breathable bag to protect it from dust while allowing air circulation.
-
Avoiding Agitation: When cleaning, avoid machine washing or agitation to prevent felting or pilling of the yarn, preserving the overall look and feel of your flower pillow.
Expert Tips for the No-Sew Pillow
-
Maintain Even Tension: Keep your tension consistent throughout the project to ensure your petals are uniform and the structure is stable.
-
Count Stitches Regularly: Regularly count your stitches at the end of each round. This simple step helps maintain the flower’s shape and prevents any surprise adjustments later.
-
Adjust Stuffing Softly: While working on the petals, test their stuffing regularly. Adjust the fiber filling to make sure they remain plush without being overly stiff.
-
Use Stitch Markers: Place stitch markers to help you keep track of rounds and decreases easily. This can eliminate confusion and helps in maintaining project symmetry.
-
Practice with Leftover Yarn: If you’re new to the technique, practice your stitches on scrap yarn before starting your main project. This will help you get comfortable and confident—perfect for your no-sew crochet flower pillow!
No-Sew Crochet Flower Pillow Variations
Let your creativity bloom as you personalize this charming crochet flower pillow!
- Yarn Weight Swaps: Try using worsted weight yarn for a lighter, more flexible pillow. The texture will change, making it delicate and airy.
- Fiber Alternatives: Substitute bulky chenille with cotton yarn for a breathable feel. This will create a different texture suited for warmer seasons or regions.
- Color Blocking: Use two contrasting colors for the petals and the center to create a beautiful visual impact. Imagine a sunny yellow center with lavender petals—it’s simply stunning!
- Larger Size: Increase the number of rounds for the center and petals for a grander, eye-catching pillow. A bigger flower can make a bold statement in your living room.
- Textured Petals: Incorporate a unique stitch or add a touch of bobbles to your petals to create texture. This technique adds depth and interest to the overall design.
- Add Fringe: Extend the playfulness of your flower by adding fringe around the edges of the petals for an additional airy detail. It’s a delightful twist that enhances the feeling of movement.
- Layered Petals: Crochet an additional layer of smaller petals in a complementary color around the larger ones for a more dynamic, fuller flower design. This gives a beautiful layered look that catches the eye.
- Keep it Seasonal: Switch colors and styles to match the seasons or holidays, like vibrant reds and greens for Christmas or soft pinks for springtime. It’s a delightful way to celebrate throughout the year!
Feel free to explore these suggestions as you create your unique masterpiece. For more inspiration, don’t forget to check out my guide on creative crochet variations to keep your crafting journey exciting!
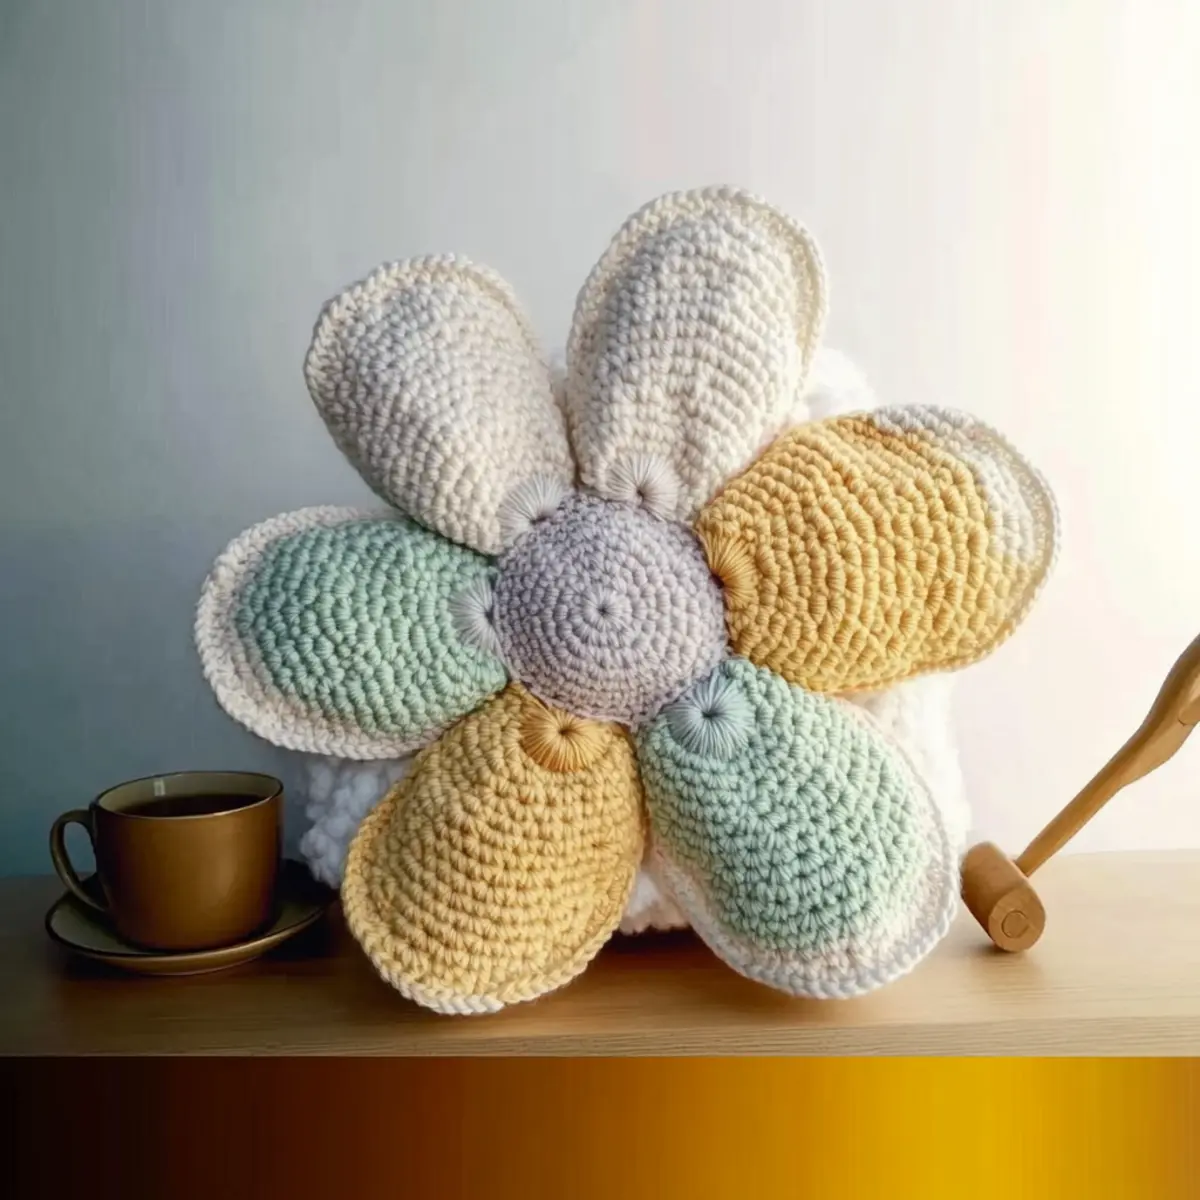
Beginner-Friendly No-Sew Crochet Flower Pillow FAQs
Can I use a different yarn than bulky chenille or velvet?
Absolutely! While bulky chenille or velvet yarn is recommended for its plush texture, you can substitute with a medium weight yarn (#4) like acrylic. Just be mindful that this might alter the final pillow size and plushness, so keep that in mind as you crochet!
How do I make my flower pillow larger or smaller?
To adjust the sizing of your pillow, you can change the yarn weight to a thicker or thinner option, or you can add more rounds to both the center and petals. For a larger design, try adding one or two extra rounds to the petals. Remember to count your stitches at the end of each round, as this will help maintain an even shape.
Why is my pillow curling at the edges?
Don’t panic! If your pillow is curling up like a bowl, it might be due to the stitches being too tight or you’re missing some increases. Ensure you’re maintaining even tension and counting your stitches regularly. You can also try adding a few more increases in the rounds to help flatten it out.
What hook size should I use for my yarn?
For bulky yarn (#5), a 9 mm (US M/N) hook is typically recommended. However, if you’re using a different weight yarn, you may want to adjust the hook size accordingly. I recommend checking your gauge first! This will ensure your stitches are even and the pillow turns out just right.
How do I fix dropped stitches while working on my flower pillow?
It’s an easy fix! If you find a dropped stitch, gently pull the yarn to unravel it back to the last completed row. Then, use your hook to re-insert it back into your work. If you’re unsure about the method, practicing on scrap yarn can help build your confidence!
Are there any specific washing instructions for my finished pillow?
Yes! To keep your flower pillow looking its best, use machine-washable yarn for easy care. Hand wash gently and reshape it while damp to maintain its structure. To prolong the pillow’s life, avoid using harsh chemicals and let it air dry. Happy crafting!
Leave a Reply