
As I sat under the soft glow of the moonlight, the magic of the night sky inspired me to create this captivating crochet project: the Moon Granny Square. With its enchanting celestial motif, this textured masterpiece adds a whimsical touch to any crochet work. Perfect for intermediate crocheters and adventurous beginners alike, the Moon Granny Square offers an opportunity to elevate your skills with its unique curved stitches and stunning 3D effect. Not only does this pattern allow you to craft something truly special, but it also works up quickly, making it an enjoyable addition to your crafting repertoire. Ready to bring a sprinkle of nighttime whimsy to your yarn collection? Let’s get started on this celestial journey!
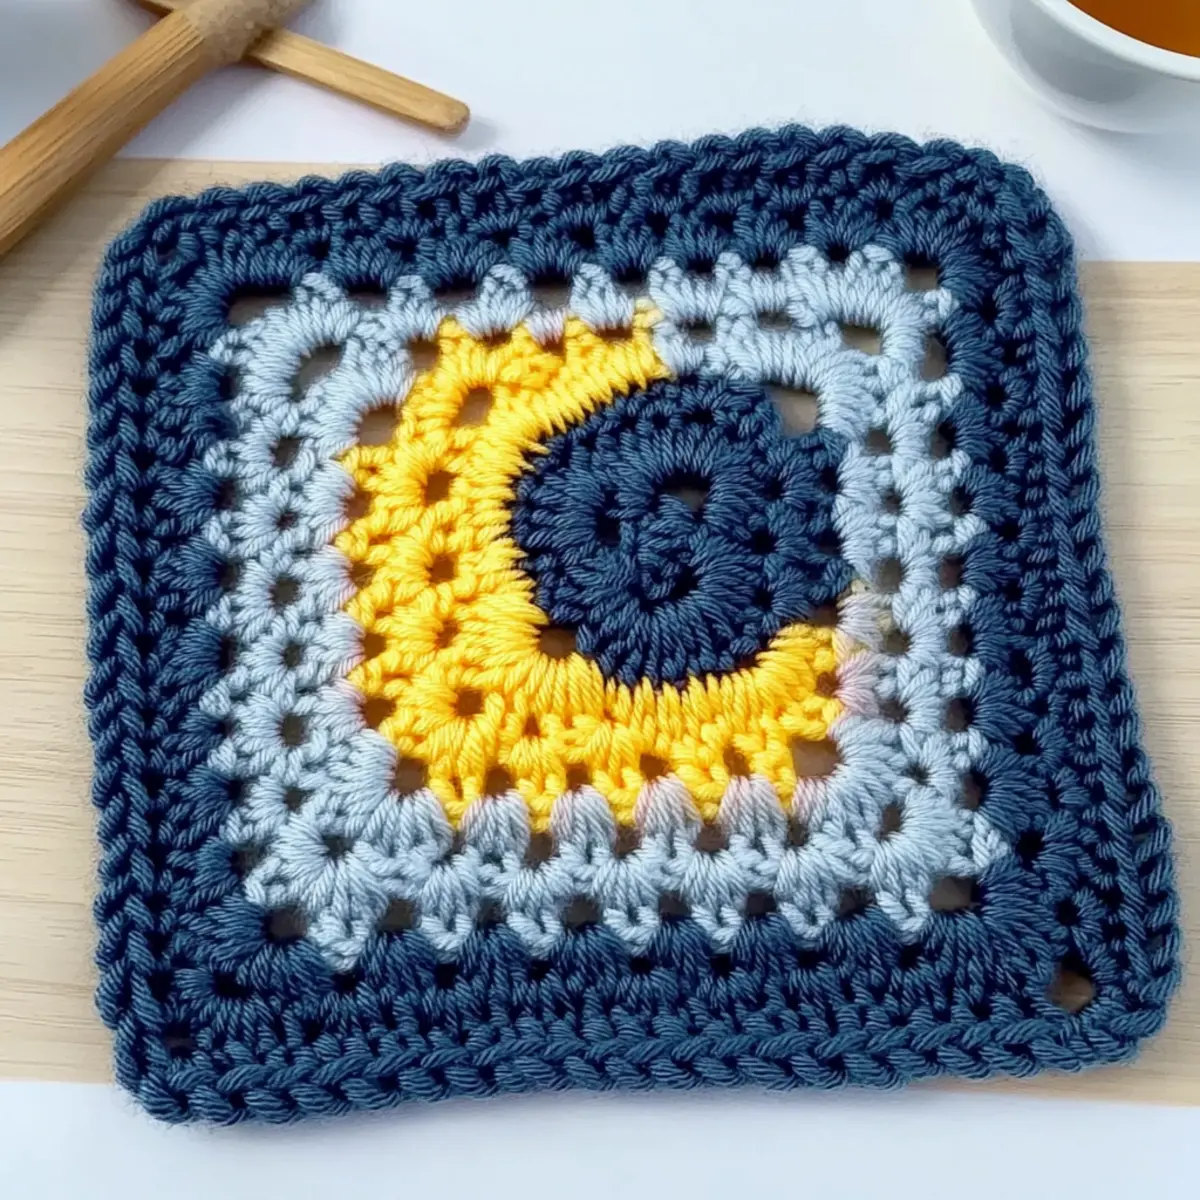
Moon Granny Square Materials & Tools
• Gather all the essentials for your enchanting Moon Granny Square!
Yarn
• DK Weight Yarn – Approximately 200 yards to make several squares; acrylic or cotton fibers work beautifully for texture.
Tools & Notions
• 4.0 mm (G/6 US Hook) – Perfect size for achieving the lovely stitch definition of your celestial motif.
• Stitch Markers – Helpful for keeping track of your rounds, ensuring the perfect shape as you create.
• Tapestry Needle – Essential for weaving in ends and joining squares seamlessly.
• Blocking Tools – A steam iron or blocking mat will help achieve that stunning flattened look to showcase your 3D effect.
Why Is the Moon Granny Square Unique?
Enchanting Design: This captivating Moon Granny Square features a stunning celestial motif that brings a touch of magic to your projects. Textured Appeal: With its mix of stitch heights, you’ll create a visually striking 3D effect that stands out beautifully. Easy to Follow: Perfect for intermediate crocheters, the step-by-step instructions make this pattern approachable for adventurous beginners, just like our Invisible Join Seamless technique. Quick Project: Work up several squares in no time, ideal for creating cozy blankets or stunning wall hangings. Creative Customization: Feel free to experiment with colors and borders, adding your unique spin to each piece—imagine pairing it with the joyful designs from our Amigurumi Duck Cozy for a whimsical touch!
How to Check Your Gauge for Moon Granny Square
Don’t skip the gauge swatch! It’s a vital step to ensure your Moon Granny Square turns out just as enchanting as you envision. For this pattern, your gauge should measure 4×4 inches (10×10 cm), equating to 18 double crochets and 10 rows. If you want to adjust the size of your square, you can alter the starting chain in multiples of 4 to make it wider. If your tension swatch comes out too small, simply go up a hook size, and if it’s too large, try a smaller hook. Remember, finding your groove with tension is key to crafting this delightful celestial piece!
Step‑by‑Step Pattern for Celestial Moon Granny Square
Round 1: Start the Moon
Begin by creating a magic ring. Chain 3 (counts as your first double crochet), then work 17 double crochets (dc) into the ring, creating a total of 18 stitches. Pull the magic ring tight to secure, and slip stitch (sl st) into the top of the starting chain. Your work should form a small circle.
Round 2: Shape the Moon
Slip stitch into the first dc, then chain 1 to begin. Work 1 single crochet (sc), and then increase your stitch height using 2 half double crochets (hdc), followed by 2 double crochets (dc). To create the moon shape, complete 2 treble crochets (tr). Finish the round by placing 1 sc and a sl st into the top of the chain to close the round (total of 18 sts).
Round 3: Build the Square
Sl st into the first sc of the previous round. Chain 3, then work 1 dc in the same stitch. In the next stitch, create 2 dc, followed by 1 dc in the next 2 stitches. On the next, place 2 dc to form your corner. Repeat this pattern to complete the round, ensuring you have 4 corners with a total of 36 stitches.
Round 4: Refine the Shape
Begin with a sl st in the first dc, then chain 3. In the same stitch, work 1 dc. For the next 2 stitches, place 1 dc in each, followed by a corner with 2 dc, ch 2, and 2 dc in the next stitch. Continue this pattern, creating the sides and corners until the round completes, ensuring a total of 60 stitches.
Round 5: Finish the Edging
To create a sturdy edge, slip stitch into the first dc of the previous round. Chain 1, then work 1 sc into each stitch around, placing 3 sc in each corner to maintain the square shape. Finish by slip stitching to the first sc to close the round, ensuring your Moon Granny Square holds its beautiful form.
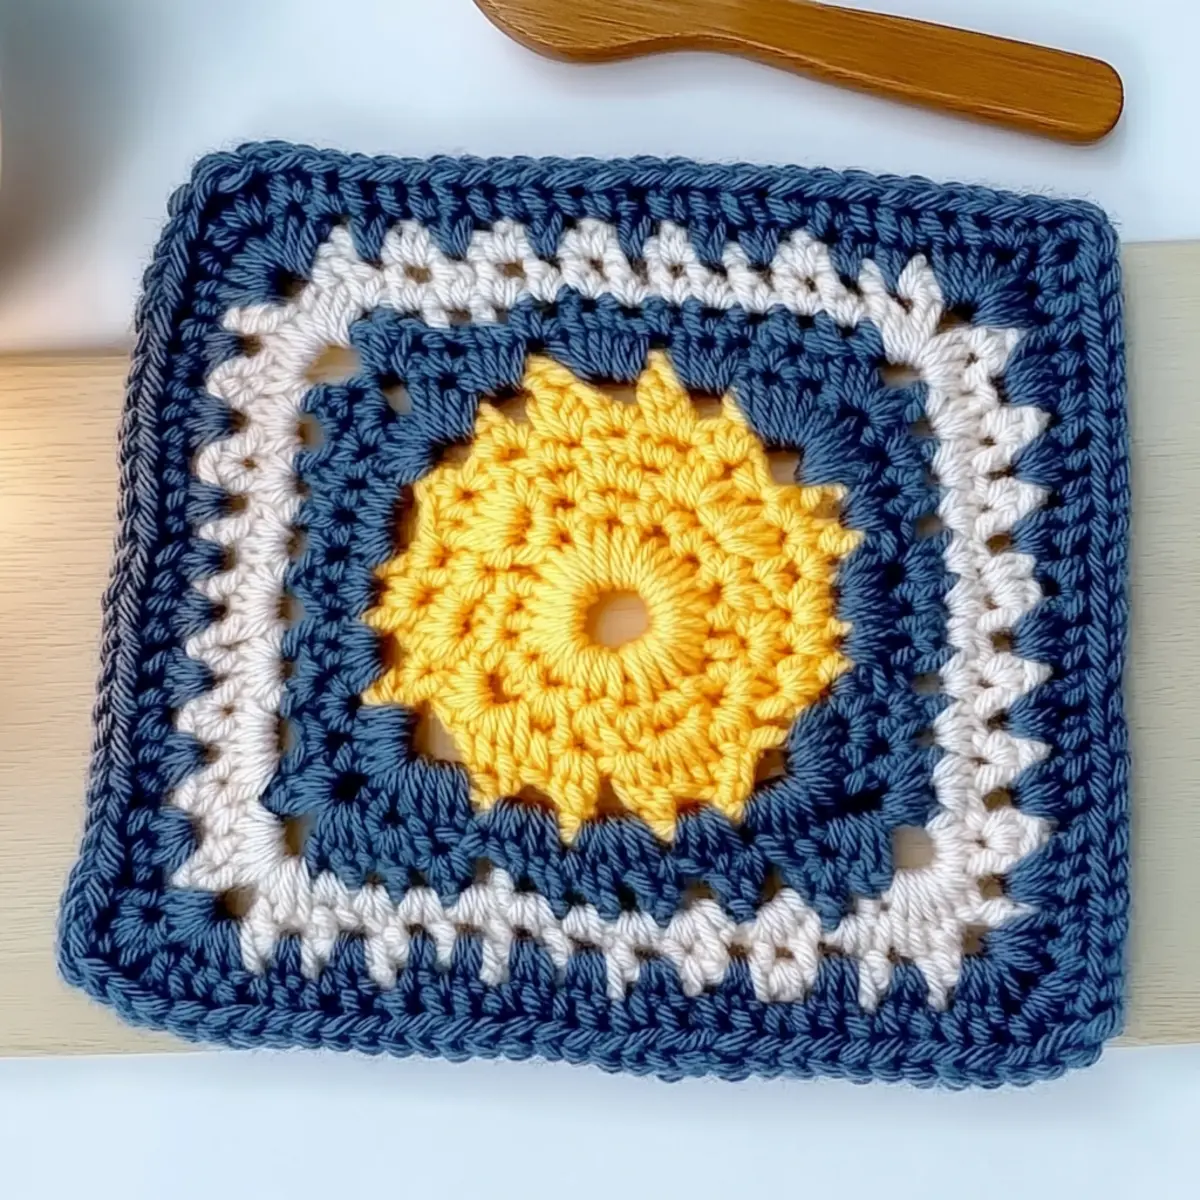
Care Instructions for Moon Granny Square
-
Hand Washing: Hand wash your Moon Granny Square in cold water with mild detergent to preserve its shape and texture, minimizing the risk of felting.
-
Avoid Agitation: Gently squeeze the square without twisting or scrubbing to protect the delicate stitches and maintain their stunning 3D effect.
-
Drying/Blocking: Lay flat to dry on a clean, dry surface, reshaping the square as needed to ensure it retains its beautiful celestial design.
-
Storage: Store your finished squares in a cool, dry place, away from direct sunlight to prevent any fading of colors.
Moon Granny Square Variations
Embrace your creativity and add personal touches to the Moon Granny Square with these delightful variations.
-
Yarn Alternatives: Swap cotton for acrylic or vice versa for different textures. Each fiber type brings its unique charm and softness. Feel free to experiment with different weights to see how your square transforms!
-
Color Block Design: Use multiple colors within each square, alternating rows or rounds for a vibrant twist. This approach allows you to create pieces that stand out. Think about contrasting light and dark shades for a magical evening effect!
-
Texture Additions: Enhance your square by adding a delicate fringe or a whimsical pom-pom on each corner. A textured edging can take your celestial theme even further, giving it that extra pop!
-
Larger Size Square: Combine multiple squares for a larger project, or add traditional granny clusters around the border for a fun variation. This method makes it easy to create throws or wall hangings, ideal for showcasing your magical design.
-
Gradient Colors: Experiment with gradient yarns to create a dreamy ombre effect. This subtle transition in colors will replicate the enchanting twilight skies beautifully.
-
Creative Borders: After completing the square, try adding a contrasting border in a bold color for a striking finish. It can tie together the design while adding a unique flair. The Midnight Star Celestial can inspire you to incorporate border designs that enhance the overall aesthetic!
-
Sizing Adjustments: Adjust the number of rounds to create smaller or larger squares, perfect for various projects. A tiny version could be charming for coasters or keychains, adding versatility to your crochet collection.
-
Mixed Fiber Squares: Try combining different fibers, like a cotton moon with a soft acrylic background. This blend of textures creates visual interest and a fascinating feel, supercharging your project with tactile diversity.
Expert Tips for the Moon Granny Square
-
Stay Relaxed: Maintain a relaxed tension during Round 2 to avoid warping your moon shape; a tight grip can distort your stitches.
-
Count Regularly: Counting your stitches after each round ensures you don’t lose track, helping maintain the square’s unique dimensions.
-
Block Properly: Aggressive blocking is essential to flatten curls from treble stitches. Use a steam iron or blocking mat to achieve a crisp finish.
-
Mark Your Stitches: Use stitch markers at critical points, especially during height changes, to keep your pattern on track and avoid mistakes.
-
Finish Neatly: Weave in ends securely with a tapestry needle to ensure longevity and a polished look for your celestial moon granny square.
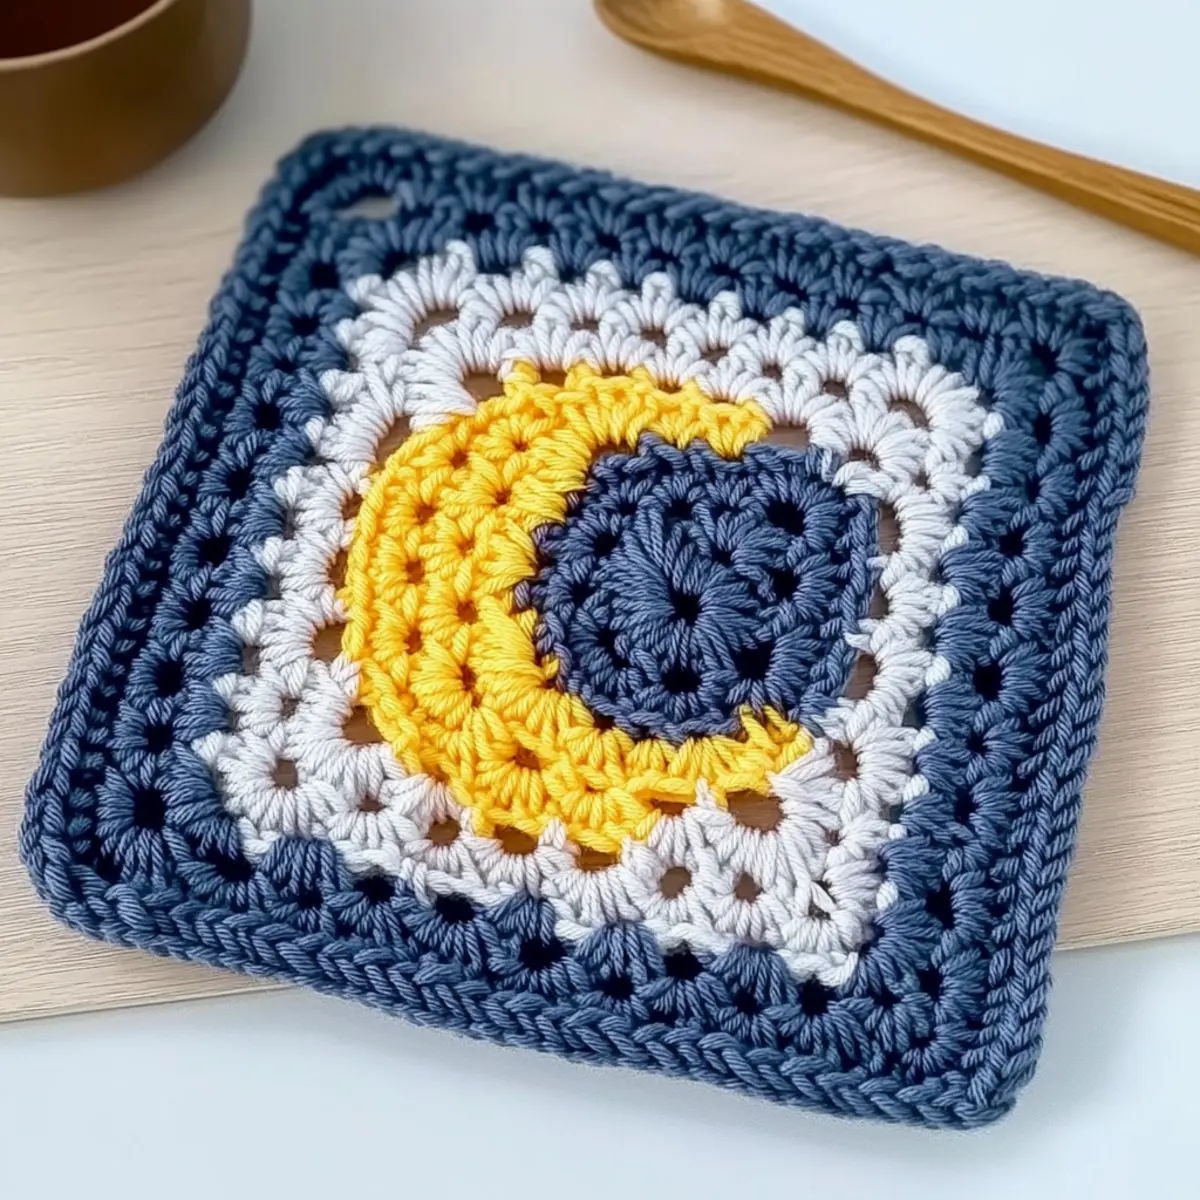
Celestial Moon Granny Square FAQs
Can I substitute yarn types for this pattern?
Absolutely! While the pattern recommends DK weight acrylic or cotton for best results, you can experiment with other yarn types as long as they’re of similar weight. Just remember to adjust your hook size if you switch to a thicker or thinner yarn.
How do I adjust the size of my Moon Granny Square?
To make your square larger, consider adding more rounds using the same stitch pattern. For a smaller version, simply reduce the number of stitches in each round by one or two, and be sure to adjust proportionately to maintain the celestial design!
What should I do if my work starts to curl?
Don’t panic! If your square curls, especially from the treble stitches, aggressive blocking is key. Gently steam-block your piece, ensuring to shape it into a flat square. This will help even out the curls and enhance the 3D effect.
What size hook should I use for this pattern?
For the Celestial Moon Granny Square, a 4.0 mm (G/6 US) crochet hook is recommended. If your tension is looser or tighter than the standard gauge, feel free to switch to a hook size that best suits your yarn choice and personal crocheting style.
Why are my stitches uneven in height?
It’s common for beginner and even intermediate crocheters to have uneven stitches when transitioning between stitch heights. I recommend practicing in a sample swatch before starting your project. And remember, eye-inspiring projects come with a bit of practice!
How do I fix a dropped stitch?
It’s an easy fix! If you notice a dropped stitch, gently unravel the work back to where the mistake happened. Reinsert your hook, grab the yarn, and pull it through the stitch correctly. Don’t forget to count your stitches afterwards to ensure everything’s on track!
Leave a Reply