
Have you ever reached the end of your circular crochet project only to cringe at that unsightly bump from traditional joins? I know I have! The fantastic news is, with the Invisible Join Technique, you can say goodbye to those imperfections and achieve a seamless, professional finish every time. This method not only elevates your work but also empowers both beginners and seasoned crocheters to create beautifully polished pieces. As an added bonus, it’s an excellent time-saver that works wonders for your yarn stash! So, let’s dive into mastering this simple yet effective technique that will completely transform how you tackle your round projects, leaving you excited to whip up even more stunning creations.
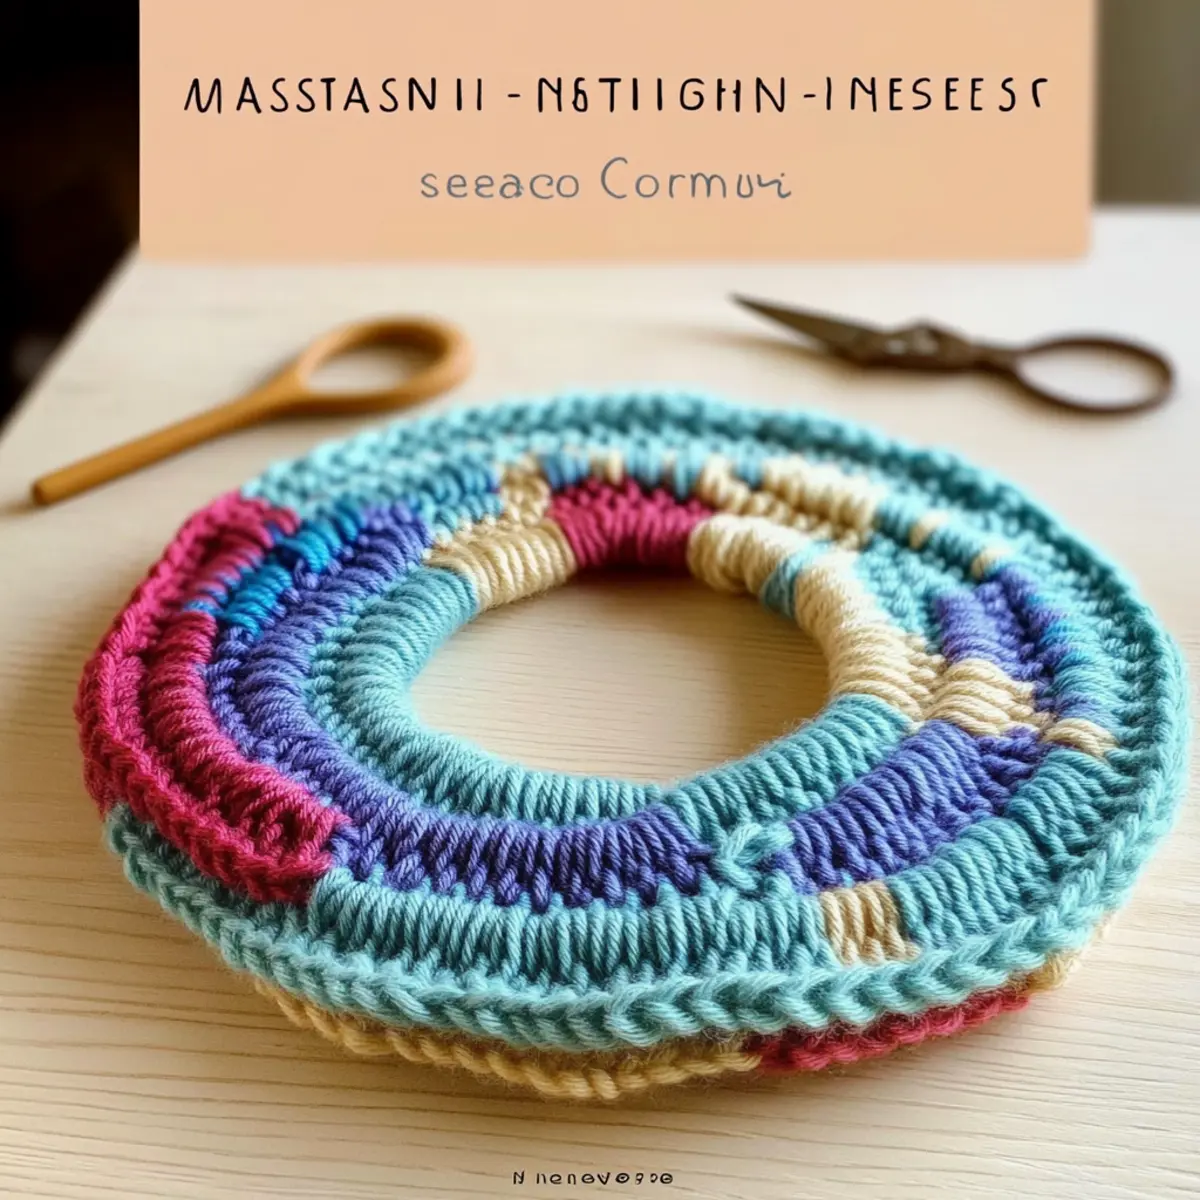
Invisible Join Technique Materials & Tools
Here’s what you’ll need to master the invisible join technique with ease!
Yarn
• Any Yarn – Choose a weight appropriate for your project, like worsted or bulky; keep some scraps handy for practice.
Hook
• 4.0 mm (G-6) Hook – Use the same size as your project to maintain consistent gauge throughout your work.
Notions
• Stitch Markers – Handy for marking your last stitch, helping you keep track seamlessly.
• Tapestry Needle – Essential for weaving in ends and executing the invisible join beautifully.
• Scissors – Perfect for snipping yarn ends with precision.
Let’s gather these tools and dive into the world of seamless crochet!
Why Is the Invisible Join a Game-Changer?
Simplicity at Its Core: This technique is easy to learn, making it accessible for both beginners and experienced crafters alike.
Seamless Aesthetics: With no visible join, your circular projects achieve a clean and polished look that enhances any design.
Perfect for All Yarn Types: Whether you’re using worsted, bulky, or cotton, the invisible join adapts beautifully to different yarn weights, showcasing your work splendidly.
Time-Saving Wonder: By eliminating the need for extra finishing steps, you can complete your projects faster without sacrificing quality. Explore more finishing techniques in our crochet tips section!
Confidence Boost: Perfect your join on scrap yarn first, allowing you to practice and build confidence before working on your final piece. Who knew mastering a finishing technique could create such a sense of accomplishment?
Embrace this simple yet transformative method and watch your crochet projects thrive!
How to Check Your Gauge for Invisible Join Technique
Don’t skip the gauge swatch! Ensuring the correct tension is crucial for mastering the Invisible Join Technique as it affects the overall fit and finish of your circular projects. Aim for a standard gauge swatch of 4×4 inches (10×10 cm), which should equal approximately 12 stitches by 10 rows with your chosen yarn and hook size. To create a larger piece, simply adjust your starting chain in multiples of 12. If your swatch turns out too small, never worry—just go up a hook size to loosen your tension and achieve the desired measurements. Happy crafting!
Step‑by‑Step Pattern for Mastering the Invisible Join Technique for Seamless Crochet
Row 1: Complete Your Round
Begin by completing the last stitch of your round as indicated in your pattern. This sets the stage to apply the invisible join technique. Ensure you have the correct stitch count and that your work is uniform; it should lay flat and form a complete circle (e.g., 12 sts).
Row 2: Prepare to Join
Instead of joining with a slip stitch, cut your yarn, leaving a 5-6 inch tail. Pull the tail through the loop on your hook to secure it. This step is crucial for achieving the seamless appearance that characterizes the invisible join technique, allowing your project to maintain its clean edges.
Row 3: Thread Your Tapestry Needle
Using a tapestry needle, thread the yarn tail through. This will be your connection point for completing the invisible join. Make sure your needle is threaded securely, as you’ll need to work seamlessly through the stitches for a flawless finish. Your yarn should be ready and waiting to work its magic!
Row 4: Insert Needle into Next Stitch
Skip the first stitch of your completed round. Insert your needle under both loops of the next stitch, then pull the yarn through. This step will create a hidden join that blends smoothly into your project, invisibly connecting the last round to the next.
Row 5: Secure the Join
Next, insert your needle through the back loop only of the last stitch you originally made. Pull the yarn taut to secure your work. This final pull ensures your invisible join technique is tight, maintaining the integrity of your crochet piece and giving it that polished look we all crave.
Row 6: Weave in Ends
Finally, weave in any remaining yarn tails using your tapestry needle. Ensure that they are tucked neatly along the back of your project to keep the finish clean. With your invisible join technique complete, your crochet piece will now showcase a professional and seamless finish that beautifully enhances your work.
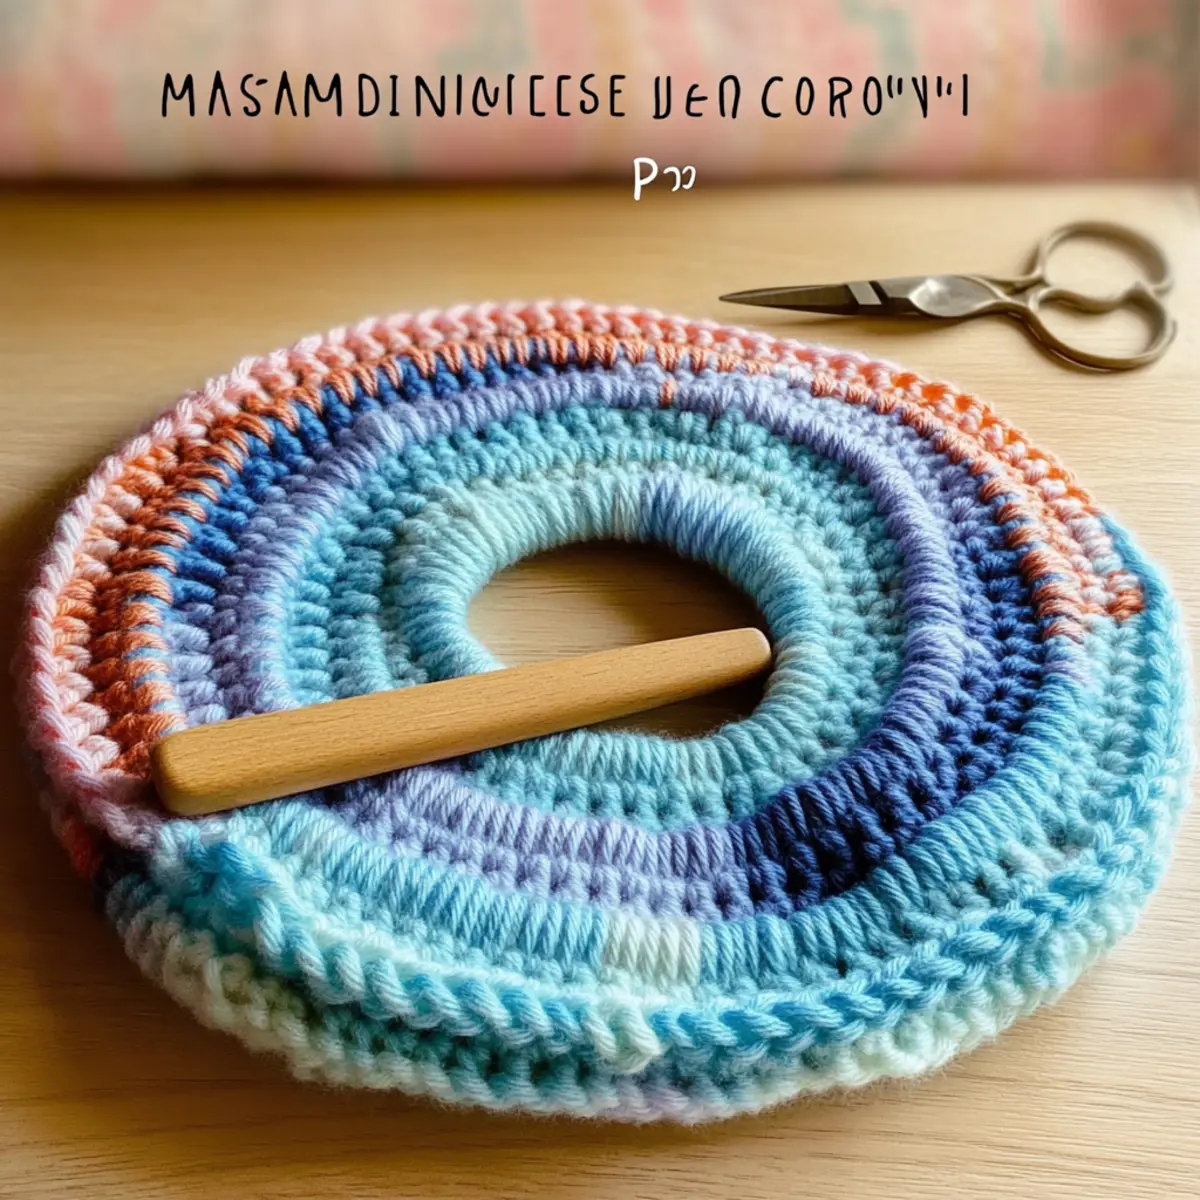
Expert Tips for the Invisible Join
-
Maintain Tension: Consistent tension is key to avoiding warping. Keep your stitches even throughout your project for the best results.
-
Count Stitches: At the end of each round, count your stitches! This ensures that your project maintains its shape and allows for a smooth finish with the invisible join.
-
Practice First: Before using this technique on your final piece, practice the invisible join on scrap yarn to gain familiarity and confidence.
-
Use Markers: Place stitch markers to mark your last stitch before cutting the yarn. This simple step helps you keep track of your rounds better.
-
Secure Tightly: When pulling the yarn through the last stitch, ensure you secure it tightly to prevent any gaps in your finish.
Embrace these expert tips, and your finishing techniques will leave every project looking flawlessly seamless!
Invisible Join Variations & Substitutions
Customize your crochet experience with these inspiring twists and turns that breathe new life into your invisible join technique!
- Yarn Swaps: Experiment with yarn types, like switching to cotton for lightweight projects or wool for a warmer feel.
- Color Blocking: Create stunning visual effects by using multiple yarn colors. Change colors every few rounds for a playful design.
- Weight Changes: Don’t hesitate to try different yarn weights. Bulky yarn can give your project a cozy appearance, while lighter weights create delicate pieces.
- Add a Pom-Pom: For whimsical flair, finish your project by attaching a pom-pom to the tip of your design or at the joins.
- Fringe Benefits: Use scrap yarn to add fringe to your piece. This textural addition elevates your project and is a great way to use leftovers!
- Decorative Borders: Enhance your border with a contrasting color, cascading stitches, or intricate patterns to highlight your exquisite join.
- Luxurious Textures: Pair your join technique with various stitch patterns to create dynamic textures. Consider using shells or bobbles for added interest.
- Unique Sizing: Adjust your row counts for larger or smaller projects, allowing you to customize items perfectly suited for anyone, including gifts.
These variations not only enhance your projects but also invite you to explore the vibrant world of crochet. Dive into other engaging techniques with our guide on finishing techniques to keep the creativity flowing!
Washing & Care for Your Seamless Crochet
-
Hand Washing: Always wash your finished piece in cold water using a gentle detergent, ensuring the integrity of the invisible join is maintained without agitation.
-
Drying/Blocking: Lay your crochet project flat on a clean, dry surface to dry completely. Avoid hanging, which can distort its shape and affect the seamless finish.
-
Storing: Store your finished work in a cool, dry place, away from sunlight to prevent fading, and consider using breathable fabric bags for added protection.
-
Avoid Heat: Keep your project away from direct heat sources and avoid using fabric softeners, as these can affect the yarn and the quality of the invisible join.
Mastering the Invisible Join Technique for Seamless Crochet FAQs
Can I use different yarn types with the invisible join technique?
Absolutely! The invisible join technique works beautifully with various yarn weights, such as worsted, bulky, or cotton. Just ensure that you’re using an appropriate hook size to match your chosen yarn for best results.
How do I adjust the sizing of my circular project when using the invisible join?
While the invisible join itself doesn’t require adjustments for size, you can easily modify your project’s dimensions by increasing or decreasing the number of stitches in each round. Just remember to count your stitches carefully to maintain an even shape!
Why is my crochet work curling after using the invisible join?
Don’t panic! Curling is often a result of uneven tension or not having enough stitches in your rounds. Ensure you maintain consistent tension throughout and double-check your stitch count at the end of each round.
What hook size should I use for the invisible join?
You should always use the same hook size that you used for the project. For example, if you’re working with worsted weight yarn, a 4.0 mm (US size G-6) hook is typically ideal to keep your tension consistent and stitches even.
How do I fix dropped stitches when working with the invisible join?
Fixing dropped stitches is an easy fix! Simply use a tapestry needle to insert the yarn back through the stitches surrounding the drop, or, if more serious, you may need to rip back to the last completed round and redo the join carefully.
Can I practice the invisible join technique before using it on my project?
Yes! In fact, I highly recommend it! Practice on scrap yarn to gain confidence and ensure your joins are impeccable when you’re ready to tackle your final piece. You’ll feel so accomplished mastering this technique!
Leave a Reply