
While I was organizing my yarn stash, I stumbled across a delightful skein of vibrant red worsted weight yarn, the kind that instantly inspires creativity. It hit me: why not transform this yarn into something special? This is how I embarked on crafting the Easy Crochet Rose. This project is perfect for those who are eager to dive into the world of crochet as it features beginner-friendly techniques and minimal stitch variety. The best part? It’s a quick and enjoyable pattern that can help you bust through your yarn stash. Not only will you create a stunning floral piece for any occasion, but you’ll also improve your crochet skills in the process. As I worked through each stitch, I felt a sense of joy and accomplishment, which I know will resonate with any crafter who gives this pattern a try. Curious about how to bring a splash of color and texture into your life with just a hook and yarn?
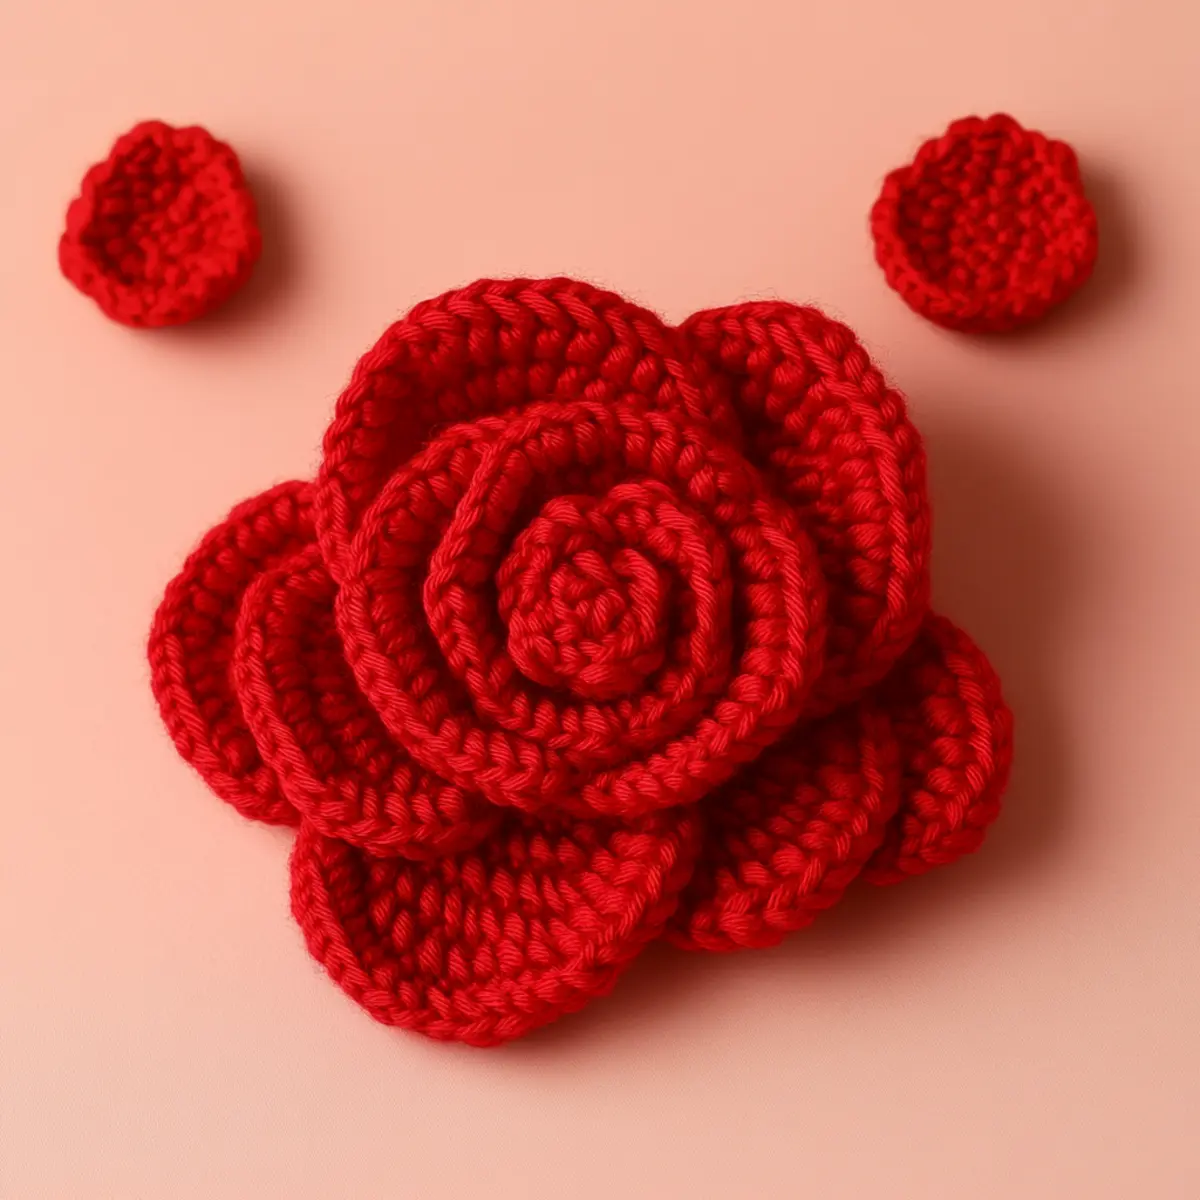
Easy Crochet Rose Materials & Tools
Yarn
Worsted weight yarn (4) – Aim for an acrylic or cotton blend for durability and ease of care; you’ll need roughly 50-100 yards per rose.
Tools & Notions
5.0 mm (H-8) crochet hook – This size is perfect for worsted weight yarn, ensuring a comfy grip and beautiful stitch definition.
Yarn needle – Ideal for weaving in ends seamlessly, keeping your finished rose tidy and professional-looking.
Scissors – A good pair of scissors is essential for clean yarn cuts as you work through your crochet rose.
Why You’ll Love This Pattern
Simplicity is key with the Easy Crochet Rose! This straightforward pattern ensures that even those new to crochet will feel accomplished after completing it. Texture and volume are effortlessly achieved through the flat spiral construction, giving you a stunning floral piece that looks complex yet is a breeze to create. Additionally, this rose is highly stash-friendly, allowing you to use up leftover yarn while experimenting with different colors. You can even find inspiration in patterns like the Crochet Flower Pattern or add a lovely twist with a Crochet Tulip Flower for variety! Not only does this project save you time, but it also presents an aesthetic appeal that will charm anyone who sees it. Trust me, once you start, you’ll find yourself making these for gifts, decor, or just because they bring a cozy touch to your space.
Gauge & Sizing Notes for Easy Crochet Rose
When creating your Easy Crochet Rose, checking your gauge is essential to ensure that your petals drape beautifully and achieve the intended size. Aim for a standard 4×4 inch (10×10 cm) swatch using Worsted weight yarn (4) with 5.0 mm (H-8) hook, yielding approximately 12 dc and 8 rows. If your gauge differs, adjust the starting chain by increasing or decreasing in multiples of 6 to resize your project as needed to maintain flower proportions. If your swatch does not match the gauge, you may want to change your hook size (try going up or down a size) or adjust your tension. Keeping your stitches consistent will allow your Easy Crochet Rose to bloom just right!
Step-by-Step Pattern for Easy Crochet Rose
Row 1: Start Your Chain
Begin by chaining 51 stitches. Make sure your foundation chain is of even tension, as this will set the foundation for the entire rose. In the 4th chain from the hook, proceed to work double crochet (dc) stitches to form the base of the petals, ensuring consistency in your stitch height as you work across. (Total sts: 48)
Row 2: Build Petal Volume
Continue your work by chaining 3 at the end of Row 1 and turning your current work over. In the same dc, make an inc by adding 2 dc into the same stitch, which will create a ruffle effect. Follow by working 1 dc in each of the next 3 dc, and finish the row with an inc again at the last dc. (Total sts: 54)
Row 3: Petal Shaping
Chain 3 to start the next row and turn your work. In this row, work as follows: 1 dc in each of the next 7 stitches but add a slight twist by incorporating a dec in the next stitch. This will create the layers of the rose, adding dimension. Continue with 1 more dc in each of the next 5 stitches before ending with an inc in the last stitch. (Total sts: 60)
Row 4: Creating Layers
Start by chaining 3 and turning your work. This time, add 1 dc in each of the next 8 dc followed by dec every 4 stitches to maintain the spiraled look of the petals. At the end, place a final inc to maintain the broad blossom shape. (Total sts: 66)
Row 5: Finalizing Petals
Again, chain 3 and turn your work. Start with 1 dc in each of the following 9 dc while continuing to incorporate dec every 4 stitches. As before, finish with an inc in the last stitch to secure the consistency of your overall flower shape. (Total sts: 72)
Row 6: Forming the Spiral
For this row, begin with a chain of 3 and turn. You will work dc in the same way as before—this time in 10 dc, followed by an inc now at two points to open up the petals further as you want a lovely flat spiral. Keep counting to avoid losing your shape! (Total sts: 78)
Row 7: Attach Layers
Chain 3 and turn when you reach the last stitch. It’s time to attach the petals! Using a sl st, join each layer at the base, gently pulling them together as you move. Ensure your stitches are not too tight to allow the rose petals to maintain the defined shape. (Total sts: 78)
Row 8: Final Touches
Finish with a chain of 3 and complete the last finishing touches by going around the edges of the flower. Use sc or hdc to provide a more polished look. Don’t forget to weave in the ends using the yarn needle to keep your Easy Crochet Rose secure and looking great! (Total sts: remains the same)
Row 9: Blocking the Rose
Once you complete your lovely rose, lightly block it to set the shape. This step is crucial to achieving that professional finish, as it helps the petals lie beautifully and enhances the floral appearance. Make sure to use steam for cotton yarn for optimal results.
Row 10: Time to Display!
Now you’ve crafted your lovely Easy Crochet Rose! Sew on hair accessories, attach it to gift bags, or display it in a favorite floral arrangement. This beautiful, flat spiral rose is ready to charm everyone who sees it!
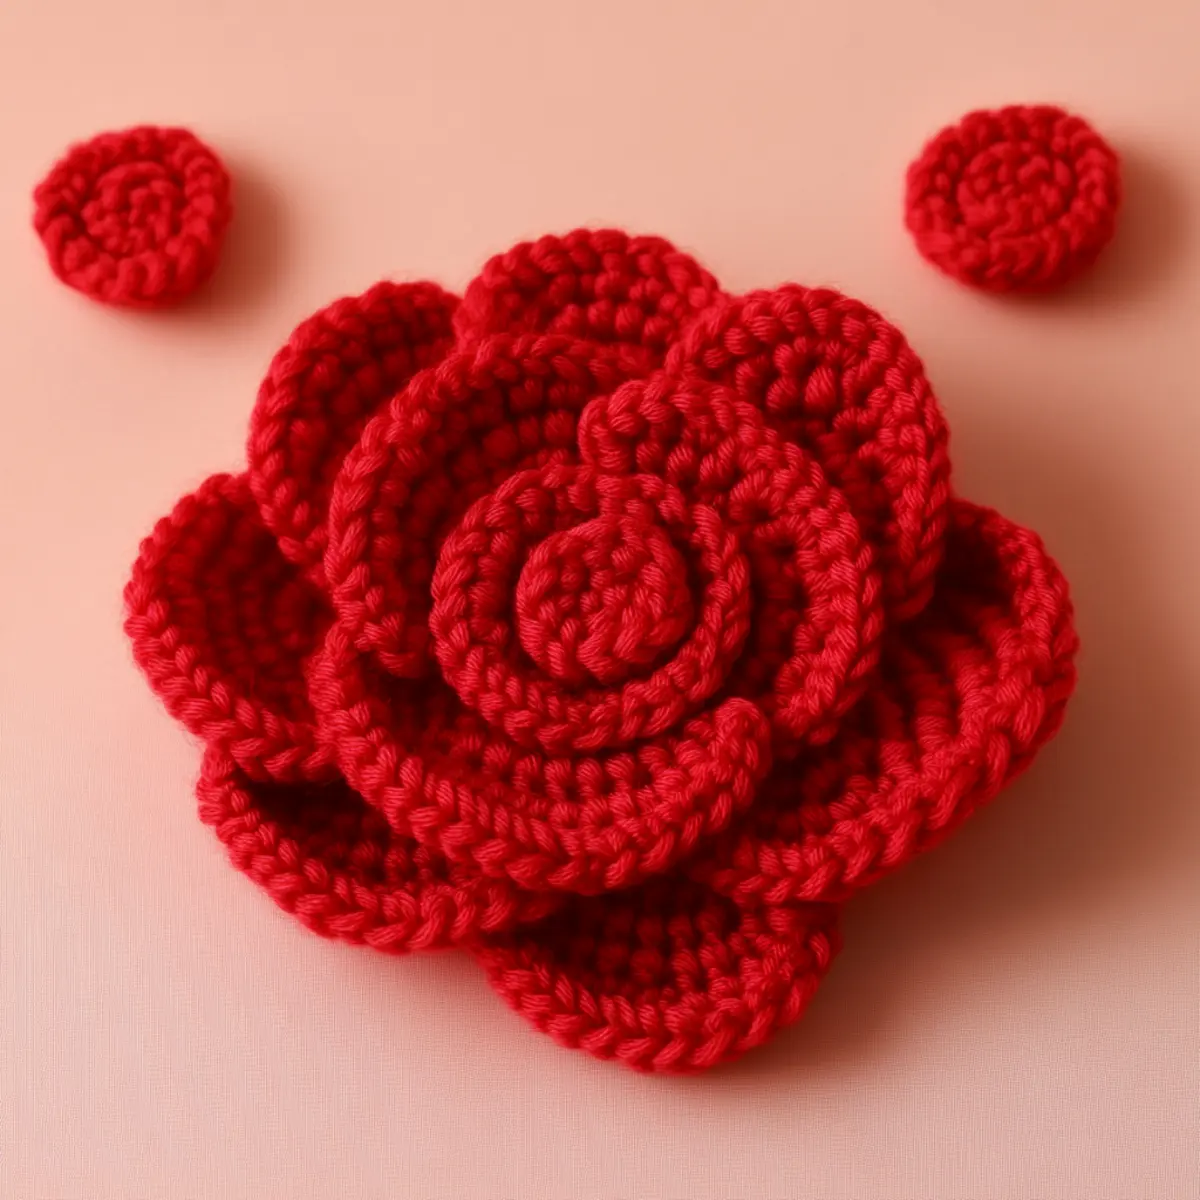
Easy Crochet Rose Variations
Customize your Easy Crochet Rose to make it truly unique!
- Color Variations: Experiment with shades like pink, lavender, or even fun rainbow yarn for a vibrant twist on this classic flower.
- Yarn Types: Using a shimmering yarn can elevate your rose, lending a magical touch, while a chunky yarn creates a bold statement piece.
- Size Adjustments: By altering your hook size or using bulkier yarn, you can create larger roses ideal for dramatic displays or smaller ones perfect for hair clips.
- Texture Enhancements: Incorporate a textured yarn, adding depth and personality. A boucle yarn can create delightful ‘petal’ effects that stand out in any arrangement.
- Layering Techniques: Try using a combination of smaller roses in various colors to create a multifaceted bouquet, or layer petals by making additional rows for a fuller appearance.
- Finishing Details: Add leaves crocheted in green or fabric accents, or even sewing on beads for a bit of sparkle, enhancing the overall charm.
- Seasonal Themes: Create roses in colors that reflect seasonal preferences—reds and greens for Christmas, or pastel hues for Easter—making them perfect for any occasion.
With these variations, your Easy Crochet Rose can fit perfectly into countless settings, from everyday decor to special events. For more inspiration, check out Crochet Flower Pattern for additional floral designs or learn how to use different textures with our Sew Crochet Flower guide.
Expert Tips for Your Easy Crochet Rose
- Tension Control: Maintain even tension throughout your project to keep petals flat. If stitches are too tight, the rose may curl inwards.
- Count Your Stitches: Regularly check your stitch count! Losing track is common during assembly; using stitch markers can help.
- Start with a Good Foundation: Ensure your initial chain is loose enough but not too loose. A firm foundation chain will help the rose hold its shape.
- Block for Perfection: After finishing, blocking helps open up the petals. It’s crucial for giving your Easy Crochet Rose that polished look.
- Yarn Choice Matters: While worsted weight acrylic is great, trying cotton can yield a beautifully structured rose for various uses.
- Mix Colors Creatively: Don’t hesitate to use multiple colors in your petals! This can add depth and excitement to your Easy Crochet Rose.
How to Wash and Care for Your Easy Crochet Rose
- Machine Washing: You can machine wash on a gentle cycle with cool water. Avoid agitation to maintain the shape of the rose.
- Hand Washing: For a more delicate touch, hand wash with mild detergent and cool water, gently squeeze without twisting.
- Drying: Always lay your Easy Crochet Rose flat to dry. Avoid hanging, as this could distort its beautiful shape.
- Storage: Store in a dry place, possibly in a breathable bag or box, to protect it from dust while keeping its shape intact.
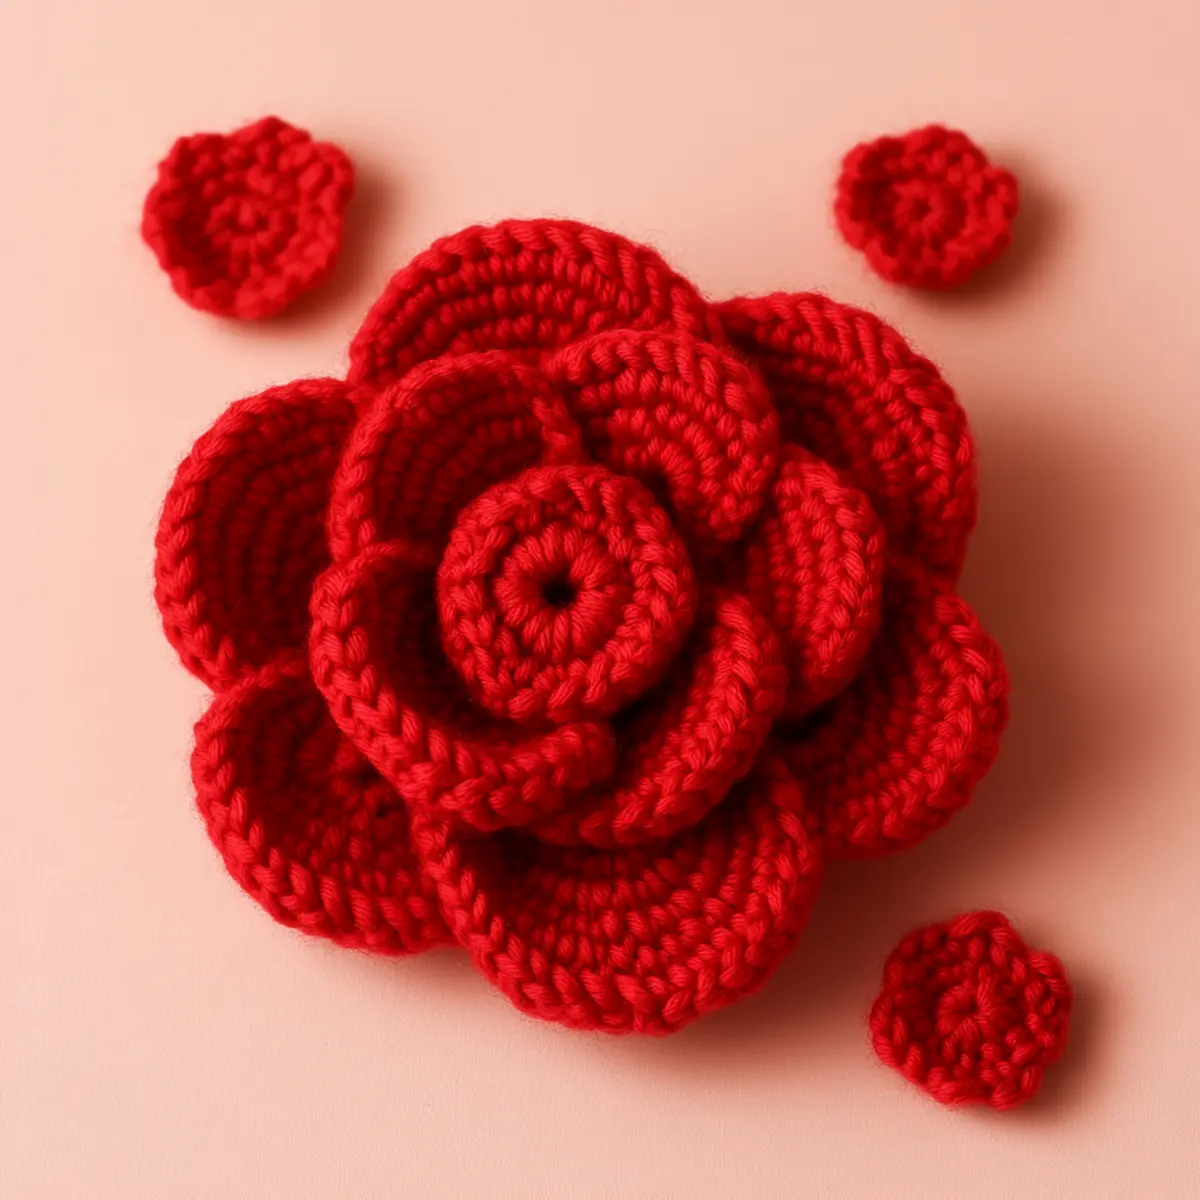
Easy Crochet Rose FAQs
Can I use different yarn types for the Easy Crochet Rose?
Absolutely! While worsted weight yarn works best, experimenting with cotton or even novelty yarn can create unique looks.
How can I adjust the size of my crochet rose?
To resize, you can change your hook size or adjust the starting chain in multiples of six. Ensuring your gauge matches the 12 dc and 8 rows per 4×4 inch swatch is also key!
What if my rose petals curl?
Don’t panic! This can happen if tension is uneven. Try blocking the rose lightly and check your tension while crocheting.
How many stitches should I have at the end?
Your final row should maintain around 78 stitches after assembly. Keeping track of your increases and decreases is essential!
What hook size is recommended for this project?
A 5.0 mm (H-8) crochet hook is ideal for worsted weight yarn to achieve the perfect stitch density and texture.
Can I make smaller roses for hair clips?
Definitely! Use a smaller hook and a thinner yarn to create petite versions of your Easy Crochet Rose. They’re perfect for hair accessories and embellishments!
Leave a Reply