
As a crochet enthusiast with a passion for vibrant and whimsical designs, my journey in fiber arts often leads me to explore charming projects like this strawberry amigurumi doll pattern. The sight of bright red and green makes me smile as I create, and this particular project is delightful on so many levels. Not only is this amigurumi doll an engaging way to practice intermediate crocheting skills, but it’s also wonderfully stash-busting, allowing you to use up those leftover yarn scraps. Each stitch forms a playful character that can warm hearts as a cozy gift or a delightful decoration in your home. Its soft texture and cute features invite hugs from little ones and big kids alike. I’m excited to share not just the joy of creating this piece, but also the charming details that make it a standout project. Whether you’re looking to enhance your skills or simply create something cute, I can’t wait to see how your own unique version turns out. Are you ready to add a dash of sweetness to your yarn collection?
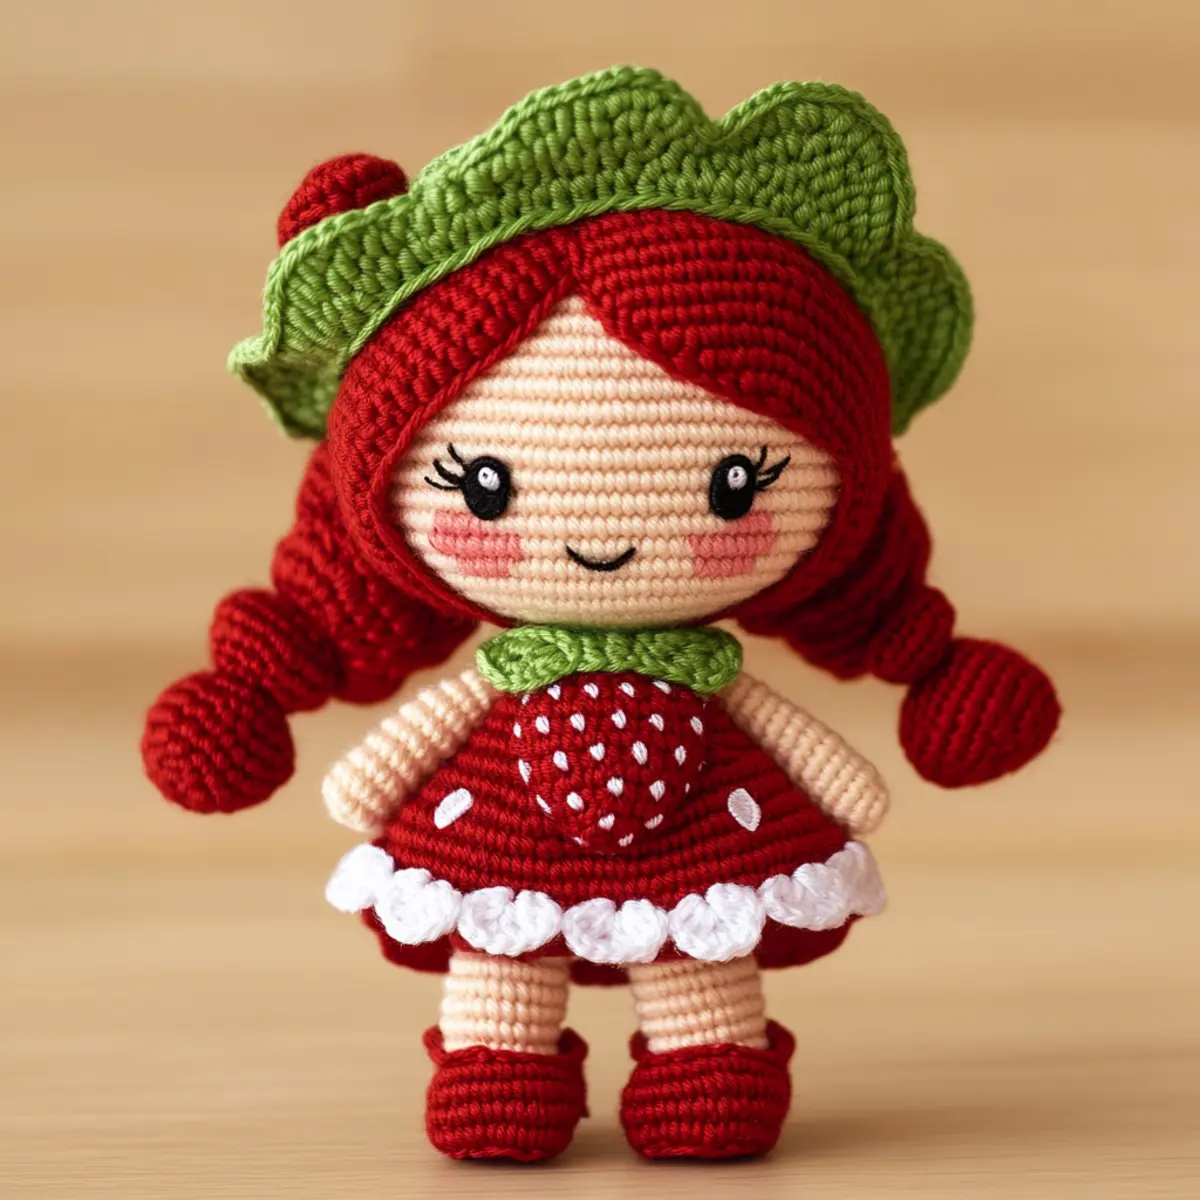
Amigurumi Doll Pattern Materials & Tools
Yarn
Sport-weight cotton yarn – Use 100% cotton for both its softness and durability, ideal for children’s toys. Aim for around 200-300 yards to complete your lovely dolly.
Tools & Notions
2.0 to 2.5 mm crochet hook – A tight tension is essential for neat finishing, so select a hook size that produces tight stitches.
Safety eyes – Choose the size that fits securely into the head, ensuring a playful yet safe finish.
Stuffing – Use polyester fiberfill for maintaining shape and comfort, giving the doll softness for hugs.
Buttons or closures – Add extra charm by selecting colorful buttons as embellishments or closures for the doll’s dress.
Tapestry needle – Essential for weaving in ends and securely attaching parts such as arms and legs.
Stitch markers – Handy for keeping track of rounds and ensuring the doll maintains its intended shape as you crochet.
Why You’ll Love This Pattern
Simplicity is one of the key reasons to fall in love with this amigurumi doll pattern. The straightforward instructions make it accessible for those with a basic grasp of crochet stitches, while still allowing for creativity. Texture comes alive with the vibrant yarn choices, offering a tactile joy that is satisfying to both create and hold. Plus, it’s stash-friendly, making it easy to utilize scraps of yarn and reduce waste. You can customize the aesthetic appeal by selecting different colors for the dress or hair, transforming each doll into a unique personality. The time-saving aspects of this pattern cannot be overlooked either; you will find yourself whipping up adorable creations faster than you imagined. If you enjoy other projects, check out this Cute Customizable Crochet or the Beginner Friendly Crochet collections that enhance your skills while creating pretty pieces. This amigurumi doll not only makes crafting enjoyable but also adds heartwarming character to your environment.
Gauge & Sizing Notes for Amigurumi Doll Pattern
Checking your tension is crucial for the amigurumi doll pattern, particularly since the doll will need to hold its shape well while remaining cuddly. The standard gauge measurement is 4×4 inches (10×10 cm) with 6 sc in 1 inch being a specific target. If your tension doesn’t match the suggested gauge, it might lead to a size discrepancy in the final product. To resize your doll, adjust the starting chain or rounds based on your gauge; this flexibility allows for larger or smaller versions of the amigurumi doll. If your swatch is too loose, change to a smaller hook size to tighten it up. Conversely, if it’s too tight, a larger hook will help achieve greater ease, making it easier to work on your beautiful creation.
Step-by-Step Pattern for Amigurumi Doll Pattern
Row 1: Magic Ring Base
Start with a magic ring and make 6 sc into the ring, pulling tight to close. This forms the foundation of your amigurumi doll. Count your stitches to ensure a solid base. (6)
Row 2: Build Base Upward
In this round, inc in each stitch around to create a round shape. This will help to expand the size of your amigurumi doll. Remember to count as you go! (12)
Row 3: Shaping the Body
Continue with 1 sc in the first stitch, followed by 1 inc in the next; repeat this sequence around. This technique helps form a tapered finish as the doll begins to take shape. (18)
Row 4: Further Body Construction
Crochet 2 sc in the first stitch, then 1 sc in the next 2 stitches, repeat this pattern around. This helps widen the body while keeping a whimsical shape for your strawberry doll. (24)
Row 5: Building the Skirt
For the skirt, begin with a row of 1 sc in each stitch around to establish a solid base. Your doll will soon reveal its charming skirt! (24)
Row 6: Creating Depth and Texture
In this row, incorporate dc stitches after every sc to build a textured ruffled effect at the bottom of the skirt. Varying stitch types adds delightful depth to your amigurumi. (36)
Row 7: Finishing the Skirt
Finish the last round of the skirt with 1 sc, 1 inc in the next; restart to create a ruffled edge that adds a playful essence. Remember to keep the tension snug for a neat finish. (48)
Row 8: Crafting the Head
Use a magic ring again, this time with 8 sc to start the head. The center will allow you to shape the doll’s face full of charm. Count carefully to maintain form! (8)
Row 9: Shaping the Head
In this round, 1 inc in each stitch will be key. Increase the stitches for a round, delightful head that establishes the character of your amigurumi doll wonderfully. (16)
Row 10: Finessing the Head Shape
Continue with 1 sc, 1 inc across the next round. This pattern will help shape the head accordingly while keeping it cute and appealing. Your doll is coming to life! (24)
Row 11: Safety Eyes Addition
Attach safety eyes between rounds once you’ve reached the desired size. Ensure they’re positioned evenly upon the head, making your doll’s face come alive! Eye placement gives each doll personality.
Row 12: Crafting the Limbs
Create legs with magic ring and 6 sc; repeat the process for arms. Each limb requires a consistent tension to ensure proper shaping and fitting as you finish your amigurumi doll pattern. (6)
Row 13: Assembly Time
Once limbs are crocheted, stuff them lightly before securely sewing to the body. Take your time to ensure secure attachment; this will allow your doll to be cuddly and durable!
Row 14: Adding Hair Details
For the doll’s hair, crocheting strands or a full cap and attaching it can create adorable varying hairstyles. This creative addition brings the amigurumi doll pattern to its sweetest finish!
Row 15: Final Touches
Lightly block your completed amigurumi doll to smooth out any uneven stitches. This extra care ensures your doll showcases all the hard work and creativity you’ve put into your project.
Row 16: Personalization
Feel free to personalize your doll with little accessories or a handbag to complement its outfit. Changing colors or styles can make for a charming collection of strawberry-themed amigurumi.
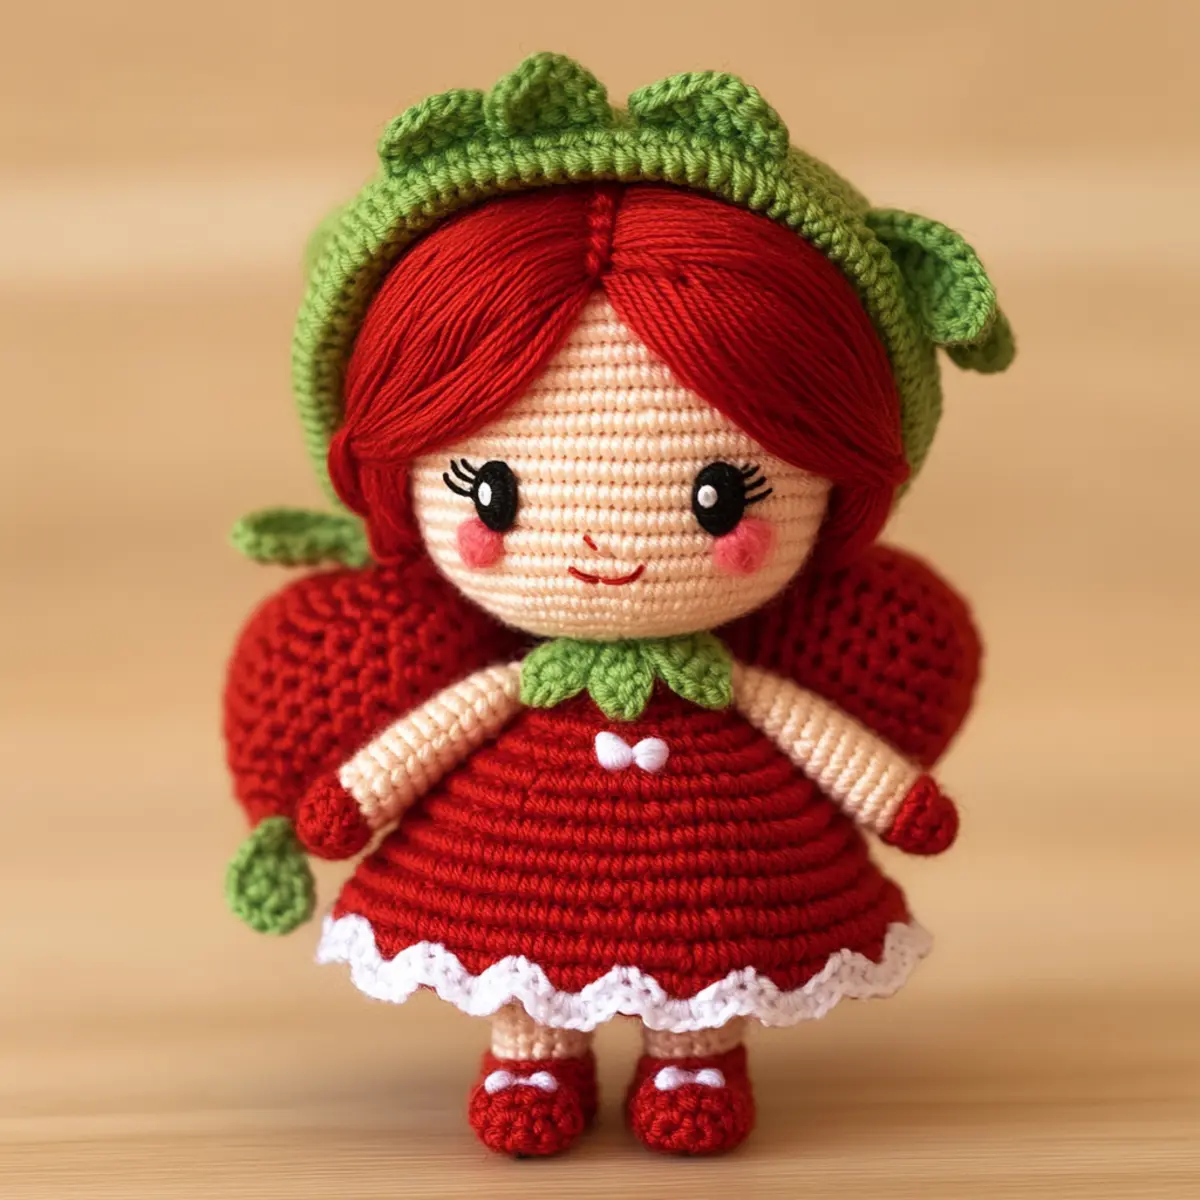
Amigurumi Doll Pattern Variations
Feel free to get creative! There are numerous ways to customize your strawberry-themed amigurumi doll.
- Yarn Choices: Swap out sporty cotton for acrylic or bamboo for a different texture and drape. Experiment to find the best fit!
- Color Customization: Personalize every doll by changing the dress color or even adding patterns. Bright pink or pastel blue can change the whole look.
- Accessory Options: Consider crafting tiny handbags or hats to enhance your doll’s outfit. You can make a stylish accessory that can be swapped out for a cute twist!
- Size Variations: Use a thicker yarn or larger hook for a giant amigurumi doll, perfect as a statement piece or gift for children. Bigger is often better!
- Embellishments: Incorporate buttons or appliqués for extra charm. Sewing on flowers or berries can make your doll unique, giving it a personality of its own!
- Different Themes: Instead of strawberries, create a doll that resembles other fruits, like kiwi or watermelon. They’re fun and add a colorful collection!
- Textural Changes: Use a ruffly yarn to create an even fluffier skirt for your doll, adding an appealing texture for the touch and look.
- Hair Variations: Experiment with different hair colors or styles, such as braids or pigtails, providing variety in your doll’s appearance.
Consider checking out our Cute Customizable Crochet and Crochet Purse Pattern for more inspiration!
How to Wash and Care for Your Amigurumi Doll
Machine Washing: Use a delicate cycle with cold water to gently wash your amigurumi doll. Always place it in a garment bag to avoid snagging.
Hand Washing: For best results, hand wash using mild soap and cold water. Gently agitate to loosen dirt, but avoid wringing out to protect the shape.
Drying: Lay your amigurumi doll flat on a clean towel to dry. Avoid hanging it up as this can distort its shape.
Storage: Store your doll in a cool, dry place away from direct sunlight to prevent fading and maintain its vibrant colors.
Expert Tips for the Best Amigurumi Doll Pattern
Count Stitches: Be diligent in counting each stitch to maintain shape and avoid discrepancies in size. Missing counts can distort your doll’s form.
Avoid Tension Issues: Keep even tension throughout your stitches. Too loose, and stuffing may show; too tight, and your doll may lose its soft texture.
Secure Attachments: Ensure limbs and features are attached securely; this increases durability and lets your doll withstand play. Don’t skimp on stitches here!
Magic Ring Matters: Begin your rounds with a magic ring for a seamless start. This technique ensures a neat centerpiece that won’t unravel.
Experiment with Embellishments: Feel free to personalize your amigurumi doll with buttons, flowers, or accessories. Adding details can bring extra charm and vibrancy to your project.
Lightly Block: After completing your doll, a gentle block can improve the overall shape and polish your work, making it look more professional and delightful.
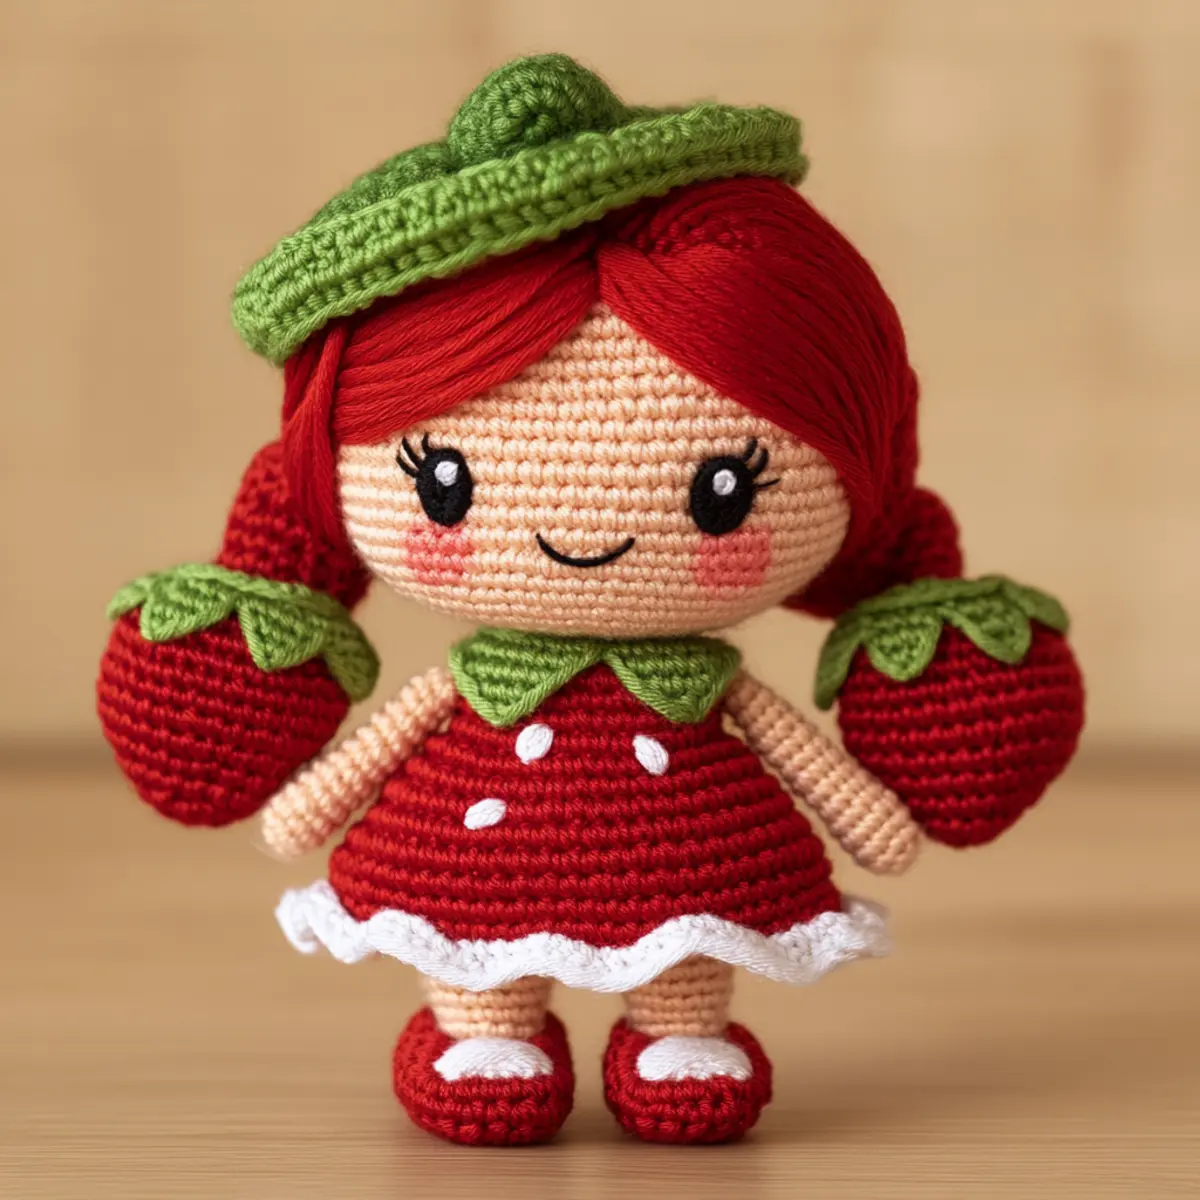
Amigurumi Doll FAQs
Can I use different yarns for this pattern?
Absolutely! You can substitute with other sport-weight yarns, but ensure they are similar in texture and weight to maintain the doll’s shape. It’s a great stash-busting project!
How can I adjust the size of my amigurumi doll?
To resize, adjust the starting chain or row counts based on your gauge. A smaller hook will tighten stitches and create a smaller doll, while a larger hook can make it bigger.
What if my stitches are curling?
If you notice curling during your project, check your tension. A tighter tension tends to lead to curling. Consider using a looser stitch, especially at the beginning.
What hook size should I use?
For the amigurumi doll pattern, it’s generally recommended to use a 2.0 to 2.5 mm crochet hook. This should help achieve tight, clean stitches needed for shaping.
How do I fix dropped stitches?
Don’t panic! If you find a dropped stitch, simply use a tapestry needle to help weave the thread back into place and secure it properly.
Can I personalize the doll?
Yes, absolutely! You can customize by changing yarn colors for the hair and dress or adding themed accessories like handbags, enhancing each doll’s unique personality.
Leave a Reply