
As the days grow warmer and blooms burst with color, I find myself yearning for a fresh, functional accessory that captures the spirit of spring. That’s where my “Bloom into Spring: Handmade Crochet Purse” pattern comes in. This vibrant creation not only serves as a stylish companion for sunny strolls but also offers a fantastic way to showcase your love for eco-friendly crafting. With its beginner-friendly techniques and ability to personalize, this purse makes for the perfect project whether you’re keeping it for yourself or crafting a thoughtful gift for someone special. Plus, with the therapeutic rhythm of crochet, you’re sure to find joy in every stitch. Ready to bring a bit of springtime magic to your crochet hook? Let’s dive in!
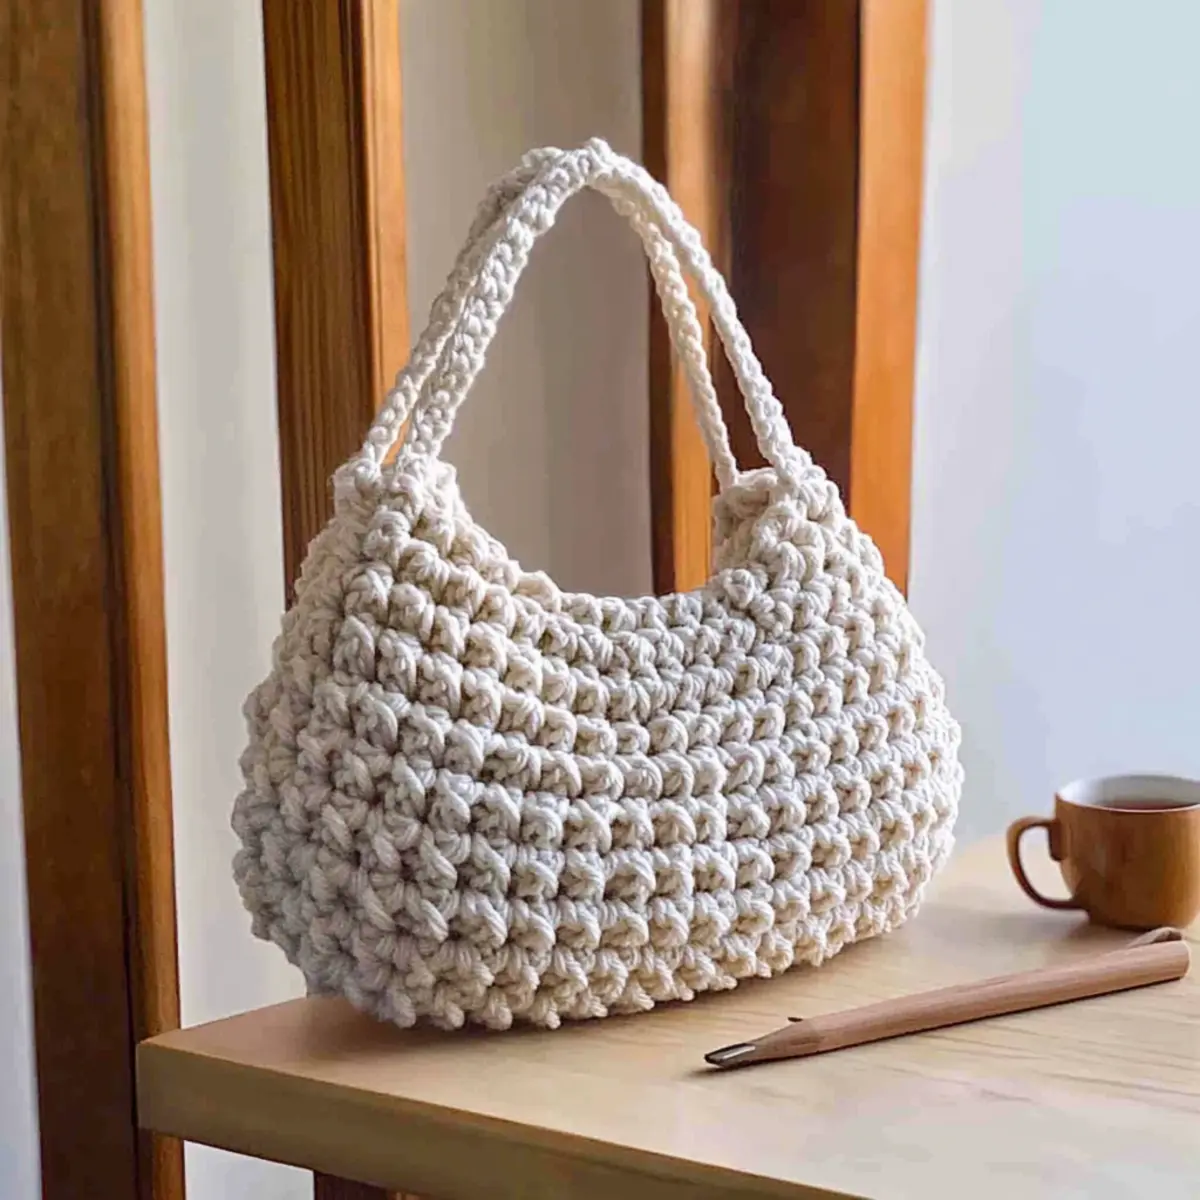
Spring Blossom Crochet Purse Materials & Tools
Create your unique, eco-friendly accessory with these essentials!
Yarn
• Soft Cotton or Acrylic Yarn – Choose worsted weight (4) and approximately 200-300 yards for a perfectly sized purse.
Tools & Notions
• 5 mm (H/8) Crochet Hook – Ideal for achieving the right tension and texture in your stitches.
• Stitch Markers – Use them to keep track of rounds as you crochet your lovely purse.
• Tapestry Needle – A must for weaving in ends and finishing your project neatly.
• Optional Embellishments – Consider adding tassels or beads for a personalized touch!
Feel the joy of crocheting this spring-inspired purse, handcrafting your own vibrant piece while embracing eco-friendly practices!
Why Should You Crochet This Purse?
Vibrant Design: This purse radiates spring spirit with its bright colors, making it the perfect eye-catching accessory for sunny days.
Eco-Friendly: Crafted from natural fibers, you’ll enjoy the satisfaction of creating a sustainable piece that’s kind to the planet.
Therapeutic Hobby: Immerse yourself in the relaxing rhythm of crochet as you create, making it a wonderful way to unwind.
Personal Touch: Customize color schemes and embellishments, turning this project into a truly unique gift or cherished item for yourself.
Easy Techniques: With beginner-friendly stitches, even novice crafters will feel confident tackling this delightful project.
Consider exploring more ideas on how to make personalized gifts that reflect your style as you crochet!
Gauge & Sizing Notes
Don’t skip the gauge swatch! Ensuring your tension is spot-on for the “Bloom into Spring: Handmade Crochet Purse” is essential for achieving the perfect fit and look. The standard gauge for this project is 4×4 inch (10×10 cm) square = 12 single crochets by 10 rows. If you find that your purse is turning out too small, simply adjust by increasing your foundation chain in multiples of 12. Conversely, if your swatch is larger, trying a smaller hook size may help tighten your stitches. Remember, achieving the right crochet gauge not only enhances the appearance of your purse but also ensures it’s practical for everyday use!
Step‑by‑Step Pattern for Bloom into Spring: Handmade Crochet Purse
Row 1: Foundation Chain
Begin by creating a foundation chain of 30 stitches (ch 30). This chain will serve as the base of your purse. Make sure the chain is not too tight; it should have a bit of give. Once completed, join to the first chain with a slip stitch (sl st) to form a ring, making sure your chain isn’t twisted.
Row 2: Single Crochet Base
Chain 1 (ch 1) and work 1 single crochet (sc) in each chain stitch around (30 sc). This creates a solid foundation for the body of your purse. After completing the round, join with a slip stitch to the first single crochet to close the round, ensuring your work lays flat and even.
Row 3: Building the Body
Ch 1 and continue working in rounds. In this row, work 2 double crochets (dc) in each stitch around (60 dc). This will give the purse a wider and more spacious body. Your work should start to form a gentle curve as you progress through the round. Join to the top of the first double crochet.
Row 4: Shaping the Body
Ch 1, then *work 1 dc in the next stitch, followed by 2 dc in the next stitch; repeat from * around (90 dc). This increases the width of the purse while maintaining a nice structure. Keep your tension consistent, and your project should start to appear pouch-like.
Row 5: Continuing the Body
Ch 1 and now work 1 sc in each stitch around (90 sc). This will help to stabilize the shape of your purse as you continue through the body. After finishing, join with a sl st to the first sc to keep the round successful and neat.
Row 6: Creating the Flap
Ch 3 (counts as first dc), then work 1 dc in each stitch around for 3 rounds (90 dc). This part will create the flap closure for the purse. It should feel sturdy and firm while maintaining flexibility. At the end of your third round, slip stitch to the top of the ch 3 to finish this section.
Step 7: Forming the Purse Closure
To finish the flap, work a final round of 1 dc, 1 ch, and skip the next stitch around, creating a decorative edge (45 dc and 45 ch). Your closure should look inviting and tasteful, providing an excellent way to secure the contents of your purse.
Step 8: Adding the Strap
For the strap, attach your yarn to the side of the purse. Ch 100 for a long strap or ch 50 for a shorter one. This part will be key for carrying your purse comfortably. After reaching your desired length, join with a sl st to the opposite side of the purse.
Step 9: Finishing Touches
Weave in any loose yarn ends using a tapestry needle. If desired, add embellishments like beads or tassels to personalize your Bloom into Spring Purse. Rinse your project and lay it flat to dry, ensuring it holds its beautiful shape as you prepare to show it off.
Variations & Substitutions
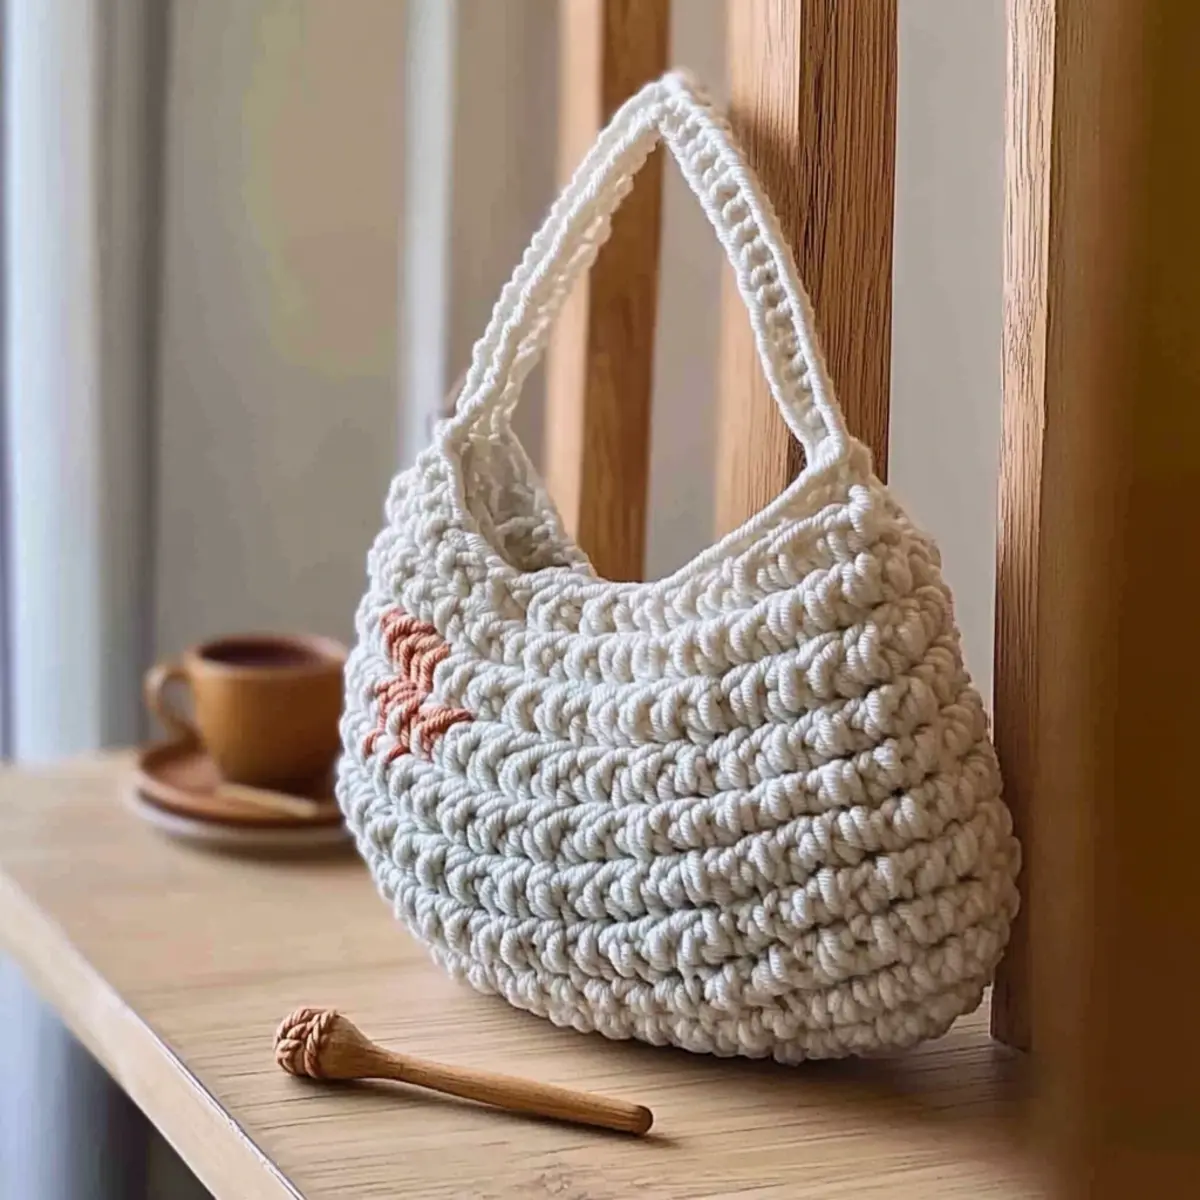
Unleash your creativity and make this crochet purse truly yours with exciting variations!
-
Yarn Swaps: Choose organic cotton for a softer texture or go for vibrant acrylics for more color options.
-
Color Blocking: Combine two or more colors in blocks or stripes to create a unique, eye-catching design. Experimenting with color can reveal your personal style.
-
Size Adjustments: Alter the number of foundation chains to make a smaller clutch or a larger tote, perfectly suiting any occasion.
-
Textured Embellishments: Add a pom-pom or fringe along the purse’s bottom for a playful, bohemian flair. Texture can bring a whole new dimension to your creation!
-
Floral Motif: Integrate flowers or leaves using a basic appliqué technique to infuse springtime charm, making your purse a lovely statement piece.
-
Longer Strap: Modify the strap length to create a crossbody option for more versatility and comfort on the go.
-
Border Detail: Finish with a decorative border, using a contrasting color for a polished look that stands out beautifully.
-
Eco-Friendly Options: Opt for upcycled yarn or natural fibers to enhance the sustainability factor while preserving style. Consider checking out my article on eco-friendly crafting for more tips!
How to Wash and Care for Your Purse
Machine Washing: Use a gentle cycle in cold water, as a protective measure to maintain the integrity of your crochet purse’s unique design.
Hand Washing: For additional care, hand wash in cold water with a mild detergent to prevent any potential felting or pilling of the fibers.
Drying/Blocking: Lay your purse flat to dry, reshaping it as needed to maintain its beautiful form and drape, ensuring it’s ready for every spring adventure.
Storage: When not in use, store your handcrafted purse in a cool, dry place away from direct sunlight to keep the colors vibrant and preserve its eco-friendly charm.
Expert Tips for the Crochet Purse
• Count Your Stitches: Always check your stitch count at the end of each round. It helps maintain the purse’s shape and symmetry.
• Control Tension: Keep your yarn relaxed and untangled as you work. This prevents uneven tension which can lead to puckering or distortion.
• Use Stitch Markers: Place a stitch marker at the beginning of each round to avoid losing your starting point, ensuring a neat, finished look.
• Secure Your Ends: When weaving in loose yarn ends, take your time to ensure they’re neatly tucked in. A clean finish enhances the overall presentation of your purse.
• Block for Shape: Remember to block your finished purse to achieve the ideal shape and drape. This step can elevate the overall appearance significantly.
As you create this beautiful purse, enjoy the journey of crafting an eco-friendly treasure!
Bloom into Spring: Handmade Crochet Purse FAQs
Can I use a different yarn type for this purse?
Absolutely! While I recommend using soft cotton or acrylic yarn for the best results, you can also experiment with other yarns. Just keep in mind that different fibers may affect the texture and drape, so go for worsted weight (category 4) with a similar yardage of 200-300 yards for optimal results.
How can I adjust the size of my crochet purse?
No worries! To make your purse smaller or larger, simply adjust the number of foundation chains. For instance, if you want a wider purse, chain in multiples of 3 + 1. If you need it longer, you can increase the number of body rows accordingly!
What should I do if my crochet work is curling?
Don’t panic! Curling might indicate that your tension is too tight. Try relaxing your grip on the yarn and using a larger hook size. If the curling persists, blocking the finished purse can help flatten it out and give it a lovely shape.
What size hook should I use for this project?
For this particular purse pattern, I suggest using a 5 mm (H/8) crochet hook. This size works perfectly with worsted weight yarn and provides a nice balance between tight stitches and flexibility.
How do I fix a dropped stitch in my row?
It’s an easy fix! If you notice a dropped stitch, just loop a yarn needle through the stitch and pull it back up to the appropriate height. Secure it as you continue crocheting, and weaving in those ends will help keep everything nice and tidy!
What do I do if my stitches look uneven?
If your stitches seem uneven, check your tension first. Try to maintain consistent pressure on your yarn as you work. If you still see irregularities, practice makes perfect! Don’t hesitate to rip back a few rows and redo if necessary; your masterpiece will thank you for it!
Leave a Reply