
As I settled into my favorite nook with a cup of tea, the soothing rhythm of my hook and yarn started to weave a sense of calm around me. Today, I’m thrilled to share the “Charming Sunburst Granny Square Baby Blanket Pattern,” a delightful project that combines both relaxation and creativity. Perfect for crafters of all levels, this beginner-friendly design not only fosters a meditative crocheting experience but also allows you to experiment with a rainbow of colors. Imagine wrapping up a little one in a soft, cozy blanket, each sunburst square lovingly crafted by your hands. With its clever construction and customizable options, this blanket is sure to be a cherished gift for any new arrival. Are you ready to bring a burst of warmth into your crochet journey? Let’s get started!
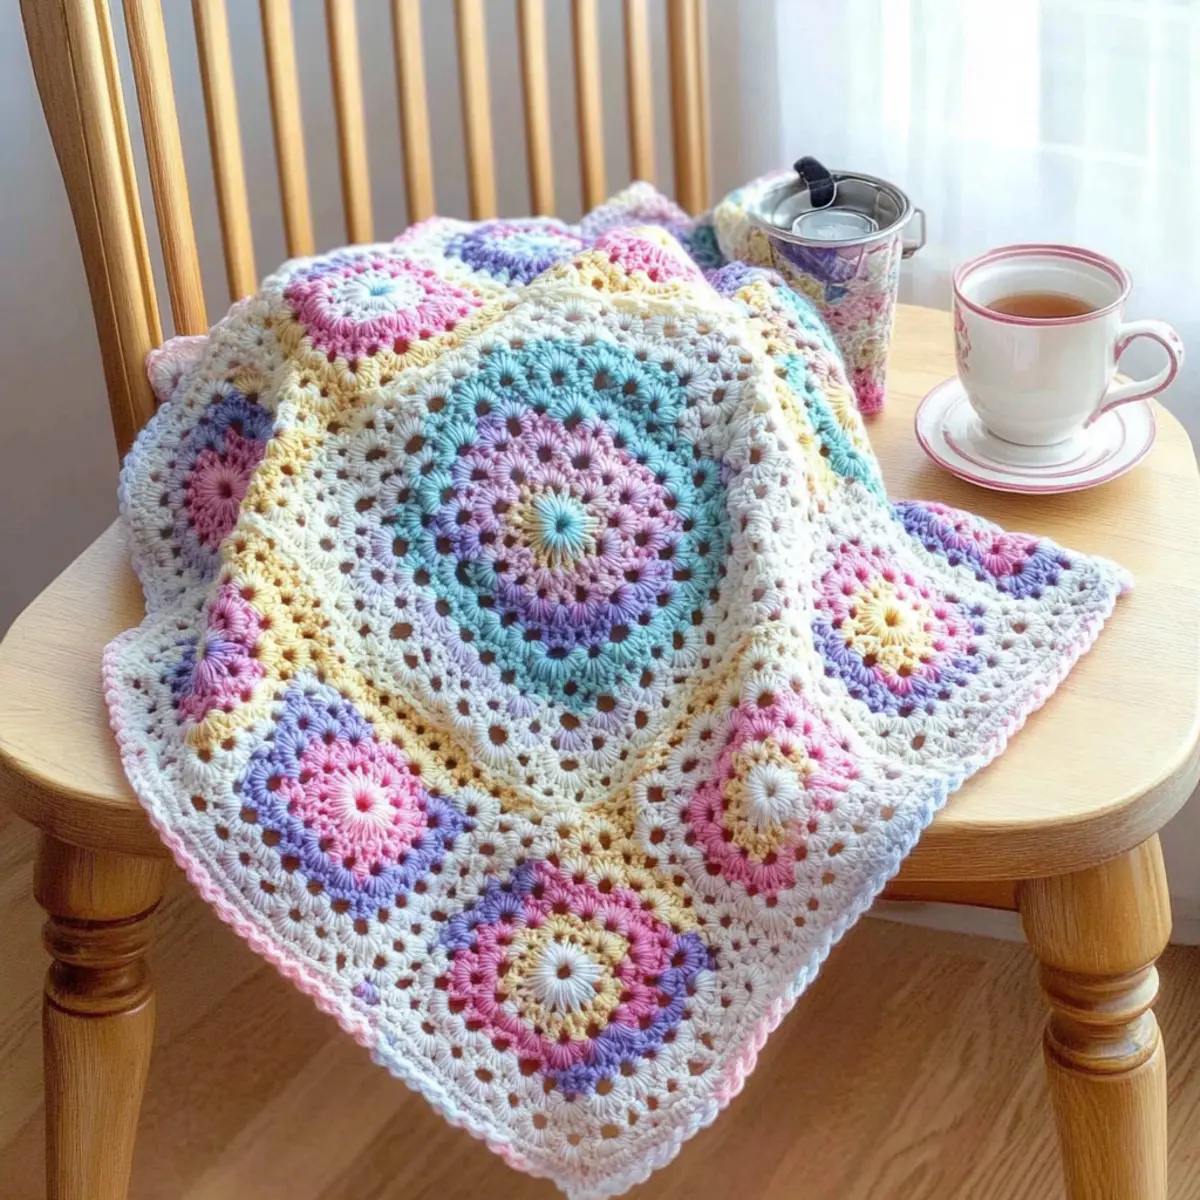
Charming Sunburst Granny Square Materials & Tools
Yarn
• Worsted Weight Acrylic Yarn – Use Paintbox Yarns Simply Aran for a soft and comfy finish; you’ll need:
- 1 ball each of Color A (Banana Cream)
- 1 ball each of Color B (Duck Egg Blue)
- 1 ball each of Color C (Pale Lilac)
- 2 balls each of Color D (Candyfloss Pink)
- 2 balls each of Color E (Champagne White)
Tools & Notions
• 5.0mm (H/8) Hook – This size is ideal for creating those lovely sunburst squares.
• Tapestry Needle – Essential for weaving in ends and finishing your blanket neatly.
• Stitch Markers (Optional) – Helpful for keeping track of rounds, especially if you’re new to crochet.
Get ready to dive into this joyful crochet project and create a beautiful baby blanket!
Why Is This Pattern So Special?
Versatile & Customizable: This pattern’s design allows you to play with color combinations, making it suitable for any nursery decor. Easy to Follow: Even beginners can join in, thanks to clear instructions that guide you through each step of the sunburst granny square. Meditative Crafting: Enjoy a relaxing crafting session as you create each square, perfect for stress relief. Cuddly Softness: The use of worsted weight acrylic ensures a soft and comfortable finish, ideal for babies. Plus, the overall aesthetic is perfect for anyone looking to add a personal touch to their projects! Whether you’re gifting it or keeping it for your own little one, this blanket radiates charm and warmth.
Gauge & Sizing Notes
Don’t skip the gauge swatch! Checking your tension is key for the Charming Sunburst Granny Square Baby Blanket, ensuring your squares fit perfectly when joined. Your standard gauge should be a 4×4 inch (10×10 cm) square, which equals 12 double crochets by 8 rows. If you find your squares coming up smaller or larger, you can easily adjust the sizing; for instance, to enlarge this blanket, increase your starting chain in multiples of 6. If your swatch is too small, simply go up a hook size to achieve that cozy fit you desire. Happy crocheting, and enjoy crafting your perfect baby blanket!
Step‑by‑Step Pattern for Charming Sunburst Granny Square Baby Blanket
Round 1: Start Your Granny Square
Begin with a magic ring and chain 3 (counts as your first double crochet). Work 11 double crochets (dc) into the ring, then pull the ring tight to close. Slip stitch (sl st) into the top of the beginning chain 3 to join. Your first round should have 12 double crochets and form a small circle.
Round 2: Building the Petals
Chain 3 to start this round (counts as the first dc). Into each of the next 2 stitches, work 2 double crochets (2 dc) creating a petal shape. Skip 2 stitches, then in the next stitch, repeat the 3-dc formation. Continue this pattern around, ending with a slip stitch to join in the top of the chain 3, giving you 4 petals.
Round 3: Expanding the Blooms
Chain 3 to begin the round. In the first petal, work 2 double crochets (dc), chain 2, and 2 dc all in the same space to create an expanded petal. For each subsequent petal, work the same 2 dc, chain 2, 2 dc combination. Join your round with a slip stitch in the top of the chain 3, resulting in 4 larger petals with 2 chains in between.
Round 4: Adding Color and Depth
Switch to Color A and chain 3. In the same space, work 2 double crochets (dc), chain 2, and 3 dc to form a corner. Move to the next space and add 3 double crochets (dc). Continue around, creating a corner in each of the corner spaces while adding 3 dc in between. Join with a slip stitch to the top of the chain 3, ensuring a total of 20 stitch counts between corners.
Round 5: Finishing Touch on the Square
At this stage, join Color B and chain 3. In each corner, work 3 double crochets (dc), chain 2, and another 3 dc. In the spaces between corners, work 3 double crochets in each; this will create a larger square frame. Finish with a slip stitch into the top of the chain 3. Each side of your granny square should now have 20 stitches.
Step 1: Assemble the Squares
Once you have completed 16 sunburst squares, lay them out in your desired pattern. Using a tapestry needle, join each square together by slip stitching through the front loops of adjacent squares, creating a seamless look. This final assembly phase will give your charming sunburst granny square baby blanket its lovely cohesive design.
Step 2: Add the Border
Attach Color D at any corner space and chain 3. Work 1 extended double crochet (edc) in the same space. Continue around the blanket, adding 1 extended double crochet in each stitch, and 3 shell stitches (5 dc in one stitch) in each corner. After five rounds, finish with a slip stitch to close. Your border should feel plush and rounded, enhancing the cozy appeal of the entire blanket.
Step 3: Final Decorative Touch
To give your border a whimsical finish, chain 3 and then begin making picot stitches (chain 3, slip stitch into the base) every few stitches around the edge. This creates a delightful, delicate finish to your charming sunburst granny square baby blanket. After slipping into the first picot stitch to join, weave in all ends and block your squares for the best result.
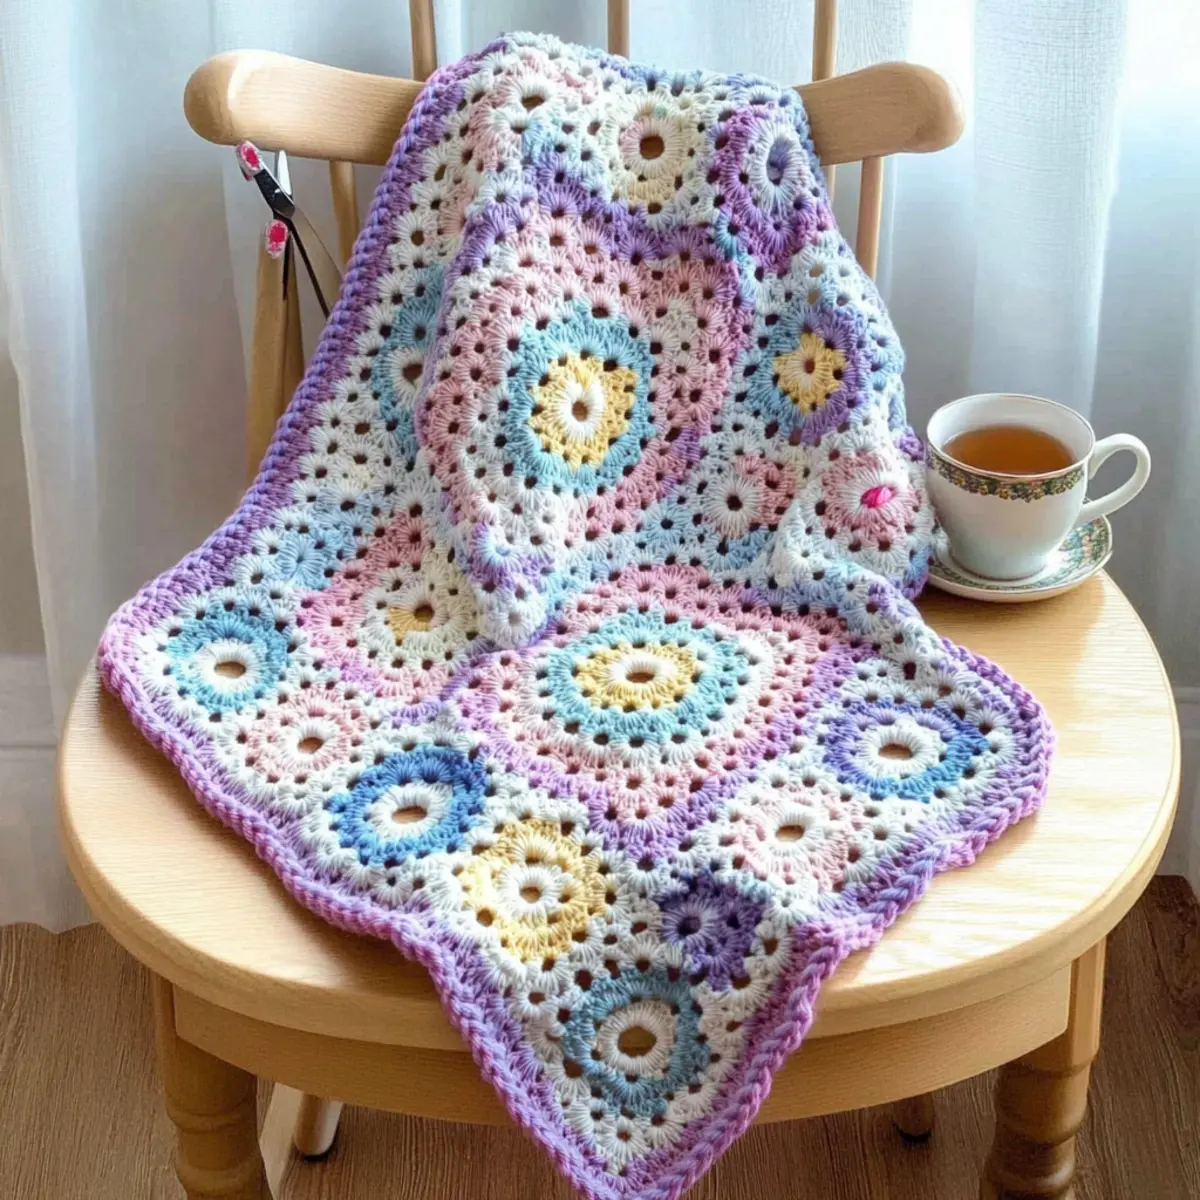
Washing & Care for Your Sunburst Granny Square Baby Blanket
-
Machine Washing: Use cold water on a gentle cycle to protect the vibrant colors and delicate texture of your sunburst granny square blanket.
-
Drying: Tumble dry on low heat to maintain the softness and integrity of the acrylic yarn. Always avoid high heat to prevent shrinking.
-
Blocking: After completing your blanket, consider blocking it to perfect its shape and enhance the beautiful sunburst design.
-
Storage: When not in use, store your baby blanket in a cool, dry place away from direct sunlight to preserve its colors and fibers.
Expert Tips for Your Blanket
-
Stitch Count Check: Regularly count your stitches after each round to ensure your sunburst granny squares maintain their shape and size.
-
Tension Matters: Keep your tension consistent throughout the project to avoid uneven squares; practice on a swatch if needed.
-
Block Your Squares: After completing your squares, block them to enhance their appearance, ensuring they lie flat and look polished.
-
Color Arrangement: Play around with different color combinations for each square; lay them out before joining to visualize the overall effect.
-
Joining Techniques: When joining your squares, ensure your tension is not too tight; this will help the blanket drape more beautifully.
Cozy Sunburst Granny Square Variations
Embrace your creative spirit and discover how you can make this crochet blanket uniquely yours!
-
Yarn Weight Swaps: Experiment with lighter or heavier yarns, like DK or bulky, for different textures and warmth levels.
-
Fiber Alternatives: Try using cotton yarn for a breathable summer blanket, offering a delightful twist on the traditional acrylic feel.
-
Color Blocking Ideas: Create vibrant color blocks by varying the arrangement of your granny squares for a lively and spontaneous look.
-
Size Adjustments: Simply add more squares to increase the blanket’s size, ensuring it’s perfect for snuggling up with your little one.
-
Textured Borders: Add a playful touch with textures, such as incorporating a fringed or shell stitch border for that extra flair.
-
Pom-Pom Additions: Attach pom-poms at the corners of the blanket for a fun, whimsical finish that’s sure to delight!
-
Seasonal Themes: Create multiple mini-blankets for different seasons; think warm autumn hues or soft pastel colors for spring.
-
Embroidered Accents: Consider adding simple embroidery or appliqués to your squares for personal touches and meaningful embellishments.
Looking for more ideas? Check out our color blocking techniques to explore even more variations, or discover how to create a crochet border that makes your blanket truly shine!
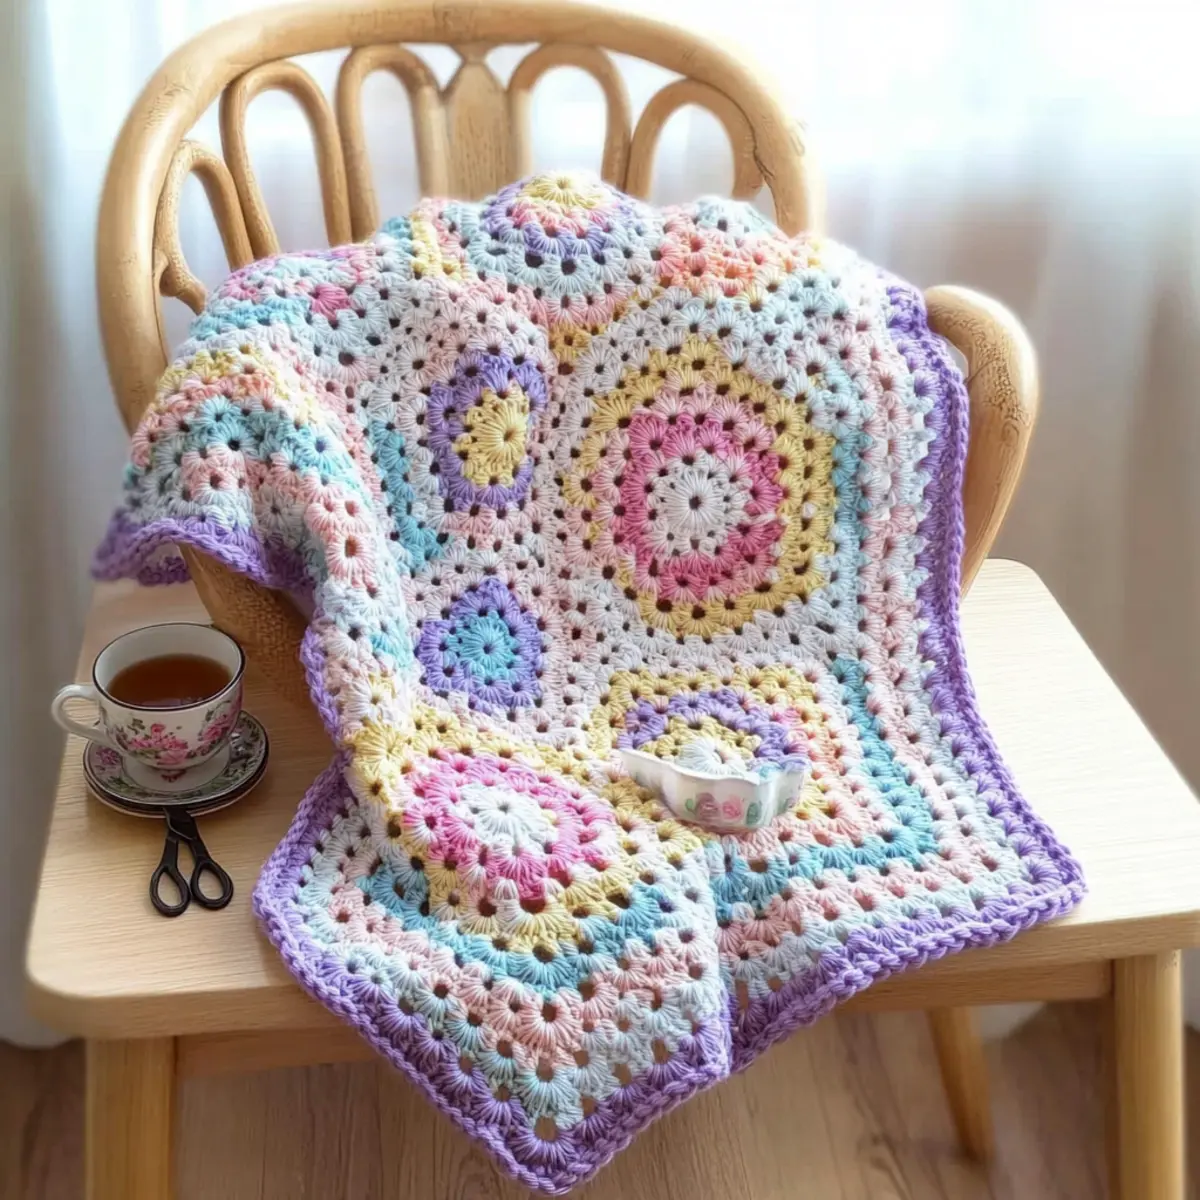
Charming Sunburst Granny Square Baby Blanket FAQs
Can I use a different type of yarn instead of acrylic?
Absolutely! If you prefer a natural fiber, cotton can work beautifully for a soft finish. Just keep in mind that different fibers may affect the drape and texture. I recommend checking your gauge to ensure your squares maintain proper size.
How can I make my blanket larger?
To increase the size, simply add more squares! For every square you add, remember to adjust the border accordingly. You can also increase the number of rounds in each sunburst square for a larger, more substantial blanket.
Why is my work curling at the edges?
Don’t panic! This issue often arises from tight stitches or uneven tension. To fix it, try loosening your grip while crocheting. If your circle is buckling like a bowl, make sure you’re following the indicated stitch counts per round and consider blocking your squares after finishing.
What hook size should I use for variations in yarn?
If you choose a different weight of yarn, be sure to select a hook size recommended on the yarn label. For worsted weight yarn, a 5 mm (H/8) hook is typical, but going up a hook size can help if you’re finding the fabric too dense.
How do I fix dropped stitches in my granny squares?
It’s an easy fix! You can usually just pull the yarn back to the previous stitch and redo it. For a more secure repair, use a tapestry needle to weave in the loose ends after you’ve re-crocheted that stitch.
Can I mix different color schemes throughout the project?
Yes! One of the joys of this pattern is its customization. Feel free to experiment with different shades and combinations for each square. Laying out your squares before joining them can help you visualize the overall effect and make adjustments as needed.
Leave a Reply