
There’s nothing quite like the joy of crafting tiny treasures for little ones, and this Free Striped Crochet Baby Hat Pattern is a delightful way to spread warmth and love. Whether it’s for a baby shower gift or to keep your own little one snug, this cozy project is not only quick to work up but also beginner-friendly, perfect for those just starting their crochet journey. You can customize it with your favorite colors and watch it transform into an adorable beanie that’s perfect for any occasion. With sizes ranging from newborn to 5 years, everyone will have a chance to sport this charming hat. Let’s dive in and create something heartwarming together – your stitches are waiting!
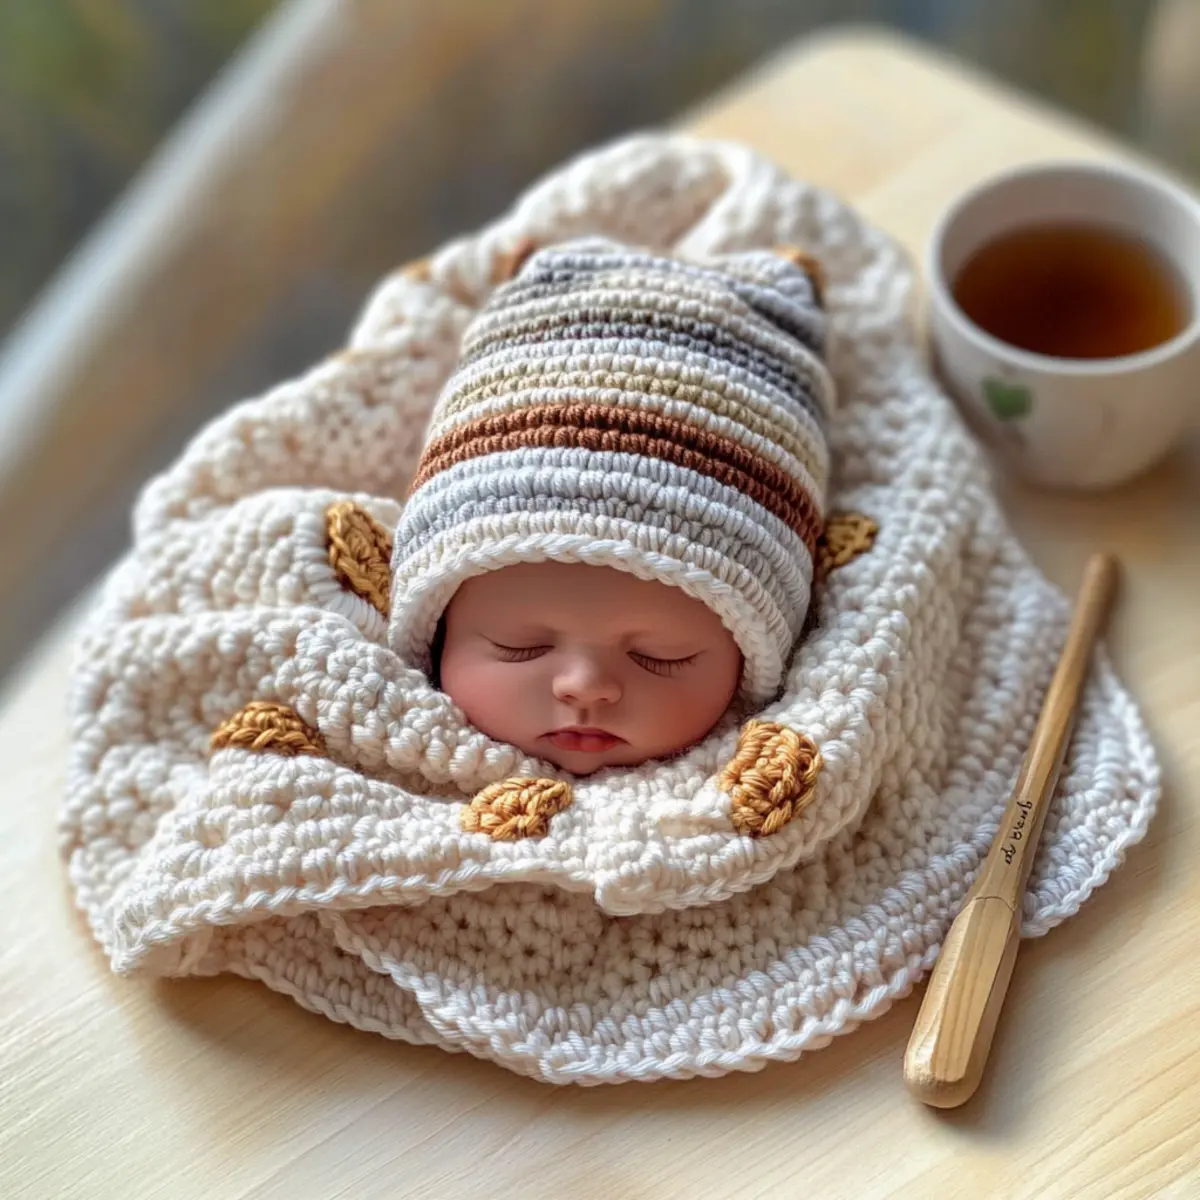
Striped Crochet Baby Hat Materials & Tools
Get ready to create an adorable hat that keeps little heads cozy!
Yarn
• DK Weight Yarn – Approximately 323 yards (295 meters) for the main color; Stylecraft Special DK is a great choice!
• Contrasting Color Yarn – Just scrap amount needed; use a similar DK or light worsted for best results.
Tools & Notions
• G (4mm) Hook – Perfect for size 0-3 months; helps create a snug fit.
• H (5mm) Hook – Needed for sizes 6-12 months & 1-2 years; allows for a cozy texture.
• J (6mm) Hook – Essential for sizes 2-3 years & 3-5 years; ensures a comfortable stretch.
• Stitch Markers – Totally optional but helpful for beginners to keep track of rounds!
• Tapestry Needle – Ideal for weaving in those ends and giving your hat a polished finish.
With these materials, you’re all set to embark on your cozy crafting adventure!
Why is This Hat a Must-Make?
Versatility & Sizes: This pattern caters to a variety of ages, from newborn to 5 years, ensuring that every little one can enjoy its warmth. Whether you’re preparing for a baby shower or knitting gifts for friends, this hat fits the bill!
Quick & Easy: Perfect for beginners, this project uses simple stitches that make it easy to keep your rhythm as you crochet. You’ll be surprised at how fast it works up, and soon enough, you’ll have a delightful collection of hats ready to gift or wear.
Customizable Colors: With the option to mix and match colors, you’ll create unique designs that reflect your style or the recipient’s favorite hues. Check out how to make it even more personal with our tips on adjusting colors for any occasion!
Comfortable Texture: The blend of DK yarn used results in a soft, cozy fabric that feels great against a baby’s delicate skin. This hat not only looks adorable but also provides necessary warmth for those chilly outings.
Endless Options: Feeling creative? This pattern encourages personalization, allowing you to modify the length of the brim and body to achieve your desired slouchiness. It’s truly a project that caters to your imagination!
If you’re eager to start making adorable gifts that keep little heads snug and stylish, jump into this free pattern that guarantees satisfaction and smiles!
Gauge & Sizing Notes
Don’t skip the gauge swatch! Checking your gauge is essential for ensuring that your Cozy Striped Crochet Baby Hat fits perfectly on those little heads. Aim for a 4×4 inch (10×10 cm) square that measures 5 rounds for a diameter of approximately 4 inches for the 0-3 month size. To adjust the size of your hat, simply increase your starting chain in multiples of 6 plus the additional stitches needed for your desired size. If your tension doesn’t match and your swatch is too small, you can go up a hook size to achieve the correct crochet gauge. Happy crocheting!
Step‑by‑Step Pattern for Striped Crochet Baby Hat
Row 1: Start the Crown
Begin your cozy striped crochet baby hat by making a magic circle or chaining 4 and joining to form a loop. Work 12 double crochet (dc) stitches into the circle or loop, ensuring the circle closes without gaps. Pull the tail to tighten the center. Your work should form a small, tight circle (12 sts).
Row 2: Increase Round
For the next round, start with a chain 2 (counts as first dc). Work 2 dc in each stitch around to create increases, which will start forming the crown shape. Remember to mark the beginning of your round if you’re a beginner! You should end up with a total of 24 stitches (24 sts), and the crown should start to curve upwards.
Row 3: Another Increase Round
Continue the cozy hat by chaining 2 and working 1 dc in the first stitch, then 2 dc in the next stitch all around. This pattern will help expand the crown further. Maintain stitch counts by marking your starting point and counting carefully at the end. This round will give you a total of 36 stitches (36 sts) with a nice flat circle.
Row 4: Final Increase Round
In this round, chain 2 and follow the pattern of 1 dc in the first two stitches, then 2 dc in the next stitch. Repeat this around to continue increasing to shape the crown, culminating in 48 stitches (48 sts) at the end. Your work should now measure about 4 inches across.
Row 5: Establish the Body
For this round, simply chain 2 and work 1 dc in each stitch around without increases. This will start forming the body of your striped crochet baby hat. Remember to keep a steady tension, and you’ll notice that the hat begins to grow taller. Continue until you reach 48 dc stitches.
Row 6: Build the Body
Continue with another round of 1 dc in each stitch around. Your cozy striped crochet baby hat should start to take shape as the body grows. Count your stitches to ensure consistent width and maintain the correct stitch count of 48 stitches.
Row 7: Add Contrasting Stripe
Now it’s time to change to a contrasting color! Chain 2 and work in dc in each stitch around. This will introduce your first stripe for a vivid touch. Remember to use a secure slip knot when changing colors to avoid loose stitches. Finish this round with 48 dc stitches, and you’ll see the contrast in your cozy hat.
Row 8: Alternate Stitch Round
Continue building the striped pattern by changing back to your main color. Chain 2 and alternate between 1 hdc and 1 dc around, creating a lovely textured stripe effect. This round will maintain the stitch count at 48, giving a fresh look to your cozy baby hat.
Row 9: Final Contrast Stripe
Switch to your contrasting color again and work another round of alternating 1 hdc and 1 dc around. This will create a wonderful rhythm in your blanket. Double-check your stitch count remains at 48 stitches so the edges stay even.
Row 10: Prepare the Brim
To create the brim of the cozy striped crochet baby hat, chain 2 and switch back to your main color. Work in back post double crochet (bpdc) around, which will give a beautiful texture and stretch to your brim. Count your stitches as you go; there should still be 48 stitches present.
Row 11: Finish the Brim
In this final round for the brim, continue the back post double crochet and solidify the beautiful edges of your hat. This technique will ensure a comfortably snug fit. Complete the round, maintaining your count of 48 stitches, and your cozy striped crochet baby hat will be just about ready!
Step 12: Weaving in Ends
Once your cozy striped crochet baby hat is complete, take a tapestry needle to weave in any loose ends from your contrasting colors. Ensure that your stitches look neat and secure, preventing any unraveling. Your delightful baby hat is ready to wear or gift!
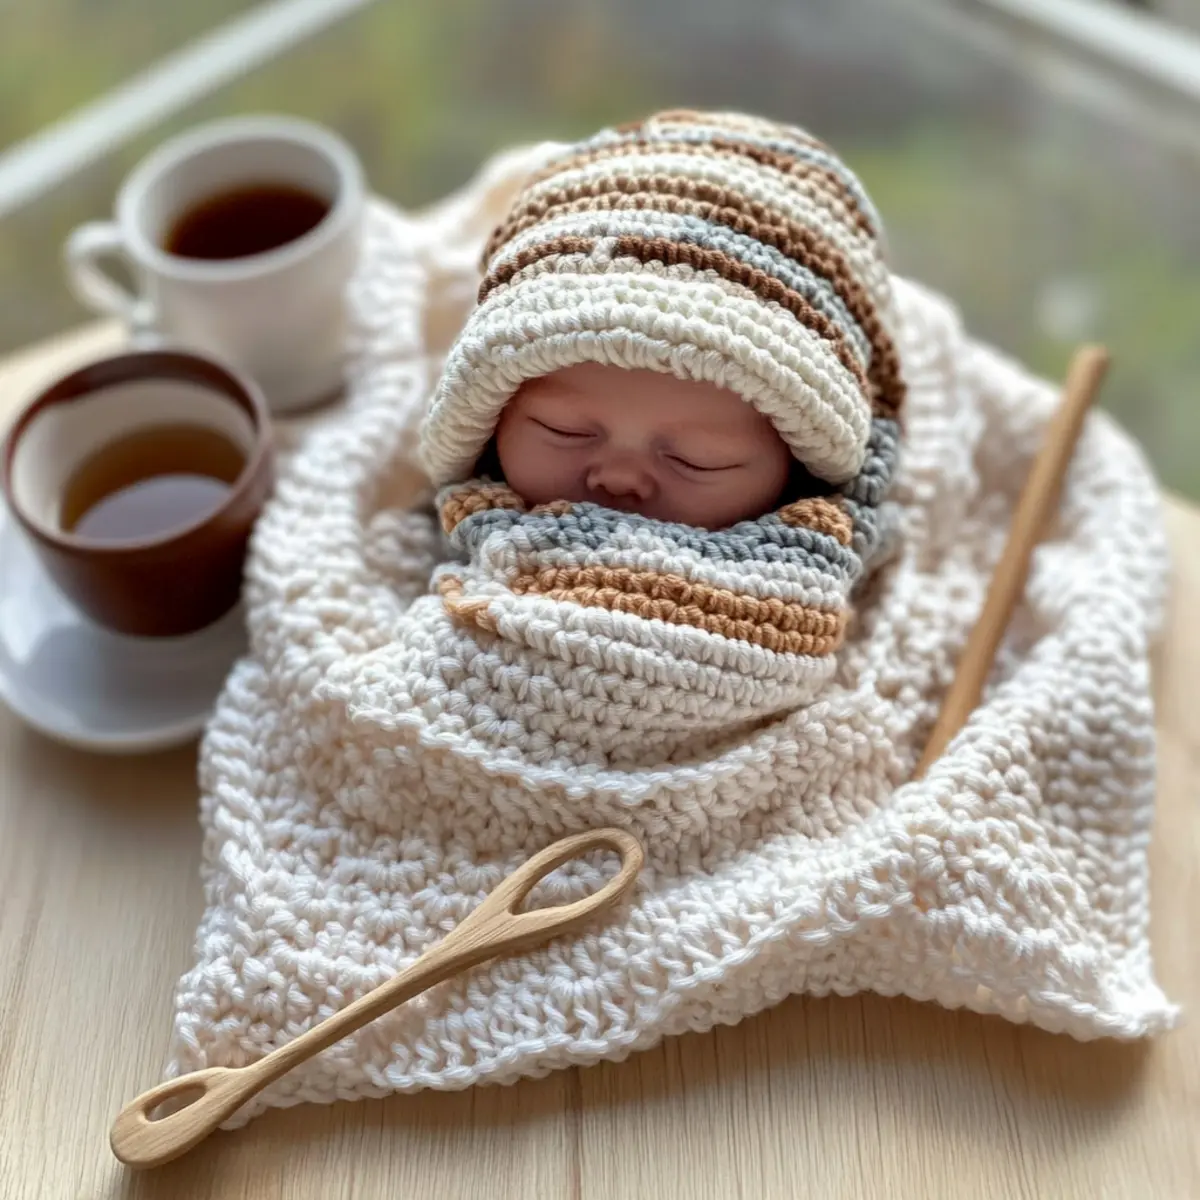
Washing & Care Instructions for Striped Crochet Baby Hat
-
Hand Washing: Gently wash your hat in cool water with a mild detergent to maintain its shape and softness. Avoid agitating to prevent felting or pilling.
-
Drying: Lay the hat flat on a clean, dry towel to reshape while drying. Never hang it up, as this can stretch out the fibers.
-
Storage: Store your striped crochet baby hat in a cool, dry place. Avoid folding it to maintain its shape, especially if it’s been made in a soft DK yarn.
-
Maintenance: Regularly check for any loose threads or trims, weaving in ends securely to ensure your cozy hat looks its best for years of use!
Variations & Substitutions
Let your creativity shine as you explore various ways to customize your crochet hat!
-
Yarn Weight Swaps: Consider using a category #4 (worsted) yarn for a chunkier look and added warmth. This slight change creates a more substantial feel, perfect for colder seasons!
-
Fiber Alternatives: Opt for cotton yarn for a breathable, lightweight option, ideal for warmer climates. It gives the hat a summery vibe, suitable for outdoor playdates!
-
Color-Blocking Ideas: Play with alternating color patterns by switching up yarn colors for each stripe. This can result in bold, eye-catching designs that really pop!
-
Pom-Pom Addition: Add a playful pom-pom on top for an extra touch of fun. Simply create one using leftover yarn, attach it securely, and watch the hat transform!
-
Fringe Effect: Incorporate fringe along the brim for a fun, bohemian look. It adds texture and whimsy, making the hat more visually interesting and delightful!
-
Brim Length Adjustment: Adjust the brim’s length by adding or removing a few rounds. A longer brim can give a slouchy style that’s trendy for toddlers and kids alike.
-
Sizing Modifications: If you need a different fit, use the accompanying PDF for options such as newborn and sizes up to 2-3 years. Tailoring for various ages can create matching family looks!
-
Textured Borders: Finish with a contrasting textured border for added flair! A simple shell stitch can add not only a decorative element but also a sophisticated touch to your cozy hat.
With these customization options, you can create a series of delightful striped hats that fit your needs perfectly! Don’t forget to explore more design ideas for your crochet projects like different yarn weight for beginners or fun embellishments to elevate your work!
Expert Tips for Striped Crochet Baby Hat
-
Stitch Count: Always count your stitches: Keeping track at the end of each round is crucial for maintaining the proper shape of your hat.
-
Use a Marker: Helpful for beginners: Place a stitch marker at the beginning of each round to help you remember your starting point and avoid confusion.
-
Check Tension: Gauge matters: Ensure your tension is consistent by completing a gauge swatch. For size 0-3 months, 5 rounds should measure 4” (10 cm) in diameter.
-
Foundation Chain: Avoid twisting: When starting your foundation chain, make sure it’s not twisted before joining, as this can affect your final shape.
-
Finishing Touches: Weave in ends: Use a tapestry needle to weave in any loose yarn tails neatly; this helps maintain a polished look for your cozy striped hat.
Cozy Striped Crochet Baby Hat FAQs
Can I use a different type of yarn instead of DK?
Absolutely! While DK yarn is recommended for this pattern, you can substitute it with any category #3 yarn. Just keep in mind that the final size and texture might change slightly, so it’s a good idea to check your gauge and adjust your hook size accordingly.
How do I adjust the hat size if I want it bigger or smaller?
It’s simple! To make the hat smaller, reduce the number of rounds in the crown section. For a larger size, you can add extra rounds while keeping the stitch counts consistent. Also, remember that adjusting your yarn weight may affect the final measurements, so always check your gauge.
Why is my work curling at the edges?
Don’t panic! This is usually a common occurrence, especially when working with double crochet. To fix this, ensure you’re maintaining a consistent tension and not pulling your stitches too tightly. If the curling persists, it may help to block your hat after completion to flatten the edges out.
What size hook should I use for different ages?
Great question! For sizes 0-3 months, use a G (4mm) hook; for sizes 6-12 months and 1-2 years, an H (5mm) hook works well; and for sizes 2-3 years and 3-5 years, opt for a J (6mm) hook. This variation ensures a comfortable fit as your little one grows!
How do I fix dropped stitches in my work?
It’s an easy fix! Simply use your tapestry needle to pull the dropped stitch back up through the row below, then reinsert your hook and continue crocheting. If you notice large gaps, consider using a slip stitch to join the missing stitches for a tight look.
What can I do if I want a slouchier hat?
To achieve a slouchier look, increase the height of the hat body and resume working into the brim with a more extended length. This small adjustment allows for more drape and comfort, making it perfect for those laid-back days!
Leave a Reply