
As a fiber arts enthusiast, I recently stumbled upon a delightful crochet challenge that has sparked my creativity: the whimsical Strawberry Octopus! This adorable design combines the quirky charm of an octopus with the sweet allure of a strawberry, making it the perfect project for both seasoned crafters and curious beginners. What I love most about this strawberry octopus crochet project is how quick it is to make and how effectively it uses up yarn from my stash. It’s not only a fun way to express creativity, but it can easily serve as a gift or cute decor piece for any occasion. The soft, cuddly texture invites hugs and smiles, appealing to both kids and adults alike. If you’ve ever wanted to create a plush toy that’s both charming and versatile, this pattern is for you! I can’t wait to share this enchanting crochet experience with you—who knows, maybe you’ll create your very own strawberry octopus magic.
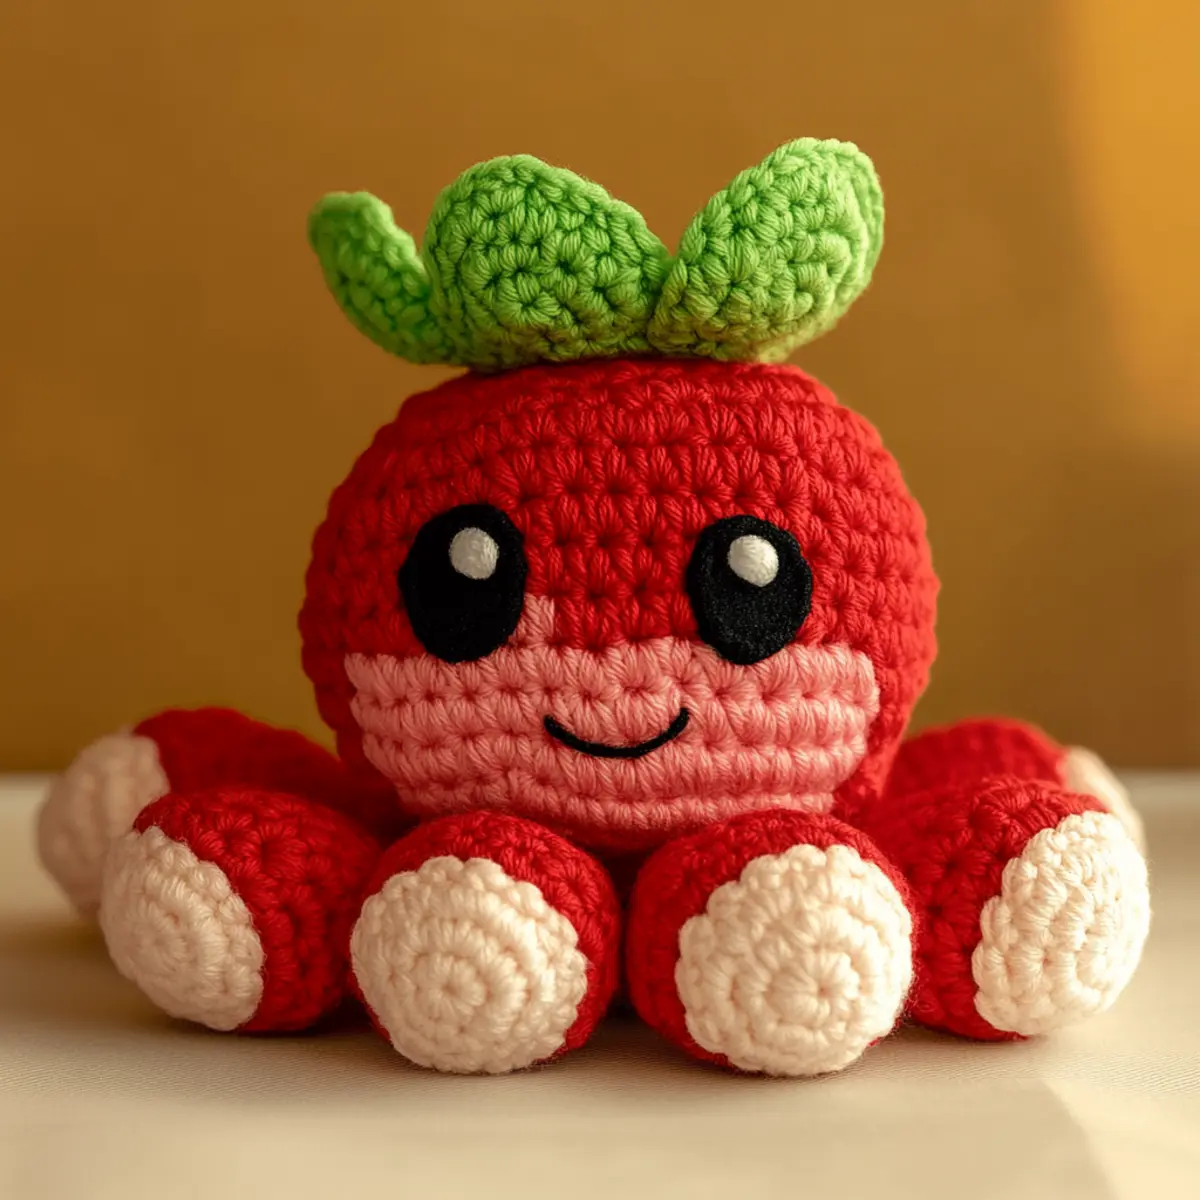
Strawberry Octopus Crochet Materials & Tools
Yarn
Red Chenille Yarn — 200 yards needed for the octopus body and legs; soft and cuddly texture perfect for the strawberry octopus crochet.
Green Chenille Yarn — 20 yards for leaves; provides a nice contrast and rustic charm.
Light Yellow Yarn — 10 yards for facial details and enhancements; adds an extra pop of color.
Tools & Notions
4.0 mm Crochet Hook — Ideal for medium yarn; ensures the correct tension for stuffing.
10 mm Safety Eyes — For adding character to your octopus; securely lock in place to keep them safe.
Polyester Stuffing — A few ounces for making the plush soft and huggable.
Yarn Needle — For assembly; helps you weave in ends and attach pieces neatly.
Scissors — Essential for trimming any excess yarn and for smooth finishing.
Why You’ll Love This Pattern
Crafting the Strawberry Octopus is an experience you’ll adore! With its fun design, not only will you impress everyone with your skills, but you’ll also learn valuable amigurumi techniques along the way. It’s stash-friendly since it uses just a few skeins of yarn; hence, it’s a great opportunity to clear out those scraps from your craft stash. The resulting plush is an eye-catching decor item that can enhance any space or brighten a child’s room. Want more inspiration? Check out our guide on beginner amigurumi techniques! Plus, customization options allow you to personalize your creation, whether swapping colors or experimenting with different yarn types to match your style. Lastly, the satisfaction of completing this project in a short time means you can quickly recreate it as gifts for friends or family—perfect for any crochet enthusiast!
Gauge & Sizing Notes for Strawberry Octopus Crochet
Checking your tension is essential in ensuring the perfect plush size when creating your strawberry octopus crochet project. The typical gauge measurement should be approximately 4×4 inches (10×10 cm) using medium weight yarn with a 4.0 mm crochet hook. Accurate tension affects not only the size but also the plushness of the finished product. If your swatch is smaller than this, consider increasing your hook size, while a larger swatch may require you to switch to a smaller hook. The starting chain and rounds can be adjusted according to your desired size; for instance, adding or subtracting stitches can scale the plush. A well-measured gauge guarantees that your strawberry octopus crochet turns out just right! Aim for a light, squishy texture and keep experimenting with different yarn weights to customize the outcome as desired.
Step-by-Step Pattern for Strawberry Octopus Crochet
Row 1: Magic Ring Start Begin by creating a magic ring. Work 6 sc into the ring to form the head of the strawberry octopus. Pull the magic ring tightly to close the hole. (6 sc)
Row 2: Increase for Shape In this row, you’ll increase the stitch count. Work 2 sc in each of the 6 stitches from the previous row, which will give you the necessary rounding for the head. (12 sc)
Row 3: Build the Base Continue to build the strawberry octopus by adding more stitches. Sc in the first st, then inc. Repeat around for a total of 18 stitches. This helps create a bell shape for the head. (18 sc)
Row 4: Further Increases For this round, sc in the first 2 stitches, followed by an inc. Repeat this pattern around. This gradual increase helps maintain the round form. You should end with 24 stitches. (24 sc)
Row 5: Create Height Now, just sc in each stitch around to help establish the height of the head. This step is essential to give the octopus a well-defined head before moving to the body. (24 sc)
Row 6: Begin the Body To transition from the head to the body, start by inc in the first st, then sc in the next 3 stitches. Repeat this throughout to gradually widen the body. Aim for a total of 30 stitches. (30 sc)
Row 7: Building the Body Repeat sc in each stitch for another round without increases. This builds the body of your strawberry octopus and maintains the overall shape. (30 sc)
Row 8: Tentacle Foundation Now, we will start making tentacles. Create a separate magic ring and follow by working 10 sc into it. This is the foundation for one tentacle. (10 sc)
Row 9: Shape the Tentacle Start the transformation of the tentacle shape. Work 1 hdc in the first stitch followed by 2 dc in the next stitch. Repeat this pattern around to create a proportional tentacle. (Each tentacle should have 18 stitches)
Row 10: Finish Tentacle To finish the tentacle, sc in each stitch for a lovely textured finish. Make 8 tentacles in total, ensuring all are securely crafted for attachment. (18 sc)
Row 11: Craft Leaves Using green yarn, make small leaves by chaining 10 and working back with sl st and hdc for texture. These will give your strawberry octopus its fruity flair. Make 2 leaves. (2 leaves)
Row 12: Assembly Finally Begin assembling your strawberry octopus by securely sewing the head to the body, followed by attaching all tentacles and leaves. Finally, add the safety eyes and any embellishments to complete your plush. This final step brings your strawberry octopus crochet to life, showcasing its charming personality. Ensure all parts are neatly finished to prevent any stuffing from showing. (Finished plush: 8-10 inches height)
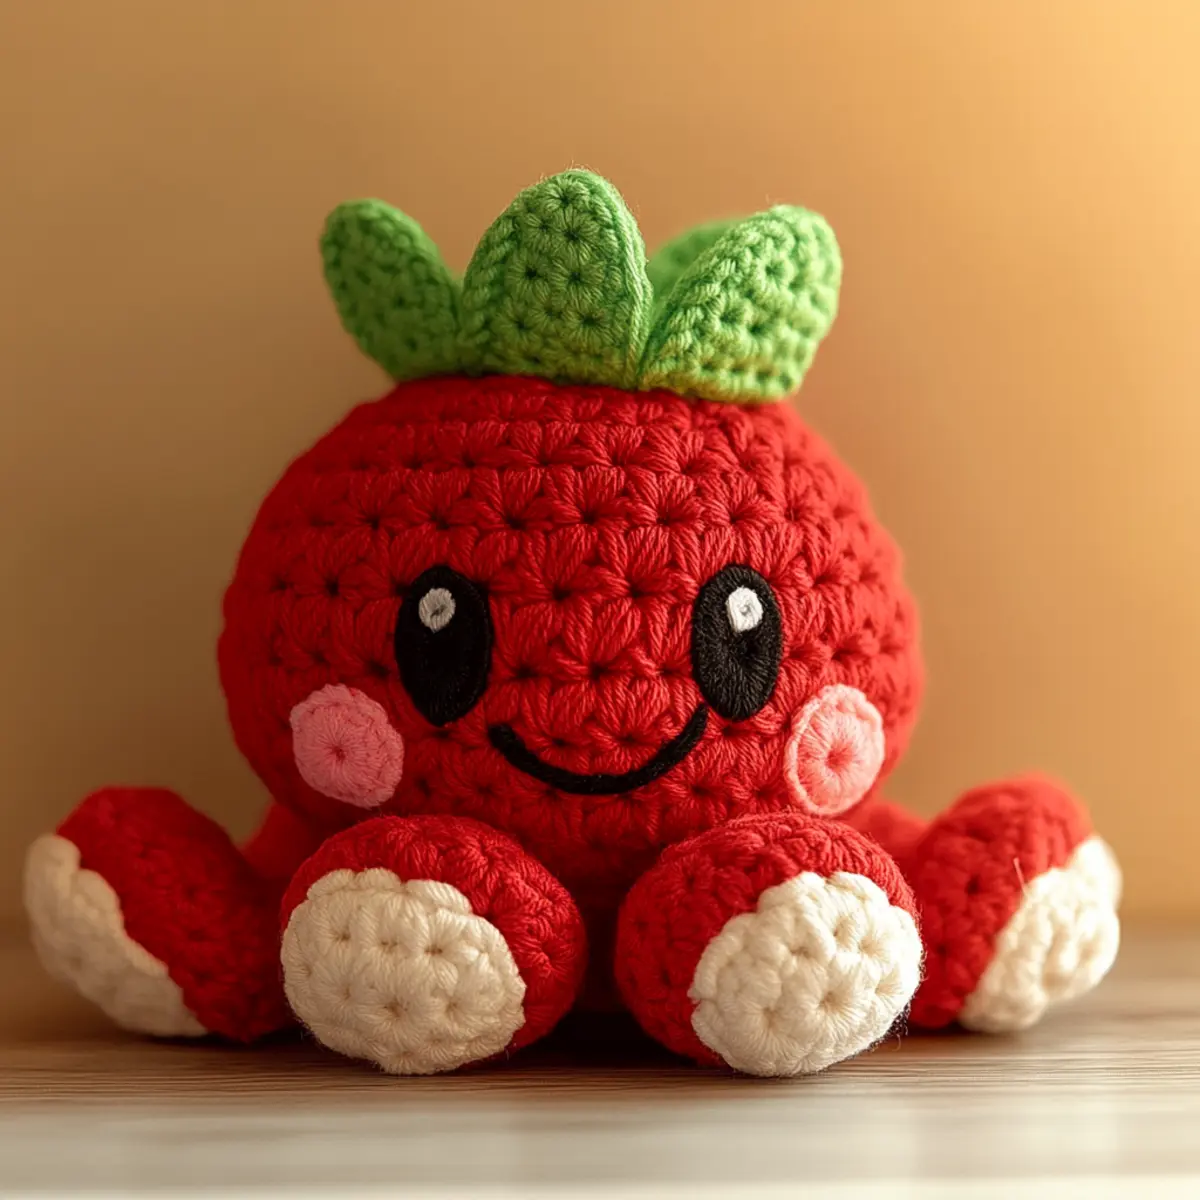
How to Wash and Care for Your Strawberry Octopus Crochet
Machine Washing: Preferably wash on a gentle cycle with cold water. This protects the plush from wear and helps maintain its texture and shape.
Hand Washing: If you opt to hand wash, use mild detergent and lukewarm water. Gently agitate to prevent damage to the fibers.
Drying: Always lay flat to dry, avoiding direct sunlight. This prevents fading of colors and helps the strawberry octopus crochet maintain its plush structure.
Storage: Store your plush in a cool, dry place. Avoid heavy stacking to preserve its shape and plushness.
Expert Tips for Strawberry Octopus Crochet
Count Your Stitches: Keep a close eye on your stitch counts as you create your strawberry octopus crochet. It’s easy to lose count, especially during increases.
Mark Rows: Use a stitch marker for the beginning of each row. It helps prevent confusion and dropped stitches which can alter your plush’s shape.
Twist-Free Chains: When starting your foundation chain, ensure it’s not twisted; a twisted chain can cause problems later on.
Tight Tension: Use a tighter stitch to minimize any stuffing peeking through your finished plush. It will provide a more polished look overall.
Plan Your Colors: Experiment with colors before starting. Visualizing your strawberry octopus crochet can yield delightful surprises during the crafting process.
Safety First: When adding safety eyes, ensure they are securely locked in place. This step is crucial for safety, especially if the plush is for children.
strawberry octopus crochet customization
Feel free to personalize your strawberry octopus crochet with these exciting variations!
-
Color Swaps: Experiment with pastel hues like mint or lavender for a dreamy version of the strawberry octopus.
-
Yarn Types: Use cotton for a firmer structure or wool for a cozy finish, offering distinct textures and durability.
-
Size Adjustments: Try larger yarn and a 5.0 mm hook for a cuddly oversized octopus, perfect for toddlers. Alternatively, use finer yarn and a 3.0 mm hook for a small charm plush.
-
Textural Play: Combine knitting with crochet for a unique texture. Enhance the body by alternating between single crochet and double crochet stitches for a more dynamic look. A small switch can lead to significant differences! Making the octopus parts in contrasting yarn texture can add fascinating visual interest.
-
Accessory Fun: Embrace creativity by adding tiny accessories like earrings or hats; make the octopus spirited and trendy! As each accessory is created, don’t hesitate to refer back to anchorText for inspiration and tutorials.
-
Facial Expressions: Customize facial features by using different stitch techniques or creating multiple expressions—happy, winking, or cheerful—imparting personality to your octopus plush. Discover more tips in our guide on creating adorable amigurumi faces.
Explore these options to craft a strawberry octopus that truly reflects your style!
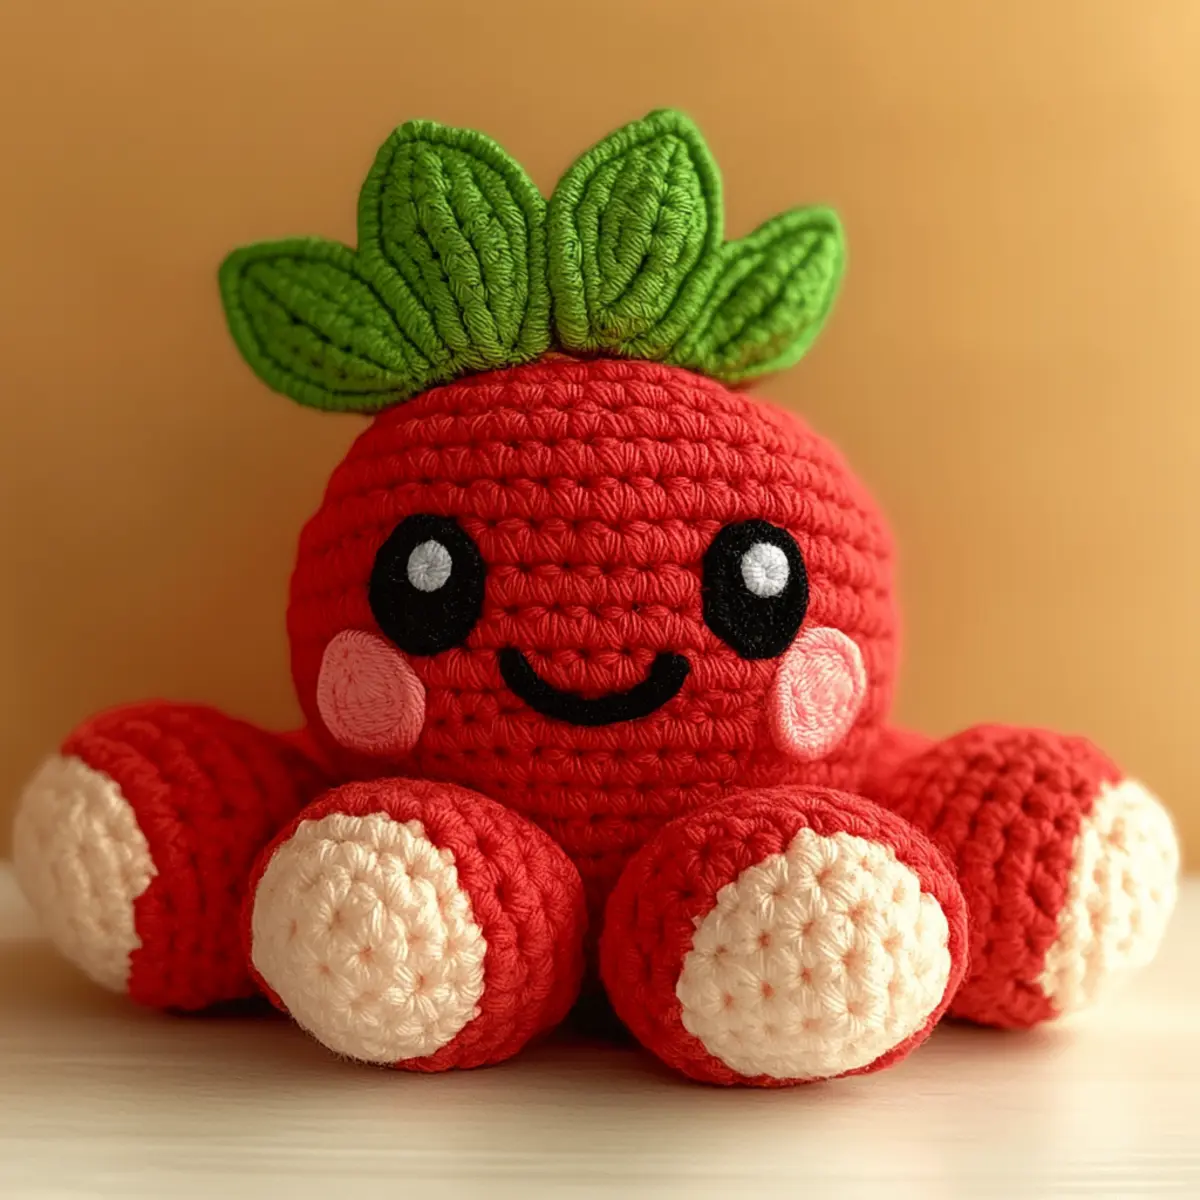
Strawberry Octopus FAQs
Can I substitute yarn?
Absolutely! You can use any medium weight yarn suitable for amigurumi. Just ensure to adjust your hook size accordingly for best results.
How do I adjust the size?
To adjust the size of your strawberry octopus crochet, you can use larger or smaller hooks and appropriately match the yarn weight. Experimenting will yield great results!
What if my plush curls?
Don’t panic! Curling can occur if your tension is too loose. Try using a tighter gauge and adjusting your stitch count to achieve the right shape.
What hook size should I use?
For the strawberry octopus crochet, a 4.0 mm hook is recommended. It works well with medium weight yarn while ensuring the plush maintains its softness.
What if I drop a stitch?
If you drop a stitch, simply pick it back up by inserting your hook through the missed stitch and work it back into the original pattern. It’s a common mistake, so don’t worry!
Can I add accessories?
Yes! Feel free to customize your plush by adding accessories like bows or hats. This can enhance the character while showcasing your personal style.
Leave a Reply