
As a lover of all things cozy and cute, I often find myself drawn to projects that allow me to craft with both creativity and purpose. One of my favorite recent endeavors has been creating these Crochet Strawberry Baby Booties. Not only do they offer a quick and satisfying way to flex my crochet skills, but they are also a delightful stash-buster, perfect for using up bits of yarn I’ve had lying around. The whimsical strawberry design brings a burst of joy to every pair, making them a charming gift for new parents or a whimsical touch to any baby outfit. Plus, the satisfaction of hand-making something so special for tiny toes is simply incomparable. With the combination of quick assembly and minimal materials needed, these booties make for a perfect project to tackle during a cozy afternoon. Dive into this project with me and explore the charms of crochet that await as we craft these adorable booties together, each stitch bringing us closer to the perfect, tiny footwear.
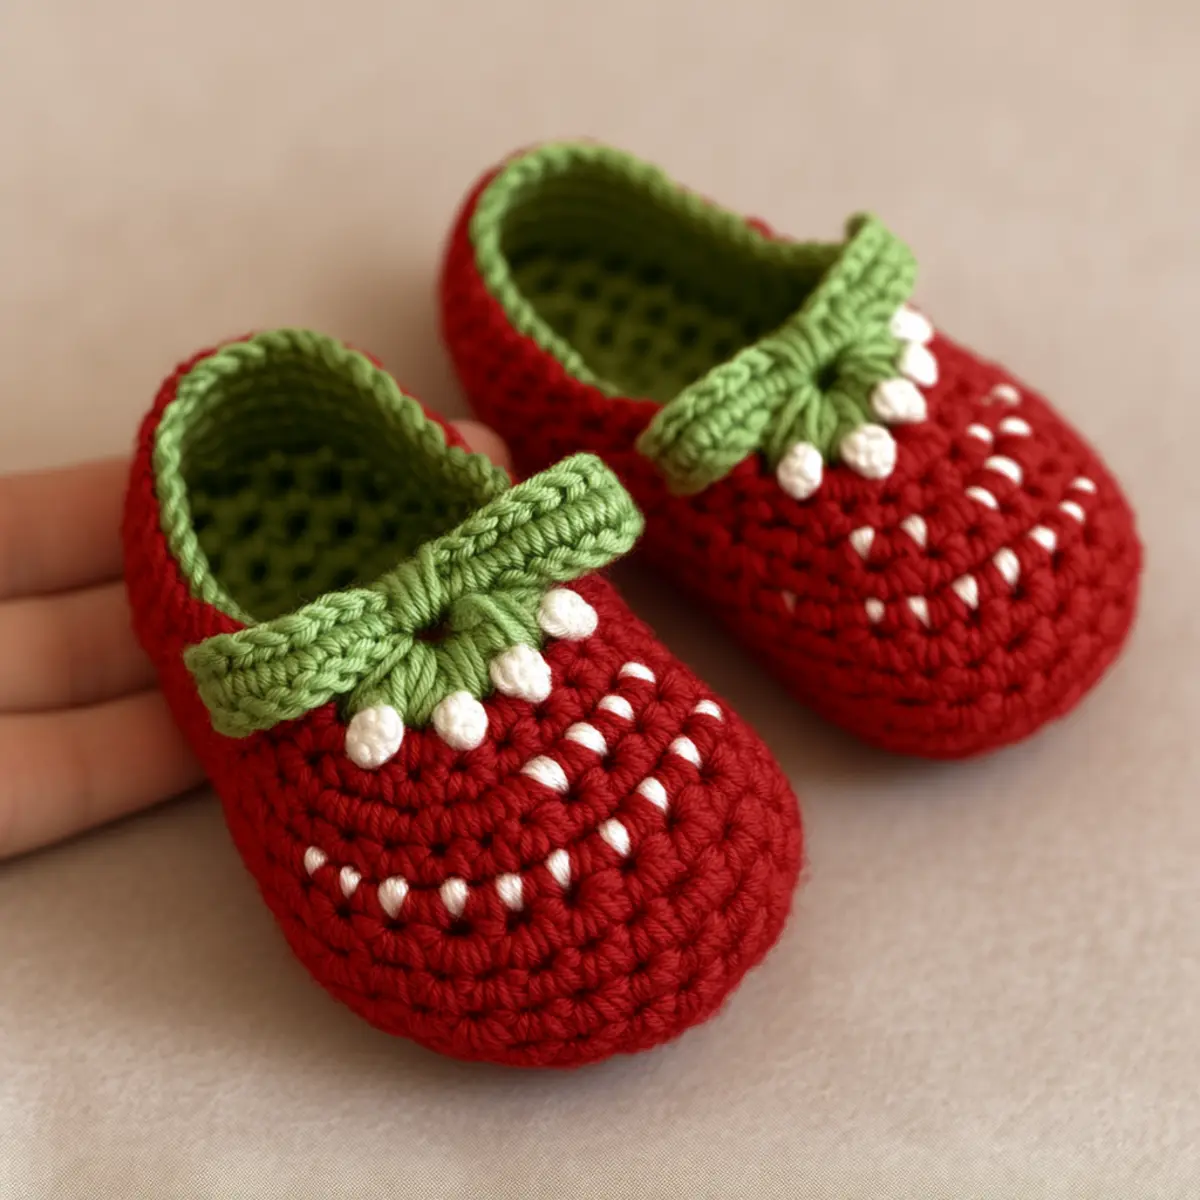
Strawberry Baby Booties Materials & Tools
Yarn
- Medium weight yarn – Aim for about 100-150 yards of red yarn for the body to create those lovely strawberry hues, while 20-30 yards of green yarn will give you the perfect trim.
- Acrylic or cotton blend yarn – This will provide the soft, breathable texture best for little ones’ feet.
Tools & Notions
- Crochet hook (size G 4.0mm to G6 4.5mm) – Choose a hook that suits your preferred tension for creating durable and comfy booties.
- White beads/pom-poms – Use these for adorable seed accents on the booties, adding a fun dimension to your crochet design.
- Pearl embellishment – Securely attach this to the strap for a charming final touch that enhances the whimsical strawberry theme.
- Scissors & stitch markers – Essential for cutting yarn and keeping track of your stitches, ensuring you maintain that perfect fit while crafting these delightful strawberry baby booties.
Why Will You Love This Pattern?
Simplicity is at the heart of these booties, making them a wonderful choice for crocheters of all skill levels. With just a few stitches, you’ll create delightful little shoes that showcase a unique whimsical design that brightens any baby outfit. These booties are an excellent stash-buster, using up those leftover yarn scraps while being highly customizable—choose colors and embellishments that fit your style! Plus, because crochet boots can be constructed quickly, this pattern saves you time, allowing you to create multiple pairs for family and friends. The tactile sensation of working with yarn in your hands is also guaranteed to be a satisfying experience. Not to mention, having the chance to master your crochet techniques can open the door to other fun projects, such as making matching hats or decorative baby toys. Enjoy a beautiful journey of crochet creativity with these charming booties that deliver both beauty and practicality!
Gauge & Sizing Notes for Strawberry Baby Booties
Checking your tension is crucial when crafting the strawberry baby booties to ensure they have a fitting shape. Aim for a gauge of 4×4 inches (10×10 cm) with dc and sc stitches; this will help to ensure your booties measure appropriately for tiny toes. If your swatch does not match the gauge, you may need to adjust your yarn or hook size for a better result. Additionally, always consider adjusting the starting chain or rounds for resizing these adorable booties. To increase size, add extra dc rows in the body portion, while for smaller sizes, simply reduce the stitches in those sections. Keeping note of your stitch counts throughout the project aids in maintaining consistent sizing. The final booties will measure approximately 3 to 4 inches in length, ideal for infants or toddlers. The strawberry baby booties not only provide a custom fit but also exude charm and personalization that are perfect for gifting or personal delight.
Step-by-Step Pattern for Strawberry Baby Booties
Row 1: Create the Sole Start with a magic circle, and ch 2. Work dc into the circle, making 6 dc (6). Pull the circle tight.
Row 2: Expand the Base Ch 2, then 2 dc in each stitch around for a total of 12 dc (12). This forms the sturdy foundation for your booties.
Row 3: Build Up the Sole Ch 2, then dc in the first stitch. Inc (work 2 dc) in the next stitch. Repeat around for 18 dc (18). You’ll notice the sole starting to take shape.
Row 4: Continue Expanding Ch 2, then dc in the first 2 stitches. Inc in the next. Repeat this pattern for 24 dc (24). This further enlarges the base, creating comfort for tiny feet.
Row 5: Prepare for Sides Ch 1, and then work sc in each stitch around to create a tight edge (24). This helps transition to the sides of the booties.
Row 6: Begin Body of Bootie Change to red yarn. Ch 2, then hdc in each stitch around (24). The body height is essential for ensuring the booties fit without being too loose.
Row 7: Build Up the Boot Ch 2. Now, let’s work dc around for another round, keeping the same stitch count (24). This helps give the bootie structure and stability.
Row 8: Continue with the Body Ch 1. Work sc around for one round (24). This provides a snug fit and accentuates the strawberry shape.
Row 9: Start with Trim Change to green yarn. Ch 1, and then sl st around to create a finish at the top edge (24). This adds contrast and highlights the booties’ playful features.
Row 10: Form the Strap Ch 8 to make the strap length. Move back down and sc back in. Attach it securely, then sl st to join it to the opposite side (1 strap formed).
Row 11: Finalize the Design Repeat the strap process for the second side. Add beads or pom-poms to create seed details as you attach each strap securely for charm. These elements make the booties even cuter.
Row 12: Finishing Touches Weave in the ends securely and double-check your stitches. Block the booties gently to even out the shape. This will shape them beautifully, enhancing their overall look and feel.
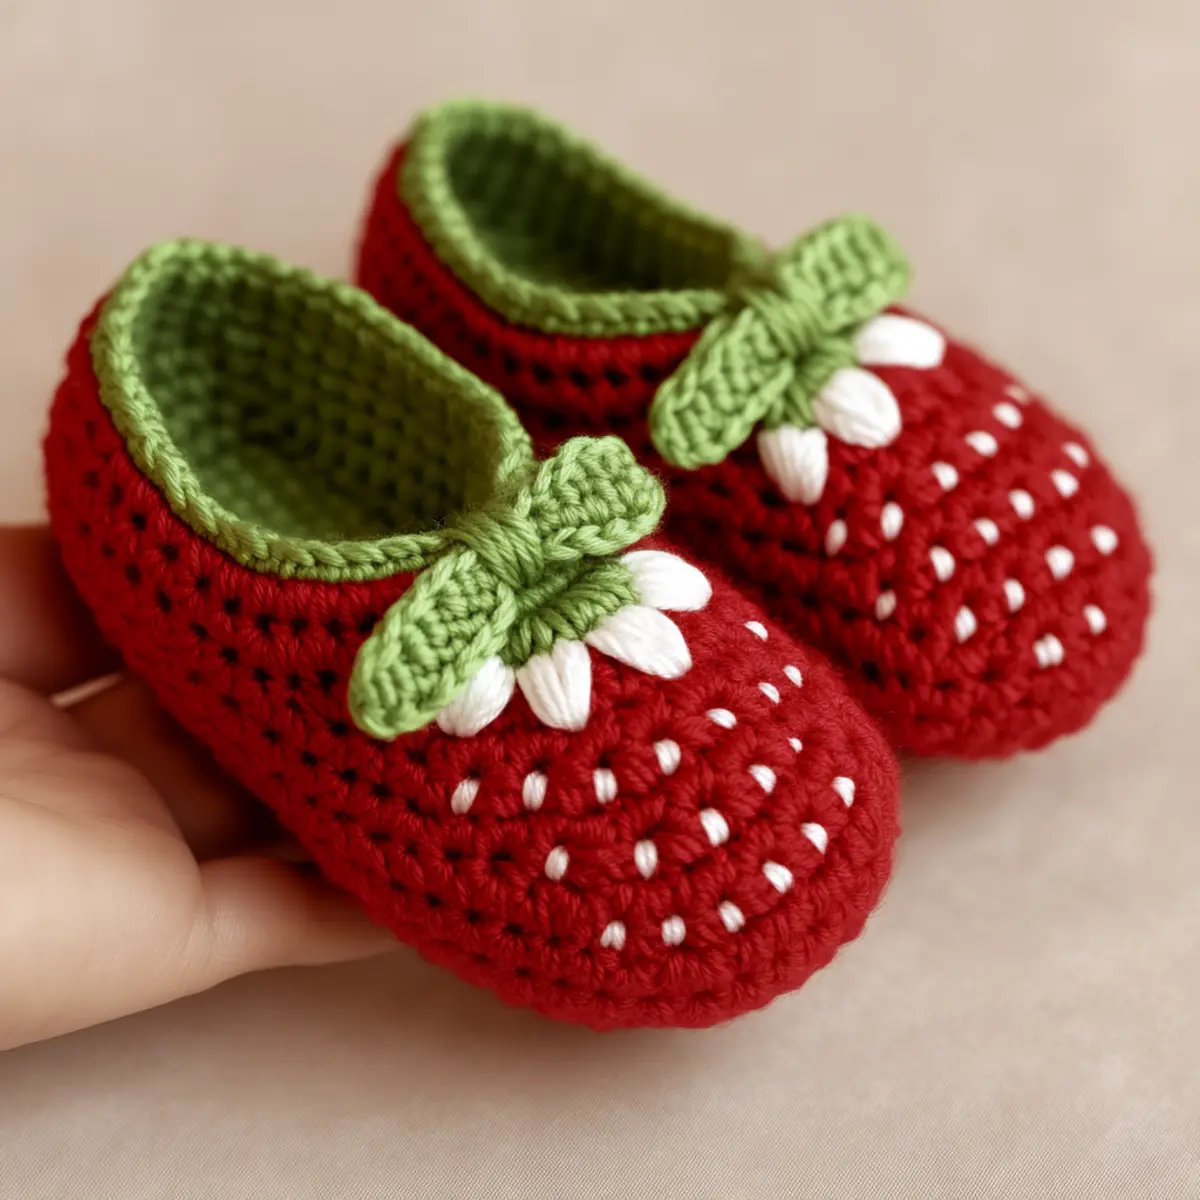
How to Wash and Care for Your Strawberry Baby Booties
Machine Washing: If machine washing is necessary, place the booties in a mesh bag, use cold water, and choose a gentle cycle to avoid agitation.
Hand Washing: For best results, hand wash with a mild detergent in cold water. Gently squeeze water out without wringing to maintain their shape.
Drying: Lay your strawberry baby booties flat on a clean towel to dry. Avoid hanging to prevent stretch and distortion of the booties.
Storage: Store them in a cool, dry place and avoid direct sunlight to maintain their vibrant colors and soft texture.
Strawberry Baby Booties Variations
Feel free to make these adorable booties truly your own with a few creative tweaks!
- Alternative Colors: Consider using pastel hues like light pink for the body and mint green for the trim for a softer look.
- Different Textures: Switch to a cotton blend or soft organic wool for a different feel. Cotton blends are breathable, while wool offers warmth.
- Size Adjustments: Customize sizing to fit toddlers by adding a few extra rounds to the base before shifting to the body. It’s delightful to make matching sets for siblings!
- Embellishment Choices: Replace the strawberry gems with cute flowers or stars for a whimsical twist. Handmade embellishments can add personal charm that parents will love.
- Strap Variation: Experiment with longer straps to create a crossover style, enhancing the booties’ design while maintaining comfort.
- Yarn Blends: Mix a variegated yarn for the body of the booties. The changing colors can add excitement to your crochet work while being fun to create!
- Discounted Materials: Check out local yarn shops or online markets for discounted alternatives. Using a soft, budget-friendly acrylic can be just as effective as more expensive fibers.
- Picot Edge: Enhance your booties with a picot edge rather than a simple slip stitch. The added detail gives the booties a delightful finish, making them aesthetically appealing and unique.
Crafting isn’t just about following patterns but also about expressing your creativity. Don’t hesitate to explore new ideas while making your own strawberry baby booties, showcasing your personal flair!
You can find a wealth of inspiration by checking out more projects in my crochet collection that encourage a personal touch.
Helpful Tricks for Strawberry Baby Booties
Count Stitches: Regularly count your stitches after rounds to prevent losing count, which can lead to misshapen booties. Accuracy is key!
Tension Matters: Maintain consistent tension throughout your project to ensure the booties hold their shape and fit comfortably on tiny feet.
Foundation Chain: Be sure your foundation chain isn’t twisted. This can affect the shape and fit of your strawberry baby booties.
Secure Straps: Pay attention when attaching the straps, ensuring they’re secure to maintain the whimsical strawberry design in the finished booties.
Embroidery Details: For added charm, consider weaving in additional decorative elements like small beads or flowers on the booties for a personalized touch.
Block Your Booties: Don’t skip blocking after completing your booties; it helps even out the stitches and enhances the overall look significantly!
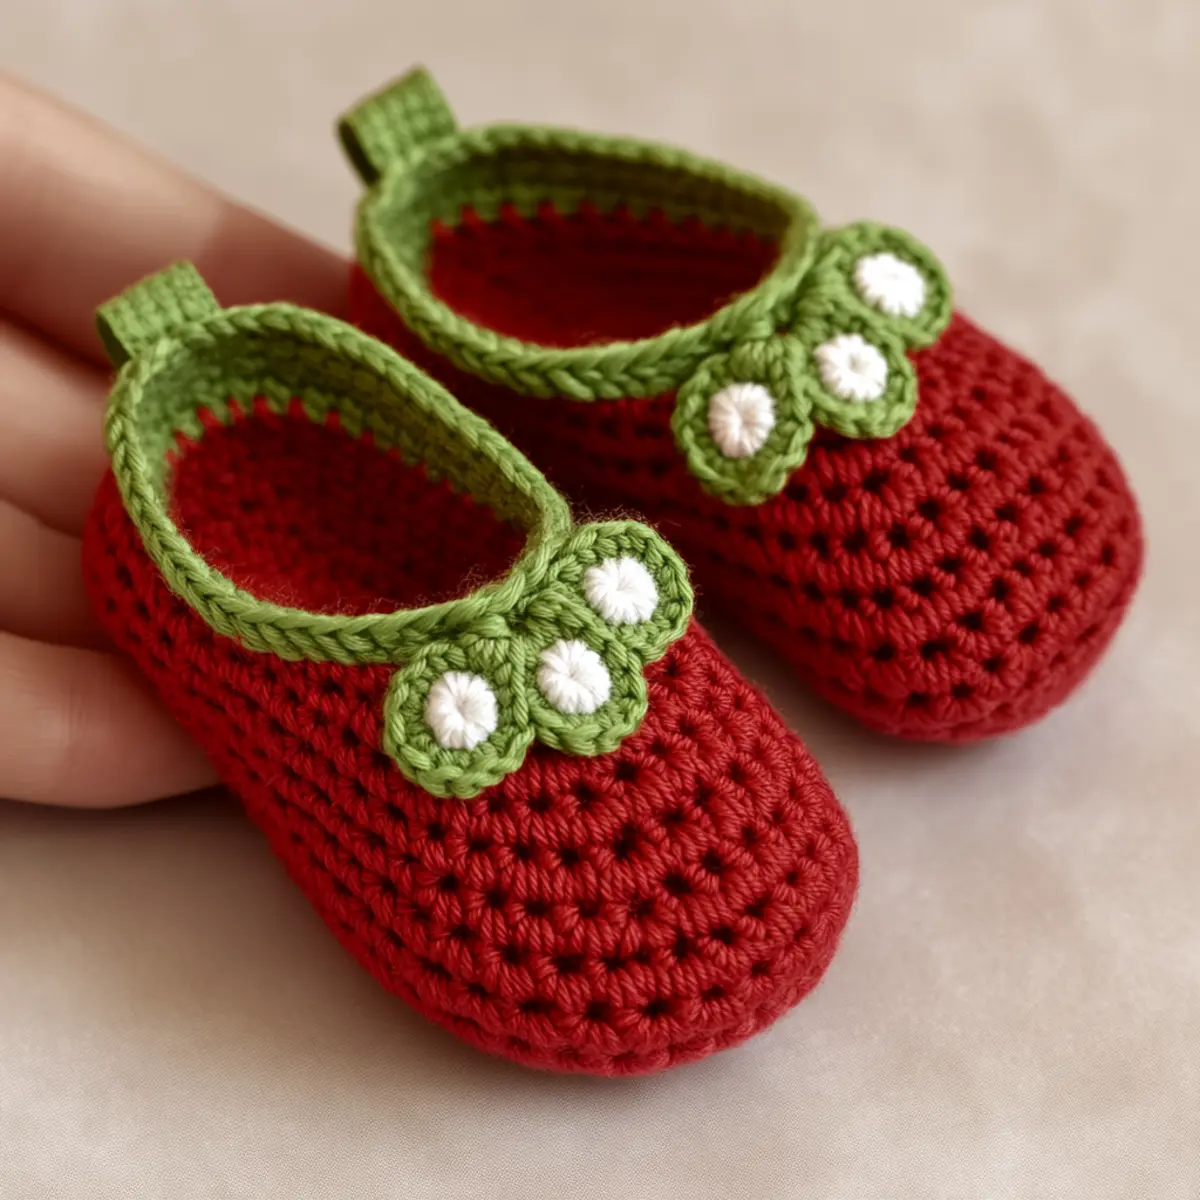
Strawberry Baby Booties FAQs
What type of yarn can I use for replacements? Absolutely! You can substitute with a soft cotton blend or acrylic yarn to keep comfort and breathability for your baby booties.
How can I adjust the sizing of the booties? Don’t panic! To make the booties larger, simply add more rows of double crochet in the body or adjust the foundation chain length. For a smaller size, reduce stitches as needed.
What should I do if my booties are curling? Curling is often a sign of tension issues. Make sure your tension is consistent, and check your gauge. Blocking the finished booties can also help flatten them out.
What if I drop a stitch? If you drop a stitch, carefully pull the yarn back to the dropped stitch’s row, and use a crochet hook to bring it back up through the rows. Check your stitches to maintain your count.
What crochet hook size should I use? Use a size G (4.0mm to G6 4.5mm) crochet hook for the best results, depending on your tension choices. Experiment to find your preferred fit.
Can I add more embellishments? Of course! Feel free to get creative with your designs by incorporating additional embellishments such as flowers or butterflies instead of focusing solely on the strawberry theme.
Leave a Reply