
Filling my home with bursts of color and texture has turned into an exciting adventure, one that starts with these Cozy Star Crochet Pillows. This whimsical project has become a favorite among crafters, providing not just a cozy touch to any living space but also serving as a fun way to enhance my crochet skills. The beauty of these star crochet pillows is their beginner-friendly nature—crafted primarily with basic stitches like double crochet, they quickly transform into playful décor. Perfect for those just starting their fiber arts journey, this project is a stash-buster that even the busy individual can master. As I wrapped up my first pair, I found myself already brainstorming new color combinations and embellishments for future designs. What colors or textures will you explore as you embark on this cheerful journey with me?
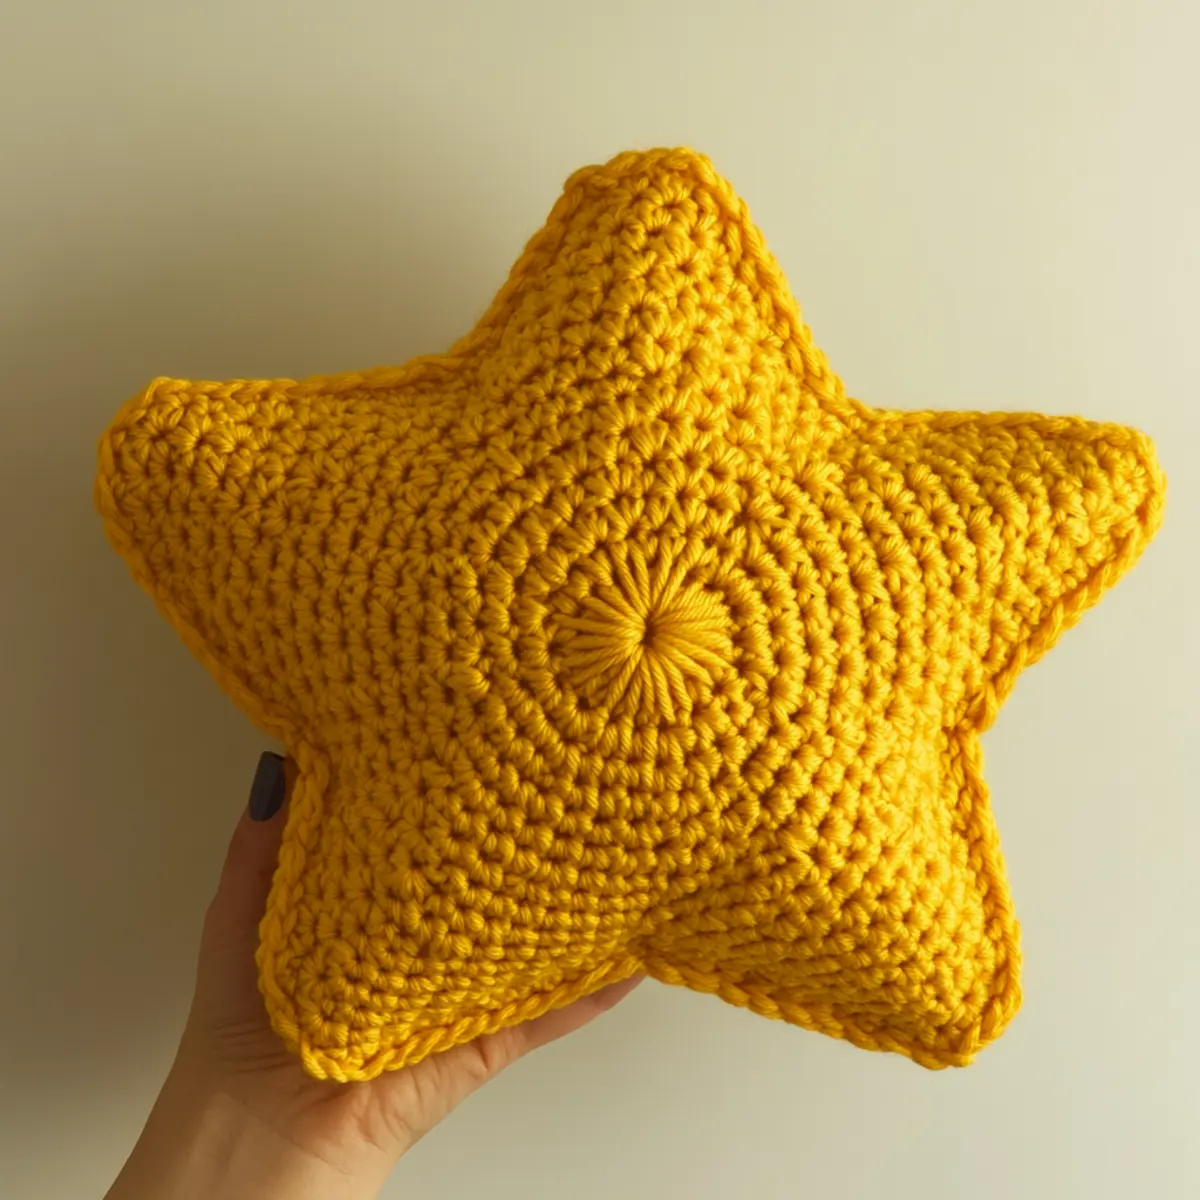
Star Crochet Pillow Materials & Tools
Yarn
- Bulky (weight 5) – Choose 100% Acrylic or a soft blend for durability and coziness.
- Yardage – Approximately 200 yards are needed for a pair of pillows.
Tools & Notions
- 6.0 mm (J or 10) crochet hook – This size allows for perfect stitch definition in the star crochet pillows.
- Fiberfill stuffing – Use generously to achieve a comfy density and shape.
- Yarn needle – Essential for weaving ends securely and closing your pillows.
- Optional embellishments – Consider fun buttons or embroidery for added flair to your star crochet pillows.
Why You’ll Love This Pattern
Simplicity is a hallmark of this design, making it highly approachable for beginners. Versatile aesthetics allow these star crochet pillows to fit in with various home decor styles, from bohemian to contemporary. Not only are these pillows stash-friendly, but they also offer a great opportunity to play with leftover yarn, encouraging creativity. With the use of bulky yarn, you’ll find that this pattern is time-saving—whip up a pair in no time without sacrificing comfort or charm. Plus, the customizability of color combinations and optional embellishments means each creation can be uniquely yours. Elevate your crafty repertoire and explore the vibrant possibilities with alternative yarn fibers or learn about the benefits of crochet techniques that can enhance your projects!
Gauge & Sizing Notes for Star Crochet Pillow
Checking your gauge is essential for ensuring that your star crochet pillow turns out just the way you envision! For this pattern, aim for a standard gauge of 14 dc and 10 rows in a 4×4 inch (10×10 cm) square when using bulky weight yarn with a 6.0 mm (J or 10) hook. If your gauge differs, adjust your starting chain accordingly—this will help scale your pillows up or down. If your swatch doesn’t match, consider switching to a different hook size to alter tension. The end result should approximate 18 inches in diameter, making it a striking, functional piece for your home. Additionally, experimenting with other yarn fibers like cotton can yield charming summer versions of your cozy star crochet pillows.
Step-by-Step Pattern for Star Crochet Pillow
Row 1: Start with Magic Ring
Begin by creating a magic ring. This will be the center of your star crochet pillow. Chain (ch) 3 to form the first double crochet (dc) stitch, then work 11 more dc into the magic ring, totaling 12 dc. Pull the tail to tighten the ring. (12 dc)
Row 2: Form Circle
Next, slip stitch (sl st) to join the top of the initial ch 3. This creates a circle. Now, chain 3 again and work 1 dc in the same stitch. Follow this with 2 dc in each stitch around for a total of 24 dc. (24 dc)
Row 3: Build Star Points
For the star points, start by ch 3 and dc in the same stitch again. Then, skip the next stitch and in the following stitch, work 2 dc, ch 2, and sl st back into the same stitch. Repeat this step around the circle until you have formed 12 star points. (12 star points)
Row 4: Create the Base
Once you finish the last star point, join with a sl st. To build the base for your pillows, chain 3 and work 1 dc in each of the star points from previous row. This will create a lovely sturdy base. (12 dc)
Row 5: Second Round of Points
Repeat the star point formation by chaining 3, dc in the same stitch, skip a stitch, and then work in the next as detailed before. Be cautious to keep your tension consistent as you create the second round. (12 star points)
Row 6: Close the Shape
With your star points formed in this round too, join with a sl st to properly close it. Your star shape should be taking form now. Count regularly to avoid any mismatches. (12 star points)
Row 7: Add Fiberfill
At this point, stop and begin stuffing your star crochet pillow with fiberfill. Adjust the amount of stuffing to achieve your desired firmness. Don’t over-stuff to the point of distorting the shape; aim for a plush feel instead.
Row 8: Finish the Pillow
Once the pillow is stuffed, it’s time to close the pillow. Using your yarn needle, sew the opening shut with sl st or whip stitch to ensure all filling remains tucked inside. Be patient and strive for an even finish.
Row 9: Weave in Ends
Weave in all loose ends using the yarn needle. Tidy up the working area for a professional look. This step is crucial for achieving a clean finish, especially in eye-catching pillows like these.
Row 10: Block the Pillow
To enhance the finished shape, consider blocking your star crochet pillow. Gently steam the edges or use damp cloths to reshape any areas that need more definition. Allow it to dry completely to set the shape.
Row 11: Personalize Your Creation
Time to inject some personality into your pillows! Add optional embellishments like buttons or embroidery for that extra flair. Different colors and variations allow for unlimited creativity.
Row 12: Display Your Work
Finally, find a cozy spot in your home to display your star crochet pillows. They make fantastic decorative accents and conversation starters, adding a lovely touch to your living space while showcasing your crochet skills. Be proud of your creation, the star crochet pillow, as it enhances your home decor beautifully.
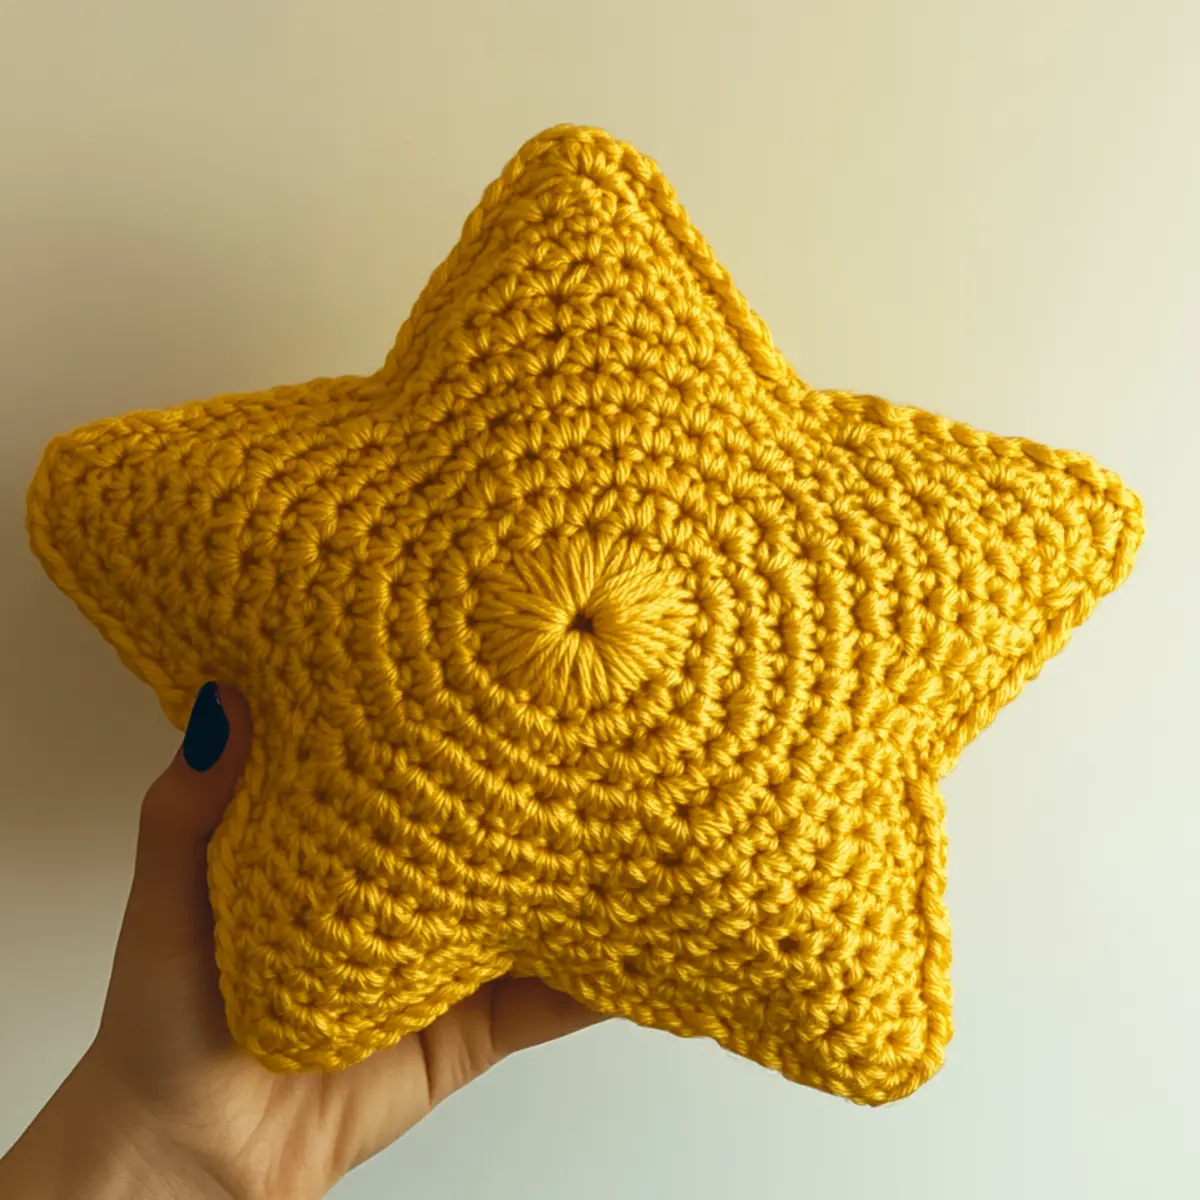
star crochet pillow variations
Elevate your creative journey by exploring diverse options for your whimsical star crochet pillows!
-
Color Combinations: Opt for vibrant, contrasting colors like teal and purple or soft pastel shades to create unique styles. Experimenting with color can bring a playful twist to any decor.
-
Yarn Alternatives: Try blending yarn types, such as using cotton instead of bulky acrylic for a lightweight summer version that’s breathable yet still whimsical.
-
Size Modifications: Scale your pattern up for larger seating options or down for dainty coasters! This flexibility allows for versatility in your interior design.
-
Fancy Embellishments: Add decorative elements like fun buttons or embroidery to personalize each pillow. These unique features narrate your crafting journey while showcasing your style.
-
Textured Touch: Incorporate different stitch techniques, such as bobbles or clusters, into the star points for added dimension and visual interest. A mix of textures gives your pillows a tactile quality that invites touch.
-
Mixed Media: Combine crochet with other crafts! Consider featuring fabric, felt, or wood to create a mixed-media look that stands out.
-
Customized Fill: Adjust pillow stuffing with natural fibers, like cotton or wool, offering environmentally friendly, softer options that still provide excellent support. Every twist can add a personalized touch.
Explore endless possibilities and let your imagination blossom! Consider how these variations can impact your crochet experience as you embark on this fun project.
How to Wash and Care for Your Star Crochet Pillow
-
Machine Washing: Use a gentle cycle with cold water to wash your star crochet pillow. Avoid harsher settings to maintain the yarn’s quality.
-
Hand Washing: If you prefer, hand wash in cool water with mild detergent, gently pressing to clean without wringing or twisting.
-
Drying: Always lay flat to dry to maintain the pillow’s shape. Avoid direct sunlight to prevent fading.
-
Storage: Store in a cool, dry area away from direct sunlight to protect the vibrant colors of your star crochet pillow.
Expert Tips for the Best Star Crochet Pillow
-
Count Regularly: Keep track of your stitches as you work to ensure even star points and avoid mistakes.
-
Tension Matters: Maintain consistent tension in your stitches to create a uniform appearance; it will enhance the overall look of your star crochet pillow.
-
Magic Ring Mastery: Practice your magic ring technique; a tight starting circle prevents gaping holes which can spoil the shape of your pillow.
-
Stuffing Checks: Stuff your pillow gradually; test the firmness as you go to ensure it holds its shape without becoming too stiff.
-
Personal Touch: Experiment with color combinations or embellishments like/buttons to create a personalized star crochet pillow that showcases your creativity.
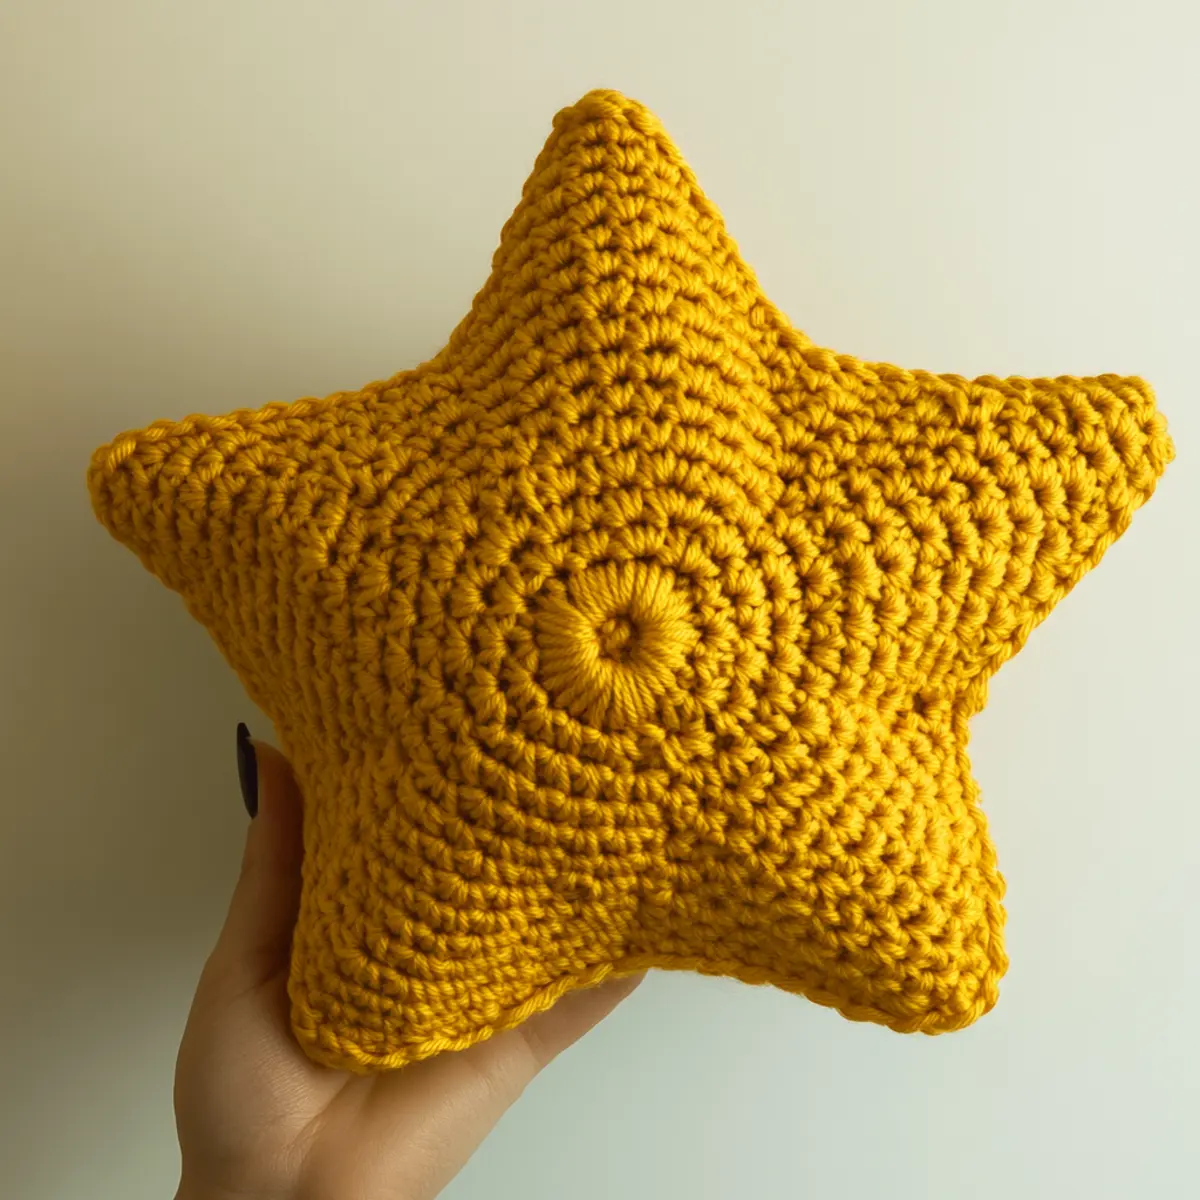
Star Crochet Pillow FAQs
-
Can I use a different yarn for this project?
Absolutely! You can substitute with other bulky yarns, or even cotton for a lighter, summer version of the star crochet pillow. -
How can I adjust the size of my pillows?
To scale your pillows, adjust the starting chain and number of rounds. Make sure to check your gauge for perfect sizing! -
What do I do if my pillow shape is curling?
Don’t panic! Curling can be fixed by blocking the pillow. Try steaming the edges to reshape and flatten. -
What hook size should I use?
A 6.0 mm (J or 10) hook is recommended for this project to achieve the best stitch definition in your star crochet pillow. -
How can I fix dropped stitches?
If you notice a dropped stitch, simply use your yarn needle to weave up the missed stitch. Take your time to ensure it looks seamless. -
What are fun embellishments for these pillows?
You can add buttons, embroidery, or even fabric flowers to personalize your star crochet pillows, enhancing their charm and uniqueness.
Leave a Reply