
As the crisp autumn air seeps in and Halloween whispers its playful secrets, I find myself diving into a world of vibrant yarn and spooky creativity. This time, I’m excited to share how to crochet a Devil Eye Granny Square, a project that marries whimsy with a touch of eeriness. With its beginner-friendly stitches, this striking pattern comes together quickly, making it perfect for those last-minute decor ideas or gift-giving. Whether it’s transforming your space into a cozy haunt or gifting a unique piece to a fellow craft enthusiast, this design offers endless possibilities. Plus, the color-changing elements allow you to play with bold combinations, ensuring your squares are as unique as you are. Let’s get stitching and conjure up some crochet magic that will cast a spell on your Halloween celebrations!
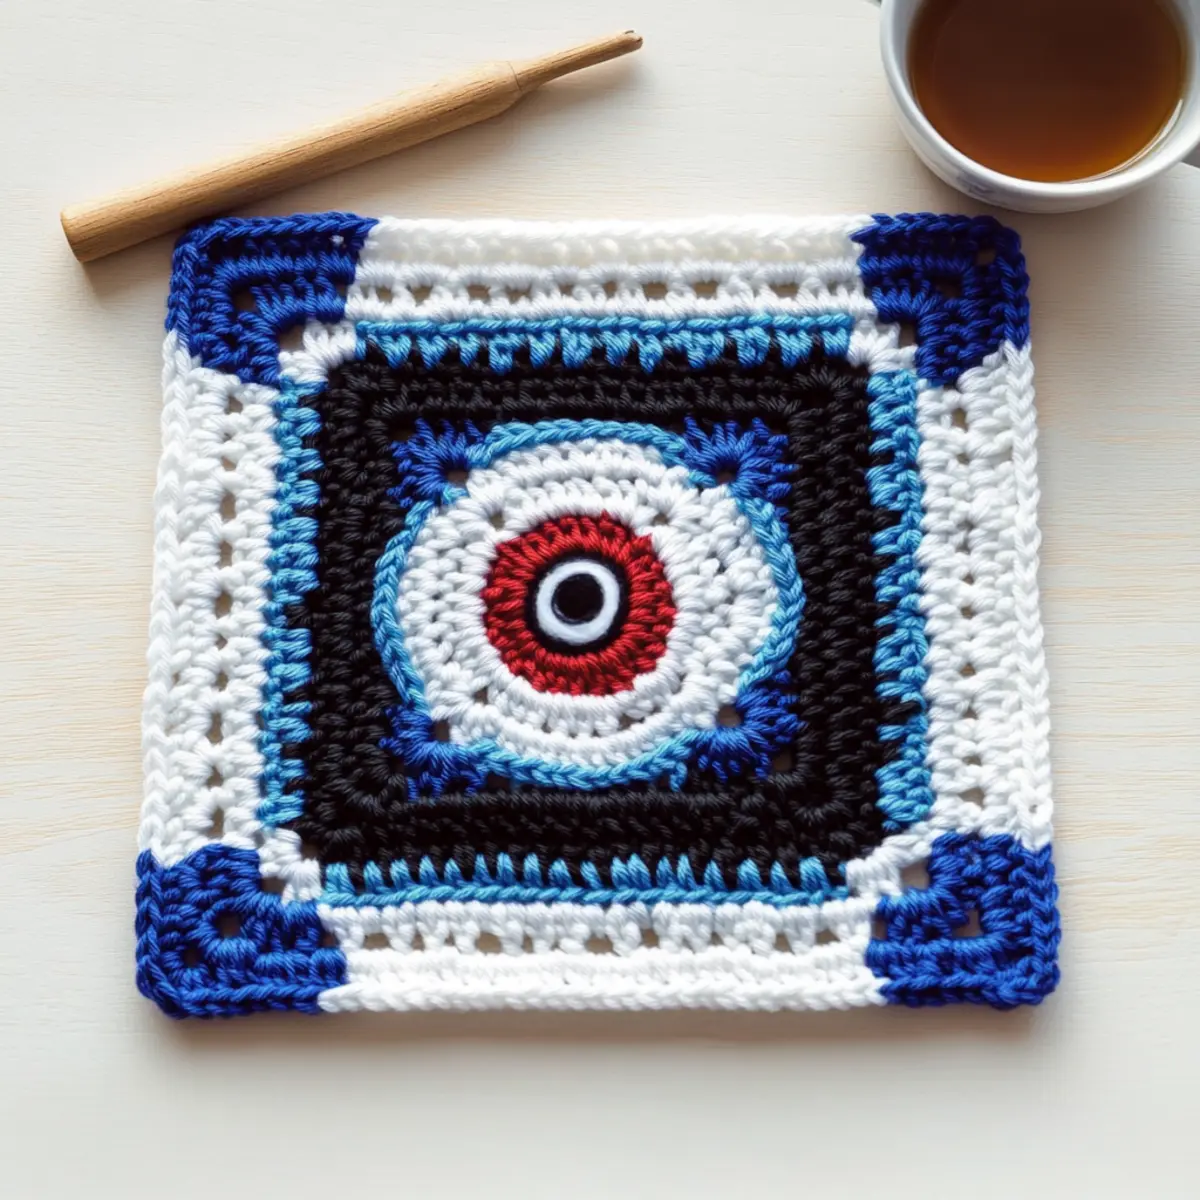
Devil Eye Granny Square Materials & Tools
Get ready to craft an enchanting piece for Halloween!
Yarn
- DK or Worsted Weight Yarn – Choose acrylic or wool, requiring 4 vivid colors for that striking spooky design.
- Black Yarn – A fundamental color for creating the sinister eye effect.
- Deep Blue Yarn – Perfect for depth and contrast in your eye’s design.
- White Yarn – Use this to highlight and add definition around the eye.
- Red Yarn – Adds that eerie, captivating touch to finish off your devil eye square.
Tools & Notions
- 3.00 mm (C/2) Hook – The ideal size to ensure a tight fabric with no gaps.
- Tapestry Needle – Essential for weaving in those ends to keep your square looking polished.
- Stitch Markers (optional) – Helpful for keeping track of your rounds if you’re a beginner.
- Magic Ring Method or Chain 4 – You can choose either to start your granny square, depending on your preference.
Why is This Granny Square Special?
Beginner-Friendly: The straightforward stitches make this pattern accessible, even for those just starting out!
Vibrant Colors: The striking combination of colors, like red, deep blue, and black, brings the spooky design to life—perfect for Halloween!
Quick Completion: With just 7 rounds, you can whip up your square in no time, making it an ideal last-minute project or gift.
Versatile Decor: Use these squares to create everything from festive table runners to cozy throws; the design adapts beautifully to various applications.
Creative Customization: Experimenting with color combinations allows you to personalize your squares, ensuring each one is a unique masterpiece! For more inspiring ideas, check out our tips on making unique crochet projects.
How to Check Your Gauge for Spooky Devil Eye Granny Square
Don’t skip the gauge swatch! Ensuring that you check your tension is crucial for your Spooky Devil Eye Granny Square to turn out just right. Aim for a gauge of 4×4 inches (10×10 cm), which should equal 14 double crochets by 8 rows. If your swatch doesn’t match this size, adjusting is simple—if you want a bigger square, increase your starting chain in multiples of 6 + 2 to maintain the design’s flow. If you find your swatch is too small, don’t fret! Just switch to a larger hook size to loosen your stitches. Happy crocheting!
Step‑by‑Step Pattern for How to Crochet a Spooky Devil Eye Granny Square
Round 1: Start the Eye
Begin with a magic ring or chain 4, then work 10 dc into the ring. Pull the ring tight and join with a sl st to the first dc. Your work should be a small circle; this forms the center of your spooky Devil Eye. (11 dc total)
Round 2: Grow the Circle
Join your deep blue yarn with a sl st into any stitch from Round 1. Work 2 dc in each stitch around for an increase, making the circle larger. Join with a sl st to the first dc, ensuring it remains circular and smooth as it expands. (22 dc total)
Round 3: Alternate Colors and Stitches
Switch to white yarn by joining with a sl st in any stitch. Now alternate between 1 hdc and 1 hdc increase in the same stitch around. This will start to build texture, and your work should slightly ruffle, giving it dimension. (33 hdc total)
Round 4: Forming the Square
With black yarn, join with a sl st in any stitch. Work 1 dc in the next 2 stitches, then 2 dc in the following stitch; this will create the corners. Continue this sequence, ensuring your square is formed and the stitches are evenly spaced. (44 dc total)
Round 5: Edging the Square
Retain the black yarn and continue by putting 1 dc in each stitch and repeating the corner stitch sequence (1 dc in 2, 2 dc in 1). You will create a firmer edge around your Devil Eye, elevating the spooky look. (52 total stitches)
Round 6: Finalizing the Square Shape
Still using black, work in every stitch with a dc, adding 1 dc in each corner to keep the shape defined. Be mindful of your tension; this will ensure your spooky Square remains neat. (68 total stitches)
Round 7: Finishing Touches
Join your red yarn with a sl st in any stitch to finally create the eye’s pupils. Work 2 dc in each corner and 1 dc in the remaining stitches, making your final square shape robust and eye-catching. Fasten off securely, and weave in your ends. (84 total stitches)
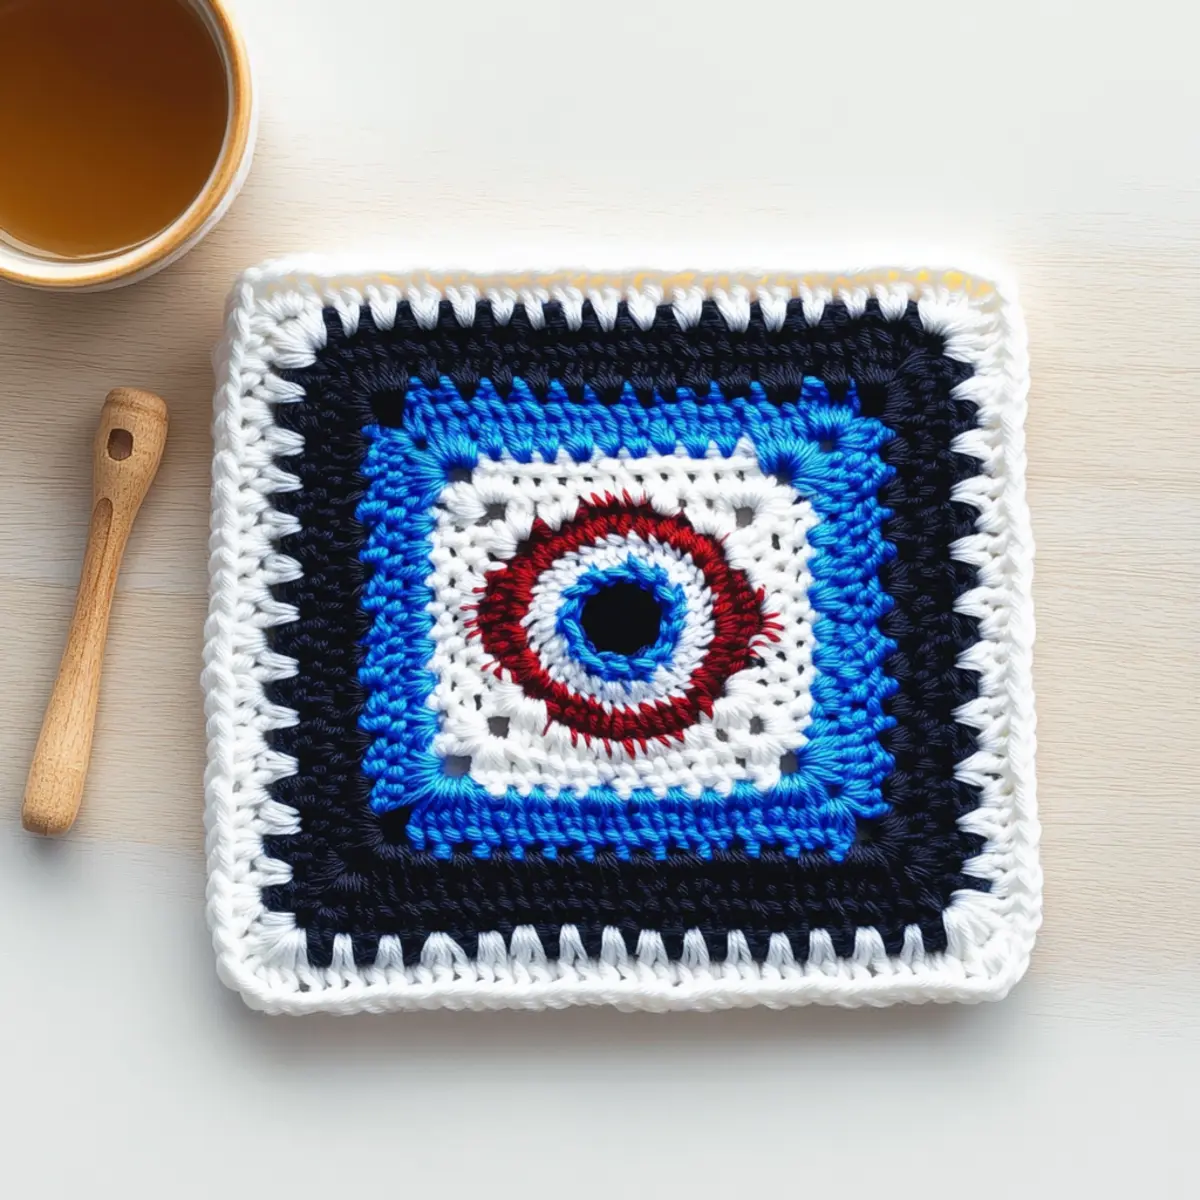
How to Wash and Care for Your Devil Eye Granny Square
Machine Washing: Use a gentle cycle with cold water to preserve the vibrant colors and shape of your Devil Eye granny square. Avoid agitation to prevent felting or pilling.
Drying: Lay your square flat to dry, reshaping it if needed. This helps maintain its lovely form and prevents distortion.
Storage: Store your finished pieces in a cool, dry place. Avoid direct sunlight to keep those beautiful colors from fading over time.
General Care: For acrylic blends, hand washing is also an option; gently squeeze out excess water without wringing to protect your spooky design.
Expert Tips for the Devil Eye Square
-
Count Your Stitches: Regularly checking your stitch count at the end of each round helps maintain the square’s shape, ensuring your spooky design comes out perfectly.
-
Mind the Tension: Pay attention to your tension as you work. A tighter tension can lead to a denser, more defined square, which is ideal for showcasing those bold colors!
-
Secure Finishing: When fastening off, make sure to weave in your ends securely to prevent unraveling, especially on pieces that may be handled frequently.
-
Use Stitch Markers: If you’re new to crocheting, consider using stitch markers at the beginning of each round to keep track of your starting point and prevent losing count.
-
Practice the Magic Ring: Master the magic ring or chain method for starting your square; both create a cozy center for your Devil Eye that won’t leave gaps.
-
Embrace Color Play: Don’t hesitate to switch up colors mid-project; experimenting with different combinations can lead to uniquely striking designs while working on your crochet.
Variations & Substitutions
Get ready to unleash your creativity with these fun customization ideas for your crochet squares!
-
Yarn Weight: Swap DK for Worsted to create larger, cozier squares perfect for blankets. The plush texture of a worsted square is wonderfully inviting.
-
Fiber Alternatives: Try using cotton yarn instead of acrylic for a softer finish. The breathable nature of cotton will add a new dimension to your design.
-
Color-Blocking Ideas: Mix two or more color schemes across several squares. Combining Gothic Purple with Toxic Green can make your project truly eye-catching!
-
Sizing Adjustments: Increase your hook size to create bigger squares or use a smaller hook for a tighter weave. It’s a simple switch that alters the charm and function of your work.
-
Texture Modifications: Add playful pom-poms or fringe to the edges of your squares for a whimsical touch! It can take your spooky design to the next level.
-
Layering Colors: Experiment with a double-layer approach by creating a base square in one color and stitching your devil eye on top in contrasting hues. This adds depth and dimension.
-
Borders Galore: Finish off with a contrasting border around your square to frame your spooky design beautifully. A final touch that brings the whole piece together!
-
Join Together: Create a larger project by joining multiple squares with a slip stitch. It’s a fun way to build a spooky Halloween blanket or table runner! For more on joining techniques, don’t forget to check our guide on joining granny squares.
Feel free to play, innovate, and make it your own—your finished pieces are sure to enchant this Halloween season!
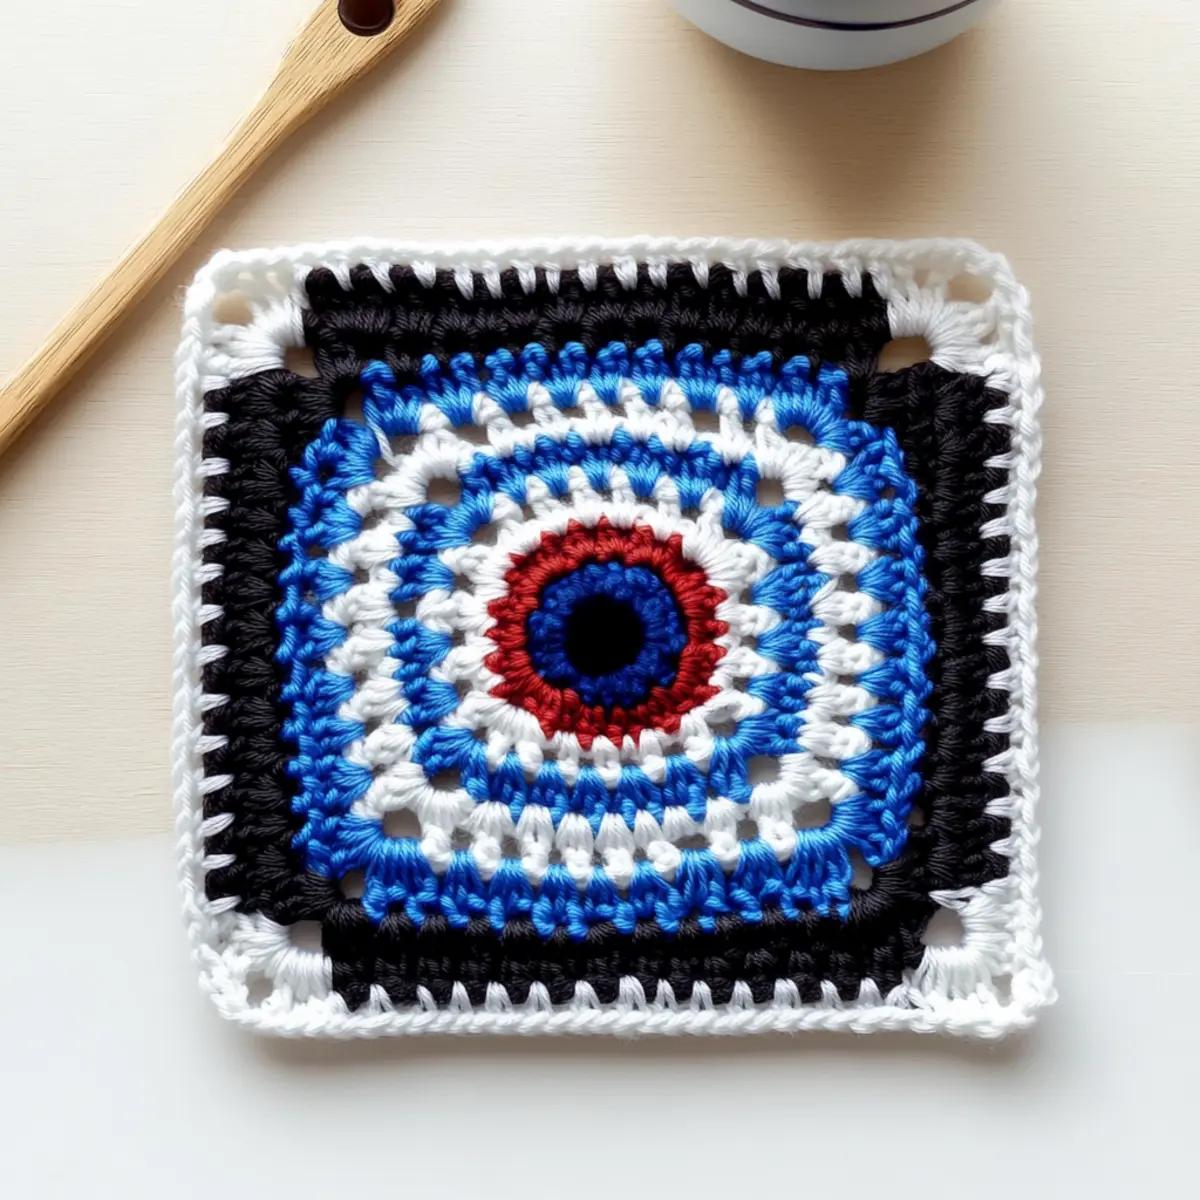
How to Crochet a Spooky Devil Eye Granny Square FAQs
Can I use a different type of yarn for this pattern?
Absolutely! You can substitute DK or worsted weight yarn with any yarn that suits your project’s needs, like cotton or bamboo. Just keep in mind that changing the fiber type may affect the final drape and feel of the square.
How do I make my granny square bigger or smaller?
To adjust the size, you can increase or decrease the number of rounds you complete. For a larger square, simply add more rounds of double crochet. If you want it smaller, skip rounds or decrease the number of stitches in each round accordingly, keeping in mind that even count (like 2 stitches in the corners) is vital for a balanced shape.
Why is my work curling?
Don’t panic! Curling often happens when your tension is too tight or if you’re using a hook that’s too small for your yarn. To fix this, loosen your stitches a bit and consider trying a larger hook to give your stitches more space to relax and showcase that beautiful design!
What hook size should I use for the Devil Eye Granny Square?
For this pattern, I recommend using a 3.00 mm (C/2) hook, as it works well for creating the tight stitches needed for the devil eye design. If you’re unsure, always check your gauge with a swatch first to see if you need to adjust according to your yarn’s attributes.
How do I fix dropped stitches in my square?
If you notice a dropped stitch, don’t worry; it’s an easy fix! Simply pull your working yarn up to create a new stitch using your hook, then carefully weave in the original strand to secure it. This way, your spooky design won’t lose its charm.
What should I consider for washing and caring for my finished square?
When it comes to caring for your granny square, especially if you’re using acrylic yarn, machine washing on a gentle cycle is often recommended. Make sure to lay it flat to dry to maintain its shape. Just remember, cozy care is key!
Leave a Reply