
As I wrapped my fingers around plush, chunky yarn, I couldn’t help but feel the magic brewing in my hands. If you’re on the lookout for a heartwarming project, the Snuggle Bear Kids Hoodie is just the ticket. This delightful pattern not only features adorable bear ears, but it’s also perfect for confident beginners and seasoned crocheters alike. With simple half double crochet stitches woven into a cozy design, this hoodie works up quickly, making it an ideal homemade gift for baby showers or holiday celebrations. Spanning sizes from newborn to 10 years, it’s an enchanting way to add a touch of charm to any child’s wardrobe. I can’t wait for you to dive into this fun, quick project and create something truly special for the little ones in your life!
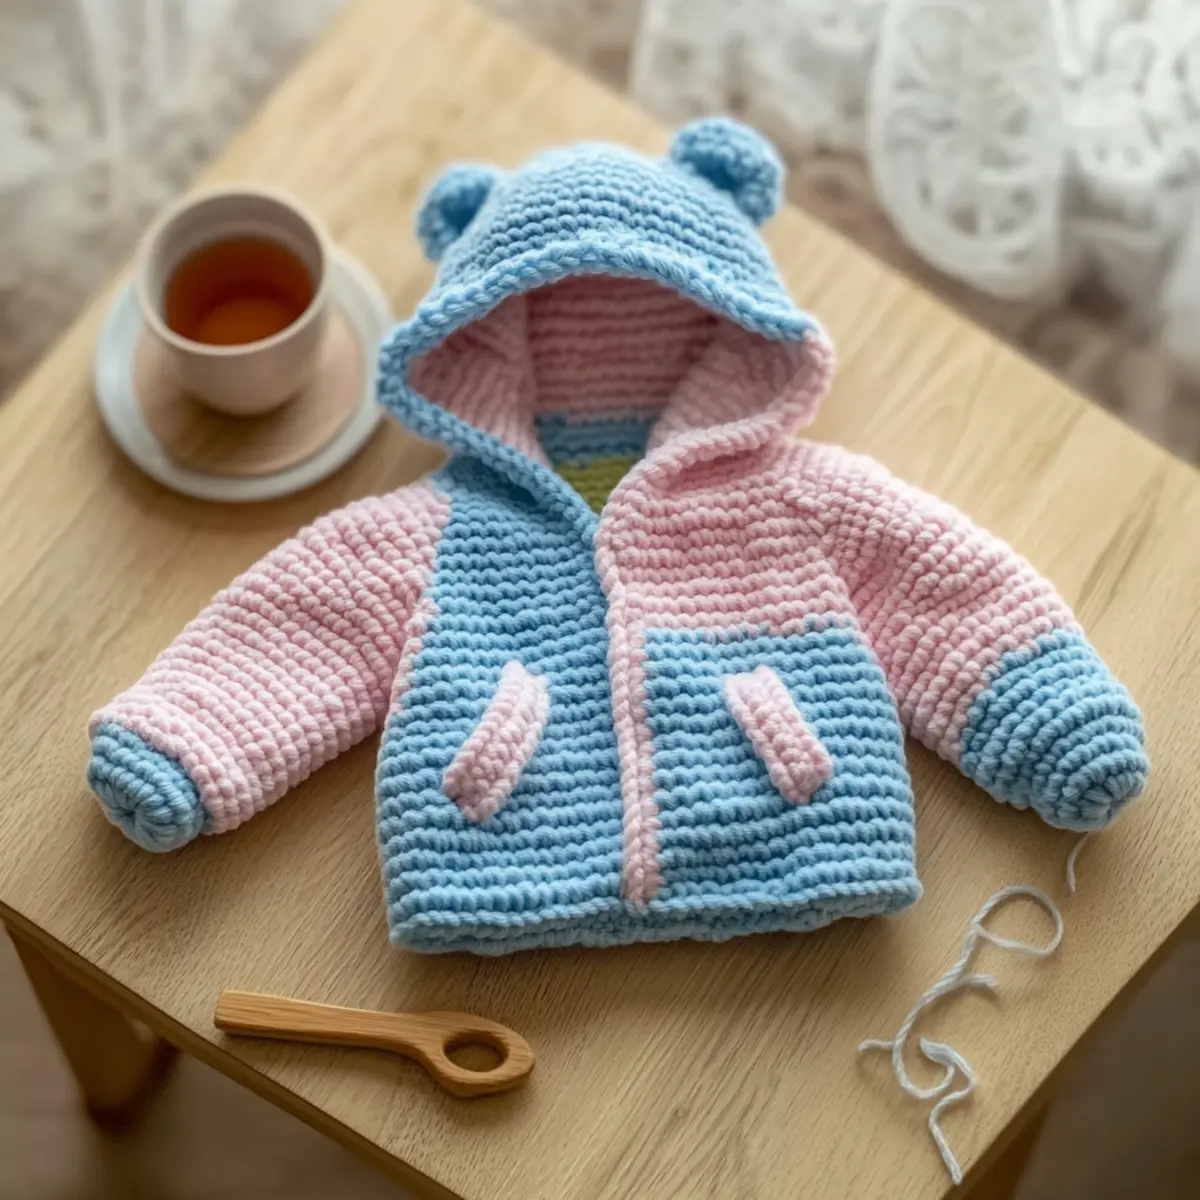
Snuggle Bear Hoodie Materials & Tools
-
Yarn
-
Plush Chenille Yarn – This super bulky yarn (Category 6) creates that cozy, soft fabric perfect for the Snuggle Bear Kids Hoodie; yardage will vary by size, so plan accordingly.
-
Hooks
-
6.0mm (J) Hook – Use this for the main parts of the hoodie for a comfortable fit.
-
6.5mm (K) Hook – Recommended for specific sections to accommodate the stitch changes effectively.
-
Notions
-
Stitch Markers – These are essential for keeping track of your rows, especially when working in rounds.
-
Tapestry Needle – Perfect for weaving in ends and assembling your hoodie seamlessly.
-
Safety Button (optional) – Adds a cute finishing touch and optional closure for the hoodie.
What Makes This Hoodie an Essential Project?
Cozy Comfort: The Snuggle Bear Kids Hoodie is all about warmth and softness, using plush chenille yarn that wraps little ones in a gentle hug, perfect for chilly days.
Quick to Make: Designed for efficiency, this pattern is beginner-friendly, allowing you to whip up adorable hoodies in no time—ideal for last-minute gifts!
Unique Features: With charming bear ears on the hood, this project adds a playful flair that kids will absolutely love.
Versatile Sizing: Offering sizes from newborn to 10 years, it’s easy to adjust for any child, making it a go-to for holiday gifting or special occasions.
Transform your crochet journey by exploring other fun projects like the Cozy Crochet Cardigan that complements this hoodie beautifully!
Gauge & Sizing Notes
Don’t skip the gauge swatch! For the Snuggle Bear Kids Hoodie, achieving the correct tension is essential to ensure that your hoodie fits snugly and comfortably on your little one. Aim for a gauge of 4×4 inches (10×10 cm), which should equal 10 half double crochets by 8 rows. If you need to adjust the size, you can increase or decrease the starting chain by multiples of 10 to make it larger, or conversely, adjust down for a smaller size. If your swatch is coming out too small, simply switch to a larger hook size; conversely, if it’s too large, try going down a hook size. Happy crocheting with your Snuggle Bear Hoodie!
Step‑by‑Step Pattern for Snuggle Bear Cozy Kids Hoodie
Row 1: Foundation Chain
Starting with a foundation chain of 54 (size newborn), ch 2 extra for the turning chain. Join with a sl st to form a ring, ensuring not to twist your chain. This will be the base of your Snuggle Bear Kids Hoodie, providing a circular starting point. Your work should lay flat and form a ring without any twists.
Row 2: First Half Double Crochet Row
Ch 2 (counts as the first hdc), and then hdc in each ch around (54 hdc). To create a cozy texture, work into the spaces between the stitches rather than through the top loops. Join with a sl st in the top of the ch 2. Your work should now be forming a gentle tube.
Row 3: Increase for Yoke
Ch 2, hdc in the same stitch (inc), and hdc in the next stitch. Continue this pattern around, putting 2 hdc in every alternate stitch (81 hdc). Be sure to count to keep track of your increases. Your yoke should begin to gently widen at this point, creating the hoodie shape.
Row 4: Continue Yoke Expansion
Ch 2, hdc in the next stitch, inc in the next stitch again (2 hdc in 1 stitch). Repeat this around (108 hdc). The yoke is starting to take form, and your work should now have a slightly ruffled appearance due to the increases.
Row 5: Establishing the Body
Ch 2, hdc in each stitch around (108 hdc). This row sets the foundation for the body of your Snuggle Bear Kids Hoodie. Your stitches should be neat and consistent, and you should see the body beginning to take shape.
Row 6: Stopping Length for Body
Ch 2, hdc in each stitch around for 15 more rounds (108 hdc each round). This will form the cozy body of the hoodie, providing warmth and comfort. As you work, your piece should feel substantial and plush, ready to wrap around little ones.
Row 7: Creating the Hood
To transition to the hood, divide your work. Ch 2, and hdc in the next 54 stitches (back half for the hood). The remaining 54 stitches will be set aside—this is where your hood will begin forming. Your work will resemble a semi-circle, starting to look like a soft hood.
Row 8: Shaping the Hood
Ch 2, hdc in the next 54 stitches (54 hdc), then turn your project. This will help create the structure of the hood. Each row here will shape upward, giving the hood its cozy confine around the child’s face.
Row 9: Finishing the Hood
Ch 2, hdc in each of the next 10 stitches (10 hdc), then dec by hdc 2 together (last 2 sts). This helps taper the hood slightly. Your hood should start to pull together at the top, achieving a snug fit.
Step 10: Edging the Hoodie
To finish, ch 1 and sc around the entire opening of the hoodie. This will add a nice finish and help stabilize the edge. Your Snuggle Bear Kids Hoodie is almost complete, showcasing its finished shape and allure.
Step 11: Attaching Sides & Ears
Sew the sides of the hoodie together to close. For ears, make 2 small circles of 4 dc each and attach them on top of the hood with a tapestry needle. The cute bear ears will give your hoodie its signature charm and playful flair.
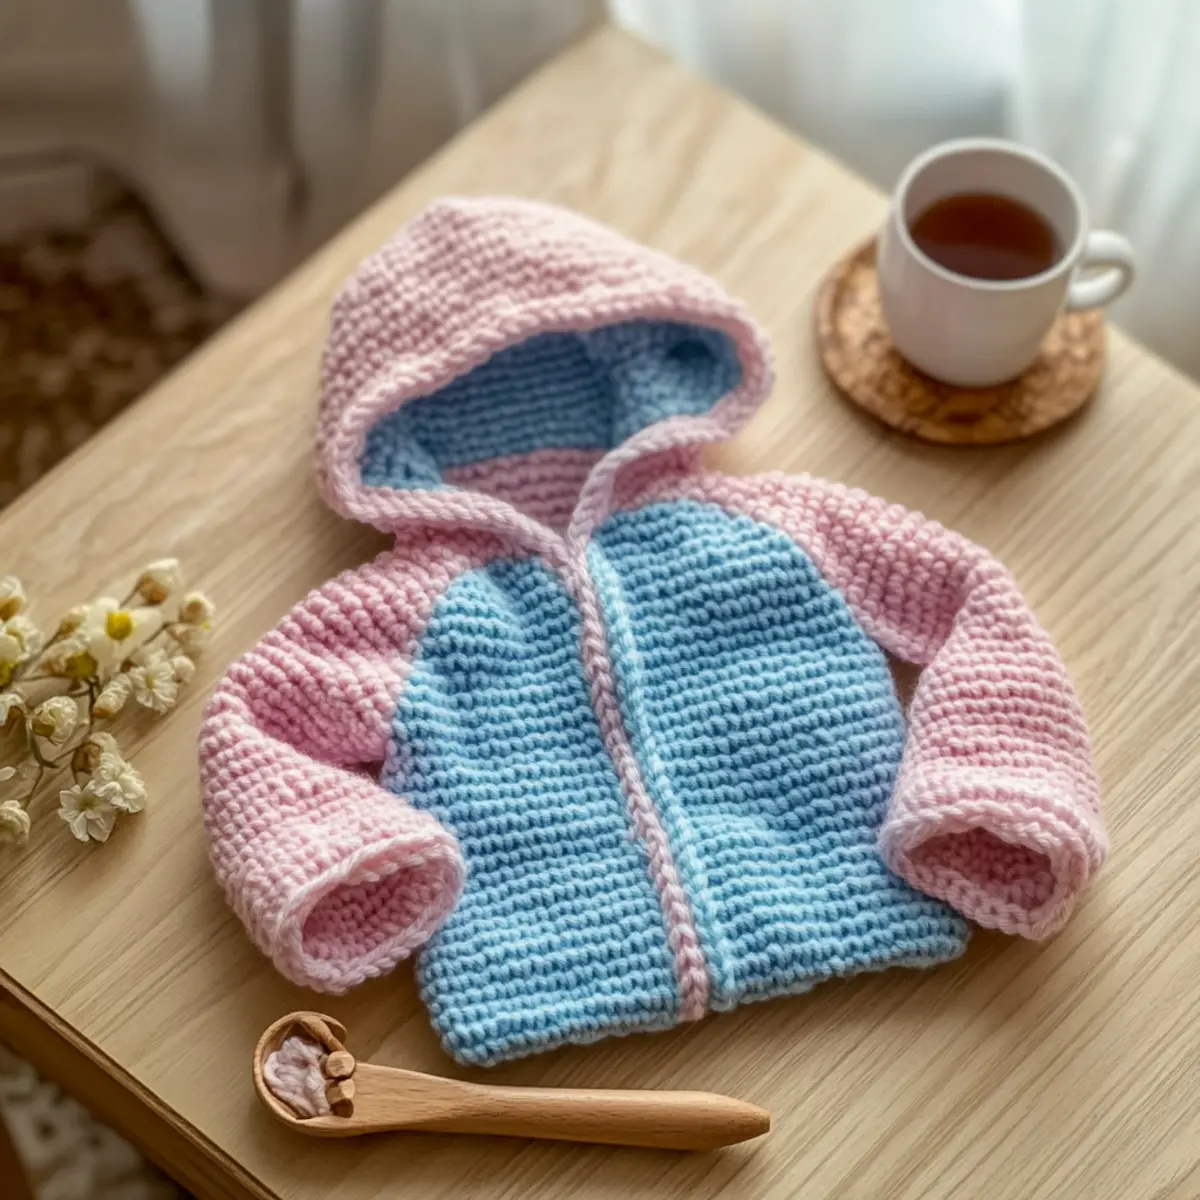
Expert Tips for the Snuggle Bear Hoodie
-
Gauge Matters: Always swatch your tension before starting. This ensures your sizing will be accurate, giving the perfect cozy fit for every child.
-
Count Your Stitches: Losing track of your stitches can lead to uneven edges. Count at the end of each row to maintain the lovely shaping of your Snuggle Bear hoodie.
-
Avoid Twists: When making your foundation chain, make sure it’s flat and not twisted. This simple trick will keep your hoodie looking professional and polished.
-
Seam with Care: When joining pieces, use a tapestry needle to weave in yarn ends neatly. This adds durability, especially important for little ones who love to play.
-
Embellish Thoughtfully: If adding a button or embellishments, ensure they are securely fastened. Safety is key for your little ones in their cute, cozy creations!
Variations & Substitutions for Snuggle Bear Hoodie
Embrace your creativity by customizing this charming hoodie to reflect your personal style!
- Yarn Substitutions: Swap plush chenille with cotton yarn for a lighter, breathable option perfect for spring.
- Color-Blocking Ideas: Use two or three colorways for the body and hood to create a playful striped effect that kids will adore.
- Size Adjustments: Increase or decrease the number of rows in the body for a more tailored fit—ideal for mixing and matching sizes.
- Texture Modifications: Add a fluffy pom-pom to the hood for an extra fun touch that enhances that cozy vibe.
- Fringe Detailing: Consider adding fringe along the bottom hem for added character and whimsical charm that kids will find irresistible.
- Fun Pockets: Incorporate simple pockets for little treasures. It’s a practical touch that also adds to the hoodie’s appeal.
- Button Variations: Choose fun, colorful buttons or even themed ones to personalize the closure, making each hoodie unique.
- Embellishments: Explore adding patches or embroidery to celebrate special events—like birthdays or holidays—for a truly memorable piece.
For more inspiration to create stunning pieces, consider checking out the Cozy Crochet Cardigan that beautifully complements your Snuggle Bear hoodie!
Care Instructions for Snuggle Bear Kids Hoodie
-
Machine Washing: Use cold water on a gentle cycle to wash your Snuggle Bear hoodie. This helps preserve the softness of the plush chenille yarn while preventing any felting or pilling.
-
Hand Washing: For extra care, consider hand washing in cold water with a mild detergent. Gently knead the fabric without agitating to maintain its lovely texture.
-
Drying/Blocking: Lay the hoodie flat on a clean, dry towel to air dry. Reshape if necessary to maintain its cozy form. Avoid hanging to prevent stretching.
-
Storage: When storing the hoodie, keep it folded in a cool, dry place away from direct sunlight to maintain its vibrant color and soft texture for years to come.
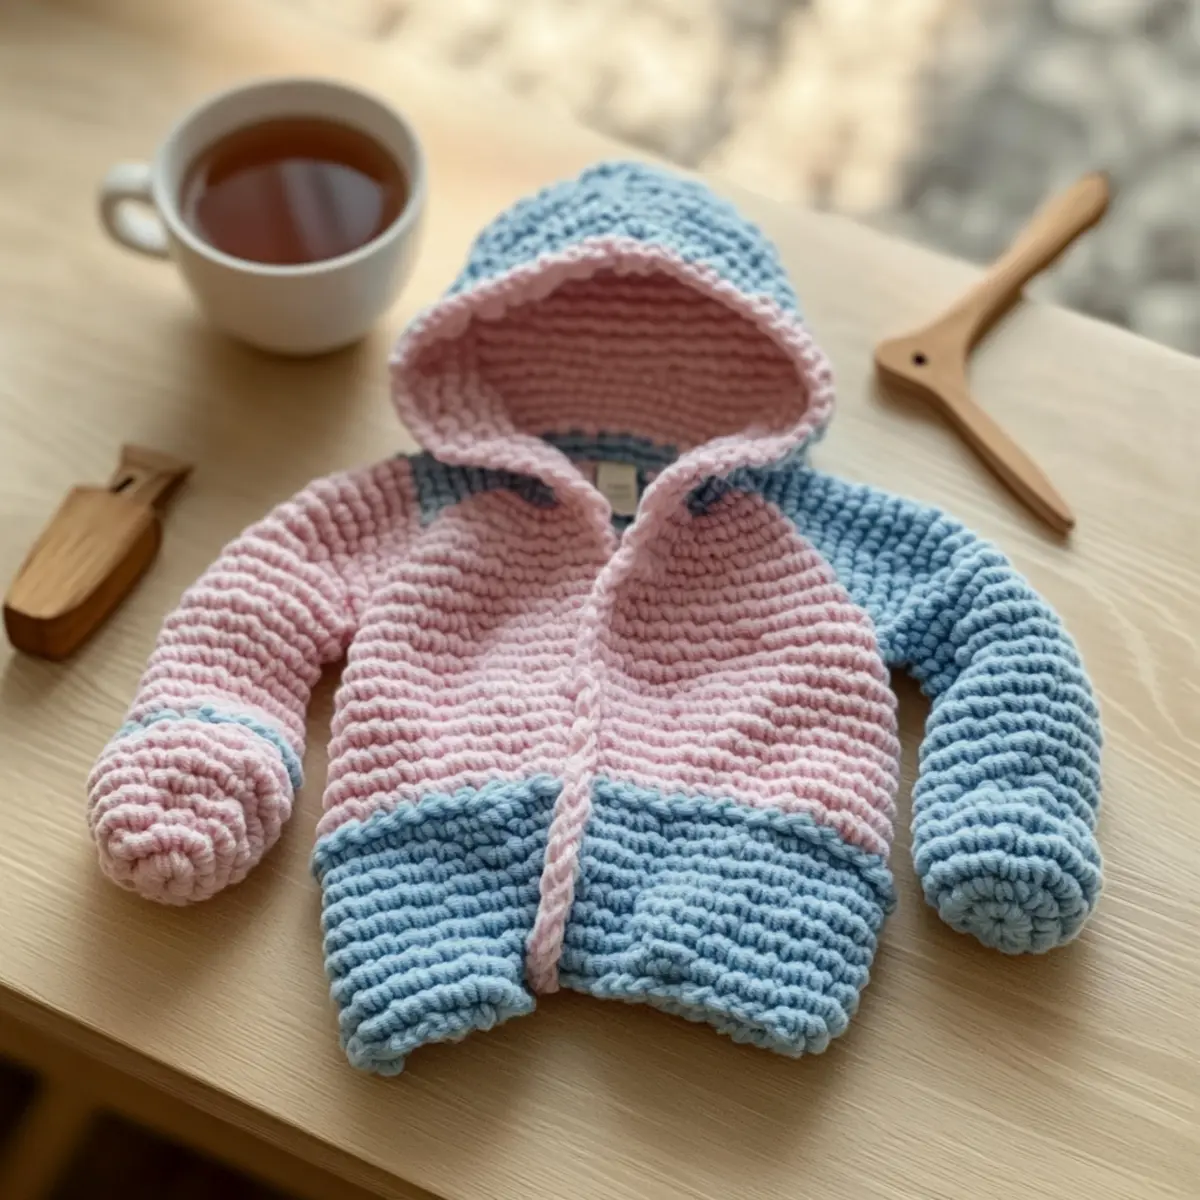
Snuggle Bear Cozy Kids Hoodie FAQs
Can I use a different type of yarn for the Snuggle Bear Kids Hoodie?
Absolutely! While I recommend plush chenille yarn for its softness and bulk, you can substitute with another super bulky yarn. Just be mindful to check your gauge, as different fibers may change the drape and fit of your hoodie. A blend of acrylic and polyester could also work beautifully and might soften after a few washes!
How can I adjust the size of the hoodie if it’s too big or too small?
If your hoodie turns out larger than expected, try decreasing by removing a few rows in the body or shortening the sleeves. For a smaller fit, you can opt for a lighter weight yarn which will also give a slightly snugger result or adjust the number of stitches in the foundation chain. I suggest keeping a tape measure handy to track your adjustments!
My edges are curling; what can I do to fix this?
Don’t panic! Curling is a common issue, especially when using half double crochet stitches. Check if you’re pulling your stitches too tight. A simple solution is to give your hoodie a light blocking treatment—just lay it flat, gently stretch the edges, and let it dry. This should help smooth everything out nicely!
Which hook sizes should I use for this pattern?
For most of the Snuggle Bear Kids Hoodie, a J (6 mm) hook works wonders, but for specific sections, I’d recommend using a K (6.5 mm) hook. This slight difference can help add that extra squishiness you want in your cozy design. Always be sure to check your gauge after switching hooks!
How do I fix dropped stitches while crocheting?
It’s an easy fix! If you notice a dropped stitch, don’t worry. Simply use a tapestry needle to pick up the strand of yarn and pull it through the loop that dropped. This will reintroduce the stitch back into your work. Just take a breath, and it’ll be as good as new!
What should I do if I don’t have stitch markers?
No worries at all! If you’re out of stitch markers, you can use a scrap piece of yarn, a paper clip, or even a safety pin to mark your stitches. Just place it gently in the stitch you want to mark to help keep track of your rounds or rows. Creativity is key in crochet—embrace those DIY solutions!
Leave a Reply