
There’s something undeniably charming about a hat topped with a fluffy pom pom—it instantly elevates any crochet project into a delightful accessory. Today, I’m excited to share my easy method for securely attaching a pom pom to your crochet hat. This technique not only adds a whimsical touch but also guarantees that your pom pom stays put, making it perfect for gifts or baby hats where safety is key. Whether you’re a seasoned crocheter or just starting out, you’ll find this tutorial straightforward and rewarding. Plus, it uses basic materials you likely have on hand, making it a fantastic chance to clear out your stash! Ready to bring your crochet hats to life with that perfect finishing touch? Let’s dive in!
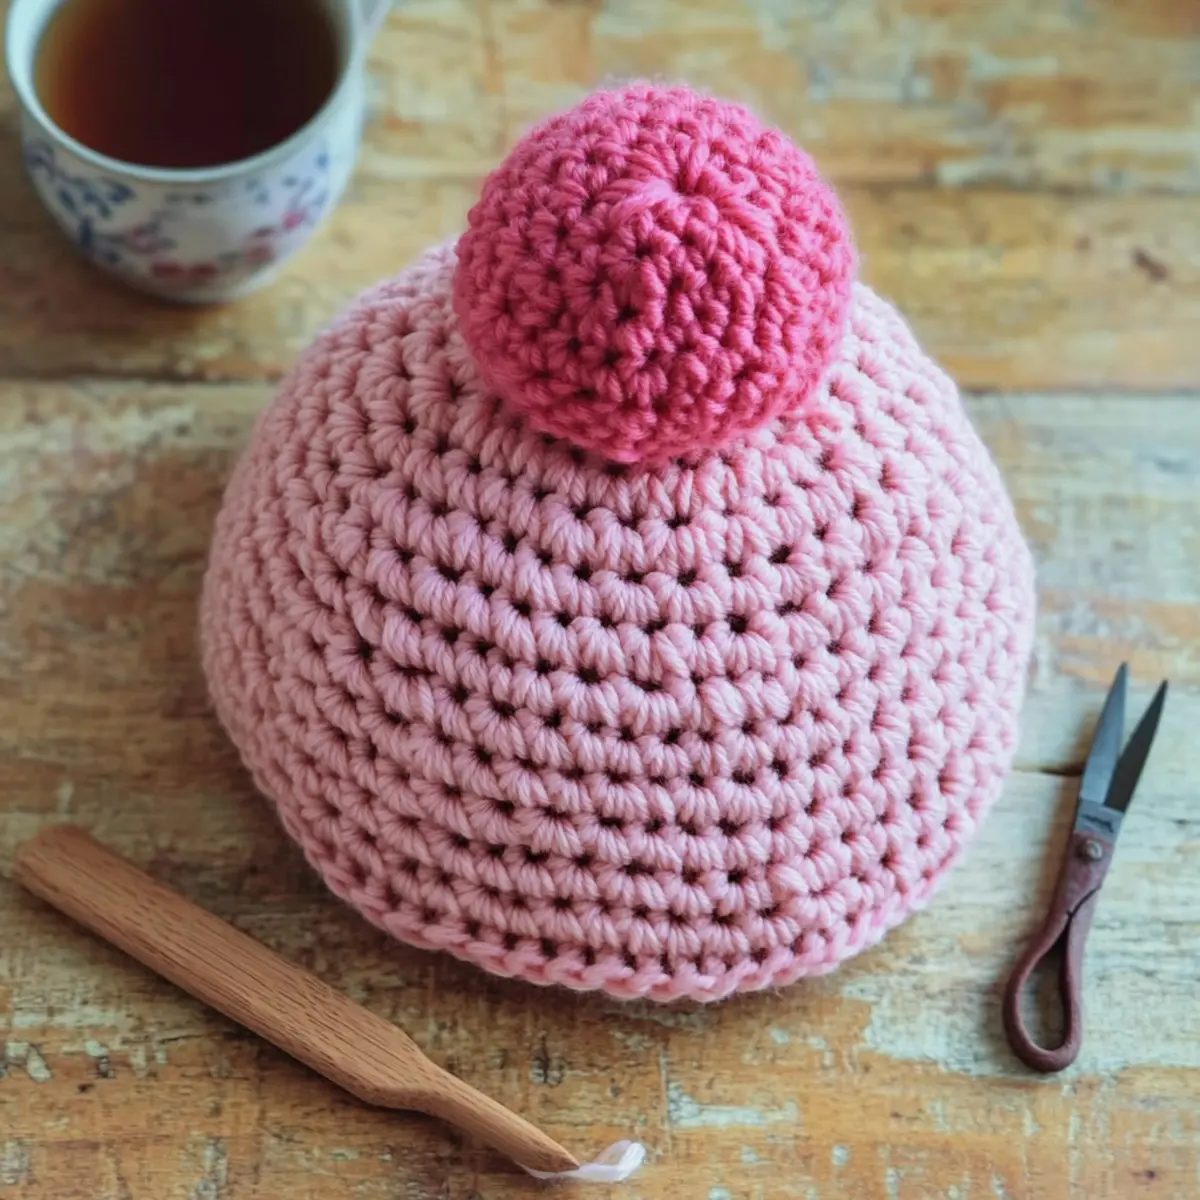
Securely Attach a Pom Pom Materials & Tools
Yarn
• Worsted Weight Yarn – Choose 100% acrylic or wool that matches your hat, with approx. 50-100 yards for the pom pom.
Hook
• 5.5mm (I-9) Hook – Use this size for most worsted weight yarns to create your hat securely.
Notions
• Stitch Markers – Helpful for marking the position of your pom pom on the hat.
• Tapestry Needle – Essential for weaving in ends and securely knotting the pom pom.
• Scissors – For trimming your yarn and ensuring your pom pom looks tidy.
This simple materials list will help you in your journey to securely attach a pom pom to your crochet hat with ease!
Why Use a Pom Pom on Your Hat?
Charming Accents: Adding a pom pom instantly transforms a simple crochet hat into a whimsical masterpiece, perfect for stylish outings or cozy days at home.
Secure Attachment: This technique focuses on creating a strong bond, ensuring the pom pom stays in place, especially crucial for baby hats.
Simple Process: Even beginners can master this method with just a few basic tools—no special skills necessary!
Fun Customization: Explore endless creativity by mixing colors and textures; why not try a bold contrast for extra flair?
Great Gifting Idea: Handmade hats topped with soft pom poms make heartfelt gifts that friends and family will adore.
Gauge & Sizing Notes
Don’t skip the gauge swatch! Ensuring your tension is correct is crucial for making a well-fitted hat and securely attaching your pom pom. For this project, a standard gauge measurement would be 4×4 inches (10×10 cm) = 14 double crochets by 8 rows. If you want your hat to be larger, start your chain with multiples of 4 plus 2, or increase your rows when working in rounds. If your tension swatch isn’t matching, don’t worry—if your swatch is too small, simply go up a hook size to achieve that perfect fit. Happy crocheting!
Step‑by‑Step Pattern for Securely Attaching a Pom Pom to Your Crochet Hat
Step 1: Prepare Your Pom Pom
Start by creating your pom pom using your preferred method, such as a pom pom maker or the cardboard method. Make sure to cut evenly so the pom pom is fluffy and round. Once completed, trim any uneven edges and fluff it up to your desired appearance. This will be the delightful finishing touch for your crochet hat.
Step 2: Identify the Center
Position your crochet hat with the crown facing upwards. Use a stitch marker to pinpoint the exact center of the hat’s top (typically where the last stitch of your last round is). This spot is crucial for ensuring your pom pom sits evenly and securely on your crochet hat.
Step 3: Attach Yarn to Tapestry Needle
Cut a length of yarn approximately 12 inches long, matching the color you used for your crochet hat. Thread this yarn through a tapestry needle. This yarn will be used to sew your pom pom to the hat, ensuring a secure and long-lasting attachment.
Step 4: Thread through the Pom Pom
Insert the needle through the center of the pom pom, pulling it through until both ends of the yarn are equal on either side of the pom pom. This step ensures your yarn will anchor the pom pom securely to your crochet hat, preventing it from falling off during use (especially important for baby hats).
Step 5: Pull Yarn Through the Hat
Position the pom pom over the stitch marker with the yarn ends hanging down inside the hat. Gently push the tapestry needle down through the marked center hole of the hat, pulling it through until the pom pom sits snugly on the top. Your hat should now look delightfully topped!
Step 6: Secure with Knots
Once the pom pom is in place, form a tight knot by tying the yarn tails together—ensure it’s secure and tight. Repeat this process to create several knots, reinforcing the hold of the pom pom so it can withstand gentle pulls and everyday wear. Your crochet hat is now adorned with a perfectly attached pom pom.
Step 7: Final Check
After completing the knots, gently tug on the pom pom to check for security. If it remains firmly in place, proceed to trim the excess yarn tails close to the knot for a tidy finish. This step ensures that your hat is not only aesthetically pleasing with the pom pom but also safe for wear, particularly for little ones.
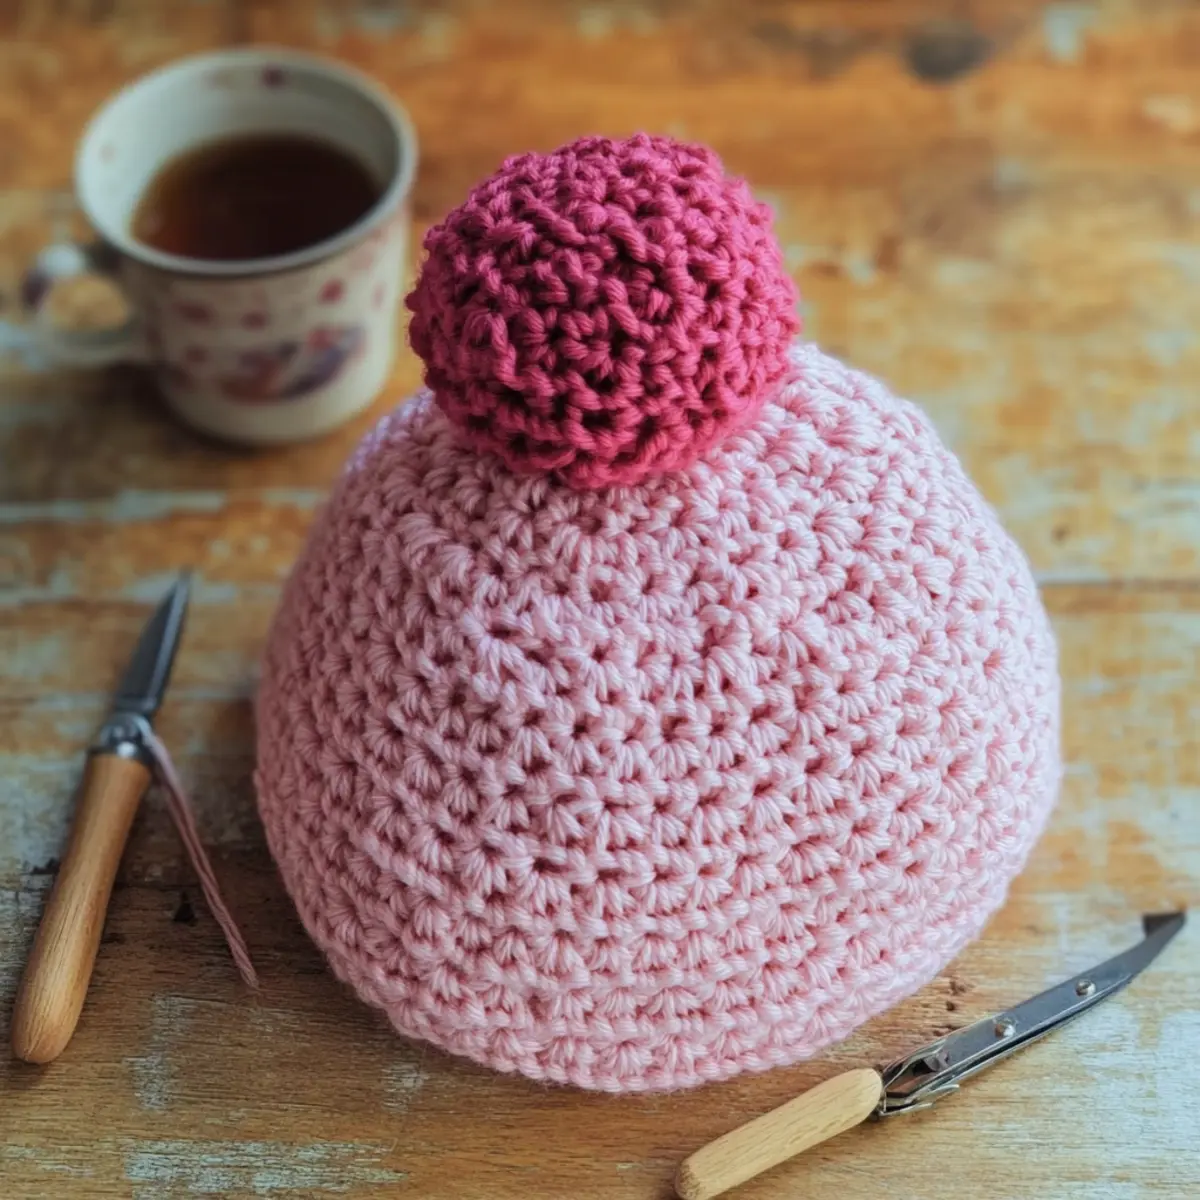
Expert Tips for Secure Attachment
• Knot Tightness: Always double-check your knot tightness when attaching the pom pom. A loose knot can lead to unwanted detachment, especially on baby hats.
• Check Your Count: Make sure to accurately count the stitches when marking the pom pom position. Losing track can result in an uneven appearance.
• Foundation Integrity: Ensure the foundation chain of your hat remains untwisted. A twisted foundation can lead to misplacements in pom pom attachment.
• Final Tug Test: Before finishing, gently tug the pom pom to confirm it’s securely attached. It’s better to double-check than risk it falling off!
• Regular Maintenance: After washing your hat, inspect the pom pom attachment to catch any potential loosening that might have occurred in the wash.
Washing & Care Instructions for Your Crochet Hat
Hand Washing: Gently hand wash your crochet hat in cold water with a mild detergent to avoid any agitation that could lead to felting or pilling.
Drying: Lay your hat flat on a clean towel to dry, reshaping as needed. Avoid hanging, as this can stretch the fibers and compromise the pom pom attachment.
Storage: Store your hat in a cool, dry place away from direct sunlight to preserve the colors and textures of your yarn.
Pom Pom Check: Regularly inspect the pom pom to ensure it remains securely attached, especially after washing, for the safety and longevity of your crochet hat.
Securely Attach a Pom Pom to Your Crochet Hat
Ready to add your own flair to your crochet hat? Let’s personalize it with some delightful variations!
-
Yarn Substitutions: Opt for a cotton yarn for a fresh summer look. Cotton is breathable and perfect for warmer weather wear.
-
Color Blocking: Create a playful hat by using different colored yarns for the body and the pom pom. This delightful contrast adds vibrancy and personality!
-
Texture Alterations: Try a fluffy yarn for your pom pom to add a cozy texture. A plush pom pom can enhance visual appeal and bring that touch of warmth.
-
Multiple Pom Poms: For a fun twist, attach more than one pom pom in descending sizes. Mix bright colors for a joyful, playful look!
-
DIY Pom Pom Variations: Experiment with a faux-fur yarn for your pom pom. It will lend a luxurious finish, perfect for chic winter hats!
-
Size Adjustments: For babies, make a smaller pom pom to ensure safety. Remember that less is more, especially for tiny accessories.
-
Pom Pom Accessories: Add some fun by attaching small bells to your pom pom. The gentle jingle can make your hat extra engaging for curious little ones!
-
Border Fun: Add a decorative border around the hat’s brim. A scalloped edge or simple rib can enhance the overall design while keeping the pom pom as the star!
Feel free to explore these exciting options and don’t forget to check out more on yarn textures, color-blocking ideas, and the best yarn choices for hats to help inspire your next crochet project!
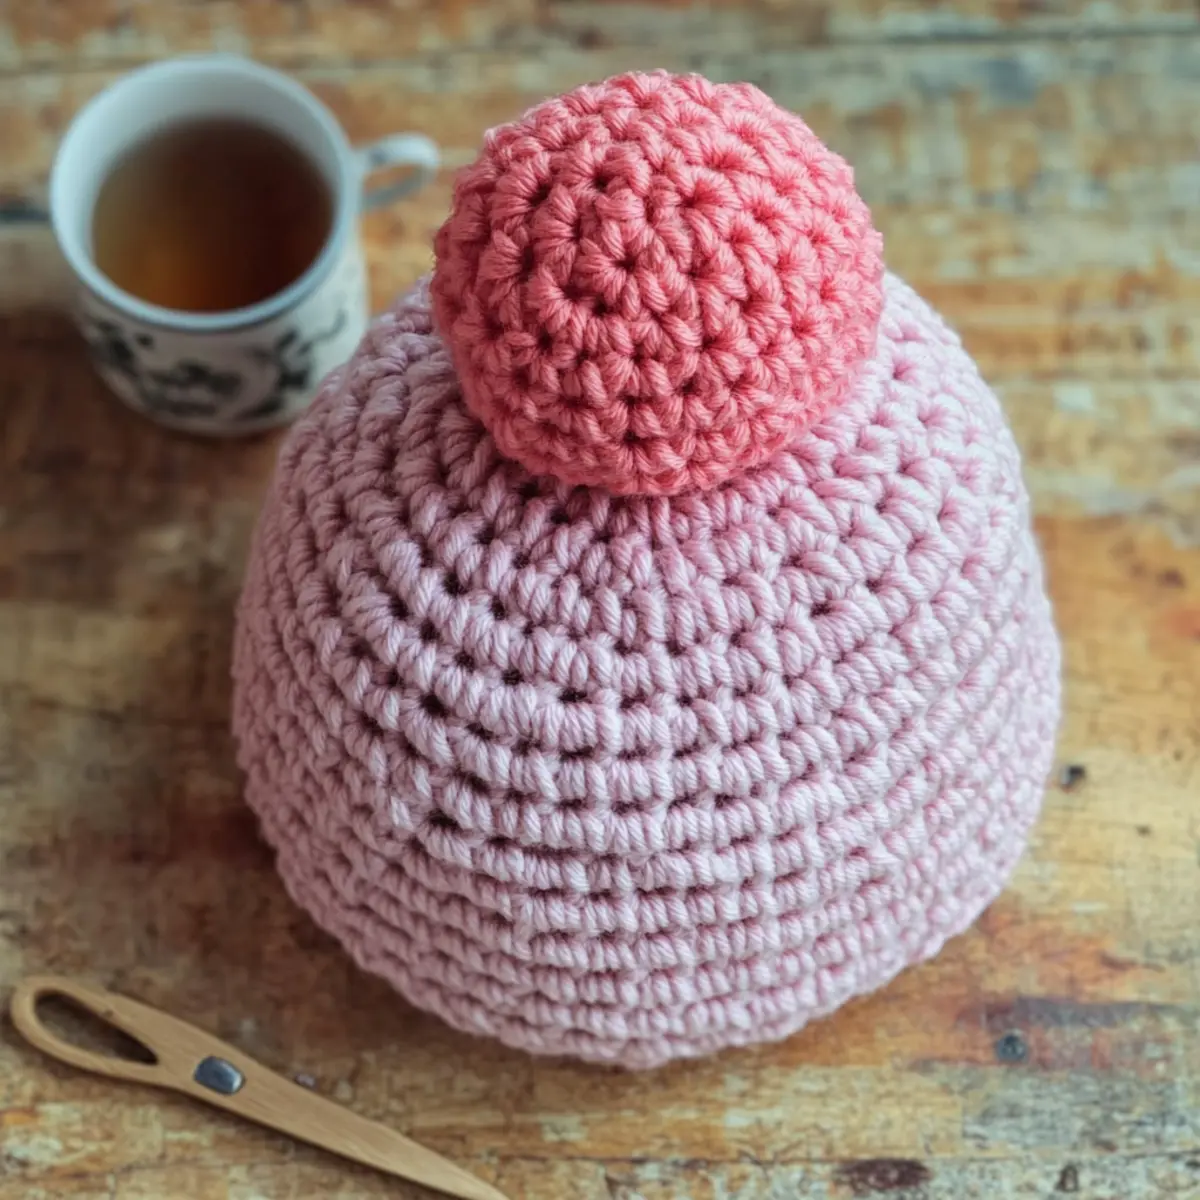
Securely Attach a Pom Pom to Your Crochet Hat FAQs
Can I use a different yarn type for my pom pom?
Absolutely! You can use a different type of yarn to make your pom pom. Just ensure it matches the weight of your hat yarn to maintain a cohesive look. For example, if your hat is made from worsted weight yarn, using a similar weight for the pom pom will create a balanced appearance.
How can I make my hat bigger if it feels snug?
If your hat is feeling a bit tight, you can adjust sizing by using a larger hook size or adding additional stitches. A simple way is to chain in multiples of 3 + 1 when you start your foundation, so you can easily increase to your desired size. Test your adjustments with a gauge swatch if possible!
Why is my pom pom curling strangely when attached?
Don’t panic! If your pom pom is curling like a bowl, it may be due to tension issues in your stitches. Make sure you’re not pulling the securing yarn too tightly. Alternatively, check that your foundation chain isn’t twisted, as that can affect the overall shape and attachment.
What hook size should I use to make the pom pom?
For your pom pom, you can typically use the same hook size as your hat, but don’t hesitate to experiment! A slightly larger hook can create a fluffier pom pom. If you’re using worsted weight yarn, a 5.5 mm (I-9) hook is a great place to start.
How do I fix dropped stitches on my hat?
It’s an easy fix! For dropped stitches, simply pick the stitch back up with your tapestry needle. Use a bit of yarn to secure it in place, making sure to weave it in well to avoid future issues. Checking your stitches regularly can help avoid this problem altogether!
How often should I check the pom pom attachment after washing?
It’s wise to check the pom pom attachment each time you wash your hat. Spot clean or hand wash delicately; after washing, give the pom pom a gentle tug to ensure it remains secure. This helps maintain the safety and integrity of your adorable accessory, especially for baby hats!
Leave a Reply