
There’s something truly magical about transforming an ordinary blanket into a playful masterpiece. With just a few simple steps, you can elevate your crochet or knitted blanket by adding delightful pom poms at each corner. In this “Quick & Easy Pom Pom Attachment for Blankets” tutorial, I’ll show you how effortlessly you can enhance your projects while keeping it beginner-friendly. Not only does this fun addition give your blanket a whimsical flair, but it’s also a fantastic stash-buster! Imagine snuggling under your cozy throw, adorned with cheerful pom poms that bring smiles to everyone who sees it. Ready to make your blanket not just warm but also irresistibly charming? Let’s get started on this simple yet stunning enhancement!
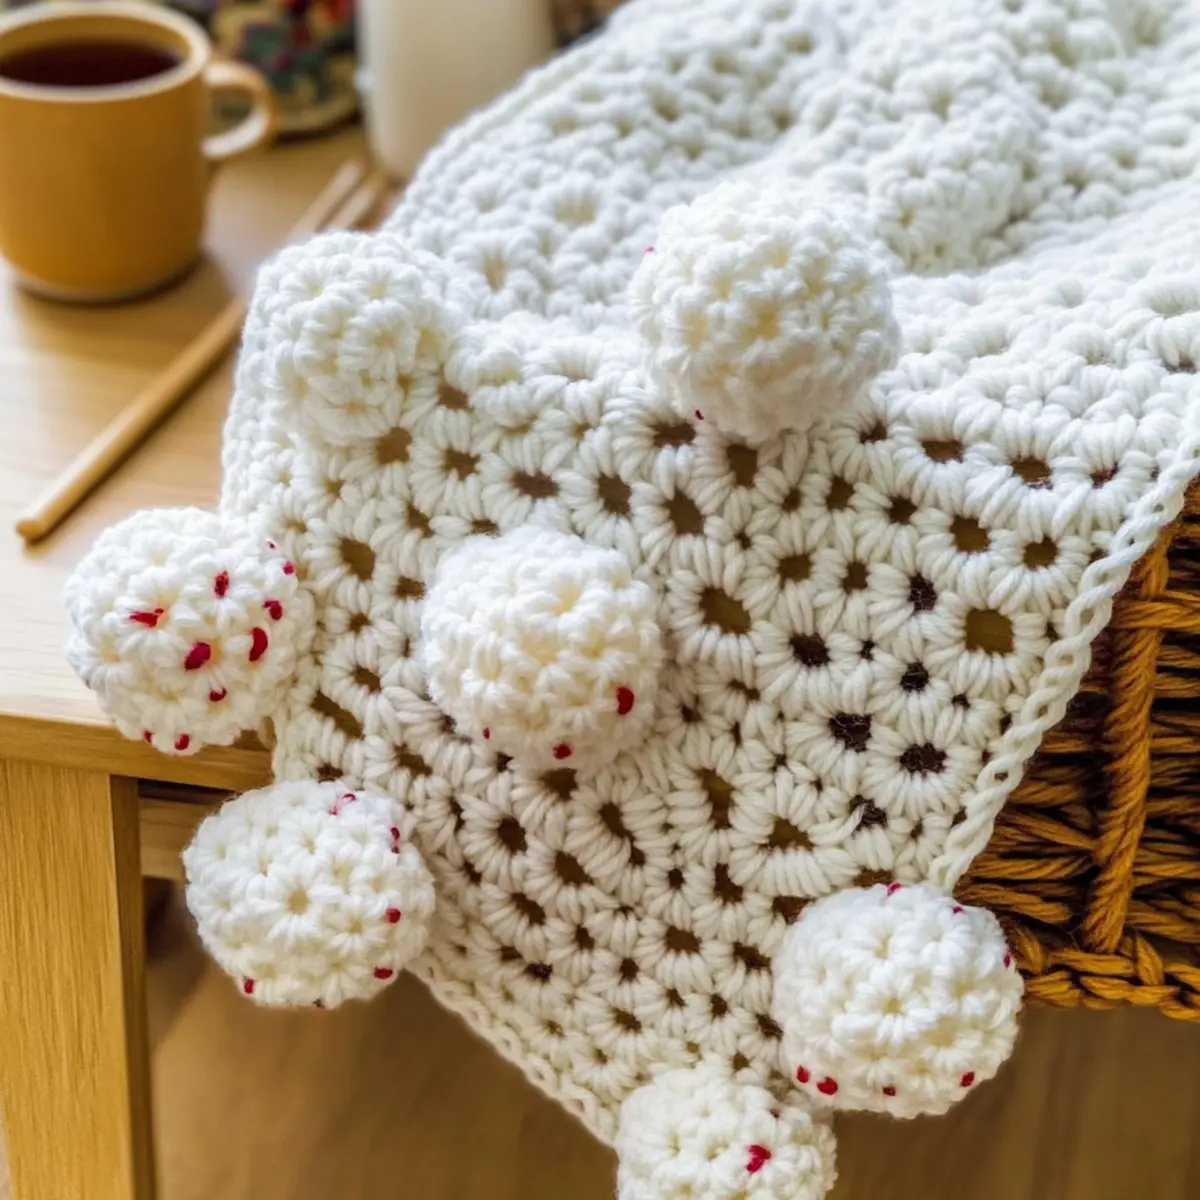
Quick & Cozy Pom Pom Attachment Materials & Tools
Note: Gather these materials to add whimsical pom poms to your blanket effortlessly!
Yarn
• Blanket Yarn – Use the same yarn as your blanket to ensure color and texture consistency.
Tools & Notions
• Corresponding Hook Size – Use a hook size appropriate for your blanket yarn weight, ensuring ease of attachment.
• Pom Poms – Choose store-bought or make your own with a pom pom maker to suit your style!
• Tapestry Needle – A sturdy needle to thread the yarn through the pom pom for secure attachment.
• Scissors – Handy for trimming any pom poms to the desired fluffiness or shape.
Get ready to make your cozy project shine with cheerful pom poms!
Why Add Pom Poms to Your Blanket?
Delightful Transformation: Adding pom poms instantly elevates your blanket from ordinary to extraordinary, creating a playful vibe that’s perfect for all ages.
Quick & Easy: This beginner-friendly project allows you to enhance your favorite blanket in just a few simple steps, making it an ideal choice for crafters of all skill levels.
Versatile Styling: Perfect for both knitted and crocheted projects, you can use yarn scraps or leftover skeins to give your blanket a unique touch. Plus, why not explore different colors for a vibrant twist?
Cozy Aesthetic: The fluffy texture of pom poms not only adds visual interest but also brings warmth and coziness—perfect for chilly evenings!
Simple Stash-Buster: With minimal yarn required, this project is a fantastic way to use up that yarn stash you’ve been accumulating. So grab your supplies, and get crafting!
Gauge & Sizing Notes
Don’t skip the gauge swatch! Ensuring your tension is just right for the “Quick & Easy Pom Pom Attachment for Blankets” is vital for achieving the perfect look and feel. Aim for a standard gauge measurement of 4×4 inches (10×10 cm), which should equal 14 double crochets by 8 rows. If you’d like your blanket to be larger or smaller, make adjustments to your foundation chain in multiples of 4. For example, to widen your blanket, increase your starting chain by those multiples. If your tension doesn’t match the given gauge, don’t worry! If your swatch is too small, simply try going up a hook size to get those cozy results!
Step‑by‑Step Pattern for Quick & Easy Pom Pom Attachment for Blankets
Step 1: Prepare Your Blanket Corner
Begin at one corner of your blanket. Using your tapestry needle, thread a length of yarn from the blanket through the pom pom’s center. Make sure the pom pom rests snugly in the corner, ensuring a clean and tidy appearance. You’ll want the pom pom to sit nicely, as this will be the focal point of your cozy blanket.
Step 2: Secure the Pom Pom
Once positioned, use your tapestry needle to pull the yarn tightly from the pom pom into the blanket. Create a sturdy knot at the back to secure it in place. For a secure finish, tie several double knots, ensuring the pom pom is tightly attached. This is especially important for baby blankets to prevent any choking hazards.
Step 3: Repeat for Remaining Corners
Continue attaching additional pom poms at the other three corners of your blanket, following the same method. Position each pom pom so they are even and aligned for a balanced look. As you secure them with tight knots, your blanket will slowly transform into a whimsical masterpiece, radiating warmth and charm.
Step 4: Final Check and Trim
Once all four corners are decorated, examine each pom pom to ensure they’re securely attached. If needed, use scissors to trim any uneven strands on your pom poms for a neat finish. This small step enhances the cozy aesthetic of your blanket, making it even more delightful.
Step 5: Care Instructions
After completing your pom pom attachment, remember to periodically check the knots after washing your blanket to maintain their security. Following standard yarn care practices based on the type of yarn used will help keep your cozy blanket looking vibrant and fresh for many uses to come.
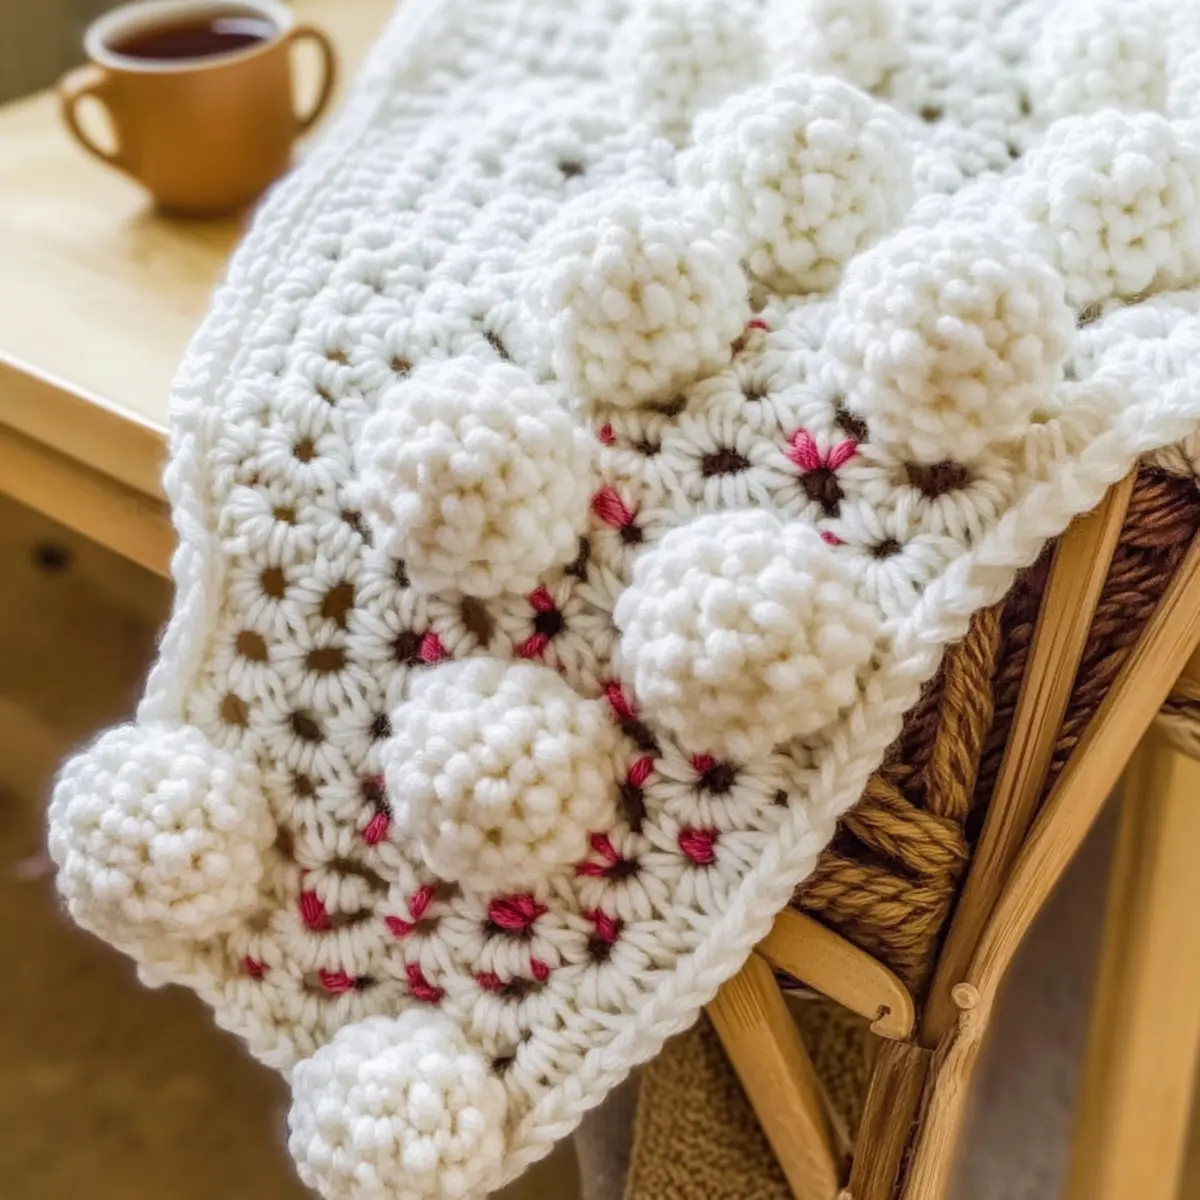
Washing & Care for Your Pom Pom Blanket
- Machine Washing: Use cold water on a gentle cycle without agitation to prevent any felting or pilling of your yarn. This will help maintain the softness and charm of your pom pom blanket.
- Hand Washing: If preferred, gently hand wash your blanket in cold water with a mild detergent to ensure delicate care for both the yarn and the attached pom poms.
- Drying/Blocking: Lay your blanket flat to dry, avoiding direct sunlight to prevent fading. This will keep the pom poms fluffy and the blanket looking fresh.
- Storage: Store your pom pom blanket folded in a cool, dry place. Avoid heavy stacking to maintain its shape and prevent any damage to the pom poms.
Expert Tips for Pom Pom Attachment
- Check Tension: Before attaching pom poms, ensure your yarn tension is consistent. Too tight or loose stitches can affect how securely the pom poms sit on the blanket.
- Count Carefully: Keep a count of the stitches around the corner when positioning your pom pom. This will help you avoid twisting or uneven placement.
- Secure Knots: When tying the knots at the back of the pom pom, ensure they are tight. Loose knots could lead to accidental detachment, especially for baby blankets.
- Trim Wisely: After attaching the pom poms, use scissors to carefully trim any uneven edges for a polished look.
- Post-Wash Check: Always check the pom poms after washing your blanket. Regular checks can prevent any loose pom poms from becoming a hazard.
Pom Pom Attachment Variations
Feel free to explore these creative ideas to customize your pom pom blanket project!
-
Color Variations: Use contrasting colors for pom poms to create a striking visual effect. Imagine a soft blue blanket punctuated with bright yellow pom poms for a cheerful pop.
-
Size Options: Experiment with different pom pom sizes to match your blanket’s aesthetic. Larger pom poms offer a bold statement while smaller ones provide a dainty touch.
-
Fiber Alternatives: Consider using yarn blends like wool or bamboo for a unique texture. Cotton adds breathability, ideal for warmer climates, whereas acrylic provides durability.
-
Texture Additions: Introduce other decorative elements like fringe or a delicate border for added flair. A soft fringe can enhance the cozy feel that pom poms beautifully complement.
-
Size Adjustments: Modify the blanket size to suit the project’s purpose. For baby blankets, smaller pom poms may be safer while larger throws can utilize more extravagant pom pom designs.
-
Seasonal Themes: Swap out pom pom colors with the seasons—pastels for spring, vibrant hues for summer, rich tones for fall, and cool shades for winter. Each change can give your blanket a fresh look!
-
Layering Technique: Instead of attaching one pom pom, try layering two or three of varying sizes for an eye-catching 3D effect. The layered look brings depth and richness to your design.
If you’re looking for more tips on staying organized while crafting, don’t miss our guide on managing your yarn stash. Each customize option brings a new life to your projects, letting your creativity shine through. Enjoy crafting!
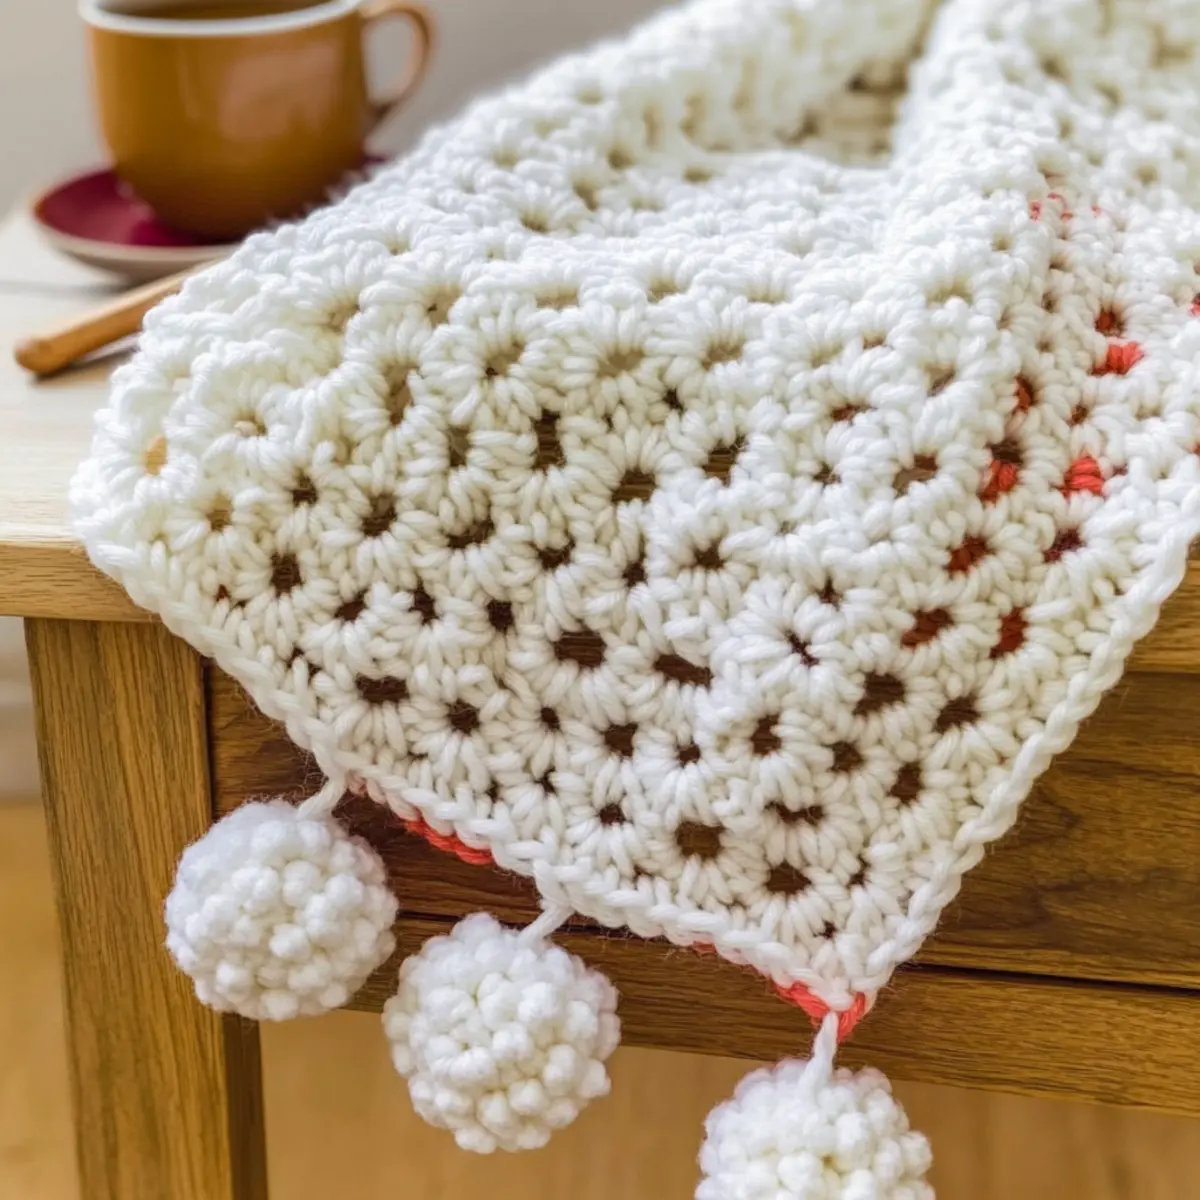
Quick & Easy Pom Pom Attachment for Blankets FAQs
Can I use a different type of yarn for pom poms?
Absolutely! You can use any yarn type for your pom poms, whether it’s cotton, wool, or acrylic. Just keep in mind that the thickness of your pom pom yarn may affect its fluffiness. If you’re using a heavier yarn for your blanket, I suggest using a similar weight for your pom poms to maintain balance in your design.
How can I adjust the size of my blanket?
If you want to make your blanket bigger, simply increase the number of foundation chains. For example, if your original chain is 100 stitches, try increasing it to 120. To make it smaller, you can reduce the stitch count, but remember to adjust your pom pom attachment points accordingly, so they align perfectly at the corners!
Why is my work curling after attaching pom poms?
Don’t panic! Curling can happen if the tension is too tight or uneven. Make sure your stitches around the corners are not too tight when attaching the pom poms. If your circle is buckling like a bowl, try going up a hook size for a looser fit or adjusting your tension to achieve a flat surface.
What hook size should I use for this project?
The hook size you choose should correspond to the yarn weight of your blanket. As a rule of thumb, you can check the yarn label for recommendations or start with a hook size that fits comfortably in your hand. Generally, a larger hook will result in a looser drape, which can make it easier to attach your pom poms.
How do I fix a dropped stitch?
It’s an easy fix! Carefully pull the yarn above the dropped stitch up through the loop with your crochet hook. Use a tapestry needle to weave the working yarn back down into the stitch below. Ensure it’s snug but not too tight to maintain a nice flow throughout your project.
What care instructions should I follow for my pom pom blanket?
To ensure your pom pom blanket stays in tip-top shape, follow standard care for your yarn type. Generally, a gentle wash in cold water is best, followed by laying it flat to dry. Also, remember to check your pom poms after washing to ensure they remain securely attached.
Leave a Reply