
As I rummaged through my yarn stash, a delightful pile of colorful scraps caught my eye, sparking a mini creative crisis. With a playful spirit and a bit of urgency, I decided to make the cutest little Amigurumi pig keychain—because who doesn’t need an adorable buddy to take along? This beginner-friendly project is not only quick enough to finish in about an hour, but it’s also a fantastic way to use up leftover yarn. Whether you opt for a compact cotton version or a softer plush variety, you’ll find that your finished piggy is a huggable charm perfect for gifting or brightening your own accessories. Let’s dive into this fun and whimsical project together, and I assure you, you’ll be hooked by the time you finish that last stitch!
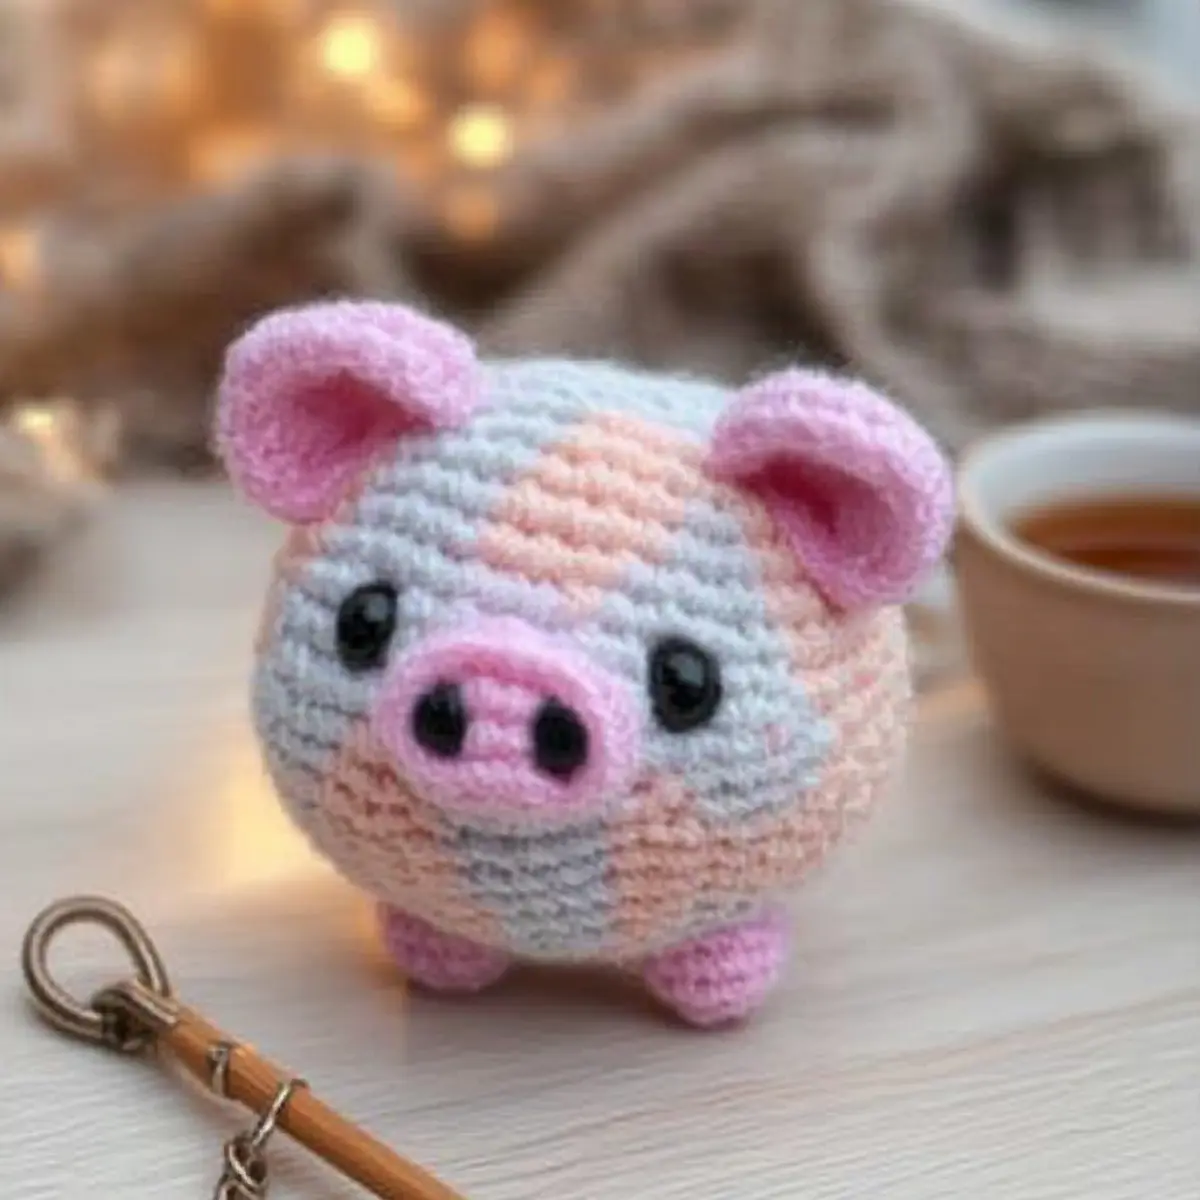
Pig Keychain Amigurumi Materials & Tools
Get ready to create an adorable pig keychain amigurumi that’s perfect for using up scrap yarn and creating a huggable charm!
Yarn
- Pink Catania Cotton, Color 246 – Ideal for a sweet, compact cotton pig that’s just 6 cm / 2 inches tall.
- Dark Pink Catania, Color 225 – Use this for accents in your cute little friend, ensuring a delightful contrast!
- Black Catania, Color 110 – Perfect for tiny details like eyes and snouts, adding character to your pig.
- Pink Durable Velvet Yarn – Choose this for a plushy version that stands at 10 cm / 4 inches, providing a soft touch.
- Dark Pink Durable Velvet Yarn – Adds richness to your velvet pig, making it extra huggable.
- Black Durable Velvet Yarn – Use this for those adorable little features on your velvet creation.
- Pink Chenille Yarn – Create a plush, super bulky incarnation that can reach up to 12 cm / 5 inches for a snuggly buddy!
- Dark Pink Chenille Yarn – Perfect for complementary accents, enhancing the cozy vibe of your amigurumi.
- Black Chenille Yarn – Essential for those cute detailing finishes that make your pig stand out!
Tools & Notions
- B/1 (2.5 mm) Hook – Use this for the cotton version to achieve a neat, tighter fabric.
- E/4 (3.5 mm) Hook – Perfect for making the velvet bulky pig with an optimal plush texture.
- H/8 (5.0 mm) Hook – Ideal for the chenille super bulky version to ensure a soft, cuddly result.
- Scissors – A must-have for trimming your yarn and finishing touches!
- Tapestry Needles (Blunt point, nr. 16 or 17) – Necessary for weaving in those pesky ends and securing parts.
- Pins – Handy for holding pieces together during assembly for a flawless finish.
- Synthetic Poly Filling – To stuff your pig, making it irresistibly soft and squishy!
Gather your materials and tools for a delightful crochet adventure with this charming pig keychain amigurumi!
Why Is This Amigurumi So Special?
Cute & Compact: This delightful pig keychain adds a pop of charm to your bag or keys, making it an enjoyable, functional accessory.
Quick Project: Spend just about an hour bringing this adorable creation to life, perfect for spontaneous crafting sessions.
Scrap Yarn Friendly: Utilize your leftover yarn with pride, significantly reducing waste and transforming bits of color into something cute and memorable!
Beginner-Friendly: With straightforward stitches and clear assembly instructions, this pattern makes amigurumi accessible to new crafters looking to dive into this fun hobby.
Textural Variations: Choose your yarn wisely for different finishes—from sleek cotton to soft, huggable velvet, tailoring your pig’s personality to your taste.
Ready to get started? This project is perfect for anyone who wants to learn and have fun, whether you’re new to crocheting or a seasoned pro looking for a nostalgic, cozy project!
Gauge & Sizing Notes
Don’t skip the gauge swatch! Ensuring your tension is just right for the “Quick & Cute Pig Keychain Amigurumi” will make all the difference in achieving your desired size. For this project, a standard gauge measurement is 4×4 inches (10×10 cm), which should equal 12 single crochets by 10 rows in your chosen yarn. If you want to make your pig keychain bigger or smaller, adjust your starting chain in multiples of 2. If your tension doesn’t match, and your swatch is too small, simply try going up a hook size to obtain that perfect gauge for your adorable pig!
Step‑by‑Step Pattern for Adorable Pig Keychain Amigurumi
Round 1: Start the Body
Begin by making a magic ring, then work 6 sc into the ring to form your foundation. Pull the magic ring closed firmly, and you should see a small circle starting to form. This first round sets the base for your charming pig keychain. (6 sts)
Round 2: Increase the Body
For the next round, work 2 sc in each stitch around to increase your pig’s body size. This will give it a cute, rounded appearance, which is characteristic of our adorable piggy design. By the end of this round, you will have 12 stitches. (12 sts)
Round 3: Continue Increasing
In this round, you will alternate between 1 sc and 2 sc in the following stitches—sc in the first stitch, then inc in the second. This creates a beautiful shape for your pig as you work your way up. After this round, you should have 18 stitches. (18 sts)
Round 4: Maintain Body Size
Work 1 sc in each stitch around to keep the body at the current size. Make sure to keep your tension even as you work around. This stage helps give your pig stability and form, allowing it to shape up nicely. Your work should feel solid and round. (18 sts)
Round 5: Start Preparing for Neck
Begin decreasing slightly by working 1 sc in the first 2 stitches, then a decrease (dec) in the next. Repeat this pattern around to start tapering the body towards the neck region. This creates the overall body shape of your piggy. You should have 12 stitches at the end. (12 sts)
Round 6: Complete the Body
Continue by working 1 sc in the first stitch, then dec in the next. Repeat this pattern until you finish the round. This will seal the body shape of your amigurumi. As your work takes form, it should feel compact and cozy. (6 sts)
Step 7: Fill and Close the Body
Fill your pig body with synthetic poly filling until it’s plump but still retains its shape. Once filled, use a tapestry needle to weave the end of your yarn through the remaining stitches, pulling tight to close and secure the shape of your adorable pig keychain.
Step 8: Create the Ears (Make 2)
To make the ears, start with a chain of 4. In the second chain from the hook, work 1 sc, hdc in the next, and 2 dc in the last (this creates a slight fan shape). Sl st to the first stitch to secure. Repeat for the second ear, ensuring both are of equal size.
Step 9: Make the Snout
For the snout, create a magic ring and ch 1, then work 6 sc into the ring. Pull the magic ring closed, then sl st to finish. This small, round piece will add the pig’s cute character, making sure it’s proportionate to the body.
Step 10: Create the Legs (Make 4)
For the legs, ch 2, and in the second chain from the hook, work 6 sc into the stitch. This will give your pig the adorable little legs it needs to stand out. After the last round, slip stitch to finish each leg piece. (6 sts each)
Step 11: Create the Tail
To make the tail, ch 10, then sl st in each chain back to create a twisted tail effect. This playful addition will round out your pig’s design and add even more charm to your keychain.
Step 12: Assembly
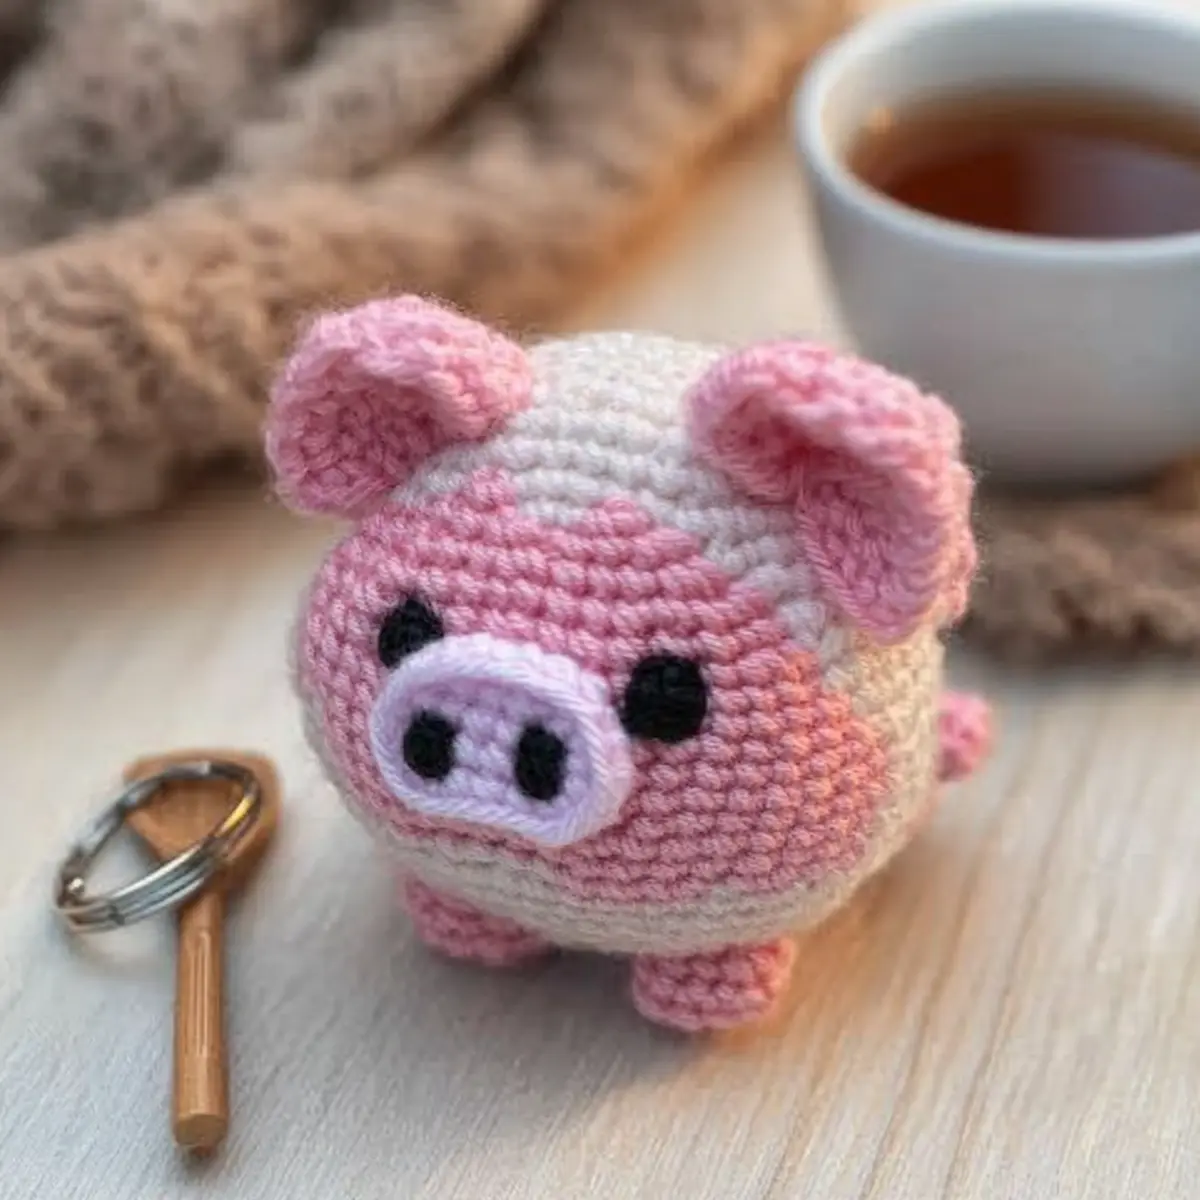
Now it’s time to assemble your pig keychain! Attach the ears, snout, legs, and tail securely to the body using a tapestry needle. You can also attach safety eyes for an extra cute touch. Ensure everything is aligned and positioned to give your piggy a delightful character.
Expert Tips for Amigurumi Success
• Count Your Stitches: Regularly check your stitch count at the end of each round to avoid any shape warping in your pig amigurumi.
• Tension Matters: Maintain even tension throughout your project—this will help your pig look polished and uniform, enhancing its adorable charm.
• Secure Assembly: Take your time when sewing pieces together; secure all parts well, ensuring no loose connections lead to a floppy piggy.
• Pick the Right Hook: Use the appropriate hook size for your chosen yarn to achieve the best texture and fit for your mini keychain.
• Finish with a Smile: Don’t forget to weave in any loose ends neatly. A tidy finish not only looks great but ensures your pig stays lovable and huggable!
This pattern offers an opportunity to create an adorable pig keychain that is quick and fun, especially when using scrap yarn!
Variations & Substitutions
Get ready to unleash your creativity and customize this adorable crochet project!
-
Yarn Substitutions: Try different yarn weights for a variety of sizes—from 2 inches with cotton to 5 inches using chenille for extra squishiness.
-
Color Combinations: Experiment with vibrant hues; alternate between two or three yarn shades to create a funky, colorful pig that reflects your style!
-
Texture Twists: Incorporate textured stitches, like bobbles or puffs, to give your pig unique visual depth and character that makes your keychain pop.
-
Size Adjustments: Increase or decrease the number of rounds to create a variety of sizes, perfect for different keychain stability or gifting options.
-
Adornments Addition: Amp up the charm by adding a tiny bow or bell around the pig’s neck for a whimsical touch, making it a perfect companion.
-
Different Finishes: Swap cotton for a soft velvet or bulky yarn for a cuddly pig that feels huggable—ideal for both kids and adults!
-
Add Accessories: Consider crocheting a mini scarf or hat to dress up your piggy. Accessorizing adds personality and can make this little fellow stand out!
-
Personalization Ideas: Customize facial features or add safety eyes in different colors to give your pig its own personality. The possibilities are endless!
By exploring these variations and substitutions, you’ll not only create something unique but also extend your skills in the art of crochet. And if you’re ever unsure, don’t hesitate to check out our guide on yarn selection tips for the perfect match!
Washing & Care for Your Pig Keychain Amigurumi
Hand Washing: Use cold water and a mild soap to gently clean your pig amigurumi, avoiding any agitation that might cause felting or pilling, especially with plush yarn.
Drying: Lay your finished pig flat on a clean towel to dry naturally. Avoid hanging to prevent distortion, and fluffing while drying can maintain its huggable charm.
Storage: Keep your pig keychain in a cool, dry space away from direct sunlight to prevent fading or damage. Store in a textile bag to maintain texture if you’re not displaying it.
Regular Maintenance: Check for any loose stitches or dirt regularly to ensure that your cute project remains in great condition and ready for use!
Adorable Pig Keychain Amigurumi FAQs
Can I substitute yarn for this pig amigurumi pattern?
Absolutely! You can substitute yarn types as long as you keep in mind the weight differences. If you have acrylic yarn on hand, it can work well too—just adjust your crochet hook size to match the new yarn’s specifications.
How do I adjust the size of the pig amigurumi?
To make your piggy larger or smaller, you can either choose a different yarn weight or modify the number of rounds you crochet. For example, using a bulky yarn will naturally give you a bigger pig. Also, don’t forget to check your gauge for the best fit!
Why is my amigurumi curling up?
Don’t panic! If the edges of your pig are curling like a bowl, it often means your tension is too tight. Try loosening your stitches or switching to a hook size one size up to help your pig maintain a lovely shape.
How do I fix a dropped stitch?
It’s an easy fix! Simply use a crochet hook to pick up the dropped stitch and work it back into your piece. For amigurumi, carefully rework the surrounding stitches to hide any irregularities—practice makes perfect!
Which hook size should I use for my yarn?
Using the right hook size is key! For the cotton version, I recommend a B/1 (2.5 mm) hook, while a larger E/4 (3.5 mm) works well for velvet bulky yarn. Make sure to check the yarn label for the best hook recommendation.
What’s the best way to ensure my pig stays huggable?
Having plush yarn is fantastic for a soft finish, but be sure to stuff your amigurumi appropriately. Avoid over-filling, which makes it too stiff, or under-filling, which might result in a floppy pig. Aim for a firm yet squeezable charm!
Leave a Reply