
There’s nothing quite like the sense of triumph that comes with completing a crochet project—especially when it’s as delightful as the Pointed Petal Granny Square! This free crochet pattern showcases an enchanting floral design with five-petal flowers capped by elegant picot points, all framed by plush bobbles that add a tactile richness. Accessible for all skill levels, this pattern is a stash-buster’s dream, requiring just four colors of yarn to achieve its stunning asymmetrical look. Plus, it’s perfect for brightening up your home or gifting to loved ones. I can’t wait for you to dive in and experience the joy each round brings as you stitch your way to this charming square!
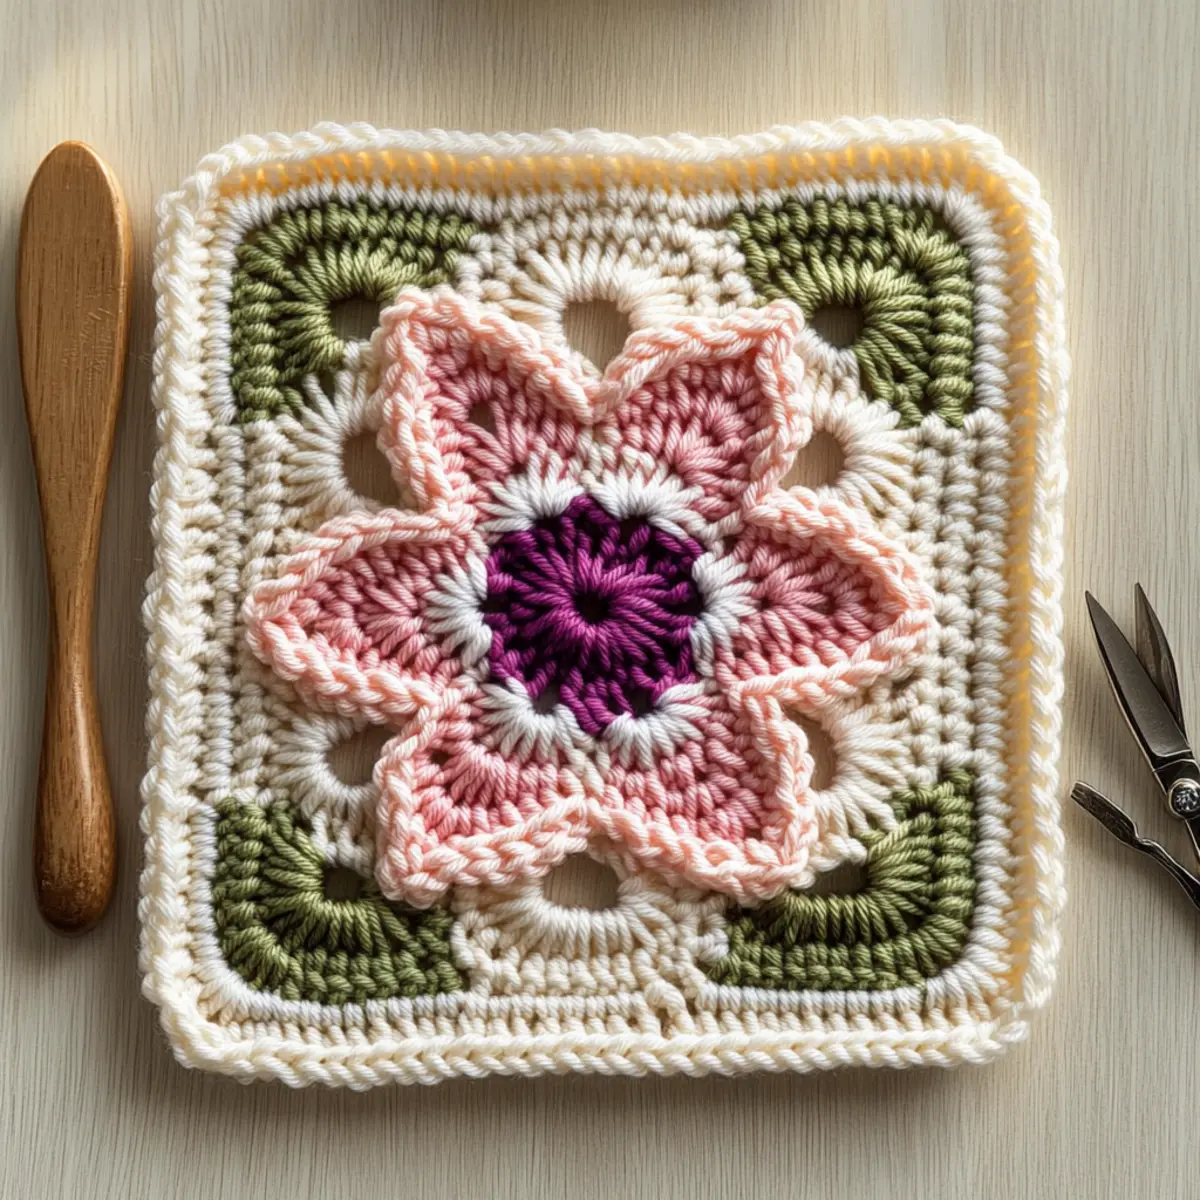
Pointed Petal Granny Square Materials & Tools
• Create your stunning masterpiece with ease!
Yarn
- Worsted or DK Weight Yarn – You’ll need four contrasting colors to achieve that gorgeous floral look; smooth yarn works best for defined stitches.
Tools & Notions
- 4.0 mm (G-6 US) Hook – This size is perfect for creating the necessary stitch definition in your pointed petal granny square.
- Tapestry Needle – Essential for weaving in ends seamlessly so your work stays neat and polished.
- Stitch Markers (Optional) – Helpful for keeping track of your rounds if you find yourself distracted by all the beauty!
Dive into this free crochet pattern and let your creativity blossom!
Why Is This Granny Square Unique?
Accessibility: This pattern is designed for beginners, so you can easily follow along with basic stitches while creating something fabulously intricate.
Textured Joy: The combination of bobbles and picot points gives this square a dynamic texture that will elevate your crochet projects.
Perfect for Stash-Busting: Using just four colors of yarn, this granny square is an excellent way to use up those leftover skeins in your stash.
Eye-Catching Aesthetic: The floral design will not only catch eyes but also hearts, making it a fantastic option for both home decor and thoughtful gifts.
Endless Customization: Feel free to play around with colors and sizes, or even add extra rounds for a personalized touch! For more inspiration, check out variation ideas to make this project truly yours.
Gauge & Sizing Notes
Don’t skip the gauge swatch! Ensuring the right tension for your Pointed Petal Granny Square is vital to achieving the perfect fit and look for your project. The standard gauge is 4×4 inches (10×10 cm) should equal 12 double crochets by 10 rows. If your square turns out smaller, try going up a hook size to achieve the desired gauge. To adjust sizing, you can widen the square by increasing your starting chain in multiples of 3, allowing you to customize it to your liking. Remember, every stitch counts, so take the time to check your crochet gauge for the best results!
Step‑by‑Step Pattern for Pointed Petal Granny Square
Round 1: Create the Foundation
Start with a magic ring, then ch 3 (counts as a dc), ch 1, and work (1 dc, ch 1) 9 times into the ring. Pull the ring tight to secure. Join with a sl st to the top of the first ch-3. Your round should have a total of 10 stitches (10 sts), forming the central base for this pointed petal granny square.
Round 2: Form Petal Bases
Join color B with a sl st into any ch-1 space. Ch 1, then sc in the same space. Now, work (5 dc, ch 1, sc) in each ch-1 space around. In this round, you will create petal bases separated by single crochet stitches. Join with a sl st to the first sc. You should have 5 petal bases around (5 petals).
Round 3: Create the Petals
Join color B in any ch-1 space. For each petal, work (sc, hdc) in the same space, then ch 1, and make 3 picots (ch 3, sl st in the 1st ch) from the hdc. After completing the picots, fold the petal down and secure with a sl st to the base. Repeat for all petal bases to complete the round. Your work should have 5 distinct petals.
Round 4: Add Bobble Leaves
Join color C with a sl st in any sc. Ch 1, then work (3 dc bobble) in the same stitch. Next, sl st to the next sc, and repeat bobble stitch in each sc around. The bobbles will peek out beneath the petals, giving a lush look. After finishing, join with a sl st to the first bobble. You should have 5 bobbles around (5 bobbles).
Round 5: Shape the Square’s Outer
Join color A with a sl st in any bobble. Ch 1, then work (2 dc, ch 1) in the same stitch. In the next stitch, place 3 dc. Then, (ch 1, sc) in the next bobble, and repeat this pattern. You will create the outer frame of the granny square. Finish with a sl st in the first ch-1 space. You should have sharp corners forming.
Round 6: Complete the Square
Change to color D, joining with a sl st in any corner space. Ch 3, then work 2 dc in the corner space, and 1 dc in each ch-1 space around. In each corner, ensure to place (3 dc) to keep the square shape. Close the round with a sl st to the top of the initial ch-3. The square will look more defined at this stage.
Round 7: Finalize with a Border
For the final round, join any color with a sl st in a corner. Work (3 sc) in each corner space, then make 1 sc in each dc around the edges. This will add a tidy finish to the pointed petal granny square. Join with a sl st to the first sc to complete. Your square is now fully formed and beautifully finished!
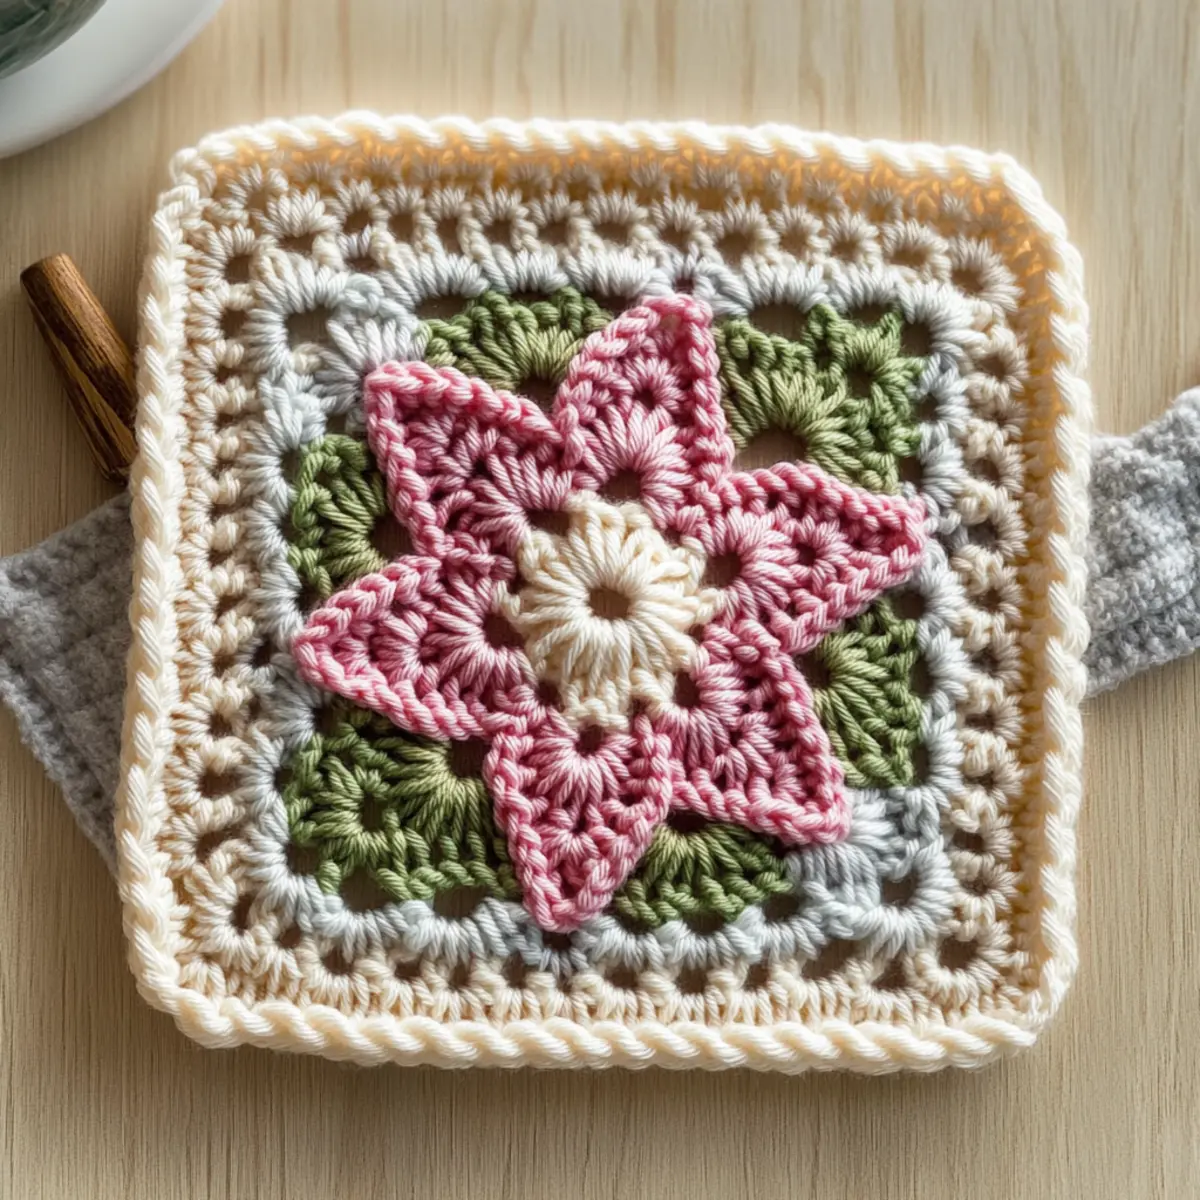
Variations & Substitutions for Pointed Petal Granny Square
There are endless ways to make this beautiful crochet pattern your own, allowing your creativity to flourish!
-
Yarn Weight Swaps: Switch to lighter yarn like sport weight for a delicate, airy square. Adjust your hook size accordingly for the best results.
-
Fiber Alternatives: Use cotton yarn instead of acrylic for a breathable and sturdy square, ideal for kitchen or summer projects. The texture will change beautifully.
-
Color-Blocking Ideas: Try alternating color placements with each round. Combining vibrant shades can make each square a unique masterpiece that reflects your personality.
-
Sizing Adjustments: To enlarge your square, simply repeat the rounds styled after Round 6. Adapting the size can create custom pieces for any home decor needs.
-
Texture Modifications: Consider adding a playful fringe around the edges for a bohemian vibe. It brings a lively touch to your finished piece.
-
Embellished Borders: Enhance your square with a crochet border in a contrasting color, giving it a polished and finished look. This small touch can transform your project.
-
Theme-Based Colors: Create a seasonal version based on color themes—pastels for spring or warm tones for autumn. It invites a new feel with each approach.
-
Extra Rounds: Add more playful rounds after Round 6 using various stitches, like shells or clusters, to increase the intricacy and creativity of your design.
Each variation offers a fantastic opportunity to express yourself and transform the classic pointed petal granny square into something uniquely yours. Don’t forget to explore other variation ideas for even more inspiration!
Expert Tips for Pointed Petal Granny Square
-
Stitch Count Matters: Always count your stitches after each round to prevent any misalignments; this ensures your square remains a delightful, even shape.
-
Yarn Weight Consistency: Stick to the same yarn weight throughout the project for an even finish; mixing weights can lead to a lumpy and uneven look.
-
Foundation Ring Functionality: When creating your magic ring, ensure it’s tight enough to support your stitches, avoiding loose ends that can unravel.
-
Bobble Practice: If you’re new to the bobble stitch, take a moment to practice it on a swatch before adding it to your square; it enhances the floral design beautifully.
-
Finishing Touches: Weave in all ends securely but gently to maintain the integrity of your granny square’s appearance; a lovely finish completes your work perfectly.
-
Gentle Blocking Reminder: After finishing, consider lightly blocking your square to enhance the texture and shape; it’ll make those bobbles pop even more!
These simple yet effective tips will help ensure your Pointed Petal Granny Square turns out beautifully, providing a satisfying result every time!
How to Wash and Care for Your Pointed Petal Granny Square
-
Hand Washing: Gently hand wash your square in cold water with mild soap; this preserves the integrity of the yarn and the delicate design of the petals.
-
Avoid Agitation: Never wring or agitate your granny square as this can lead to felting or pilling; instead, let it soak briefly in the soapy water.
-
Drying/Blocking: Lay your finished piece flat on a clean towel to dry. This helps maintain its shape while emphasizing the beautiful texture and bobble details.
-
Storage: Store in a cool, dry place away from direct sunlight; this prevents fading and keeps your Pointed Petal Granny Square looking stunning for years to come.
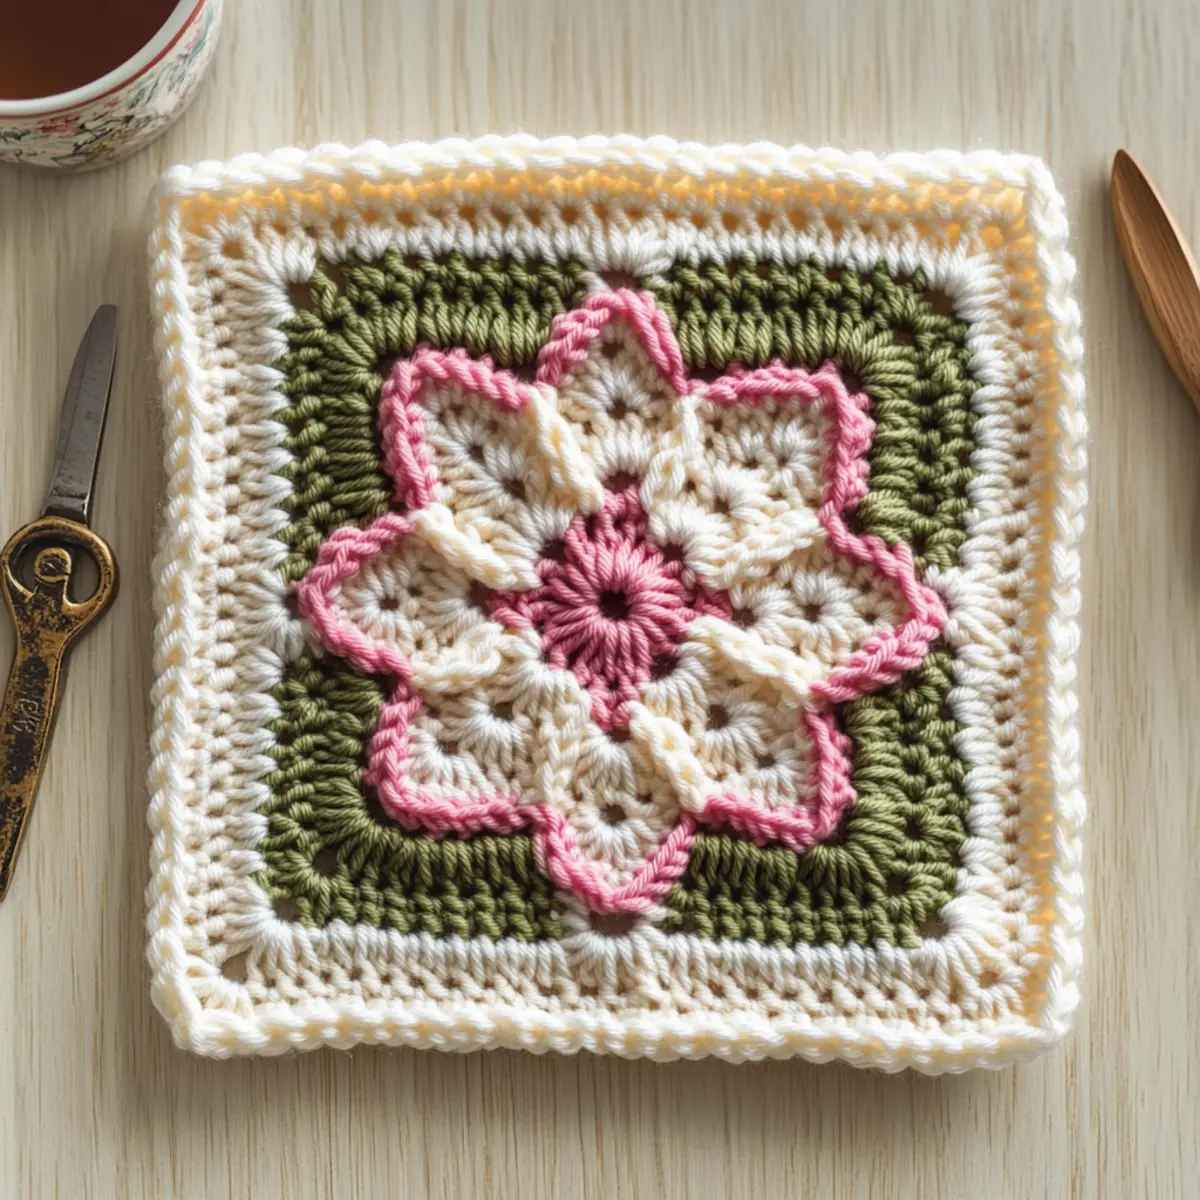
Pointed Petal Granny Square: Free Floral Pattern FAQs
Can I substitute yarn for this pattern?
Absolutely! While the pattern suggests worsted or DK weight yarn, you can swap acrylic for cotton if you prefer a breathable fabric. Just ensure that your substitute yarn is within the same weight category to maintain the project’s integrity.
How do I make the granny square bigger or smaller?
To enlarge your square, simply repeat the rounds styled after Round 6 before finishing with the final sc round. For a smaller square, you can decrease the number of stitches in each round or opt for a lighter weight yarn, adjusting your hook size accordingly.
Why is my granny square curling at the edges?
Don’t panic! If your square is curling, it could be due to tight tension or inconsistent stitch counts. Check your tension and make sure you’re counting your chain-3 spaces. Sometimes blocking the square lightly can also help it lay flat.
What hook size should I use for this project?
The recommended hook size for the Pointed Petal Granny Square is a 4.0 mm (G-6 US) crochet hook. However, if you find your stitches are too tight or too loose, feel free to adjust to a larger or smaller size. Just be mindful of your gauge to maintain consistency.
How do I fix dropped stitches in my granny square?
It’s an easy fix! For dropped stitches, simply use your tapestry needle to pull the yarn back through the stitches to secure it. If it’s a larger drop, you may need to unravel to the last completed round and re-stitch that section before continuing.
What should I do if my square looks uneven?
If you notice your square looking uneven, take a moment to double-check your stitch counts after each round. If you’ve miscounted, don’t hesitate to frog back a few stitches and redo them, as this can help restore that lovely symmetry!
Leave a Reply