
As I sat in my favorite nook, surrounded by soft yarn and the gentle hum of springtime, I felt an irresistible urge to create something fresh and vibrant. Enter the Pear Blossom Granny Square—a delightful pattern that brings the essence of blooming flowers right to your fingertips. This design showcases a charming five-petal flower in lively colors, making it an ideal addition to cheerful blankets or trendy bags. What I love most is its quick turnaround—it’s fantastic for a last-minute gift or a satisfying afternoon project. Plus, it’s perfect for using up those little bits of yarn from your stash! Are you ready to bring a splash of spring into your crochet collection? Let’s dive into this joyful creation together!
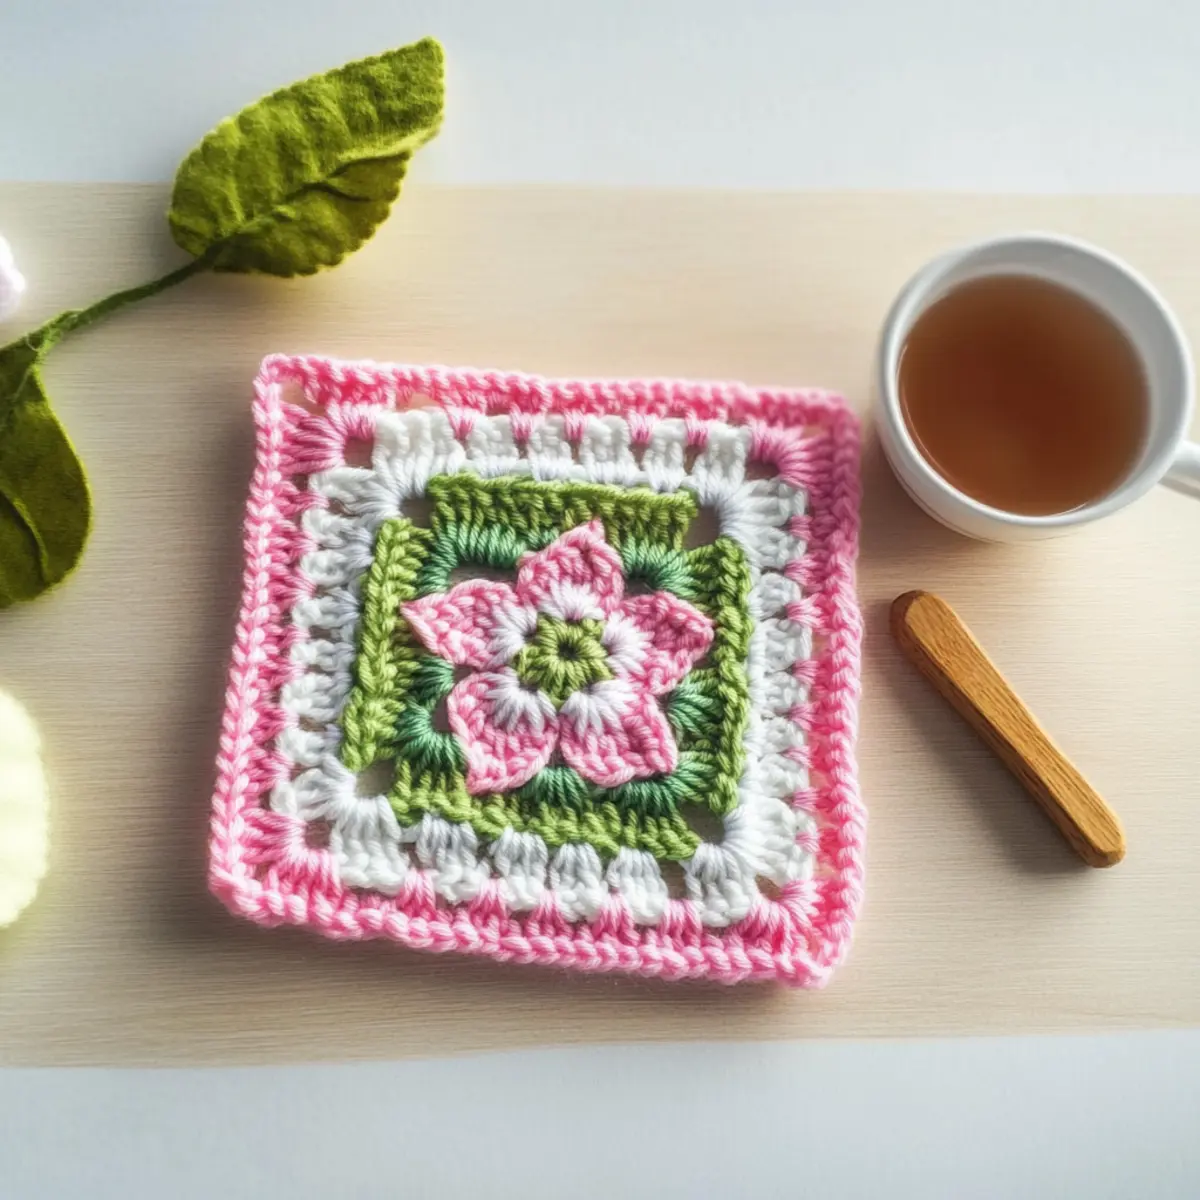
Pear Blossom Granny Square Materials & Tools
Get ready to bring spring to life with this vibrant project!
Yarn
• DK Weight Yarn – Choose 4 cheerful colors; small amounts of each are enough for a single square.
• Sample Yarn – A cozy wool blend works beautifully to enhance the 3D effect of the skills you’ll be using.
Tools & Notions
• 3.00 mm (US D/3) Hook – This size is perfect for creating those lovely, tight stitches that define the square.
• Darning Needle – Essential for weaving in those ends and finishing your square neatly.
• Scissors – A must for cutting your yarn cleanly and precisely.
Let your creativity blossom with this Pear Blossom Granny Square as you dive into a world of color and texture!
Why Is This Granny Square Special?
Vibrant Colors: The Pear Blossom Granny Square features a lively palette that captures the joy of spring, perfect for brightening your crochet projects.
Dimensional Design: With its three-dimensional petals, this pattern creates a delightful texture that adds flair and interest to any item.
Quick to Crochet: Need a last-minute gift? This design works up rapidly, making it an ideal afternoon project for crafters of all levels!
Stash-Busting Fun: Use up those leftover yarn bits—this pattern requires only small amounts of each color, turning your scraps into beautiful squares.
Endless Customization: Feel free to change up the petal styles or explore different color combinations, allowing you to create a truly unique masterpiece. If you’re looking for other floral-inspired projects, check out our Flower-Inspired Crochet Patterns.
Gauge & Sizing Notes
Don’t skip the gauge swatch! For the Pear Blossom Granny Square, achieving the correct tension is vital to ensure your square turns out beautifully. A standard gauge measurement is 4×4 inches (10×10 cm), which equates to 14 double crochets by 8 rows. If you’re looking to make your square larger or smaller, adjust your starting chain in multiples of 6 + 2. If you find that your swatch is too small, don’t worry—simply go up a hook size to loosen your tension. Remember, a well-measured square not only enhances your project’s beauty but also provides structure, making the design truly shine!
Step‑by‑Step Pattern for Spring-Inspired Pear Blossom Granny Square
Round 1: Create the Center
Begin by forming a magic ring. Work 10 single crochets (sc) into the ring, ensuring it’s tight. Pull the yarn tail to close the ring, then slip stitch (sl st) to the first sc to join. Your work should resemble a small circle, ready to blossom beautifully.
Round 2: Form the Flower Heart
Chain 3 (counts as your first double crochet) and then work 2 double crochet bobbles (2-dc-bo) in the same stitch. Chain 2, and repeat this pattern around for a total of 5 flower hearts. Slip stitch (sl st) to the top of the initial chain 3. You’ll notice a lovely raised texture forming as the flowers begin to take shape.
Round 3: Attach Petals
Join new yarn at any flower heart. For each petal, chain 2, then work 1 sc into the same heart, followed by 1 half double crochet (hdc), 1 double crochet (dc), and 1 treble crochet (tr). Chain 2 and slip stitch (sl st) back to the heart. Repeat for all hearts to create five fabulous petals. They should now stand proud and directly highlight the flower design.
Round 4: Add Petal Borders
Chain 3, then work 1 dc into the base of the first petal. Skip the next sc, then dc into the next hdc. Repeat this process around, chaining between petals and skipping stitches where indicated. Slip stitch to join. The petal borders will enhance the dimensional look of your Pear Blossom Granny Square.
Round 5: Create Leaf Stems
With your yarn still attached, work down from the back of one petal. Chain 4 for the stem and slip stitch back to the petal base to secure. Continue this for the remaining petals, ending up with 5 leaf stems extending nicely from each flower. Your square is now gaining a lot more character with these added elements.
Round 6: Form Each Leaf
Begin by chaining 6 from each stem’s base. Work a combination of stitches: 1 sc, 1 hdc, 1 dc, and then 1 tr into the 4th chain from the hook. Reverse the pattern back (tr, dc, hdc, sc) in the remaining chains. Join with a sl st at the stem. Check each leaf’s nice curvy shape showcasing the fresh spring vibe.
Round 7: Establish the First Square Frame
Now that your flowers and leaves are ready, let’s frame the square! Work 1 dc around the leaf chains and into the gaps created between leaves. Continue this around all sides, ensuring to create a clean, squared shape. This round will define the borders, holding the blossoms together snugly.
Round 8: Complete the Second Square Frame
Continue with a second round of dc around the first square frame. Join the stitches at each corner with sl st. This additional frame enhances the structure and gives your project a polished finish. Your Pear Blossom Granny Square should look sturdy and beautiful at this stage.
Round 9: Add a Contrast Border
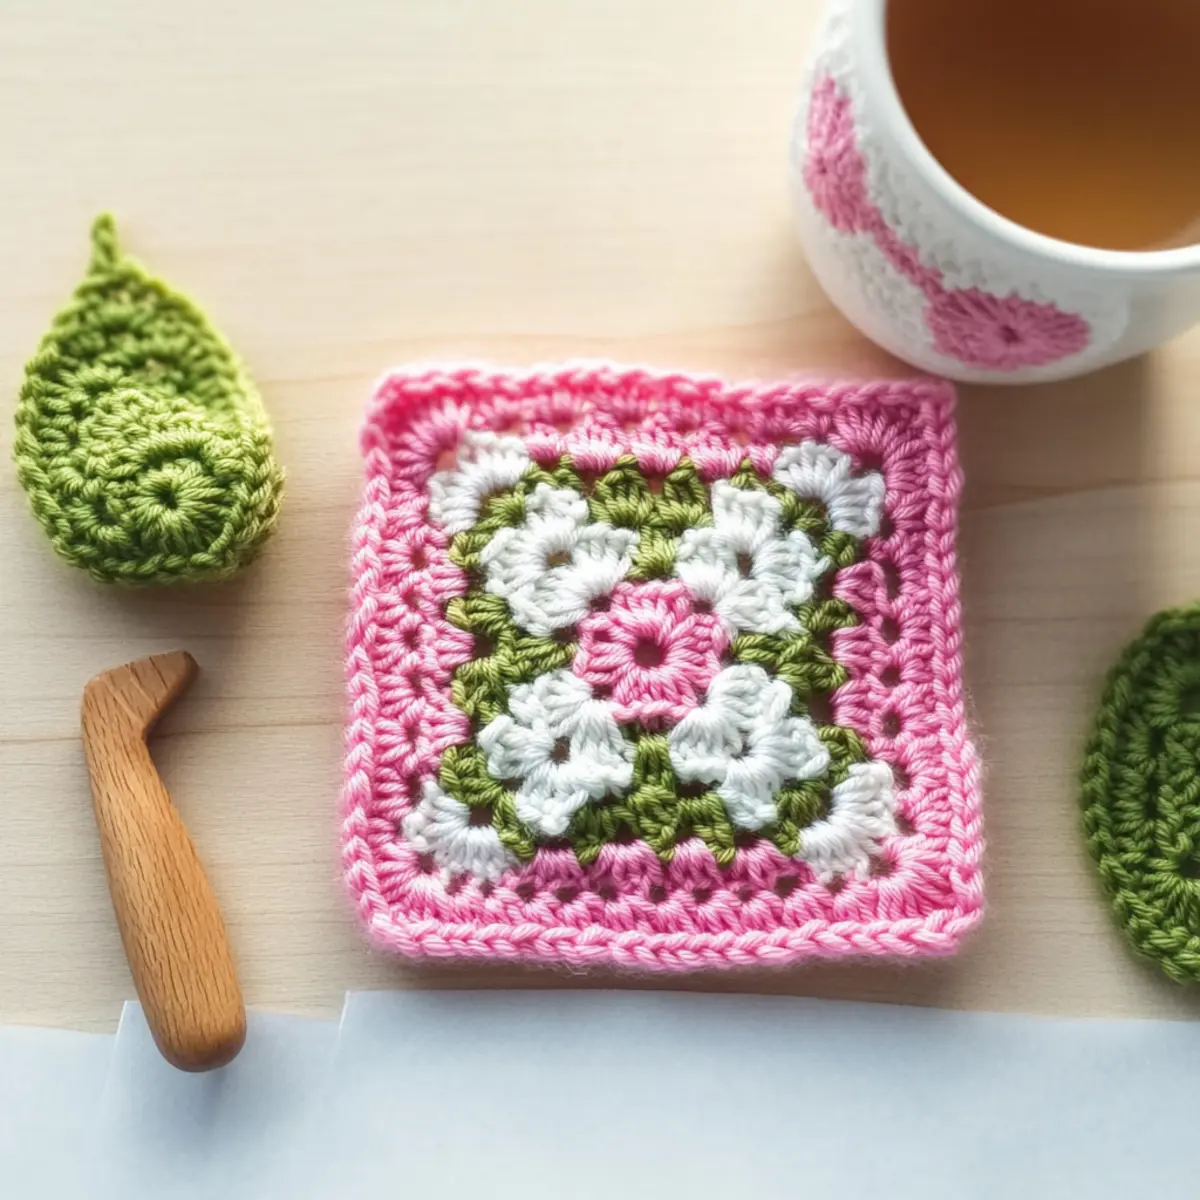
For the final touch, switch to your contrast color and work in back loops only. Chain 1 and single crochet around the entire square, creating an elegant border. This final detail ties together all your hard work and brings visual interest to your lovely granny square, perfect for spring decorating!
Expert Tips for Pear Blossom Granny Square
- Stay Counted: Make sure to count your stitches at the end of each round. Missing a stitch can alter the square’s shape, causing frustration.
- Tension Control: When creating the bobble stitches, keep your tension even. This prevents uneven petals, ensuring a lovely 3D effect in your finished square.
- Secure Finishing: Weave in your ends thoroughly to maintain a neat appearance. A darning needle will help you tuck those pesky ends in securely.
- Easy Color Changes: Remember to drop the yarn without twisting when changing colors. This simple tip will keep your color transitions smooth and seamless.
- Contrast Borders: Enhance the visual appeal with a contrasting border. Working in back loops can create a lovely finishing touch, amplifying your granny square’s beauty.
These tips will help you craft a stunning Pear Blossom Granny Square that you’re proud to show off!
How to Wash and Care for Your Pear Blossom Granny Square
Machine Washing: Use cold water on a gentle cycle to wash your Pear Blossom Granny Square, helping to preserve the vibrant colors and delicate stitches.
Hand Washing: For extra care, hand wash your square in cold water with mild detergent, gently kneading it to clean without agitating the fibers.
Drying/Blocking: Lay your granny square flat on a clean, dry surface to dry completely, maintaining its lovely dimension and shape after washing.
Storage: Store your finished squares in a cool, dry place away from direct sunlight to keep the colors fresh and prevent fading!
Pear Blossom Granny Square Variations
Let your creativity blossom as you explore these delightful customization ideas for the Pear Blossom Granny Square!
-
Yarn Substitutions: Swap out DK wool for cotton yarn for a lighter, breathable square ideal for warmer projects. The texture will be different, but they both scream spring!
-
Color Combinations: Try unexpected shades, like deep blues or soft yellows, to create a fresh, unique look. The contrast will make each square stand out individually.
-
Petal Changes: Experiment with fewer petals to create a simpler flower design, or go for additional petals for a fuller bloom effect. It’s a beautiful way to express your style!
-
Size Adjustments: Crochet more rounds to create larger squares that can easily be turned into cozy blankets. Embrace the versatility—mix sizes for visual interest in your projects!
-
Textured Borders: Add a fun fringe or ruffled border to your squares for a playful touch. This added texture enhances the overall aesthetic of your piece.
-
Layered Leaves: Introduce different leaf styles, such as pointed or rounded, to bring variety to your floral creations. It’s exciting to see how a small change makes a big difference!
-
Pom-Poms: Attach tiny pom-poms to the centers of your flowers for an extra whimsical touch. These little accents infuse joy into your crochet work!
-
Color-Block Ideas: Try creating each square in a different color scheme, then join them together in an eye-catching layout. It can transform a simple project into a stunning piece of art.
These variations not only personalize your Pear Blossom Granny Square but also open up endless creative possibilities! For even more inspiration, don’t forget to check out our Flower Inspired Crochet Patterns that celebrate the beauty of nature!
Spring-Inspired Pear Blossom Granny Square FAQs
Can I use a different type of yarn for the Pear Blossom Granny Square?
Absolutely! While the pattern suggests using DK (Double Knit) weight wool, you can certainly substitute it with cotton or acrylic yarn. Just keep in mind that the texture and drape may vary slightly. It’s always fun to see how different yarns can change the look of your projects!
How do I adjust the size of my granny square?
To make your Pear Blossom Granny Square larger, you can simply add more rounds. Just remember that each round should maintain the stitch count (e.g., double crochet stitches) to keep the shape consistent. If you want it smaller, consider skipping a few rounds or using a smaller hook size.
Why is my work curling at the edges?
Don’t panic! Curling is often due to tension differences or not enough stitches in the foundation. Ensure you’re maintaining even tension and remember to count your stitches. If your square resembles a bowl, try blocking it once you’re done; it often flattens out beautifully!
What size hook should I use for this pattern?
For the Pear Blossom Granny Square, the recommended hook size is 3.00 mm (US D/3). If you find your stitches too tight or loose, feel free to go up or down a hook size. Finding that sweet spot for your tension makes a world of difference!
How do I fix a dropped stitch?
It’s an easy fix, I promise! Use your darning needle to carefully pick up the dropped stitch and pull it back into place, ensuring that it sits correctly within the fabric. Alternatively, you can crochet it back into your work by re-inserting your hook into the right position. Just take your time!
Can I experiment with the number of petals?
Absolutely! Feel free to switch up the pattern by adding more petals or even changing their shape. This flexibility allows you to create a variety of floral designs and truly personalize your Pear Blossom Granny Square. Get creative and have fun!
Leave a Reply