
In the world of crochet, finding a project that’s both fun and stress-free can feel like a treasure hunt. Enter the Easy No-Sew Triceratops Amigurumi Pattern – your new go-to companion for crafting adorable gifts or charming decorations without the fuss of sewing pieces together! With its innovative continuous crochet method, beginners can effortlessly bring this delightful dinosaur to life in just one piece. The included popcorn stitches add a playful texture to its legs and an integrated frill completes its whimsical look. Plus, this pattern is not only beginner-friendly, but it’s also a fantastic stash-buster for your leftover yarn. Ready to embark on a crochet adventure that will enchant both the young and the young at heart? Let’s dive into this delightful project together!
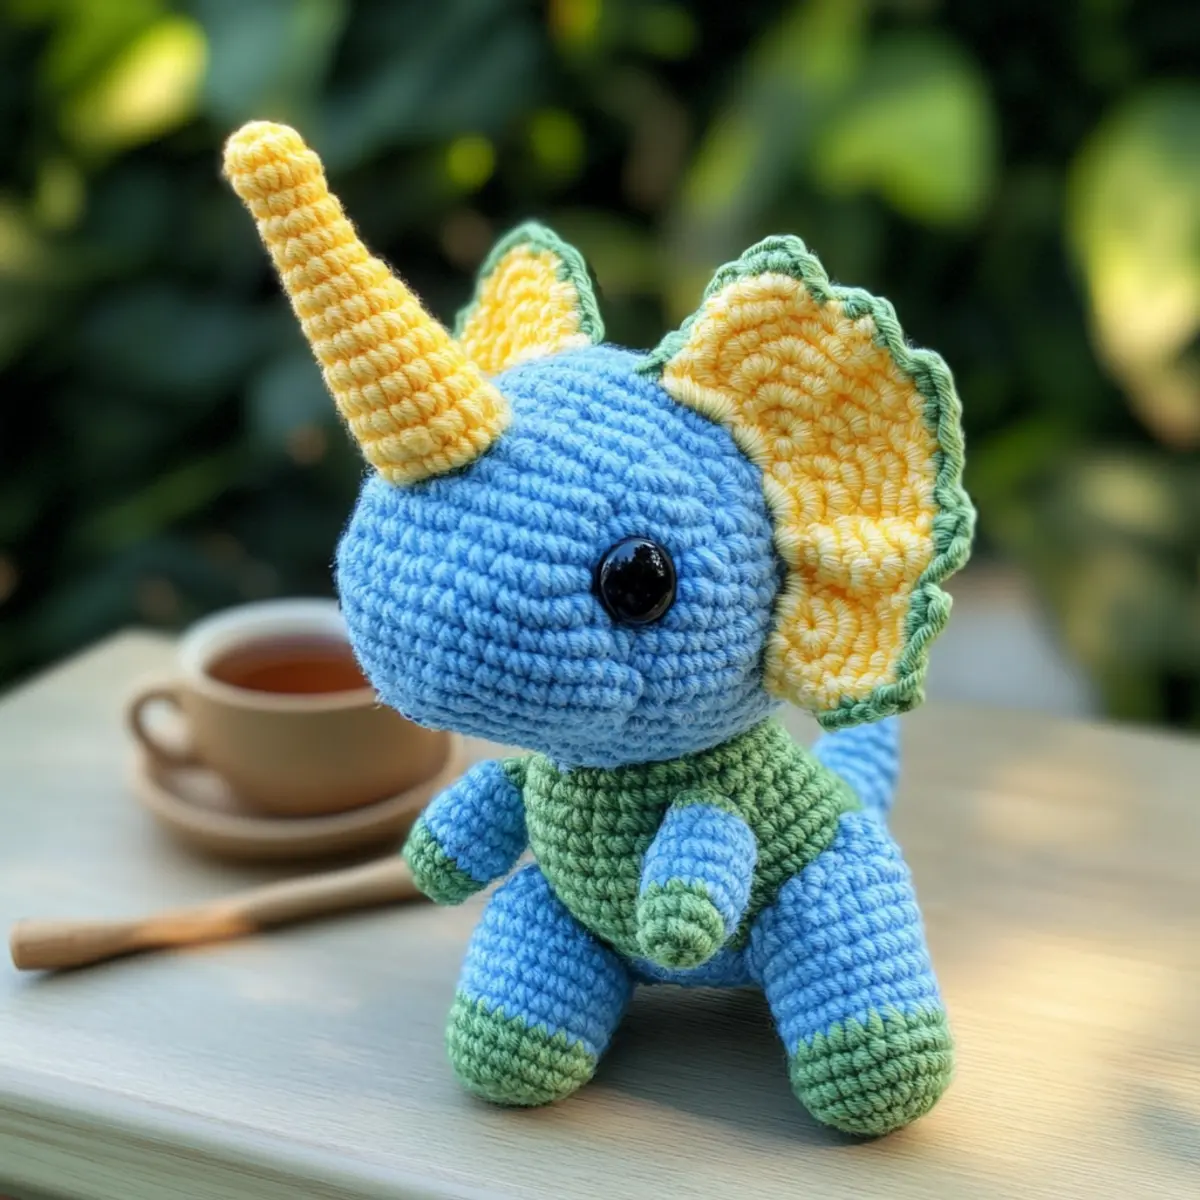
No-Sew Amigurumi Triceratops Materials & Tools
Get ready to gather everything you need for this whimsical crochet adventure!
Yarn
- Worsted Weight Yarn – Approximately 100-150 yards will create your charming triceratops; any smooth texture works wonders!
Tools & Notions
- 4.5 mm (US 7) Hook – This size is just right for your yarn, but go down in size for tighter stitches.
- Stitch Marker – Keep track of your rounds easily and stitch by stitch!
- Tapestry Needle – Perfect for weaving in ends and making any necessary adjustments.
- Safety Eyes (optional) – Use these for added personality, but consider yarn eyes for little ones’ safety in your no-sew project!
Why is this triceratops pattern a must-try?
Endless Fun: This no-sew design means you’ll skip the tedious assembly and dive straight into the joy of creating!
Charming Aesthetics: With its rounded shape and playful frills, your finished triceratops will be an adorable addition to any collection or perfect for a thoughtful gift.
Beginner-Friendly: Even if you’re a novice, this pattern is tailored for you, using basic crochet stitches in a continuous fashion—no complex techniques required!
Time-Saving: Enjoy the satisfaction of completing a delightful amigurumi in just one sitting, making it an ideal project for busy crafters.
Customizable Creations: Experiment with different yarn colors or textures to make each triceratops truly one-of-a-kind! For more unique crochet projects, check out our section on stash-busting crochet patterns.
Gauge & Sizing Notes
Don’t skip the gauge swatch! Ensuring your tension is correct is crucial for the Easy No-Sew Triceratops Amigurumi Pattern, as it directly impacts the final size and appearance of your charming dinosaur. For this pattern, aim for a gauge of 4×4 inches (10×10 cm) = approximately 12 stitches by 10 rows in single crochet with worsted weight yarn. To adjust the size, you can increase your starting chain by multiples of 12 for a larger triceratops or decrease it if you prefer a smaller version. If your swatch turns out too small, consider going up a hook size; if it’s too big, try a smaller hook for the perfect fit!
Step‑by‑Step Pattern for Easy No-Sew Triceratops Amigurumi
Row 1: Begin the Tail
Start with a magic ring and chain 1. Inside the ring, work 6 sc (6 sts). Pull the ring tight to close, and use a stitch marker to keep track of your first stitch as you continue to add rounds without joining. Your work should be circular and compact.
Row 2: Increase for Tail
Continue in the round by working 2 sc in each st around (12 sts). This will shape the tail nicely and provide a sturdy foundation. As you crochet, tightly pull the yarn to maintain an even fabric. Your work should begin to take on a gentle curve.
Row 3: Build Up the Tail
For the next round, work 1 sc in the first st and then 2 sc in the second st (18 sts). Repeat this pattern all the way around, increasing the stitch count gradually. By now, your tail should look like a tapered shape, starting to form the body.
Row 4: Form the Body
Work 1 sc in each of the next 2 sts, then 2 sc in the following st (24 sts). Keep your stitches consistent as you continue to build the body of your no-sew triceratops. At this point, you’ll notice the shape becoming rounder.
Row 5: Create the Body Structure
Continue by working 1 sc in each of the next 3 sts, followed by 2 sc in the next st (30 sts). Your body should be taking form, providing a nice plumpness that is both cozy and inviting. Check your stitch counts to ensure accuracy.
Row 6: Establish the Legs
In this round, work 5 sc, then 1 popcorn stitch (5 dc in the same stitch, removing the hook and inserting it into the first dc, pulling through) to create one leg. Repeat this method two more times for a total of 3 legs (30 sts). Your triceratops should start to stand on its own!
Row 7: Complete the Legs
Next, crochet 5 sc and repeat the popcorn stitch for the remaining legs (36 sts). Ensure your popcorn stitches are even and plump to give a robust appearance. The body should have a balanced look with legs firmly attached.
Row 8: Round Out the Body
Work 1 sc in the next 4 sts, followed by 2 sc in the next st (42 sts). This round will help smooth out the transition between the legs and the body. Keep your stitches tight for a structured shape, and watch for the natural form of the triceratops developing.
Row 9: Transition to Neck
Slide into the round by crocheting 1 sc in each st around (42 sts). This helps create a base for the neck, giving the triceratops a chunky and adorable physique. You may notice the fabric beginning to curl, indicating a delightful form.
Row 10: Foundation for Head
Now, work 1 sc in each of the next 5 sts, followed by 2 sc in the next st (48 sts). Keep your fabric taut as you approach the head section. The body and neck should be clearly defined at this stage.
Row 11: Continue the Neck
For the next round, simply crochet 1 sc in each st around (48 sts). Your work should already be looking like a cheerful triceratops, with a clear neck distinction. Remember to keep stuffing the body firmly as you progress.
Row 12: Start Shaping the Head
Work 1 sc in the next 6 sts, then 2 sc in the next st (54 sts). Ensure that the plush fabric stays consistent, and visualize how the head will sit snugly atop the neck as you stitch on.
Row 13: Define the Head Shape
Continue by crocheting 1 sc in each of the next 7 sts followed by 2 sc in the next st (60 sts). Your triceratops is increasingly taking shape, with the head becoming more pronounced. Keep your work upright for an even look.
Row 14: Form the Mouth and Eyes
At this stage, work 1 sc in each of the next 8 sts, then 2 sc in the next st (66 sts). Consider marking where you want to place safety eyes once you build up the head further. Keep your fabric firm but not overly stretched.
Row 15: Add Texture to Head
Create a round of 1 sc in each st around (66 sts). Your head is almost done! The round should feel cohesive, with everything neatly fitting together. Visualize where you’ll add features like horns and frills shortly.
Row 16: Complete the Head Structure
Now work 1 sc in the next 9 sts, and increase with 2 sc in the following st (72 sts). Ensure you check your stitch counts carefully, as this will help finalize the roundness of the triceratops’s head.
Row 17: Finalizing the Head
For this round, crochet 1 sc in each of the next 10 sts, then 2 sc in the next st (78 sts). Your triceratops should now have a large-enough head in proportion to the body, rounding out this adorable amigurumi!
Row 18: Trim the Neck and Head
Now work 1 sc in each of the next 11 sts, and make a final increase of 2 sc in the following st (84 sts). As you continue, you can visualize the adorable features of your no-sew triceratops as they begin to emerge.
Row 19: Build the Frill
To create the frill, work 1 sc in each of the next 12 sts. Then make 1 popcorn stitch in the next st (88 sts). The addition of this whimsical touch provides a truly unique character to your amigurumi masterpiece.
Row 20: Position the Frill
Next, work 1 sc in the next 12 sts and pop another popcorn stitch in the following st (92 sts). Your triceratops is shaping up beautifully; maintain a steady gauge for even frill height!
Row 21: Secure the Frill
For this round, crochet 1 sc in each of the next 13 sts and create a final popcorn stitch in the next st (96 sts). Admire the added texture of the frills, enhancing your project’s whimsy and charm.
Row 22: Complete the Head and Add Embellishments
Now finish with 1 sc in each of the next 14 sts, including a popcorn stitch in the following st (102 sts). This will finalize the head configuration. You may now insert your safety eyes or embroider yarn eyes as per your preferences.
Row 23: Final Touches
Continue with a final round of 1 sc in each st around (102 sts). This round will give your triceratops a polished appearance. Keep your work steady as you prepare to wrap up the project.
Row 24: Finish Off and Weave In Ends
To complete your no-sew triceratops, slip stitch into the first stitch, cut the yarn, and pull through. Weave in any remaining ends securely. Your finished triceratops should have a round, plump body, an adorable frill, and sturdy, popcorn-style legs!
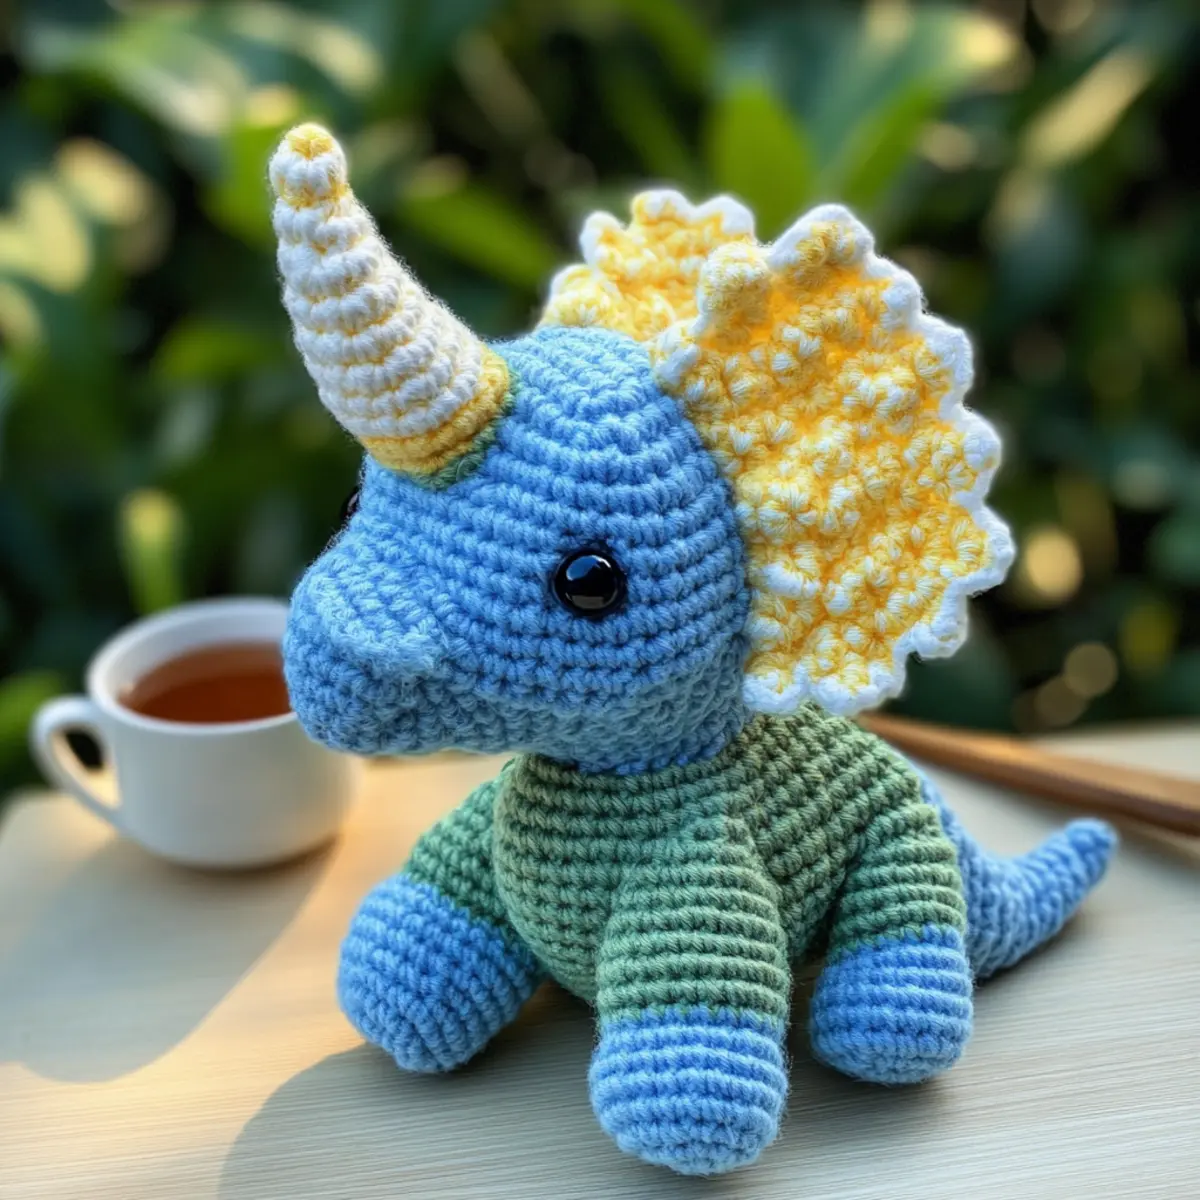
No-Sew Amigurumi Triceratops Variations
Inviting you to add your personal touch to this enchanting triceratops pattern is half the fun of crocheting!
- Yarn Alternatives: Swap worsted weight yarn for a soft cotton blend for a lighter, breathable texture. Perfect for summer gifts!
- Color Variations: Try a color-blocked design with different shades for the body and frills, creating a vibrant dinosaur friend!
- Larger Size: Increase yarn weight to bulky for a bigger triceratops, perfect for cuddles and playtime fun.
- Textured Finish: Use chenille or velvet yarn to add a plush touch, making your triceratops irresistibly soft and snuggly!
- Fringe Delight: Add fun fringe around the frill or tail for a dynamic and playful design element your kids will love.
- Safety Options: Instead of safety eyes, embroidery yarn onto the face for a baby-safe version, keeping everything easy and secure!
- Custom Sizing: Scale down the pattern with lighter yarn or a smaller hook size for a pocket-sized triceratops that’s super cute!
- Decorative Borders: Enhance your creation with a decorative border along the frill edge using slip stitches for an added touch of charm.
As you explore these possibilities, be sure to explore our guide on beginner-friendly crochet techniques to elevate your crafting experience! Your creative adventures await!
How to Wash and Care for Your Triceratops
Hand Washing: Gently wash your triceratops in cold water using a mild detergent. This helps maintain its plush texture and prevents damage.
Drying/Blocking: Lay your triceratops flat on a clean towel to dry. Avoid hanging, as this could distort its adorable shape and features.
Storage: Store your finished piece in a cool, dry place, away from direct sunlight to prevent fading. A breathable bag or container works best.
Regular Maintenance: If your no-sew triceratops collects dust, simply use a soft brush to clean it gently while preserving its delightful appearance.
Expert Tips for the Best Triceratops
-
Check Your Tension: Crocheting too tightly can lead to a stiff triceratops. Ensure your tension is loose enough for a plush feel while maintaining stitch definition.
-
Count Your Stitches: It’s easy to lose count during this continuous crochet project. Use a stitch marker to track your rounds and avoid losing your way!
-
Firm Stuffing: Avoid a droopy appearance by stuffing your triceratops firmly, especially around the neck. This will give it that delightful plump look.
-
Secure Loose Ends: Tail ends can easily come loose over time. Make sure to weave in your ends thoroughly for a tidy finish and to keep your adorable amigurumi intact.
-
Skip the Safety Eyes: For a baby-safe option, embroider yarn eyes instead of using safety eyes. This keeps the project entirely no-sew and minimizes loose parts.
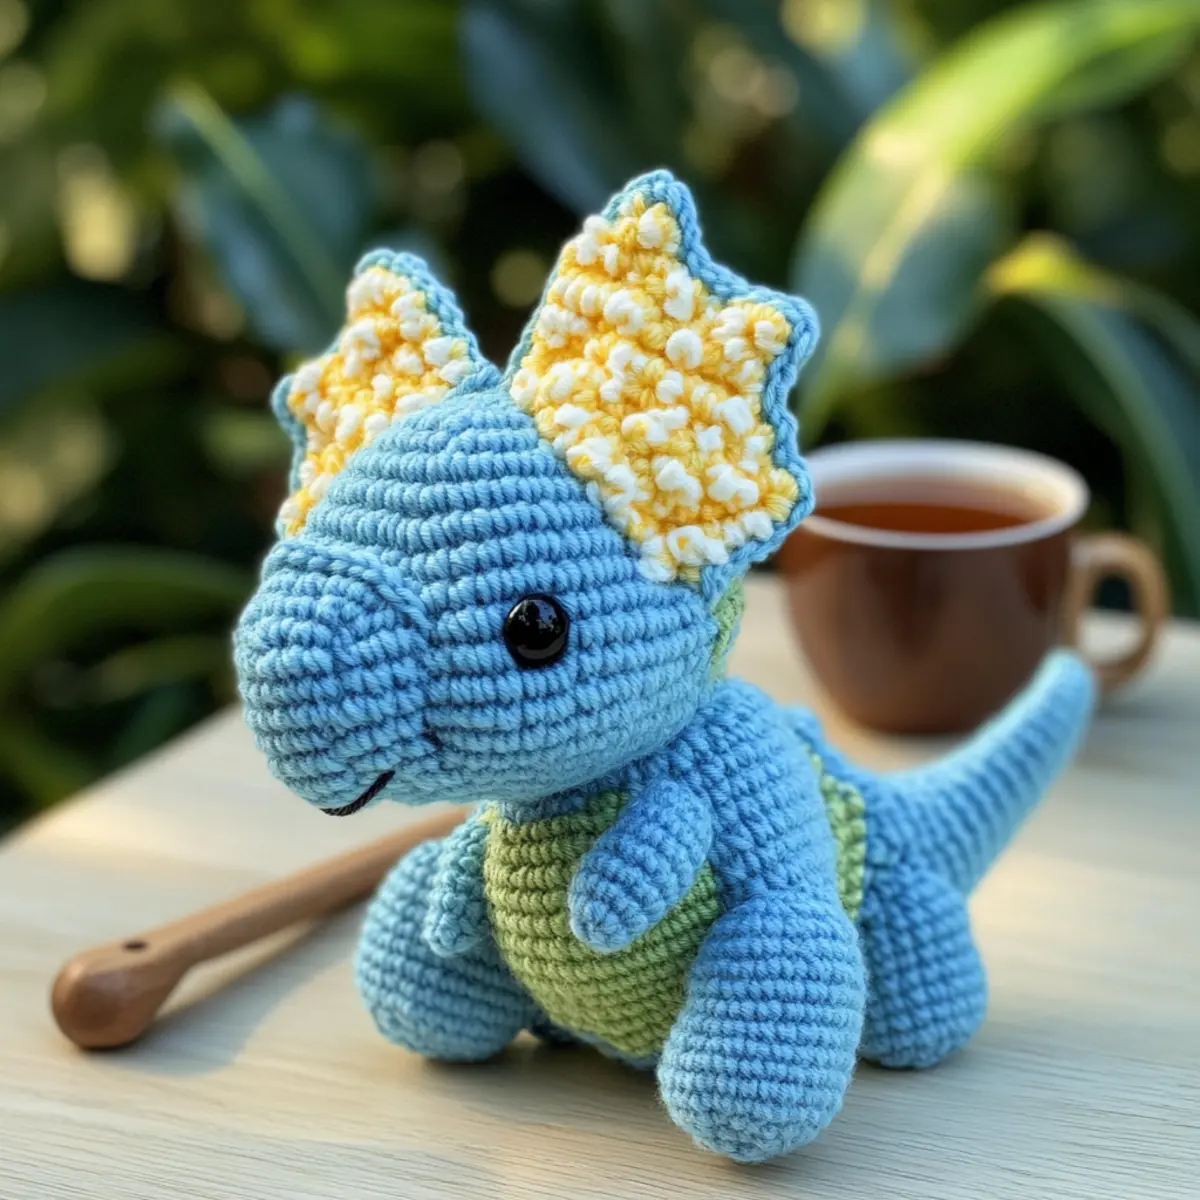
Easy No-Sew Triceratops Amigurumi Pattern FAQs
Can I use a different type of yarn instead of worsted weight?
Absolutely! While the suggested yarn is a smooth worsted weight for a well-defined structure, you can substitute it with bulky yarn for a larger triceratops. Just remember to adjust your hook size and check your gauge before starting to maintain the shape.
How do I make my triceratops bigger or smaller?
To change the size, play with your yarn weight and hook size. For a larger triceratops, opt for bulkier yarn and a larger hook, while using a finer yarn and smaller hook will give you a tiny dino! Just keep in mind to monitor your stitch counts for consistent dimensions.
Why is my triceratops curling or warping?
Don’t panic! Curling often means that your tension is too tight or that you’ve missed a stitch count. Ensure you are checking your gauge, and if your circle is buckling like a bowl, try loosening your grip on the yarn as you work to achieve a softer shape.
What size hook should I use for this pattern?
You’ll want to use a 4.5 mm (US 7) hook as recommended. If you prefer tighter stitches to avoid gaps or droopiness, you might consider using a smaller hook. Just keep an eye on your stitch density for proper shaping!
How do I fix dropped stitches in my triceratops?
It’s an easy fix! When you notice a dropped stitch, simply grab your tapestry needle and weave the stitch back into place. You can also go back to the previous round if you catch it early, but make sure to secure the yarn ends to keep everything tidy.
What should I do if my stuffing is coming out?
Make sure to weave in your ends thoroughly and stuff the body firmly to avoid any sagging. If you spot loose stuffing peeking out, gently push it back in and reinforce the area with a few extra stitches for added security!
Leave a Reply