
As I picked up my crochet hook, I felt an invigorating rush of creativity that made me remember the delightful moments of bringing my handmade dreams to life. Today, I’m excited to share the Cozy Newborn Crochet Romper, a charming piece that not only looks adorable but is also incredibly quick to make, perfect for those last-minute baby shower gifts. Made with soft, natural fibers, this romper is designed to be gentle against a baby’s delicate skin, ensuring they stay cozy and comfortable throughout the day. Plus, as a bonus, it’s stash-buster friendly! So if you have leftover yarn from previous projects, this is the perfect opportunity to use them up. There’s something uniquely fulfilling about crafting a cozy newborn crochet romper that can be cherished for years to come. I can’t wait for you to dive into this project and explore the endless possibilities for customization and color choices that reflect your style. Let’s get started, shall we?
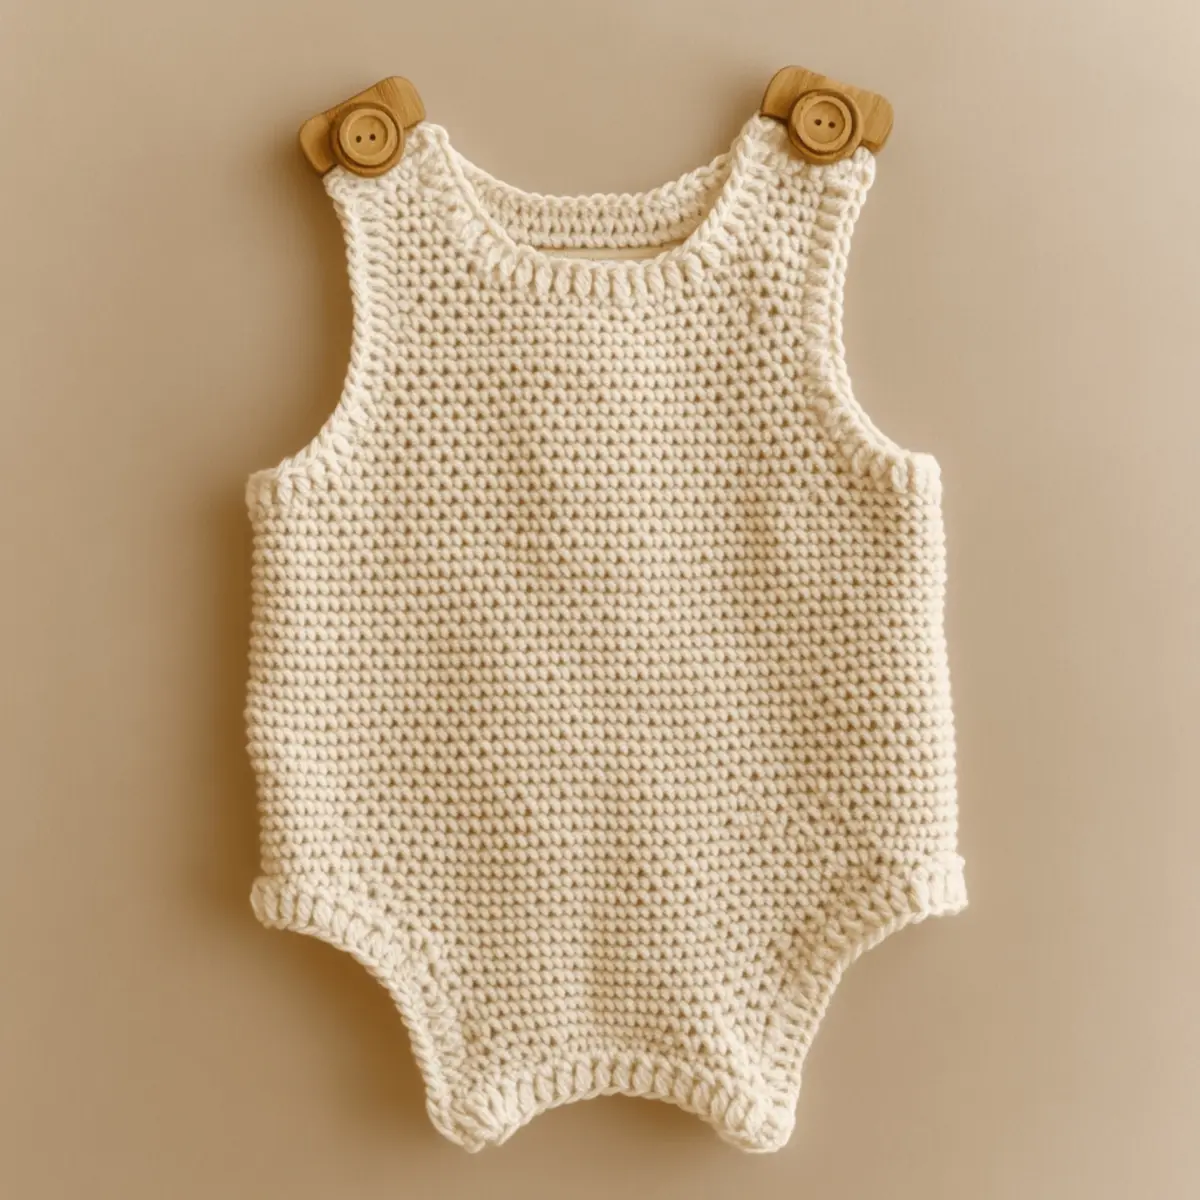
Newborn Crochet Romper Materials & Tools
Yarn
Medium-weight yarn – Approximately 300-400 yards of soft, natural fibers like cotton or an acrylic blend for the newborn crochet romper.
Cotton yarn – Ideal for breathability and comfort against delicate skin.
Tools & Notions
4.0 mm crochet hook (G/6 US) – Perfect for achieving a tight stitch that gives structure to the romper.
Stitch markers – Helpful for keeping track of your progress and shaping.
Tapestry needle – Essential for weaving in ends and sewing on buttons.
Wooden buttons (1 inch) – These accentuate the shoulder straps, offering an attractive and functional finish.
Why You’ll Love This Pattern
Simplicity is at the heart of this newborn crochet romper, making it perfect for beginners and seasoned crafters alike who want a straightforward project. Quick to complete, you can work this up in just a few hours, making it a fantastic choice for those last-minute gifts or special events. The stash-friendly design ensures you can use any medium-weight yarn leftovers, adding your personal flair to each piece. Plus, the romper’s textured finish offers an appealing aesthetic that will stand out in any baby photo. With customizability at your fingertips, you can easily adjust colors, embellish with unique accents, or modify the length for seasonal wear. And the added practicality of using fragrant cotton yarn only enhances your crafting experience. Whether you’re preparing for a special occasion or simply want a cozy piece for your little one, this romper checks all the boxes for creativity and function!
Gauge & Sizing Notes for Cozy Newborn Crochet Romper
Checking your gauge is essential for the Cozy Newborn Crochet Romper, as it ensures the size will fit a typical newborn (0-3 months). For this project, aim for a gauge of 4×4 inches (10×10 cm) using 12 sc across and 14 rows to achieve the correct tension and stitch definition. When you measure your tension, keep in mind that adjusting your starting chain or the number of rows can help create the perfect fit for variations in baby sizing. If your swatch does not match the gauge, consider using a larger or smaller hook size until the fabric retains a soft, comfortable density. This is especially important around the leg openings for optimal fit and comfort in the newborn crochet romper. Each stitch and row counts, and attention to detail will lead to a lovely finished piece that showcases both your creativity and skill.
Step-by-Step Pattern for Cozy Newborn Crochet Romper
Row 1: Create the Foundation Chain Start by making a foundation chain of 40 ch. This should be wide enough to comfortably fit around the baby’s chest. Remember, you’ll adjust for size as you go. (40 ch)
Row 2: Setting Up the Body Turn your work and begin with 1 sc in each ch across. This establishes the base of your romper and gives a sturdy foundation. Make sure to keep your tension consistent for a nice, even texture. (40 sc)
Row 3: Building Up For Row 3, perform an increase by adding 2 sc in the first and last stitch of the row. This will start to shape your garment, providing a slight flare for the shoulders. (42 sc)
Row 4: Continue the Body Continue working in rows with 1 sc in each st. Repeat this process, keeping an eye on your gauge, until the body measures about 10 inches long. Make sure it’s comfortable yet snug. (42 sc)
Row 5: Shaping the Shoulders To create shoulder openings, skip the first 2 st of Row 5 and create 1 sc in each of the next 38 st. This will leave room for the shoulders, crucial for your newborn crochet romper to fit well. (38 sc)
Row 6: Create Buttonholes For a functional touch, skip 1 st on the next row for buttonholes while continuing with 1 sc in each st. Repeat this until you reach the end of the row. This now allows buttons to be added later. (38 sc)
Row 7: Work the Straps Chain 20 and attach it to the body with a sl st. This creates a strap. Count your st to ensure it’s secure, as this adds durability to your romper design. (20 ch, 1 sl st)
Row 8: Complete the Straps Repeat the previous step for the second strap. This consistency is important in achieving that beautiful symmetry in your cozy newborn crochet romper. (20 ch, 1 sl st)
Row 9: Finishing the Leg Openings Now, focus on the leg holes. Skip the last 5 sc of the bottom row, and work 1 sc in each of the remaining st, ensuring that it captures baby’s legs comfortably. (35 sc)
Row 10: Neatening the Edges To complete your leg openings, work a simple sc border around each leg hole. This adds comfort and a finished look to your cozy newborn crochet romper. (1 sc border)
Row 11: Weave In Ends Finally, use a tapestry needle to tuck in any loose ends. Ensuring that all threads are neatly concealed helps in maintaining the high quality and aesthetics of your work. (Ends woven in)
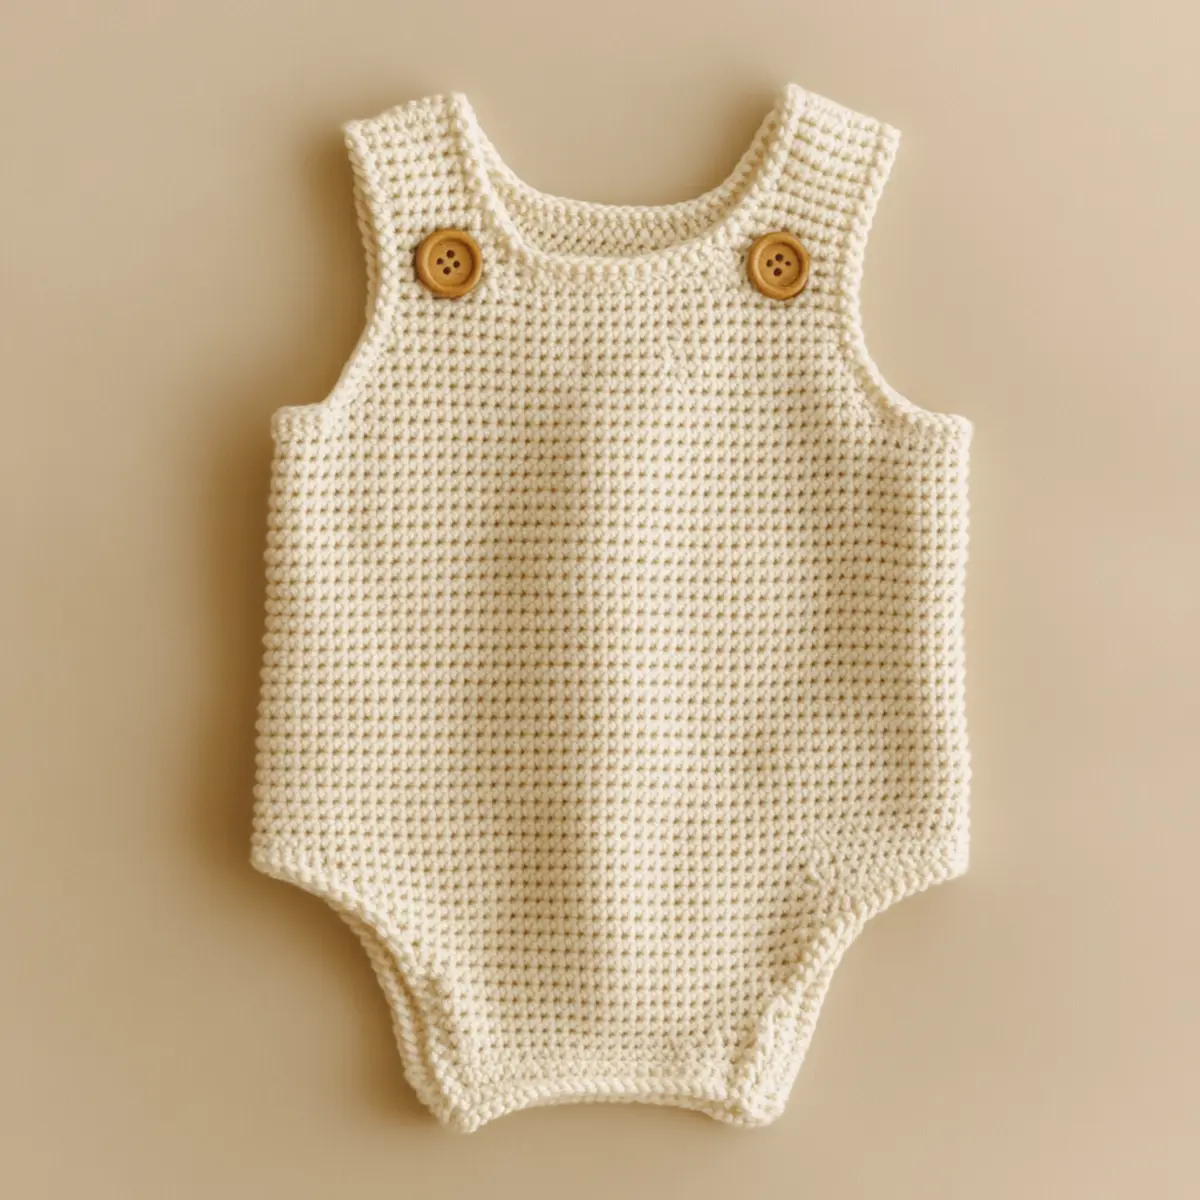
Row 12: Attach Buttons Sew on two wooden buttons to the shoulder straps securely. This not only enhances the charm of the romper but also ensures it is easy to wear and remove for those quick diaper changes. (2 buttons)
How to Wash and Care for Your Newborn Crochet Romper
Machine Washing: Use a gentle cycle with cold water to protect the stitches and structure of your newborn crochet romper. Avoid bleach to maintain color integrity.
Hand Washing: For longer-lasting wear, hand wash in cool water with mild detergent. This method ensures the fibers remain soft against the delicate skin of your baby.
Drying: Laying flat to dry is essential to maintain the shape of the romper. Avoid hanging to prevent stretching, especially in cotton yarns.
Storage: When storing, fold the romper neatly in a drawer, keeping it away from direct sunlight. This prevents fading and ensures it remains fresh for those sweet baby moments.
Expert Tips for the Best Newborn Crochet Romper
Stay Counted: Regularly count your stitches to avoid miscounts which can lead to an ill-fitting romper. Efficient tracking prevents extra rounds or dropped stitches.
Tight Tension: Keep your tension consistent and tight to avoid gaps, especially around the leg openings. This ensures both comfort and durability for the newborn.
Buttonhole Accuracy: When creating buttonholes, double-check the placement for optimal button fit. Consistency is key in ensuring the romper looks just right.
Foundation Chain: Make the foundation chain wide enough for the baby’s chest—measure against a similar garment to avoid errors. Aim for a comfy fit right from the start.
Blocking Benefits: After finishing, consider blocking the romper to set the stitches. This improves the overall shape and prevents any unwanted stretching, especially with cotton yarn.
Yarn Choices: Don’t hesitate to explore different yarns! While cotton is recommended for softness, blends can add unique textures, enhancing your newborn crochet romper’s charm.
Newborn Crochet Romper Variations
Get creative and make this cozy romper uniquely yours!
- Color Combinations: Experiment with contrasting shades for the body and straps to enhance visual appeal.
- Yarn Choices: Swap medium-weight yarn with a soft cotton-bamboo blend for added breathability and rustic charm.
- Length Modifications: Adjust the length of the legs for a short romper ideal for warm weather, ensuring versatility for different seasons.
- Textured Yarn: Use a boucle or chenille yarn to introduce tactile variation that captures interest and adds depth to the romper’s design.
- Embellishments: Personalize your romper by incorporating embroidered designs or fabric patches to reflect the baby’s personality.
You can even go a step further and create a matching hat or booties to accompany this lovely romper. The cohesive look will make your gift stand out! Combining this piece with additional crochet items can make for a thoughtful ensemble that new parents would appreciate. It’s a delightful way to showcase your crochet skills through creative expressions and thoughtful gestures. Be sure to check out more patterns like the Baby Booties or Matching Hats to complete your baby’s wardrobe!
Newborn Crochet Romper FAQs
Can I use different yarns?
Absolutely! While medium-weight cotton or acrylic blends are best, feel free to experiment with other yarn types. Just keep the gauge in mind!
How can I adjust sizing for a larger baby?
To adjust, increase the foundation chain length and add extra rows in the body before the shoulders. Always measure against a similar size garment for accuracy.
What if my romper curls at the edges?
Don’t panic! This often happens if too loose of a tension was used. You can block the romper to help it flatten out and set the stitches properly.
What hook size should I use?
The recommended size is 4.0 mm (G/6 US) for tight stitches, but adjust if necessary to meet your tension. Test with a swatch first!
What if I drop a stitch?
If this happens, just pull the yarn back to retrieve the dropped stitch or use a tapestry needle to weave it back in. Stay calm—it’s a common mistake!
Can I embellish the romper?
Absolutely! Adding embroidered designs or appliqué patches is a great way to personalize the romper and make it truly special. Get creative!
Leave a Reply