
As the sun sets and the sky shifts into a deep blue, I can’t help but think about how cozy it feels to unwind with a crochet hook in hand. The Moon Granny Square project is a delightful way to embrace that comforting vibe while adding a touch of celestial magic to your creations. This pattern is perfect for those looking to expand their skills, featuring a beautifully textured crescent moon design that not only provides a satisfying challenge but also doubles as an eye-catching statement piece in any project. Crafted with gradient stitches, each square tells a unique story, making it a wonderful stash-buster for your favorite worsted weight yarn. I can’t wait for you to discover the joy of stitching this enchanting motif, so let’s dive into the pattern and create something out of this world!
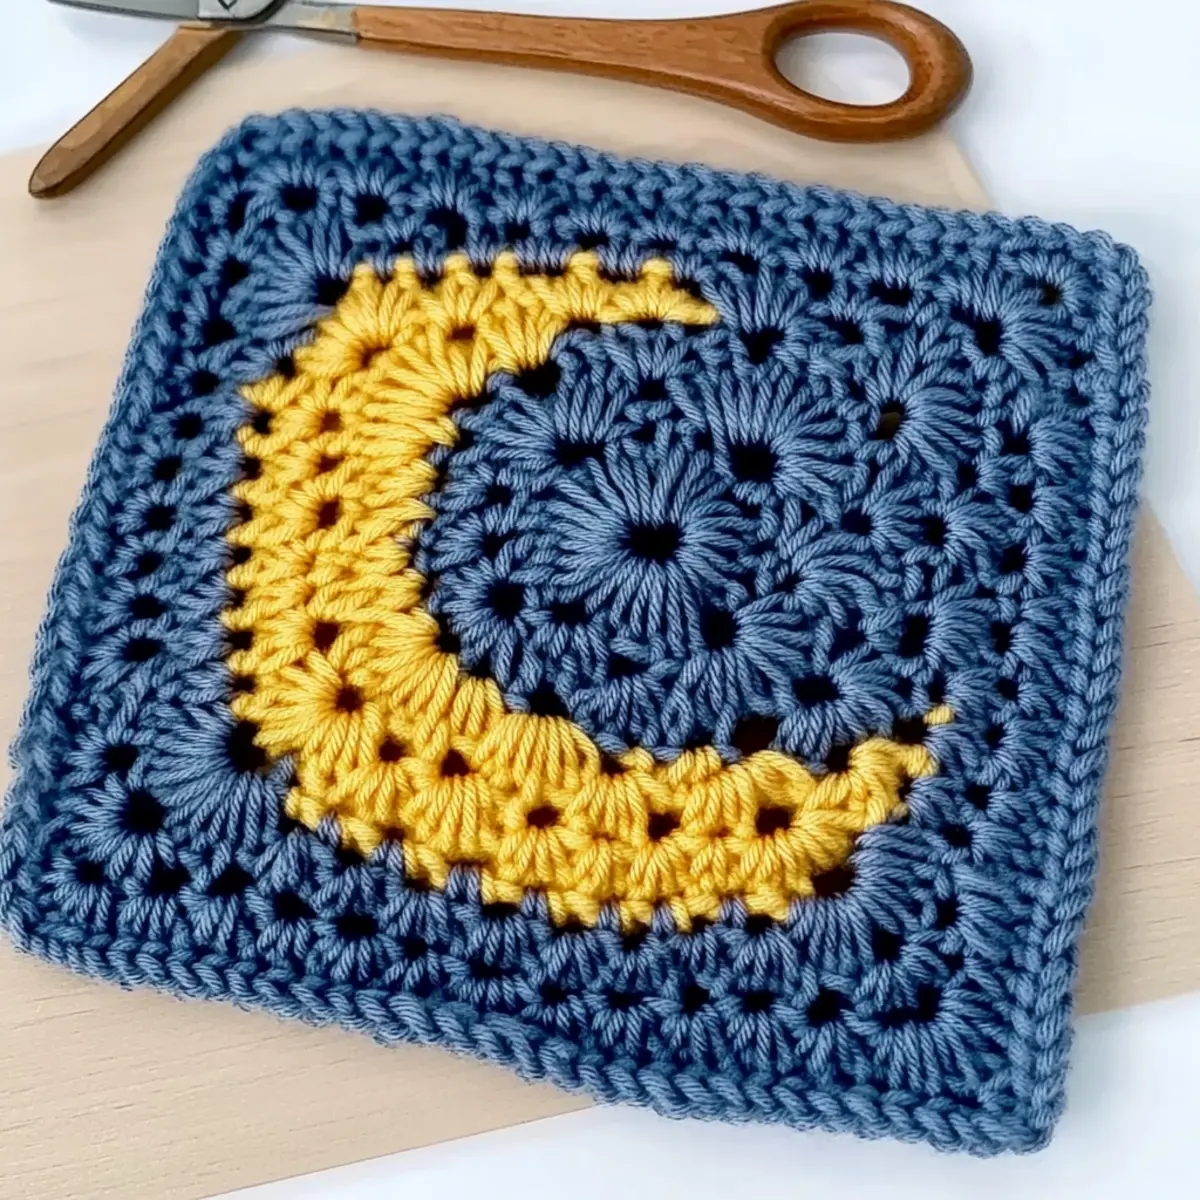
Moon Granny Square Materials & Tools
Get ready to create a celestial masterpiece with these essential supplies!
-
Yarn
-
Worsted Weight Yarn – Approximately 200-250 yards will allow you to create multiple squares; opt for light colors like white or cream for the moon and a dark tone for the background.
-
Hook
-
4.5mm (US 7) Hook – This size will provide the perfect gauge for your Moon Granny Square while creating lovely texture.
-
Notions
-
Stitch Markers – Handy for keeping track of rounds as you create your square.
-
Tapestry Needle – Essential for weaving in those pesky ends once your square is completed.
-
Scissors – To snip your yarn with precision as you go along.
Gather these materials and tools, and let your creativity soar as you crochet your stunning Moon Granny Square!
Why Will You Love This Pattern?
Unique Design: The crescent moon in the center of the square adds a whimsical touch, making your work stand out.
Textured Appeal: This pattern incorporates gradient stitches that create a visually stunning effect, enhancing the overall aesthetic of your crochet project.
Skill Builder: As an intermediate-level project, you’ll enhance your crochet skills and learn new techniques, perfect for adventurers looking to level up!
Versatile Uses: Whether you’re crafting a cozy blanket, shawl, or decorative wall hanging, this square fits effortlessly into diverse projects, ensuring your creativity knows no bounds.
Time-Saving: With just 200-250 yards needed for multiple squares, you can whip up beautiful pieces quickly, making it a perfect weekend project—ideal for those cozy evenings at home.
Gauge & Sizing Notes
Don’t skip the gauge swatch! Ensuring your tension is right is essential for the stunning results of your Moon Granny Square. To achieve the perfect size, aim for a gauge of 4×4 inches (10×10 cm) with 16 double crochets by 8 rows. If you desire a larger square, adjust your starting chain in multiples of 4 to accommodate the width, or add rounds for height. If your swatch comes out too small, don’t worry! Simply switch to a larger hook size to loosen your tension. A well-made gauge swatch will ensure that your beautiful Moon Granny Square turns out just right!
Step‑by‑Step Pattern for Celestial Moon Granny Square
Round 1: Create the Foundation
Begin with a magic ring (MR). Chain 3 (Ch x3) to count as your first double crochet. Work 17 double crochets (Dc) into the ring, ensuring they are snug. Pull the tail to close the ring tightly, creating a total of 18 double crochets. Your work should appear circular, setting the stage for the beautiful crescent moon design.
Round 2: Shape the Crescent Moon
Slip stitch (Sl.st) into the first Dc to join the round, then chain 1 (Ch). Work 1 single crochet (Sc) in the same stitch, followed by 2 half double crochets (Hdc x2) in the next stitch and 1 half double crochet (Hdc) and 2 double crochets (Dc x2) in the following stitch. Complete with 3 treble crochets (Tr x3) in the next stitch. This round will start to form the crescent shape of the moon, with a total of 10 stitches.
Round 3: Add Dimension
Chain 4 (Ch x4) to start this round, then work 1 treble crochet (Tr) in the same stitch. Chain 3 (Ch x3), and repeat this set around the previous round. Your work should begin to present a textured, layered look as the stitches stack. By the end of this round, there should be 10 completed sets of treble crochet and chain groups.
Round 4: Build the Outer Layer
Start with a chain 3 (Ch x3), followed by a double crochet (Dc) into the same space. Continue working 2 double crochets (Dc) in each chain space around the circle. This round will help establish the solid border of the Moon Granny Square, and your work should take on a robust, textured appearance with an expected total of 20 double crochets by round’s end.
Round 5: Define the Edges
Chain 1 (Ch x1) to begin the last round, then work 3 single crochets (Sc x3) in each space around the square, helping to define and finish the edges. As you complete this round, focus on achieving an even tension to ensure the edges lay flat. You should now have a beautiful square where all sides are neatly outlined, ready for any creative use!
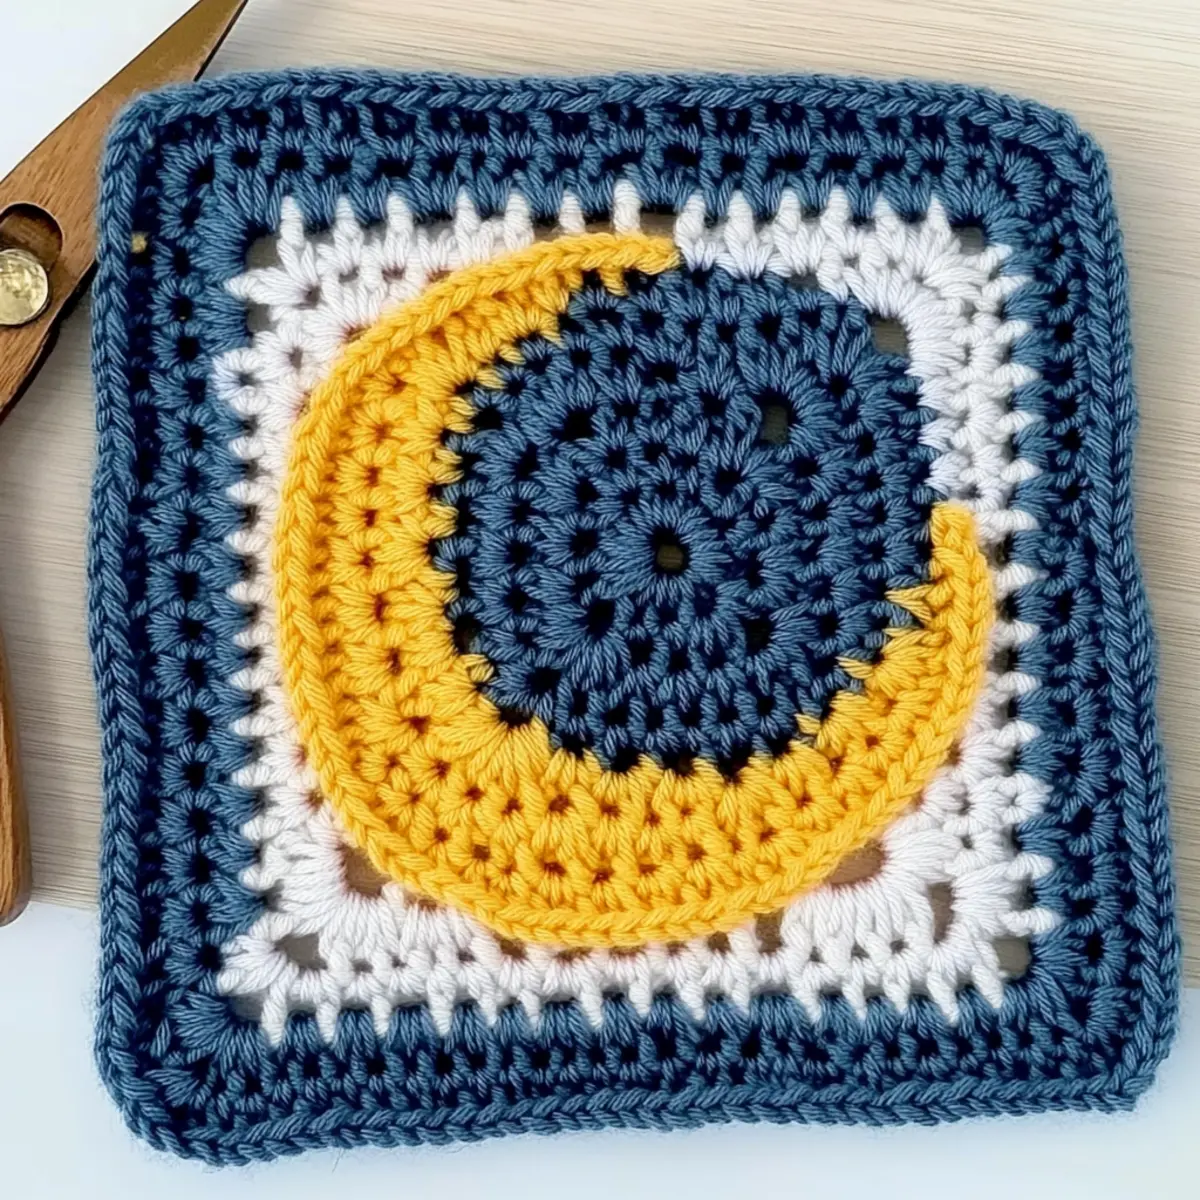
Washing & Care for Your Moon Granny Square
-
Machine Washing: Use a gentle cycle with cold water to prevent any agitation that could cause pilling or felting of your Moon Granny Square.
-
Hand Washing: If preferred, hand wash in cold water using a mild detergent. Gently agitate and rinse to maintain texture without causing damage.
-
Drying/Blocking: Lay your finished square flat to dry on a clean towel, reshaping as necessary. This ensures the distinct crescent moon shape is preserved beautifully.
-
Storage: Store your finished Moon Granny Squares in a cool, dry place away from direct sunlight to keep colors vibrant and prevent any distortion of shape.
Expert Tips for the Moon Granny Square
-
Even Tension: Ensure you maintain even tension throughout Round 2 to achieve a beautifully puffed crescent moon shape. Inconsistent tension can lead to a lopsided look.
-
Count Your Stitches: Regularly count your stitches at the end of each round. This helps prevent the square from twisting and keeps your Moon Granny Square symmetrical.
-
Blocking Matters: Don’t skip the blocking step after your square is complete! It flattens any curls and helps your project achieve its final uniform measurements.
-
Use Stitch Markers: Place stitch markers at the beginning of each round to keep track of your progress. This will aid in maintaining clarity and precision as you crochet.
-
Gauge Swatch: Before diving into your Moon Granny Square, crochet a gauge swatch to ensure your final piece measures up as you envision; it’s a small step for big results!
Variations & Substitutions for Moon Granny Square
Embrace your creativity and personalize this charming crochet pattern to make it uniquely yours!
- Yarn Weight Swap: Switch to a lighter yarn for a more delicate look, or use bulky weight for a cozier square.
- Fiber Alternatives: Experiment with cotton for a breathable finish or wool for a warmer, snugger square in colder months.
- Color Blocking: Create a stunning gradient effect by using multiple yarn colors. Fade from dark to light for a celestial gradient that captivates the eye.
- Size Adjustments: Link multiple squares together to create larger projects such as throws or cushion covers, maintaining that lovely crescent moon design.
- Texture Enhancements: Add pom-poms or fringe around the edges of the square for a playful twist that adds dimension and flair.
- Border Addition: Finish off with a contrasting border for a vibrant pop that frames your Moon Granny Square beautifully.
- Twinkle Stars: Incorporate small star motifs around the moon for a whimsical night sky effect, enhancing the celestial theme.
- Layered Stitches: Use the height variations in stitches to add even more texture, creating a striking visual tapestry that invites touch and admiration.
Get ready to stitch your way into a world of personalized crochet bliss with these delightful customizations!
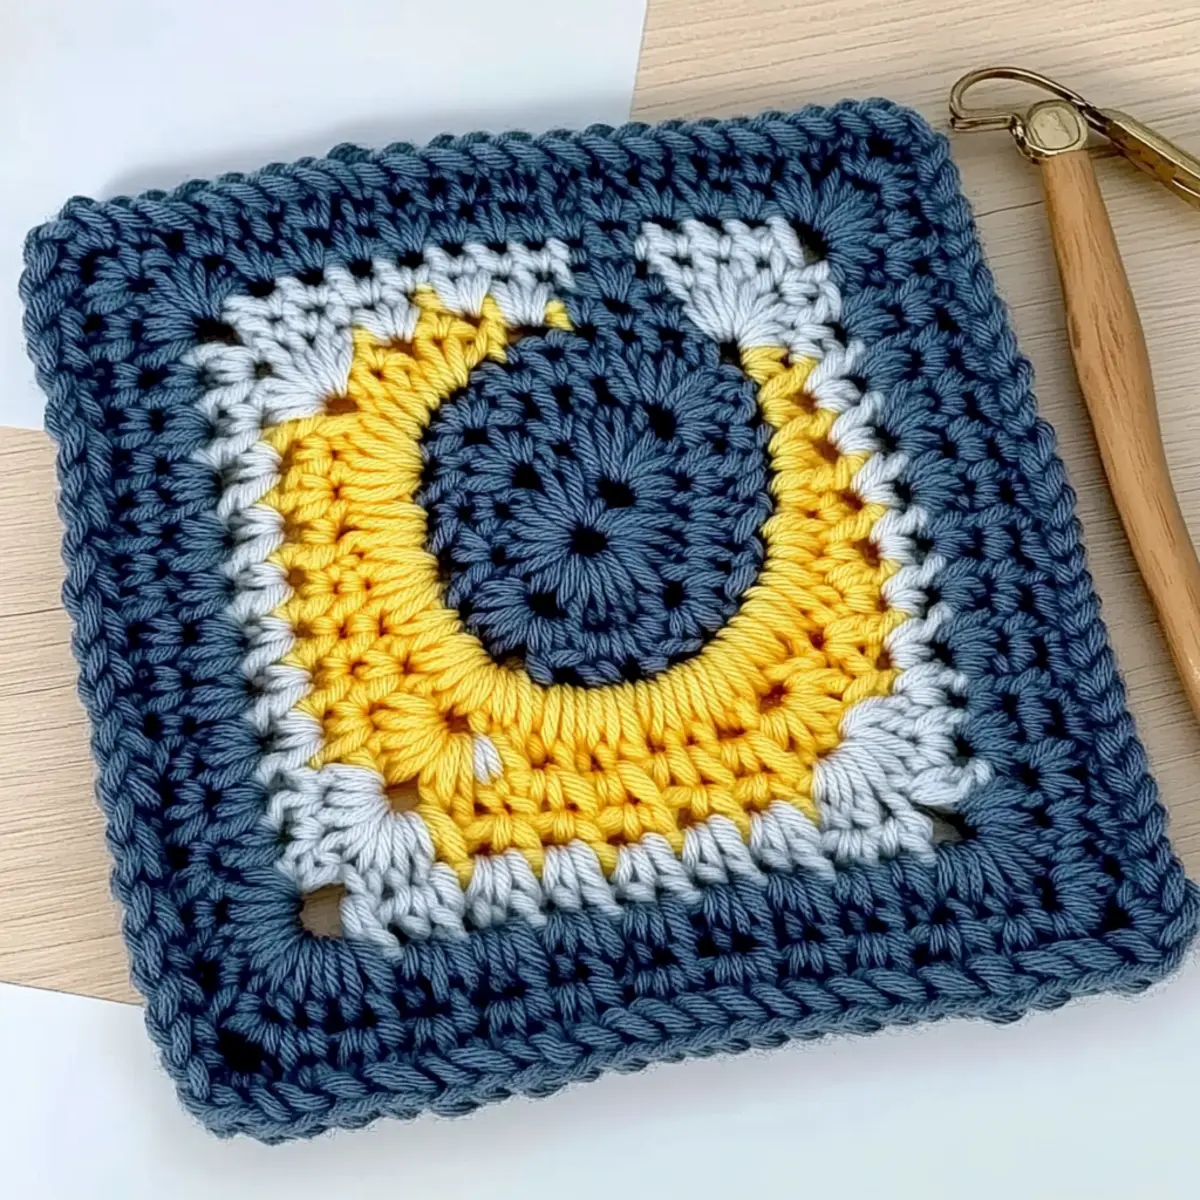
Celestial Moon Granny Square FAQs
Can I use different yarn types for this project?
Absolutely! While the pattern calls for worsted weight yarn, you can experiment with alternatives like cotton or blends. Just keep in mind that different fibers can affect the drape and texture of your square.
How do I adjust the size of my Moon Granny Square?
If you want a larger square, consider adding traditional granny square clusters around the completed Moon. You could also increase the number of rounds or change the hook size, but be mindful of your gauge to ensure your piece maintains its shape.
Why is my crochet work curling?
Don’t panic! Curling can often happen if the tension is not consistent, especially around the crescent moon. Make sure you’re keeping even tension across your stitches and remember to block your square after completing it; this step can significantly help flatten any curls.
What hook size should I use for this pattern?
I recommend using a 4.5 mm (US 7) hook. This size will give you the right tension for the textured stitches and help achieve the desired shape for the crescent moon. If you find your work too tight or loose, consider adjusting your hook size accordingly.
How can I fix dropped stitches?
It’s an easy fix! Simply use your tapestry needle to pick up the dropped loops and carefully thread them back through the stitches. You can also crochet a few chains to help secure them back into place, ensuring your square remains neat and tidy.
Leave a Reply