
As I was frantically searching for a perfect gift, I stumbled upon an idea that made my heart flutter—a charming Moon Amigurumi! This delightful little project not only works up quickly but also provides endless opportunities for customization. Whether you’re whipping up a baby mobile or a keychain charm, this beginner-friendly pattern is a wonderful way to use up odds and ends from your yarn stash. The soft, squishy texture and the adorable shape will add a sprinkle of magic to any nursery or cozy space. Are you ready to bring this whimsical moon to life in your next crochet adventure? Let’s dive into the details!
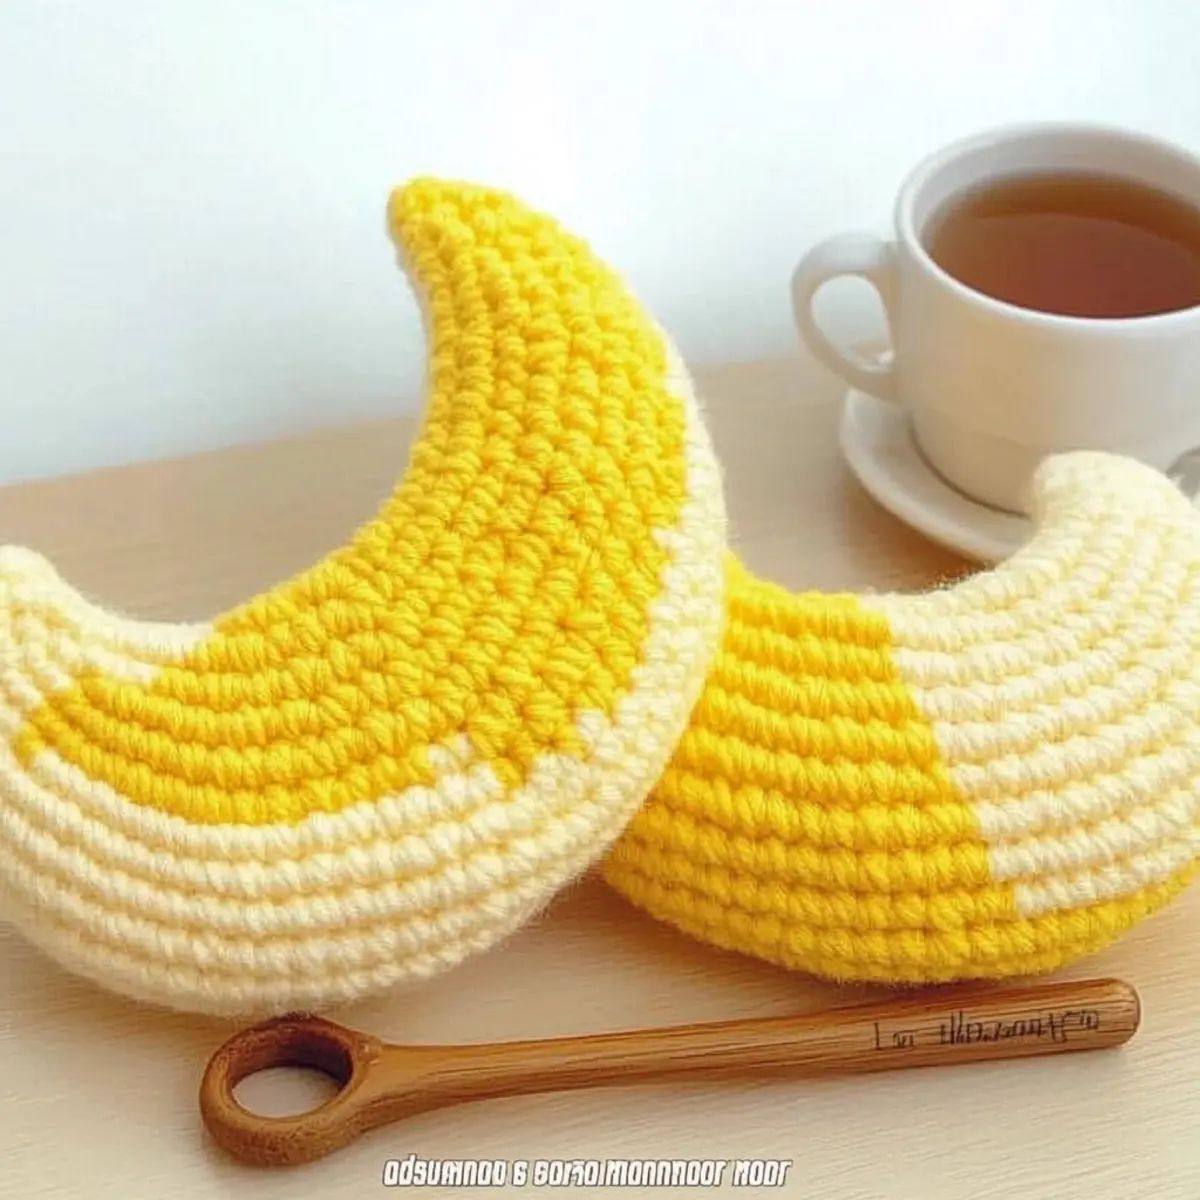
Moon Amigurumi Materials & Tools
Get ready to create a whimsical moon with these essential materials!
Yarn
• Worsted Weight Yarn – Ideal for a plush moon; anticipate about 25-50 meters depending on size.
• DK Weight Yarn – Perfect for smaller versions; requires less yardage for a dainty finish.
• Blanket Yarn – For a large, cuddly moon; luxurious and super soft!
Tools & Notions
• 3.5 mm (E) Hook – Great for DK weight yarn, ensuring tight stitches.
• 5.0 mm (H) Hook – Perfect when using Worsted weight, providing a lovely squish.
• 10 mm (N) Hook – Use this for Blanket yarn to create a big, cozy moon.
• Tapestry Needle – Essential for weaving in ends and closing your moon securely.
• Safety Eyes – Optional, but they can add a charming face to your moon!
• Stitch Markers – Helpful for tracking your rounds and keeping your project organized.
Gather these supplies to embark on your beautiful Moon Amigurumi journey!
Why is This Amigurumi Moon So Special?
Versatility at Its Core: This Moon Amigurumi is not just a cute decoration; it’s perfect for various projects, from baby mobiles to delightful keychain charms. Quick Project: With a straightforward pattern, you can whip up a moon in no time! Beginner-Friendly: Ideal for novices, you’ll master basic techniques like single crochet and increases effortlessly. Endless Customization: Create varied sizes by swapping yarn weights, or even play with colors for a unique look. Plus, don’t forget to add a face to express different emotions—it’s all about your creativity! If you’re interested in more unique crochet ideas, check out our beginner-friendly crochet projects.
Gauge & Sizing Notes
Don’t skip the gauge swatch! Ensuring your crochet tension is just right is crucial for the perfect Moon Amigurumi. A standard gauge measurement for this project is a 4×4 inch (10×10 cm) square, which should equal 12 single crochets by 10 rows. If you wish to make your Moon Amigurumi larger or smaller, consider adjusting the initial rounds. For example, to expand its size, increase your starting round increases in multiples of 6. If your tension doesn’t match the gauge, don’t fret; if your swatch is too small, simply go up a hook size to achieve that lovely, squishy texture you desire.
Step‑by‑Step Pattern for Cozy Moon Amigurumi
Round 1: Create the Base
Start with a magic circle (MC) and crochet 6 single crochets (sc) into the circle. Pull the circle tight to close the hole. This round forms the foundation of your Cozy Moon Amigurumi. Your work should have a snug, small circle, perfect for beginning the moon shape (6 sts).
Round 2: Increase the Body
In this round, you will work increases to build up the moon’s shape. Crochet 2 single crochets (sc) in each stitch around. This will double your stitch count and give your moon a nice round form. Make sure your stitches are even as you work through this round (12 sts).
Round 3: Continue Increasing
For this round, alternate between 1 single crochet (sc) and 1 increase (inc) in each stitch. This pattern helps create a gradual curve for your Cozy Moon. Keep an eye on your stitch count as you go; you should see your moon begin to take shape (18 sts).
Round 4: Expand the Moon
Continue to increase the body size by crocheting 2 single crochets (sc) in the first stitch, followed by 2 single crochets in the next stitch. Repeat this pattern around. This round creates a fuller moon, and your work should feel more substantial with each stitch (24 sts).
Rounds 5-9: Build the Body
For these rounds, crochet in the established pattern without any increases (1 sc in each stitch). This step solidifies the moon’s shape and gives you a chance to adjust the size by stopping early. Your moon should feel plush and round, creating a lovely base (24 sts each round).
Round 10: Final Increase Round
In this important round, trace your last increase pattern by working 1 single crochet (sc) in the first stitch, then an increase (inc) in the next. This will help give the moon a little extra depth. Make sure you’re following the stitch count closely and rejoice as the moon expands (30 sts).
Round 11: Prepare to Close
Now it’s time to prepare the moon for stuffing. Crochet 1 single crochet (sc) in each stitch to even out the shape. Your Cozy Moon should feel almost complete, ready to fill with stuffing and add that comforting touch (30 sts).
Step 2: Stuff the Moon
Carefully add your chosen stuffing so that the Cozy Moon retains its appealing shape. Distribute the stuffing evenly. Make sure there’s enough to keep it soft and squishy, a perfect touch for your little projects.
Step 3: Closing the Moon
With the stuffing securely in place, continue crocheting closed. Crochet 1 sc in the first stitch and 1 decrease (dec) in the next. Work in this pattern around until the opening closes neatly, ensuring your moon stays plush and round (24 sts).
Step 4: Finishing Touches
Fasten off with a long tail, perfect for assembly. Use a tapestry needle to weave in any loose ends and stitch on safety eyes if desired, or embroider a face. Each choice adds character to your Cozy Moon Amigurumi, making it uniquely yours.
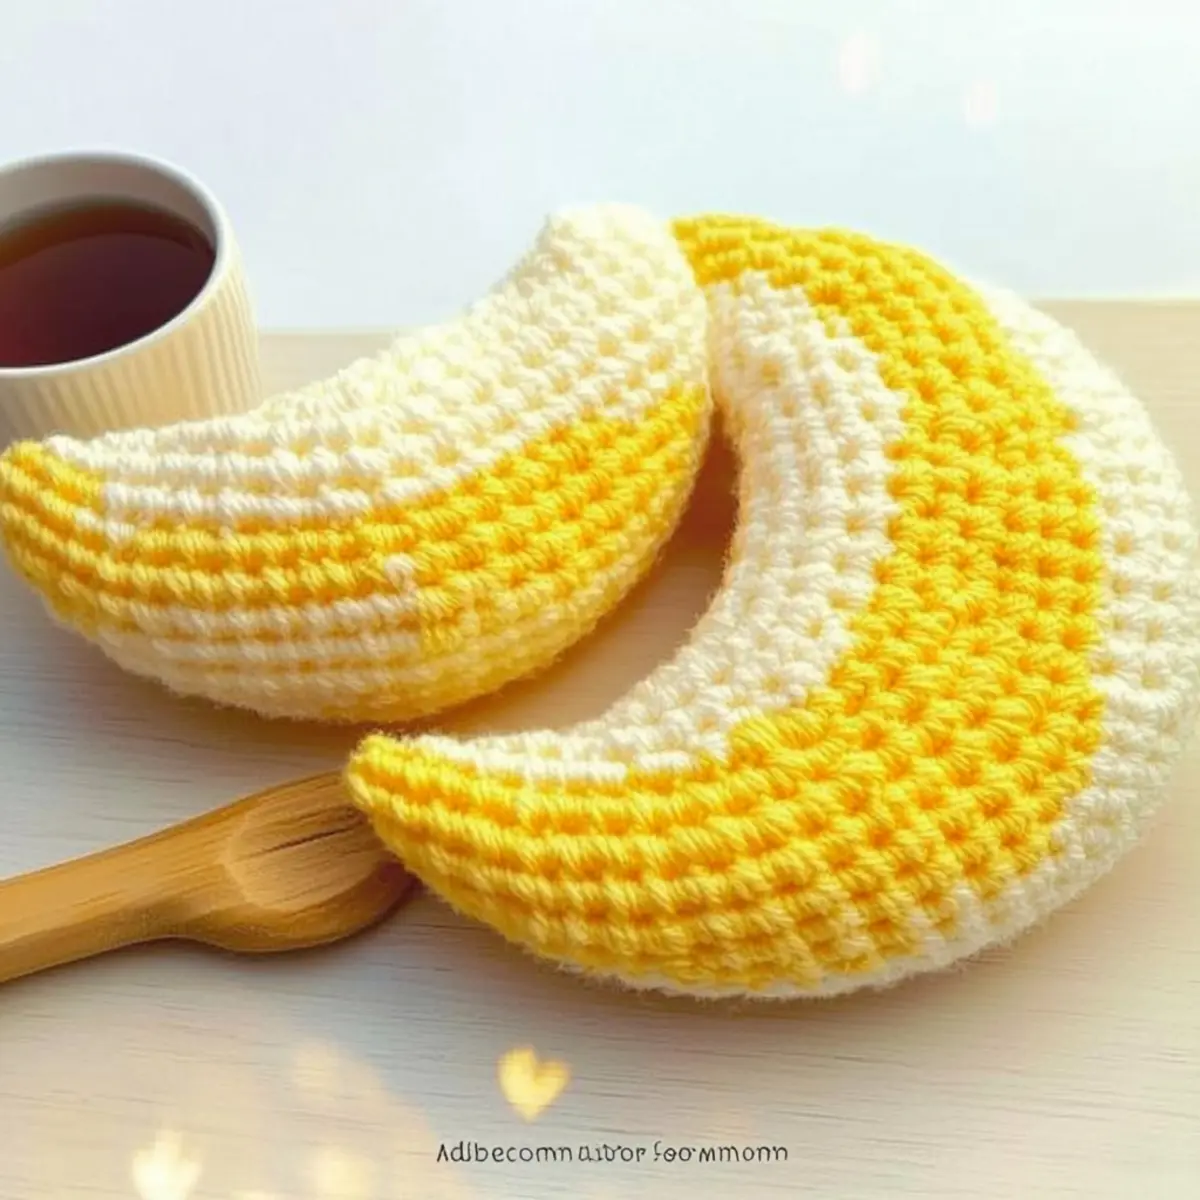
Moon Amigurumi Variations & Substitutions
Feel free to let your creativity shine as you customize this adorable moon Amigurumi in delightful ways!
- Yarn Swaps: Choose a DK or Worsted weight yarn to create different sizes, adjusting your hook and stitches accordingly.
- Fiber Options: Swap out acrylic for soft cotton for an eco-friendly option that adds a cozy touch. The texture can really enhance your finished piece.
- Color Blocking: Experiment with color changes throughout the rounds to add stripes or a gradient effect. It’s a simple way to create visual interest and personalize your moon.
- Face Variations: Try different embroidered facial expressions. A smiling moon brings joy, while a sleepy one adds an adorable charm to your creation.
- Adding Texture: Incorporate a border or delicate fringe around the edges for a unique finish. This can lend your moon extra flair and charm.
- Size Adjustments: To create a smaller or larger moon, alter the number of rounds or yarn weight as needed. You’ll find endless options for personalization!
- Glow Effects: Use glow-in-the-dark yarn for a magical nighttime companion. It’s perfect for a nursery, creating a gentle glow when the lights go out.
- Keychain Charm: Create a mini version of the moon with a smaller yarn weight, adding a keychain attachment for a perfect on-the-go charm.
If you’re eager for more creative projects, explore our beginner-friendly crochet projects or check out some stunning color variations in crochet to inspire your next masterpiece!
Expert Tips for Moon Amigurumi
- Count Stitches: Always count your stitches at the end of each round; it helps maintain the moon’s shape and avoids unevenness.
- Magic Circle Matters: Using a magic circle to start ensures a tight closure, preventing stuffing from escaping and keeping your creation neat.
- Stuffing Tips: Distribute the stuffing evenly to keep the moon nicely shaped; too much stuffing can lead to odd lumps or stretching.
- Yarn Weight Awareness: Be mindful that different yarn weights affect the final size of your amigurumi moon; adjust your rounds accordingly to meet your desired size.
- Finishing Touches: Leave a long tail when fastening off; it’s essential for sewing pieces together and hiding any unsightly ends.
Care Instructions for Moon Amigurumi
- Hand Washing: Always hand wash your Moon Amigurumi in cool water with mild detergent. This gentle approach preserves its shape and prevents any damage to the delicate stitches.
- Avoid Agitation: Avoid any vigorous scrubbing or agitation to prevent felting or pilling, especially if synthetic yarns are used. Treat your creation with care!
- Drying: Lay your Moon flat on a clean, dry towel to dry naturally. Reshape as needed to maintain its adorable form.
- Storage: Store your Moon Amigurumi in a cool, dry place away from direct sunlight to keep colors vibrant and material intact.
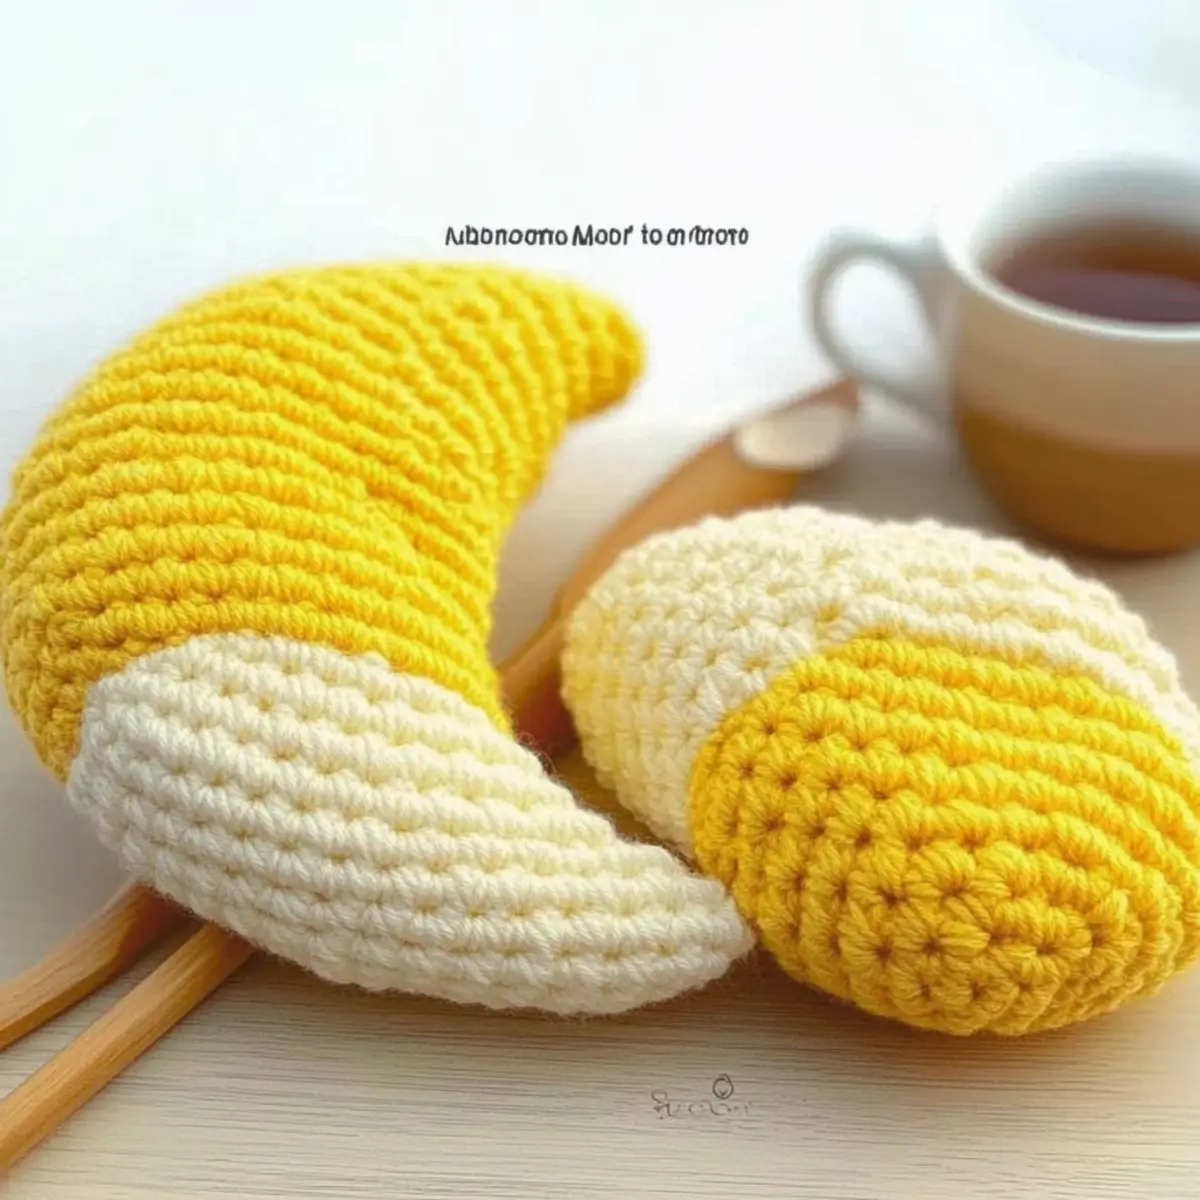
Adorable Moon Amigurumi for Baby Mobiles and More FAQs
Can I substitute different yarn types for the Moon Amigurumi?
Absolutely! While the pattern recommends acrylic or cotton, feel free to experiment with other fibers. Just remember that acrylic offers a nice structure, while cotton provides a softer finish. Whichever yarn you choose, ensure it corresponds with your desired outcome—whether plush or more durable.
How do I adjust the size of my Moon Amigurumi?
You can easily modify the size by changing your yarn weight and hook size. For instance, using a bulkier yarn like blanket yarn will yield a larger moon, whereas DK weight will give you a smaller version. If you’re adjusting, keep track of your rounds to maintain the same shape throughout.
Why is my Moon Amigurumi curling at the edges?
Don’t panic! Curling often happens if your tension is too tight or your rounds are uneven. Make sure to count your stitches at the end of each round. If needed, you can also try using a larger hook size to reduce tension.
What hook size should I use for this pattern?
For this pattern, the hook size varies: use a 3.5 mm (E) for DK weight, a 5 mm (H) for worsted, and a 10 mm (N) for blanket yarn. Always check your gauge if you’re switching yarns, as this will help determine if adjustments are needed.
How do I fix dropped stitches in my Moon Amigurumi?
It’s an easy fix! If you happen to drop a stitch, locate the stitch and pull the working yarn through to create a loop. Use a tapestry needle to weave the end securely back to the nearest stitch. Keeping a steady tension from the start can help avoid this issue!
What are some tips for stuffing my Moon Amigurumi evenly?
To achieve a nice, rounded finish, add small amounts of stuffing at a time rather than packing it all in at once. I also recommend using a pencil or your fingers to push the stuffing into the corners, ensuring a smooth and even texture throughout your moon.
Leave a Reply