
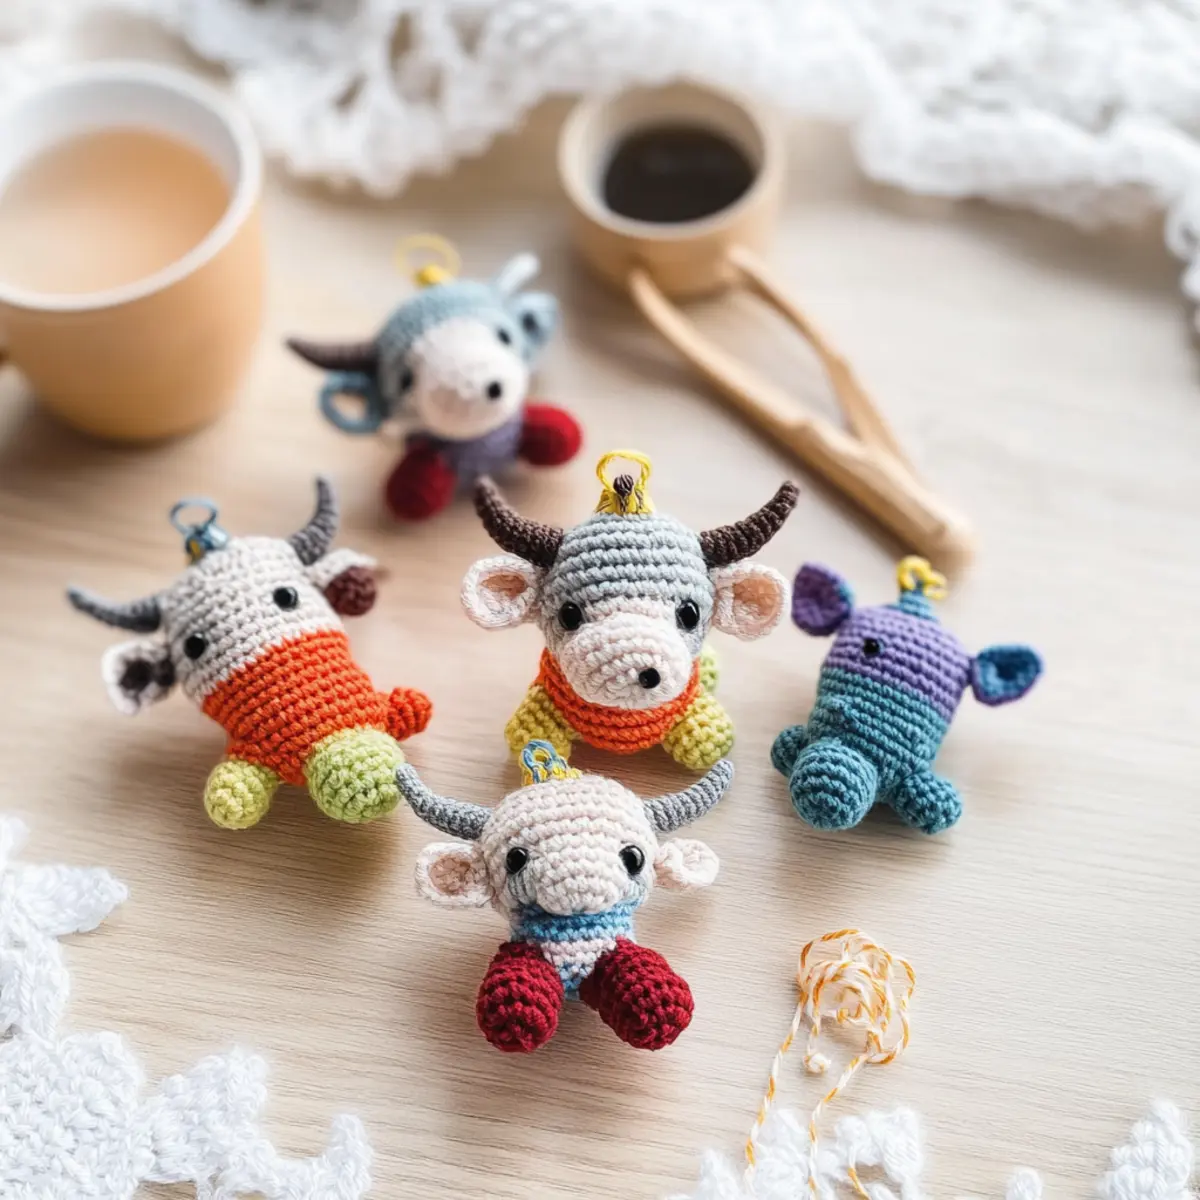
Stitch by stitch, I found myself wrapped in the joy of creating something truly unique. Meet my Charming Mini Bull Ornament—a delightful amigurumi project that’s bursting with personality! This beginner-friendly pattern is perfect for anyone looking to add a whimsical touch to holiday decor or gift-giving. Not only does it work up quickly, but it doubles as a festive fridge magnet or a playful gift tag. With its wire-supported horns and tiny trousers, this sweet little bull is sure to steal hearts wherever it hangs. Ready to dive into a world of creativity and fun? Let’s transform those skeins into a charming treasure!
- ## Mini Bull Ornament Materials & Tools
• Create your charming Mini Bull Ornament with these essential supplies!
Yarn
• Sport Weight or Light DK Yarn – Use a smooth and tightly plied yarn for clear stitch definition in the body.
• Fingering or Lace Weight Yarn for Horns – Choose a contrasting color to make those adorable horns pop!
Tools & Notions
• 2.5 mm (US C/2) Crochet Hook – This size is perfect for achieving tight stitches in your amigurumi.
• Wire for Horns – Select wire with blunt ends for safety and easy insertion into the horn base.
• Tapestry Needle – Ideal for weaving in ends and securing pieces together.
• Neodymium Magnet – Perfect if you want your ornament to double as a refrigerator magnet!
• Stitch Markers – Helpful for keeping track of rounds as you crochet your charming creation.
Why Will You Adore This Ornament?
Charming details like wire-supported horns and tiny trousers make this mini bull ornament a standout piece. Beginner-friendly instructions allow crafters of all skill levels to join in the fun. Versatility shines as it functions as a festive refrigerator magnet or a unique gift tag. Quick to Make in a single afternoon, it’s perfect for crafty last-minute gifts. Don’t forget to explore more fun amigurumi projects to keep the creativity flowing!
Gauge & Sizing Notes
Don’t skip the gauge swatch! Checking your tension is crucial for crafting the perfect Charming Mini Bull Ornament. A standard gauge for this project is a 4×4 inch (10×10 cm) square, which should measure 14 single crochets by 15 rows. If you wish to make this adorable ornament larger or smaller, you can adjust the starting rounds accordingly. For instance, to increase the height, add a few extra rounds, keeping in mind your stitch count. If your swatch turns out too small, try going up a hook size, and remember, if you crochet tightly, simply adjust downward to achieve those delightful measurements!
Step‑by‑Step Pattern for Mini Bull Ornament
Round 1: Start the Body
Begin with a magic ring, ch 1. Work 6 sc into the ring (6 sts). Pull the ring tight to secure. This forms the foundation of your Mini Bull Ornament, and your work should start to cup slightly.
Round 2: Increase for Volume
Ch 1, then inc in each st around (12 sts). This step helps create a fuller body shape. At this point, your piece should look like a small bowl.
Round 3: Continuing the Round
Ch 1, sc in the next st, inc in the next st; repeat from * around (18 sts). You’ll begin to see the base of your ornament taking shape, giving it a nice rounded look.
Round 4: Making Space
Ch 1, sc in the next 2 sts, inc in the next st; repeat from * around (24 sts). Your Mini Bull Ornament should now have a wider body, appearing nice and plump.
Rounds 5-9: Shape the Body
Ch 1, sc in each st around (24 sts). Repeat for 5 rounds. These rounds will gradually build up the height of your ornament. You should feel the dimensions start to rise.
Rounds 10-12: Adding Details
Ch 1, sc in the next 2 sts, dec over the next 2 sts; repeat from * around (18 sts). This step will help define the shape as we begin to narrow towards the neck.
Round 13: Neck Shaping
Ch 1, sc in the next st, dec over the next 2 sts; repeat from * around (12 sts). Your work should start to taper, setting the stage for the head later on.
Rounds 14-15: Close the Body
Ch 1, sc in each st around (12 sts). Repeat for Round 15. This creates a solid build, and you should see a well-defined shape reminiscent of a bull’s torso.
Round 16: Finishing the Body
Ch 1, dec over the next 2 sts; repeat from * around (6 sts). As you work through this round, your ornament should feel more compact, preparing for the final closure.
Step 1: Creating the Head
Work 1 sc in each of the remaining sts (6 sts) and fasten off, leaving a long tail for sewing later. This part will serve as the head, which you’ll now build on.
Step 2: Crafting the Horns
Using the contrast yarn and wire, ch 5, then hdc in the 2nd ch from hook and in the next 3 chs (4 sts). Thread the wire through for support, and shape as desired.
Step 3: Making the Trousers
For the legs, attach body yarn at the base of the ornament with a slip stitch. Ch 1, sc in the next 4 sts, turn and work back with a slip stitch (4 sts total). Repeat for the second leg.
Step 4: Assembling the Features
Attach the head and horns securely using the tail left from the head. Make sure to insert the wire into the horn base to hold its shape. Your Mini Bull Ornament is slowly coming to life!
Step 5: Final Assembly
Sew the trousers to the body, then attach them securely. If using as a magnet, insert one under the body using a few stitches to hold it in place.
Step 6: Edging for Detail
Use any leftover body yarn to add a decorative edge or small stitches around the ornament. This will finish the look beautifully, and your Mini Bull Ornament will be ready to display!
Mini Bull Ornament Variations & Substitutions
Feel free to let your creativity run wild while crafting this charming bull!
-
Yarn Weight Swaps: Use a heavier yarn like worsted for a larger ornament; just adjust your hook size accordingly.
-
Fiber Alternatives: Swap cotton for acrylic yarn for a softer feel, giving your ornament a cozy touch that feels wonderful in hand.
-
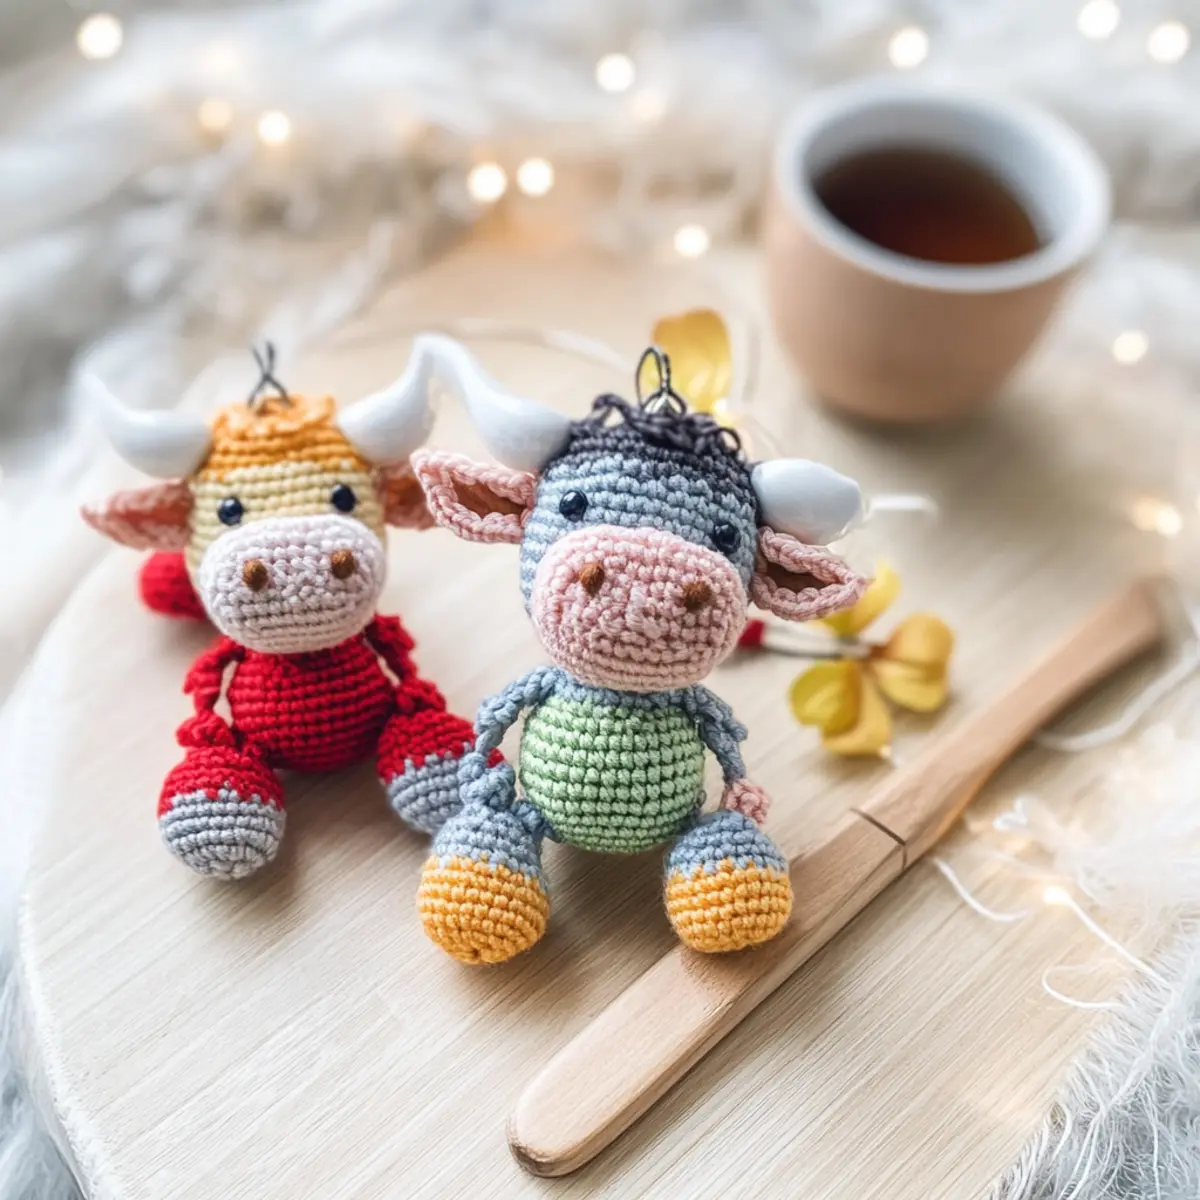
Color-Block Style: Play with contrasting colors for the body and trousers, creating a fun patchwork effect that catches the eye from every angle.
-
Size Modifications: To create a mini collection, scale down the pattern with lace yarn and a smaller hook, crafting tiny ornaments perfect for gift tags.
-
Textured Additions: Add a fluffy pom-pom for the tail or fringe along the edges of the trousers for delightful texture and personality.
-
Magnet-Free Option: Omit the magnet and scale the pattern down to create a pocket-sized soft toy; it will make a sweet companion!
-
Seasonal Themes: Switch up your color palette to make seasonal versions: think pastel hues for spring or warm tones for autumn.
-
Personalized Features: Add embroidered initials or embellishments to make each ornament unique. Try contrasting yarn colors for a truly personalized touch!
Expert Tips for Amigurumi Success
- Stay Tensioned: Maintain consistent tension throughout your work to ensure a tidy finish, especially crucial in smaller projects like the Mini Bull Ornament.
- Count Stitches: Check your stitch count regularly, particularly after the body rounds, to avoid mistakes that lead to shape distortion.
- Secure Finishes: Use slip stitches securely when attaching the trouser legs to ensure they hold their shape and don’t shift over time.
- Wire Placement: When inserting wire into the horns, ensure it’s positioned flush with the base to achieve stability. This keeps your mini bull upright and adorable!
- Customization Cues: Don’t hesitate to experiment with colors for each ornament. These adjustments can add a personal touch while keeping to the original amigurumi charm.
How to Wash and Care for Your Mini Bull Ornament
- Spot Cleaning: Use a soft, damp cloth to gently clean the ornament’s surface if it gets dirty. This helps maintain its charm without risking damage.
- Hand Washing: If a deep clean is needed, gently hand wash in cold water with mild detergent. Avoid any agitation to prevent felting and preserve the amigurumi’s shape.
- Drying: Lay the mini bull ornament flat on a clean towel to air dry. Avoid hanging, as this can distort its adorable features.
- Storage: Store the ornament in a cool, dry place, ideally in a breathable bag or container, to keep it safe for seasons to come.
Mini Bull Ornament – Free Amigurumi Pattern for Beginners FAQs
Can I substitute yarn types for this pattern?
Absolutely! You can swap out the sport weight or light DK yarn for any smooth, tightly plied yarn. Just ensure that your substitution offers a similar gauge for the best results.
How can I adjust the size of my Mini Bull Ornament?
To make your Mini Bull bigger or smaller, consider adjusting your hook size. For a larger bull, try using a 3.0 mm (US D/3) hook and thicker yarn. Just remember to keep your stitch count consistent, and it’s always a good idea to work a gauge swatch first!
Why does my amigurumi seem to curl or buckle?
Don’t panic! If your work is curling like a bowl, it might be due to tight stitches or inconsistent tension. Check your stitch count after each round, and consider loosening your grip on the yarn a bit.
What hook size should I use for this project?
The pattern recommends a 2.5 mm (US C/2) hook, which is perfect for achieving clear stitch definition in your amigurumi. If you find your fabric too loose or tight, feel free to adjust the hook size based on your desired outcome!
How can I fix dropped stitches in my work?
If you notice a dropped stitch, it’s an easy fix! Simply use your tapestry needle to weave the end of the strand back through the rows above the dropped stitch. It might help to keep a close eye on your stitches, especially during shaping sections.
What should I do if my Mini Bull’s features look uneven?
If your features aren’t quite right, don’t worry! Take a moment to assess your stitches and make minor adjustments with your tapestry needle. It’s always helpful to step back and evaluate your work as you go along for a picture-perfect finish!
Leave a Reply