
As I was sorting through my yarn stash, I stumbled upon a delightful collection of colorful granny squares just waiting to be joined together. Suddenly, the thought of completing this project became a mini crisis—who could resist bringing those vibrant squares to life? Today, I’m excited to share my favorite technique for joining granny squares: the flat slip stitch seam. This easy method not only avoids the need for sewing, making it perfect for beginners, but it also leaves you with a smooth, visually appealing finish that complements the unique charm of each square. Plus, the process is enjoyable and quick, so you can cozy up with your favorite series and watch those squares transform into a beautiful blanket or throw. Are you ready to dive in and create something beautiful together? Let’s get stitching!
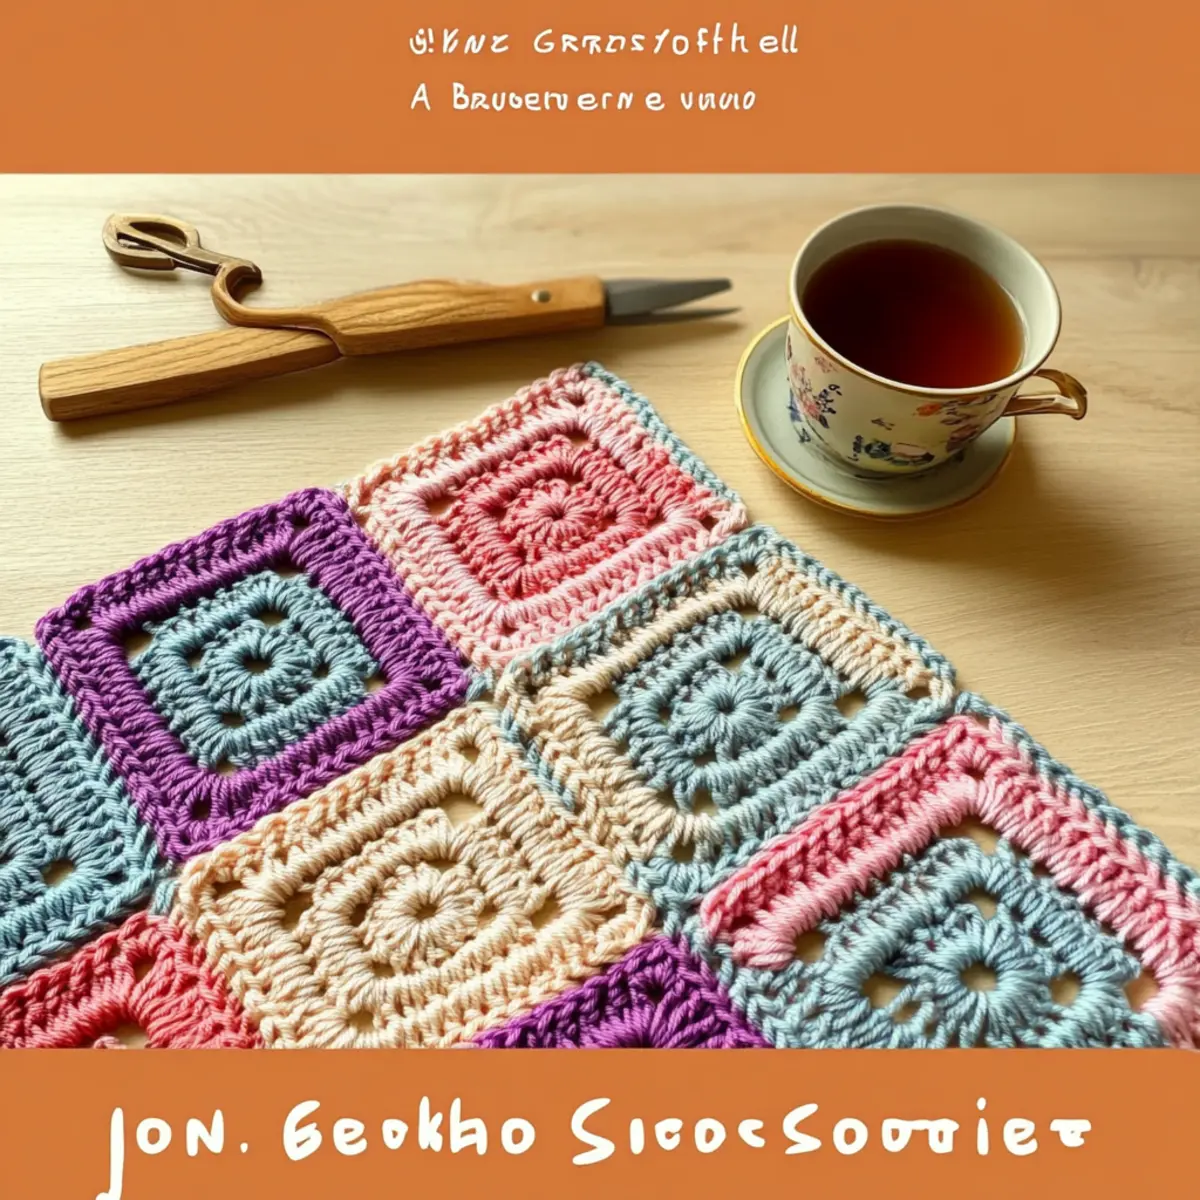
Join Granny Squares Materials & Tools
-
Yarn
• Worsted Weight Yarn (4) – Use multiple colors to highlight the flat slip stitch seam; around 40-70 yards per square is a good guideline. -
Hook
• 4.0 mm (G/6) Hook – Ideal for most worsted weight yarns and easy on the hands for beginners. -
Notions
• Stitch Markers – Perfect for marking corners to keep your project organized as you join.
• Tapestry Needle – Essential for weaving in ends and giving your finished project a polished look.
With these materials, you’ll be all set to embark on your journey of joining granny squares with the flat slip stitch seam! Enjoy the process and watch your cozy creation come to life!
Why Is the Flat Slip Stitch Seam Special?
Simplicity: This technique is designed to be easy for beginners, allowing you to join granny squares without the hassle of sewing. Just grab your hook and start stitching!
Visually Appealing: With contrasting yarn options, each join turns into a beautiful feature that enhances your project’s overall aesthetic. You can learn more about yarn choices in our guide on choosing colors for your crochet.
Quick Result: This method is not only efficient but also a fun way to binge-watch your favorite shows while crafting!
Durable Finish: The flat seam retains the structure of your squares while providing a seamless look, making it ideal for both everyday use and display.
Customizable: Change up the seam color or create stripes for a personal touch, ensuring your join is as unique as your style.
Gauge & Sizing Notes
Don’t skip the gauge swatch! Checking your tension is essential for achieving a beautiful, cohesive look when joining granny squares with the flat slip stitch seam. Aim for a gauge of 4×4 inches (10×10 cm) to equal 14 double crochets by 8 rows. If you want your project to be larger, simply increase your starting chain in multiples of 4. For a smaller size, decrease similarly. If your tension swatch doesn’t match this measurement, don’t worry! If it’s too small, try going up a hook size; if it’s too large, consider going down a size. Following these steps will ensure your granny squares come together just as you envision!
Step‑by‑Step Pattern for Join Granny Squares with the Flat Slip Stitch Seam
Step 1: Preparation
Begin by aligning your granny squares with the right sides facing up. Use a stitch marker to mark the corners of each square, making it easier to remember where to join. Ensure that the squares are centered so the alignment stays consistent throughout the process. Your work area should be well-lit for a clear view of your stitches.
Step 2: Start the Join
Insert your hook into the back loop only (BLO) of the last stitch of the first square. Yarn over and pull up a loop, then yarn over again and pull through both loops on the hook to create a slip stitch. This initial join brings your two squares together. Repeat this process in every BLO of the adjacent square until you’ve joined the edges (12 slip stitches).
Step 3: Continue Joining
As you join, alternate between the first and second granny squares, maintaining the BLO technique for a seamless finish. Ensure that your joins are snug but not too tight, allowing the squares to lay flat. If done correctly, your work will start to form a beautiful line of joined granny squares, showcasing their colorful beauty as you progress.
Step 4: Secure the Corners
When you reach the corners, slip stitch into the corner stitch of the squares. This method will help secure your corners and keep your join looking neat. Take your time here, aiming for an even tension around each corner. Your work should now begin to take shape, forming a cohesive and smooth transition between each granny square.
Step 5: Finishing Up
Once all squares are joined, weave in any loose yarn ends with a tapestry needle. This will ensure that your project maintains its structure and beauty without any stray threads. Gently tug on the joins to check their stability, making sure they hold up nicely against any wear and tear common in cozy items.
Step 6: Final Touches
Give your finished piece a light press with your hands to flatten out any bumps in the joins. If you’ve used contrasting yarn, admire the lovely seams that enhance your crochet work. Your joined granny squares are now ready to be showcased as a beautiful blanket or throw, perfectly while you cozy up with your favorite book or show!
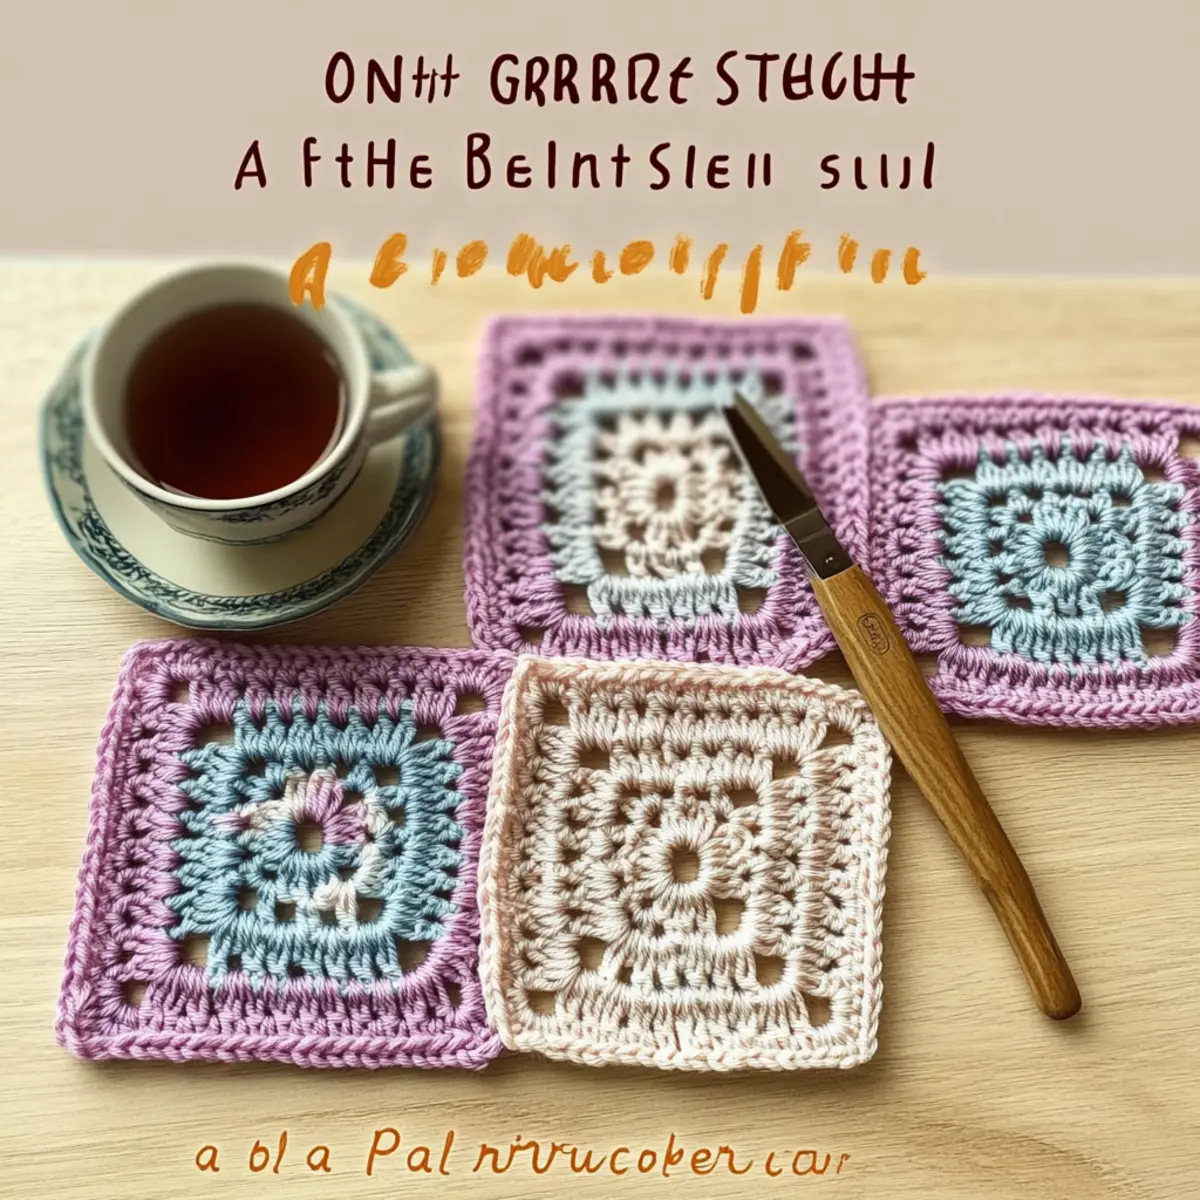
Expert Tips for Joining Granny Squares
-
Maintain Tension: Keep your stitch tension consistent throughout to avoid uneven joins. Too tight or too loose can distort your squares.
-
Count Stitches: Methodically count each stitch as you join to ensure a uniform appearance. It’s easy to lose count when you’re excited about your project!
-
Check Alignment: Before joining, verify that your squares are centered and aligned correctly to prevent any distortion in your final piece.
-
Secure Finishing: Weave in all ends securely to avoid any unraveling. This not only keeps your project neat but also enhances durability.
-
Contrast Wisely: Use contrasting yarn colors thoughtfully. A bold seam can highlight your design, but don’t overwhelm the overall aesthetic.
Joining Granny Squares Variations
Embrace your creative spirit and customize this joining technique to bring your unique vision to life!
-
Yarn Weight Swaps: Choose a lighter or heavier yarn for a different texture. Experimenting with various yarns can create interesting blanket dynamics. Plus, heavier yarns give a cozy touch!
-
Fiber Alternatives: Switching from acrylic to cotton can change the feel and drape. Cotton is breathable and perfect for warmer weather projects, while acrylic is soft and plush for snuggly settings.
-
Color-Blocking Ideas: Incorporate multiple colors in one join for bold visual statements. Try alternating shades or patterns to create a vibrant quilt-like aesthetic to warm up your space!
-
Sizing Adjustments: If you want to create a larger project, add more squares to your layout. Just ensure that your joining technique stays consistent for a balanced finish.
-
Texture Modifications: Add fringe or pom-poms along the edges for playful texture. These details can evoke a whimsical feel while enhancing the overall look of your masterpiece.
-
Seam Color Play: Use a seam color that matches your main square yarn for an almost invisible finish. This subtlety can result in an elegant, refined design that truly captivates.
-
Accent Borders: Attach a decorative border around the granny squares after joining. This final touch can unify the piece and give it a polished look. For ideas on different borders, check out our guide on adding crochet borders.
-
Theme Changes: Consider a seasonal theme by choosing yarn colors that reflect holidays or seasons to make your project a perfect gift! Whether it’s autumn hues or spring pastels, you can make every square tell a story!
Washing & Care for Your Granny Square Blanket
-
Hand Washing: Gently hand wash your granny square blanket in cold water with mild detergent. Avoid agitating the fabric to prevent any felting or pilling.
-
Drying/Blocking: Lay your blanket flat on a clean, dry surface to dry naturally. This helps maintain the shape and integrity of your joined squares without distortion.
-
Storage: When not in use, store your blanket in a cool, dry place. Avoid folding it to prevent creases; instead, consider rolling it gently to maintain its lovely flat seam finish.
-
Maintenance Tip: For minor stains, spot clean with a damp cloth and mild detergent. This will help preserve the beauty of your blanket over time.
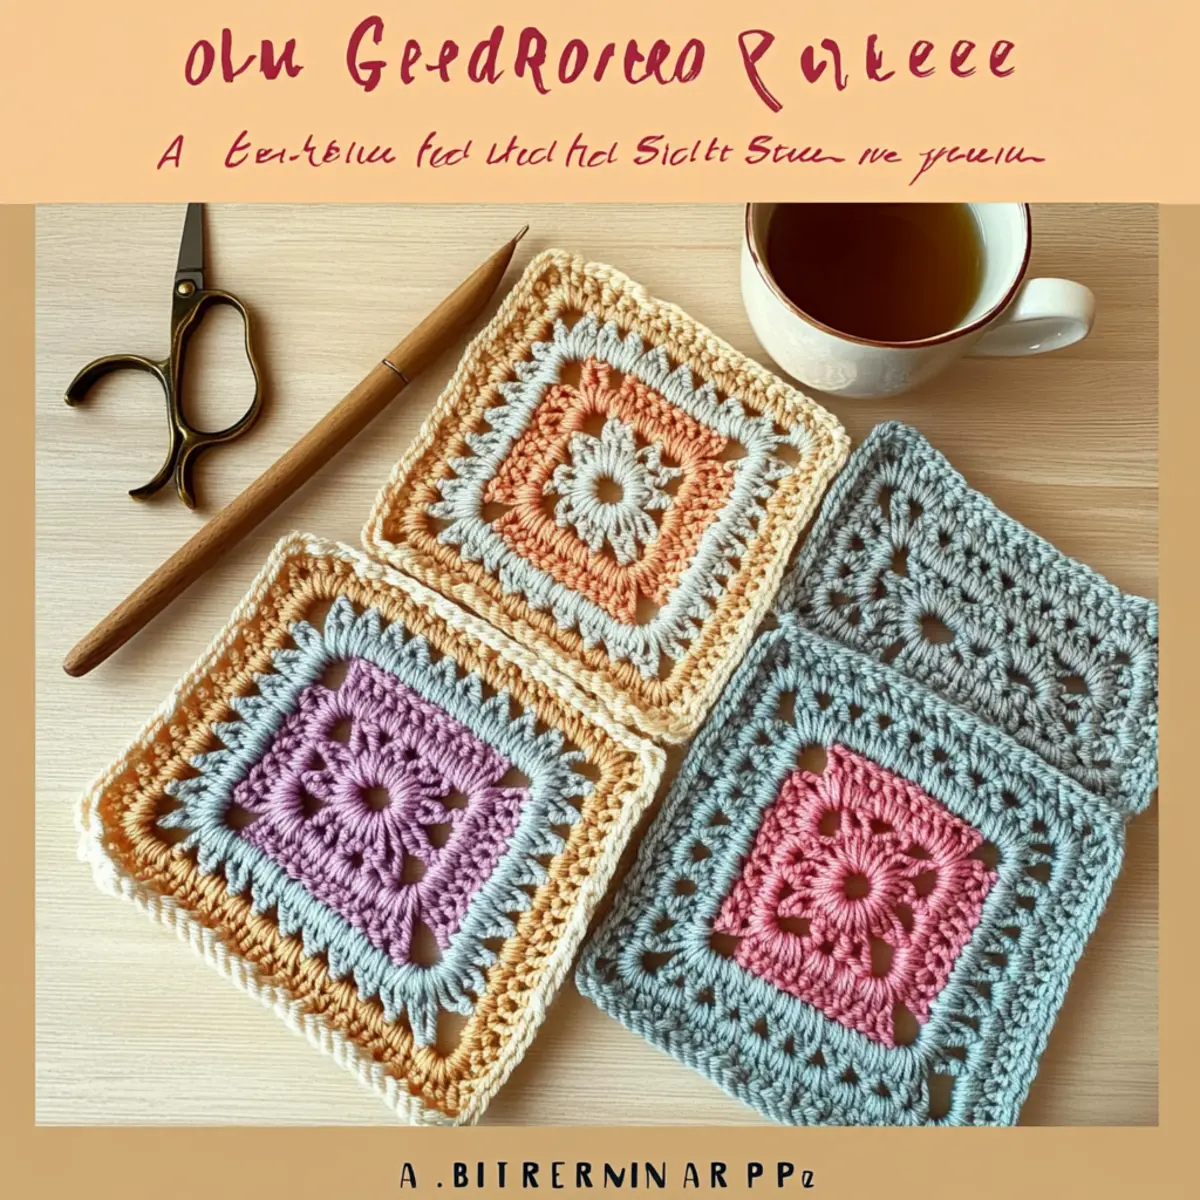
Join Granny Squares with the Flat Slip Stitch Seam: A Beginner’s Guide FAQs
Can I use different types of yarn for my granny squares?
Absolutely! While it’s best to use the same yarn weight (like worsted weight 4), you can get creative by mixing fibers such as acrylic and cotton. Just make sure the yarns will withstand similar care to avoid any surprises in your finished piece!
How can I adjust the size of my granny squares if they are smaller or larger?
If your squares are larger, simply crochet fewer rounds. For smaller squares, add more rounds until they meet your desired size. Just remember to maintain your stitch count for a consistent look throughout.
Why is my work curling when I join granny squares?
Don’t panic! This often happens if your tension is too tight or if the squares aren’t aligned properly. Focus on keeping a consistent tension while joining and make sure your squares are flat and centered before beginning.
What hook size should I use for joining granny squares?
For joining with the flat slip stitch seam, a 4.0 mm (G/6) hook is usually ideal for worsted weight yarn. However, always check your yarn’s label for the best match, as some may suggest a different size for optimal results.
How do I fix dropped stitches in my granny square work?
It’s an easy fix! Simply insert your hook back into the stitch and pull the working yarn through. If you’re still worried about it, you can use a tapestry needle later to secure it further.
Can I make my seam invisible by matching the seam yarn to the main body color?
Yes! To create an almost invisible join, select a seam yarn that closely matches the color of your granny squares. This method minimizes the visual impact of your seam, maintaining the beauty of your design.
Leave a Reply