
As my fingers glide over the yarn, I can’t help but smile at the thought of bringing a delightful amigurumi character to life. Today, I’m excited to share the hidden gem of crochet techniques: the invisible decrease. This method is a game changer for all your amigurumi projects, allowing you to create smooth finishes that seamlessly blend into your work. No more bumpy edges! Plus, this advanced technique is perfect for those eager to elevate their crafting skills. Whether you’re a seasoned pro or just starting out, mastering the invisible decrease will open new doors in your crochet journey. Ready to create plush, cuddly shapes that look professionally crafted? Let’s dive in and make something magical together!
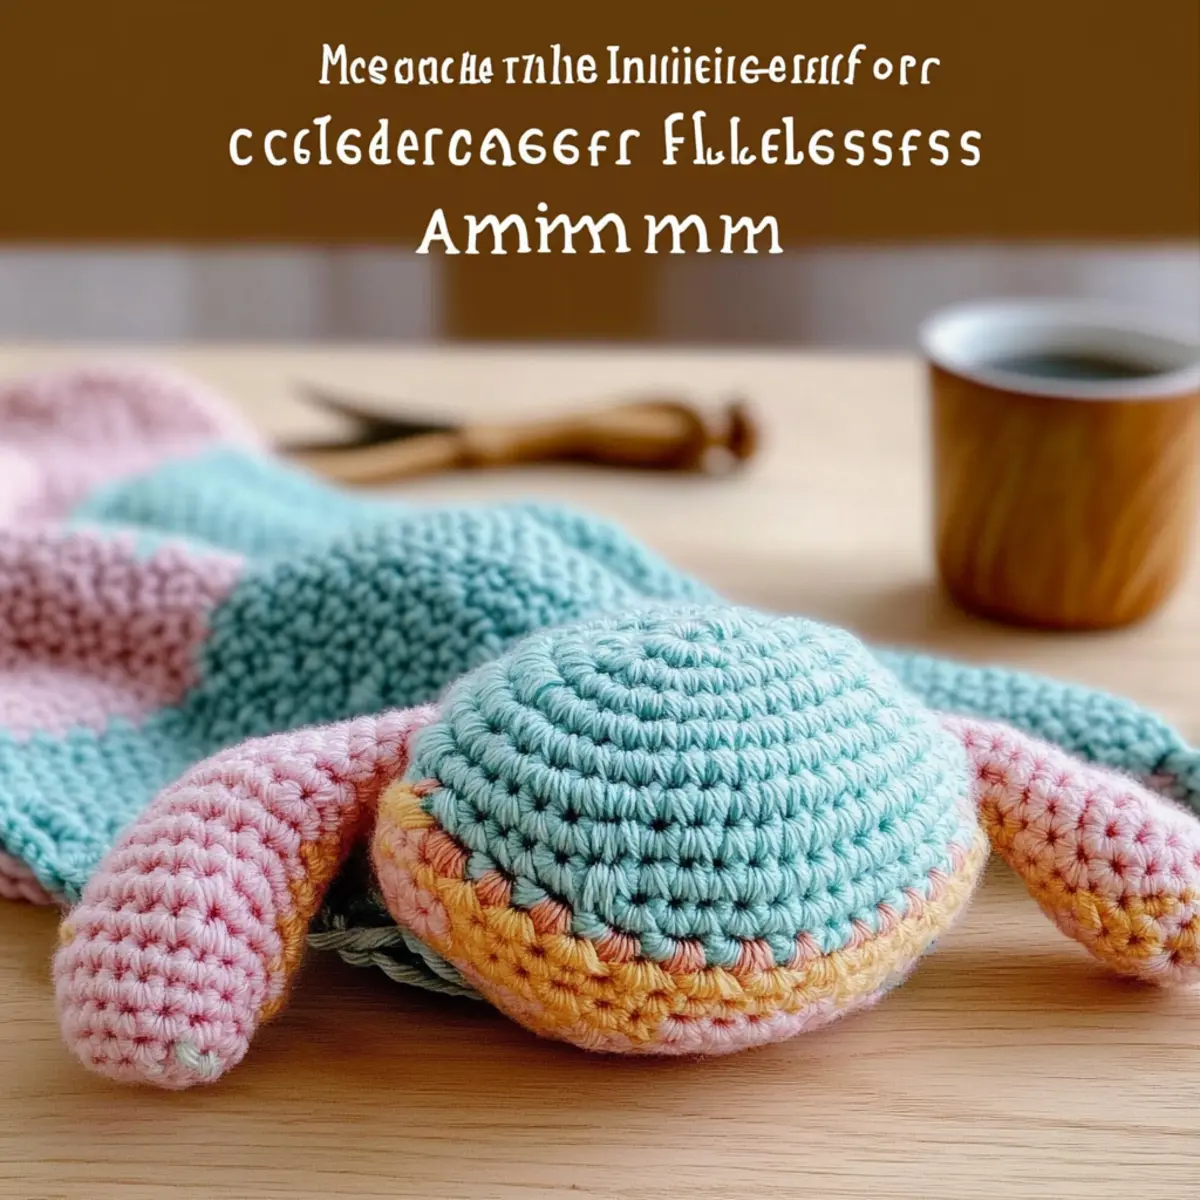
Invisible Decrease Amigurumi Materials & Tools
-
Yarn
• Medium Weight Yarn (Category 4) – Choose your favorite fiber; you’ll need approximately 50-100 yards for small amigurumi projects. -
Tools & Notions
• 3.5mm (E/4) Hook – This size works well for medium-weight yarn, ensuring your stitches are well-defined.
• Stitch Markers – Helpful in tracking rounds, especially when mastering the invisible decrease technique.
• Tapestry Needle – Essential for weaving in ends and securing your amigurumi pieces.
• Safety Eyes (if applicable) – These give your amigurumi character a delightful personality.
• Scissors – A must-have for cutting your yarn when needed.
Why Is the Invisible Decrease Essential?
Smooth Finish: This technique ensures that your amigurumi pieces achieve a beautifully clean appearance, eliminating any visible seams. Advanced Skill: Mastering the invisible decrease elevates your crochet skills and sets you apart from the average crafter. Perfect for Beginners: While it may seem complex, with a little practice, even beginners can easily learn and apply this method. Unique Aesthetic: Your creations will have a professional look, making them ideal gifts or display pieces. For even more tips on perfecting your technique, check out our guide on creating flawless amigurumi shapes.
Gauge & Sizing Notes
Don’t skip the gauge swatch! It’s essential for ensuring that your invisible decrease amigurumi turns out just right. Aim for a 4×4 inch (10×10 cm) square with 12 single crochets (sc) and 10 rows. If your tension swatch doesn’t match this gauge, you can adjust the size of your project: to make your amigurumi larger, increase your starting chain in multiples of 6; to make it smaller, do the opposite. And if your gauge is too tight, simply go up a hook size to loosen it up! Taking these steps will ensure your creations have the perfect shape and smooth finish you’re aiming for.
Step‑by‑Step Pattern for Invisible Decrease Amigurumi
Round 1: Foundation Ring
Start by creating a magic ring, then work 6 single crochets (sc) into the ring. Pull the tail to close the ring tightly. This forms the base for your amigurumi character. Make sure your circle is snug, and your magic ring should yield a compact center (6 sts).
Round 2: Increase for Bulk
Begin by chaining 1, then work 2 sc in each stitch around (12 sts). This will add volume to your piece and set you up for the next rounds. As you work, you should see your circle expanding—keep it even and tight for a round start.
Round 3: Adding More Stitches
Continue with a chain 1, then 1 sc in the next stitch, 2 sc in the following stitch across (18 sts). The pattern will start to take shape as you alternate between single and increased stitches. Your work should begin to flatten and grow outward.
Round 4: Preparing for Decrease
Chain 1, then 1 sc in each of the next 2 stitches, 2 sc in the next stitch (24 sts). This round lays the groundwork for a smoothly decreasing shape later on by gradually building the size of your amigurumi character.
Round 5: Transition to Decrease
Make a chain 1, and now follow with 1 sc in each of the next 3 stitches, 2 sc in the next stitch (30 sts). Your amigurumi should feel fuller now, providing a nice round structure. The outline will visibly take effect, ensuring your piece is uniform.
Round 6: Starting the Invisible Decrease
For this crucial step, chain 1, then 1 sc in the next 3 stitches, inv sc dec (24 sts). You will feel the transition here: the invisible decrease technique will create a smooth edge, ensuring no visible bumps on your finished shape.
Round 7: Continuing Invisible Decrease
Chain 1, then 1 sc in the next 2 stitches, inv sc dec (18 sts). By practicing the invisible decrease here, you’re enhancing your ability to create flawless amigurumi shapes. Your work should be curling slightly, indicating you are ready for further shaping.
Round 8: Final Decrease Round
Now chain 1; continue with 1 sc in the next stitch, inv sc dec (12 sts). This round should start to close up your amigurumi shape. The goal is to pull the stitches in gradually, so the piece maintains its plush, cuddly aesthetic.
Round 9: Closing Your Amigurumi
Finally, chain 1 and work inv sc dec around until your amigurumi is almost closed (6 sts). Pause here for a moment to check that everything is firm yet soft, reflecting the quality of your meticulous crochet work.
Step 10: Finishing Touches
Once you have 6 sts left, cut the yarn, leaving a long tail. Use a tapestry needle to weave through the remaining stitches and pull tight. To finish, you can attach safety eyes, embellish with any additional features, and admire your flawless amigurumi creation.
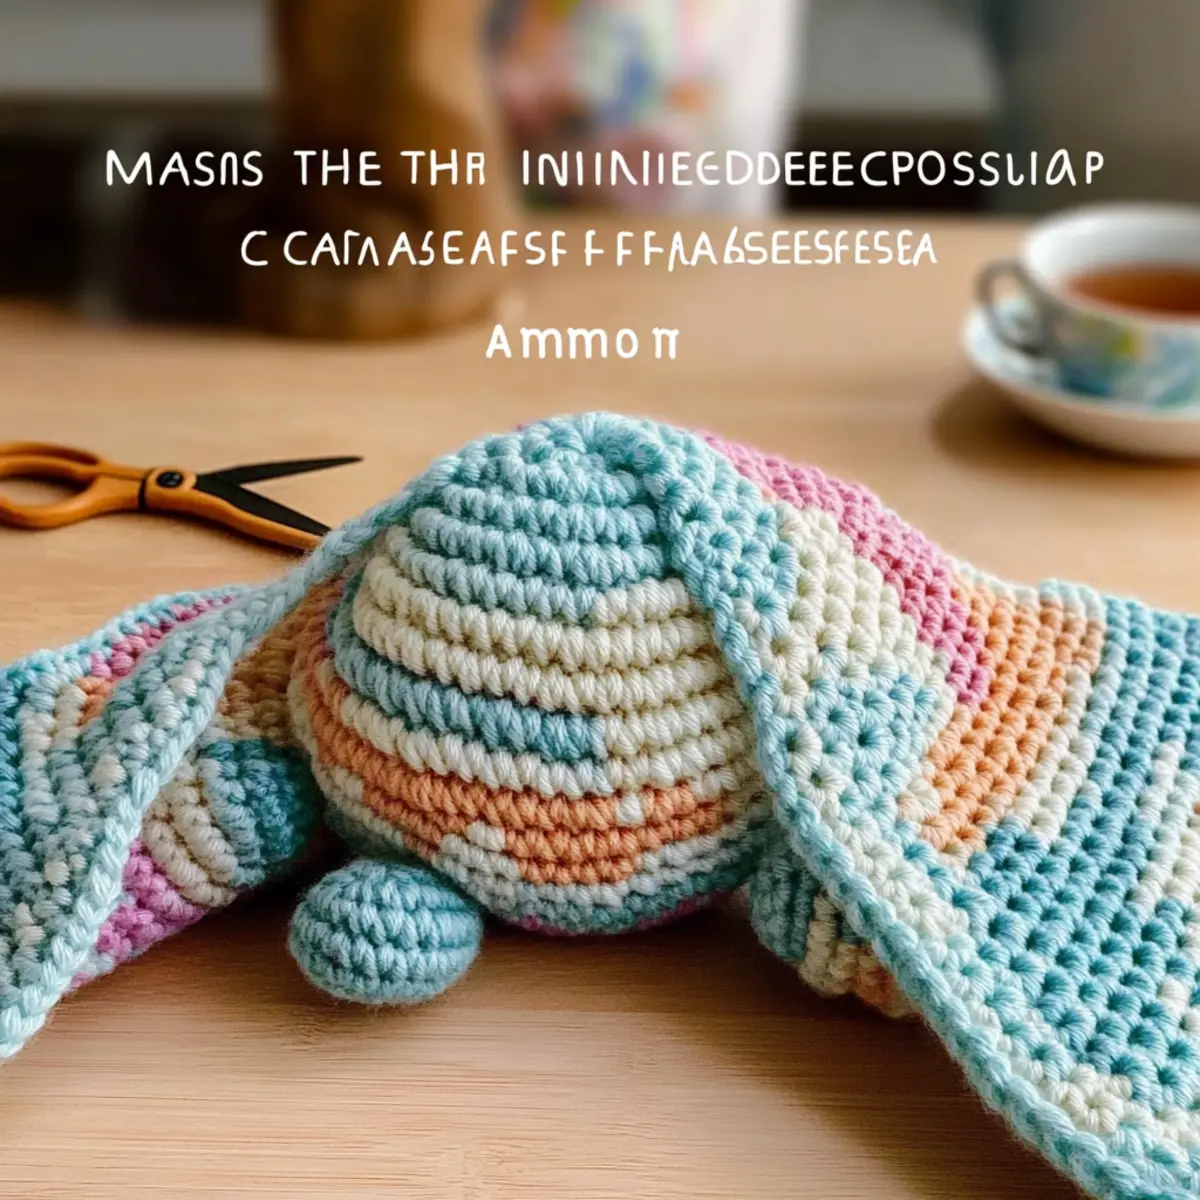
Invisible Decrease Variations & Substitutions
Feel free to let your creativity shine by customizing your amigurumi with these fun variations!
- Yarn Weight Swaps: Try using lighter yarn (Category 3) for more delicate amigurumi figures. The shape becomes even more refined.
- Fiber Alternatives: Replace acrylic yarn with cotton for a breathable, shiny texture that’s perfect for warmer months. Cotton provides a unique drape that enhances your design.
- Color Block Magic: Stitch together contrasting colors between decreases to create stunning, eye-catching patterns in your amigurumi. Bright colors can truly make your piece pop!
- Size Adjustments: Modify the number of rounds between decreases to create larger or smaller pieces. This flexibility allows you to craft amigurumi suitable for all occasions.
- Textural Touches: Add pom-poms or cute fringe on your amigurumi to give it a whimsical flair and extra cuddly feel. Personalization through texture adds depth to your creations!
- Unique Borders: Finish your amigurumi with a decorative border to elevate the overall aesthetic. A simple scalloped edge can add a touch of elegance.
- Mixed Techniques: Combine the invisible decrease with floral appliqués or other advanced stitches for added detail. This brings a unique twist to your design and showcases your skills!
- Play with Stitch Count: Adjust the stitch count between invisible decreases to create interesting shapes and styles. A little experimentation can lead to delightful surprises!
For more tips on working with yarn types, consider checking out our article on choosing the right fibers for your projects. Happy crocheting!
Washing & Care Instructions for Amigurumi
-
Hand Washing: Use cold water and a mild soap to gently clean your amigurumi. Avoid vigorous scrubbing to maintain its delicate shape and integrity.
-
Drying/Blocking: Lay your amigurumi flat on a clean, dry towel to air dry completely. This prevents distortion and helps maintain that plush, cuddly look.
-
Storage: Store your amigurumi in a cool, dry place. Keep it away from direct sunlight to prevent fading and to preserve the vibrancy of your colors.
-
Avoid Heat: Never put your amigurumi in the dryer or expose it to high temperatures, as this can cause shrinkage or damage to the fibers.
Expert Tips for Invisible Decrease
-
Count Your Stitches: Always double-check your stitch count at the end of each round. This prevents miscounts that could distort your amigurumi shape.
-
Tension Matters: Consistent tension is key for achieving a smooth finish. Practice controlling your yarn tension while working the invisible decrease for better results.
-
Practice Makes Perfect: Try the invisible decrease on scrap yarn before committing to your project. This builds confidence and ensures clean edges in your final piece.
-
Use a Stitch Marker: Place a stitch marker at the beginning of each round to easily track your progress and avoid losing count.
-
Finishing Touch: Don’t forget to weave in ends securely. A tidy finish not only looks professional but enhances the overall quality of your amigurumi.
Master the Invisible Decrease for Amigurumi FAQs
Can I substitute yarn for the invisible decrease technique?
Absolutely! You can use any medium-weight yarn (Category 4) you love, whether it’s acrylic, cotton, or even a wool blend. Just make sure your chosen yarn maintains a similar thickness to ensure the invisible decrease works well and your finished piece looks smooth.
How can I make my amigurumi bigger or smaller?
To adjust the size of your amigurumi, you can change the starting chain and increase or decrease the number of rows you work. For example, if you want a larger creature, simply add a few extra rounds before starting the decreases. Just remember to keep track of your stitch count to maintain consistency!
Why is my work curling when I use the invisible decrease?
Don’t panic! Curling can happen if your tension is too tight or if the stitch count is off. Ensure you’re working with consistent tension and have the correct number of stitches in each round. If your piece is still curling like a bowl, consider adding a few extra stitches in the round to provide more structure.
What hook size should I use for the invisible decrease?
Using a 3.5 mm (E/4) hook is recommended for medium-weight yarn, giving you a great balance between flexibility and control. However, feel free to adjust the hook size according to your yarn specifications for the best results and to prevent overly tight stitches.
How do I fix dropped stitches in my amigurumi?
It’s an easy fix! If you notice a dropped stitch, carefully unravel the work back to the last good stitch, then use your hook to pick up the dropped stitch again. You can even add a quick single crochet to secure it back in place, maintaining the integrity of your invisible decrease technique.
Leave a Reply