
As I rummaged through my yarn stash, a lovely mint and sage DK weight yarn caught my eye, instantly sparking inspiration for an exquisite project: the Heirloom Mint and Sage Baby Dress Set. This design features a delicate lace skirt and a charming bonnet adorned with a floral embellishment, making it the perfect gift that new parents will cherish forever. By working top-down with forgiving raglan shaping, this intermediate-level project not only enhances your crochet skills but also brings a touch of whimsy to your creations, perfect for showcasing your artistry. The airy texture and cohesive floral details of this set will surely make it a standout addition to any baby’s wardrobe. Ready to create something truly special for a little one in your life? Let’s dive into the delightful world of crochet!
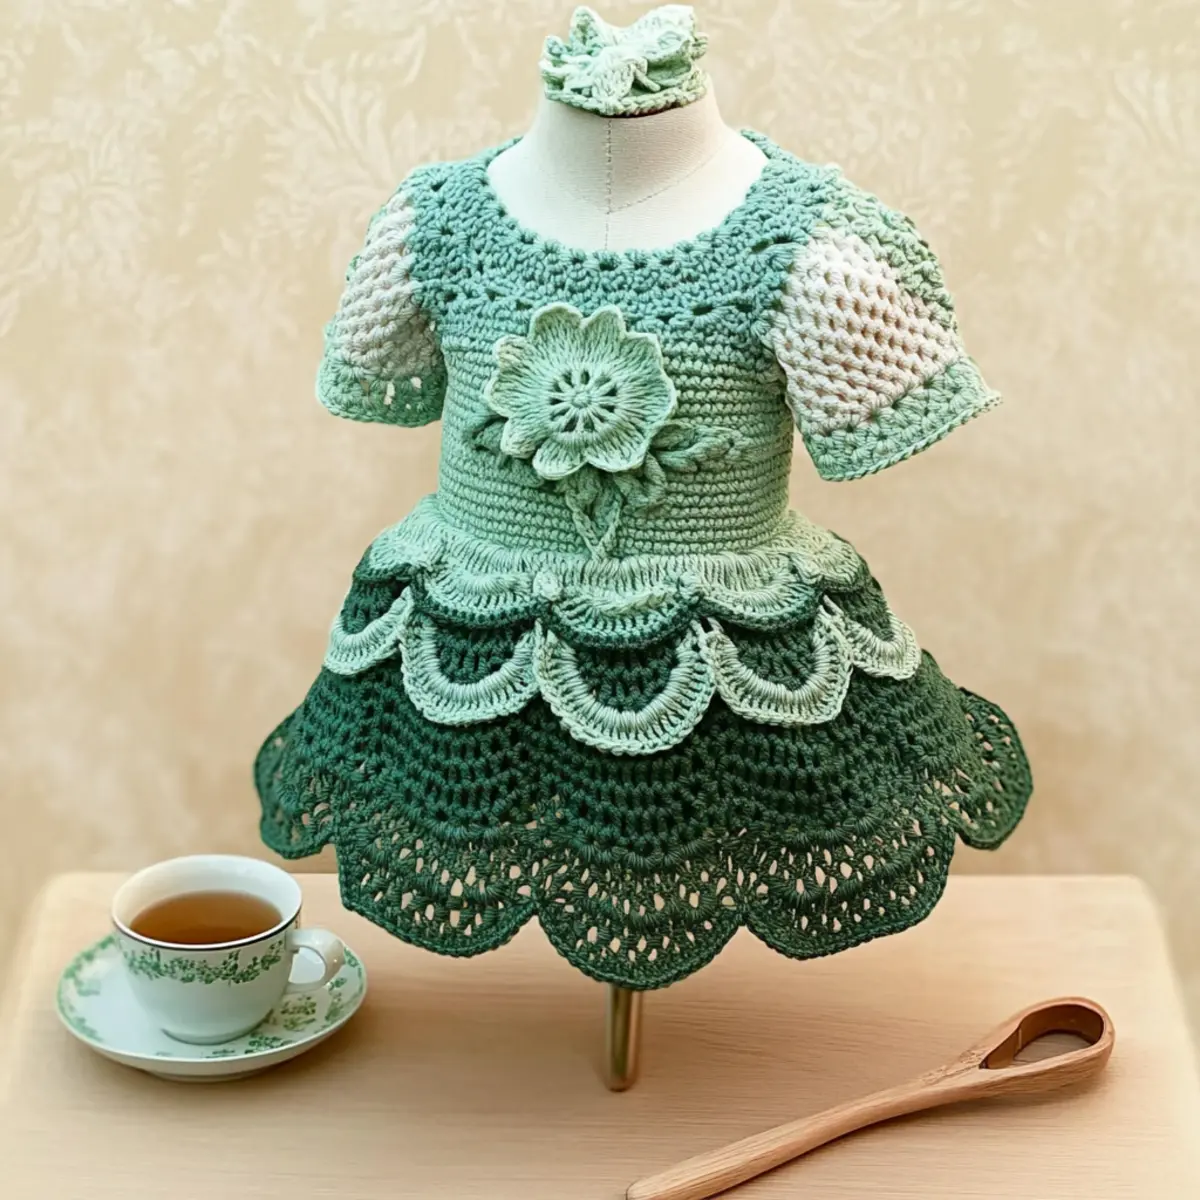
Heirloom Baby Dress Set Materials & Tools
Create your own special keepsake with this delightful project!
Yarn
- DK Weight Yarn (Light) – You’ll need three shades: Mint (Color A), Sage (Color B), and Deep Forest Green (Color C) for those stunning floral embellishments.
Tools & Notions
- E-4 (3.5 mm) Hook – A great size for creating those lovely lace details and achieving the correct tension.
- Stitch Markers – Essential for marking raglan points to maintain your flow through those intricate rounds.
- Tapestry Needle – Perfect for weaving in ends so your heirloom baby dress set looks polished.
- Satin Ribbon – Use this for a stylish waistline tie that adds a charming finish.
- Buttons – Needed for the back closure, so your sweet creation stays cozy and secure.
What Makes This Baby Dress Set Special?
Heirloom Quality: This exquisite dress set is perfect for creating a cherished keepsake that will be treasured for years to come. Top-Down Convenience: The innovative top-down construction allows for easy adjustments, perfect for those learning to crochet. Delicate Lace Details: The intricate lace border and floral embellishments add a touch of elegance, making this set a delightful choice for special occasions. Versatile Color Palette: With the mint and sage hues, you can easily customize the look by experimenting with different shades. Moreover, if you’re eager to explore more delightful projects, check out our collection of easy crochet patterns for further inspiration!
Gauge & Sizing Notes
Don’t skip the gauge swatch! Ensuring your tension is spot on is crucial for the Heirloom Mint and Sage Baby Dress Set, as an incorrect gauge can affect the fit and overall beauty of your project. Aim for a gauge of 20 stitches and 22 rows in a 4×4 inch (10×10 cm) swatch using single crochet. If you need to adjust the size, remember to start your chain in multiples of 4 to make the dress wider. If your tension swatch is too small, simply go up a hook size for a looser fabric; conversely, if it’s too large, consider using a smaller hook. Happy crocheting!
Step‑by‑Step Pattern for Heirloom Mint and Sage Baby Dress Set
Row 1: Start the Bodice
With Color A (Mint), make a magic ring, ch 3 (counts as first dc), then work 11 dc into the ring (12 sts). Pull the ring tight to close, and join with a sl st to the top of the ch 3. Your work should form a small circle.
Row 2: Create Raglan Increases
Ch 3 (counts as first dc) and dc in the same stitch. Then, 2 dc in next, 1 dc in next, repeat from * to * around (6 increases total). Join with a sl st to the top of the ch 3 (18 sts). The circle now starts to widen into the bodice shape.
Row 3: Continue Bodice Shaping
Ch 3, and dc in the same stitch. Next, 2 dc in next, 1 dc in next, 1 dc in next, repeat from * to * around (6 increases). Join with a sl st to the top of the ch 3 (24 sts). Your bodice should begin to flare for the yoke.
Row 4: Form Sleeve Openings
Ch 3, and dc in the same stitch. Now, 2 dc in next, 1 dc in next 3, repeat from * to * around (6 increases). Join with a sl st to the top of the ch 3 (30 sts). You will see the shaping for the sleeves taking form.
Row 5: Add Sleeve Shaping
Ch 3, and dc in the same stitch. Follow with 2 dc in next, 1 dc in next 4, repeating from * to * around (6 increases). Join with a sl st to the top of the ch 3 (36 sts). The bodice should now appear with wider armholes.
Row 6: Begin Skirt Section
Ch 1, and sc in the same stitch, then ch 3, sk 1, sc in next, repeat from * to * until the end. Join with a sl st to the first sc (12 ch-3 spaces). Your bodice will transition into the airy skirt section now.
Row 7: Create Mesh Stitch
Ch 3 (counts as first dc), and dc in the first ch-3 space, then ch 1, dc in next ch-3 space, repeat from * to * around. Join with a sl st to the top of ch 3 (24 sts). The mesh pattern begins to give a lovely texture to the skirt.
Row 8: Incorporate Floral Detail
Ch 1, and sc in the same stitch. In the next space, work 5 dc, and then sc in next space, 5 dc in next space, repeat from * to * until the end. Join with a sl st to the first sc. The floral clusters will enhance the delicate lace of your dress.
Row 9: Deep Lace Border
Ch 1, and sc in the same stitch, then ch 3, sk 1, sc in next, repeat from * to * around. Join with a sl st to the first sc (12 ch-3 spaces). The lace border is growing and will give a refined finish at the hem.
Row 10: Finishing the Skirt
Ch 3, and dc in the first ch-3 space, then ch 1, dc in next ch-3 space, repeat from * to * around. Join with a sl st to the top of ch 3. The effect will create an airy finish for this lovely skirt.
Step 1: Bonnet Construction
Start with Color A, and make a magic ring, ch 3, and work 11 dc into the ring (12 sts). Pull to close, join with a sl st to the top of ch 3. Your bonnet begins with a small central circle.
Step 2: Bonnet Increases
Ch 3, 2 dc in the same stitch, then work 2 dc in next, 1 dc in next, around (18 sts). Join with a sl st to the top of ch 3. The bonnet will start forming a dome shape.
Step 3: Bonnet Body
Ch 3, and dc in the same stitch; repeat 2 dc in next, 1 dc in next 2 around (24 sts). Join with a sl st to the top of ch 3. The bonnet will continue to expand gently.
Step 4: Finishing the Bonnet
Continue working in hdc around and around till you reach desired length; finish with a dc round for a smooth edge. Your bonnet should fit snugly around the baby’s head with a rounded finish.
Step 5: Collar Assembly
Using Color C (Deep Forest Green), chain long enough to fit around the neckline. Work rows of sc, creating a simple yet elegant collar that compliments the dress beautifully. Attach it securely with buttons for a polished look.
Variations & Substitutions
Embrace your creativity by customizing this adorable crochet baby dress set and making it uniquely yours!
- Yarn Weight Swap: Choose a heavier yarn for a warmer dress, perfect for cooler seasons. Just adjust your hook size accordingly to maintain the desired gauge.
- Fiber Alternatives: Explore using cotton for a breathable dress that’s gentle against the baby’s skin, ensuring comfort for those warm days.
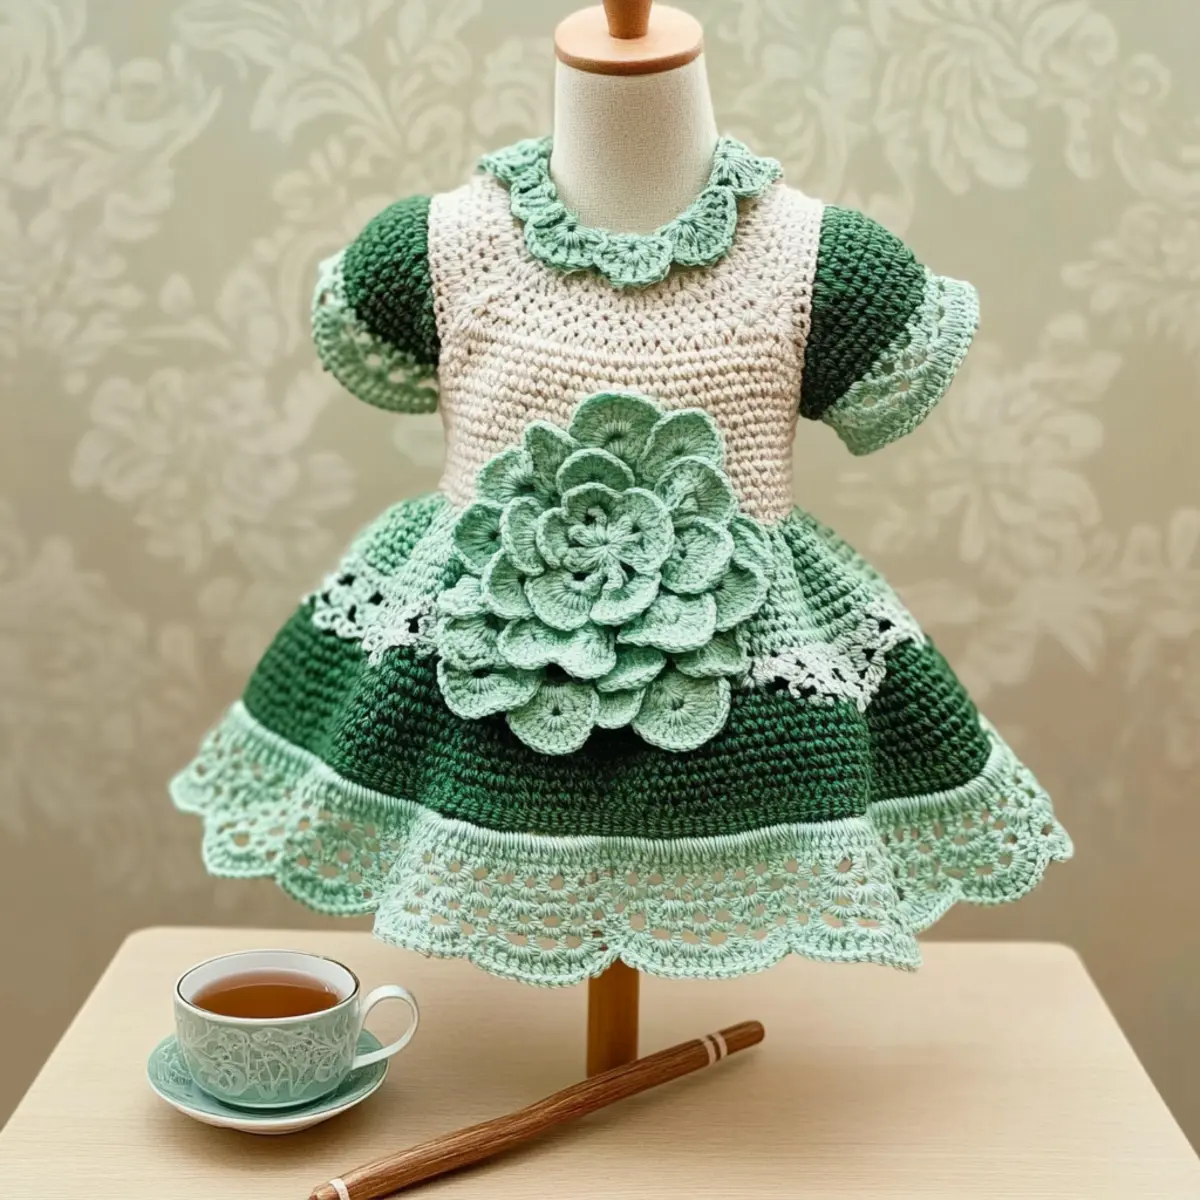
- Color Blocking: Try a playful approach with contrasting colors for the bodice and skirt. A bright yellow or soft lavender could add a delightful pop to the mint and sage theme!
- Length Adjustments: Add a few extra rows to the skirt for a more dramatic appearance or to allow the dress to grow with the baby. This enhances its heirloom quality, creating lasting memories.
- Textured Details: Enhance your design by incorporating fun textures like pom-poms or fringe at the hem. These artistic elements can bring an entirely new appeal to your garment.
- Custom Embellishments: Stitch on different floral designs, or even leave some sections for embroidery to personalize the dress further. This adds a unique touch that will be cherished.
- Matching Accessories: Expand your set by creating matching booties or a floral collar. Accessorizing elevates the entire look, making it even more special for gifting.
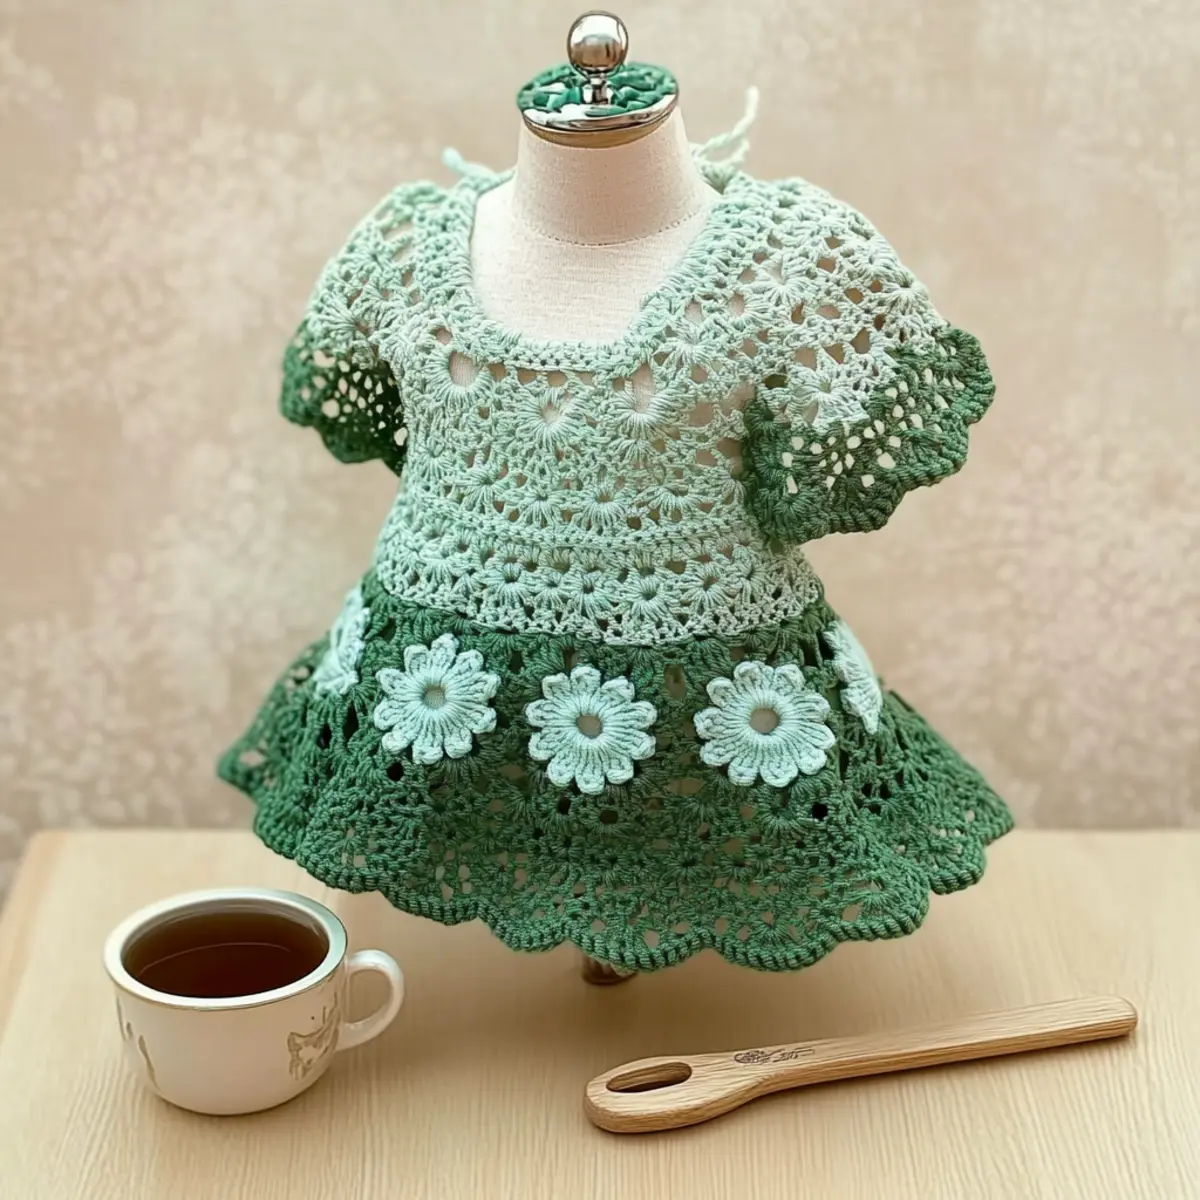
- Lace Variation: Experiment with different lace patterns in the skirt. A shell stitch could introduce a lovely rhythm to the piece, emphasizing its intricate design while enhancing the heirloom theme!
If you’re looking for more inspiring ideas, don’t forget to browse through our collection of cozy crochet patterns that will spark your imagination!
Expert Tips for Heirloom Dress Set
- Gauge Matters: Ensure you complete a gauge swatch to achieve proper fit; even slight deviations can change how the dress looks and fits.
- Count Often: Keep a close eye on your stitch count, especially during complex rounds; losing track can lead to unwelcome surprises in your beautiful lace details.
- Smooth Yarn Choice: Opt for a smooth DK weight yarn like cotton or bamboo; this helps highlight the intricate lace patterns, enhancing the overall appearance of your heirloom project.
- Stitch Markers: Use stitch markers in the raglan areas to clearly define your pattern sections; this simple step will make your crafting journey smoother and more organized.
- Finishing Touches: Remember to weave in all ends securely and block the finished pieces; this enhances the drape and elegance of your dress set.
Washing & Care Instructions for Baby Dress Set
- Machine Washing: Use a gentle cycle with cold water to preserve the delicate lace details of your Heirloom Mint and Sage Baby Dress Set. Avoid agitation to prevent felting or pilling.
- Hand Washing: For extra care, hand wash in cold water with a mild detergent. Gently squeeze the fabric without wringing to maintain its shape and integrity.
- Drying/Blocking: Lay the dress flat on a clean, dry towel to dry, reshaping as needed to maintain the delicate lace border. Avoid hanging to prevent stretching.
- Storage: Store your finished set in a cool, dry place, ideally in a breathable cotton bag. This helps prevent any dust accumulation and maintains the heirloom quality for years to come.
Heirloom Mint and Sage Baby Dress Set FAQs
Can I substitute a different yarn for the DK weight yarn?
Absolutely! While DK weight yarn is recommended for this project, you can swap it with a light worsted weight yarn. Just remember to adjust your gauge accordingly; it’s always best to do a swatch first to ensure a proper fit and texture.
How can I adjust the sizing if I want it bigger or smaller?
If you’d like to make the dress larger or smaller, simply adjust the number of increase rounds in the yoke to accommodate the desired size. For instance, adding or removing 2-4 stitches across the raglan increases can provide a more tailored fit. Also, consider adding additional repeat sections in the skirt for fullness.
Why is my work curling at the edges?
Don’t panic! Curling can be a common issue when using crochet stitches like double crochet in the beginning rows. If your edges are curling like a bowl, try working a few rows of single crochet along the edges to flatten them out. Blocking the finished piece can also help to manage this.
What hook size should I use?
For this Heirloom Mint and Sage Baby Dress Set, I recommend using an E-4 (3.5 mm) hook. If you find your stitches are too tight or too loose while crocheting, feel free to go up or down a hook size to achieve your desired tension.
How do I fix dropped stitches?
It’s an easy fix! Simply grab your tapestry needle and thread the end of the yarn through the dropped stitch, then pull it back through to catch it. You can also use a crochet hook to gently pull the yarn back through—no one will ever know the difference!
What if I want to add more embellishments or lace patterns?
Feel free to express your creativity! You can easily add unique embroidered embellishments or integrate different lace patterns into the skirt. Just ensure that the new layers maintain the overall cohesiveness of your design. Enjoy adding your personal touch!
Leave a Reply