
Free Panda Crochet Pattern
Ready to bring a smile to your day? Crochet a cute panda bear Amigurumi Plushie with this free panda crochet pattern that’s perfect for beginners and enthusiasts alike. This adorable project is not only fun to create, but it also makes for a delightful gift or a charming decoration in your home.
This panda plushie features a classic color combination of soft black and white cotton sport weight yarn, giving it a pleasing aesthetic and a huggable texture. Measuring 10 cm (4 inches) when finished, this little bear is perfectly sized for tiny hands or as a cozy companion for any space. The included video tutorial will guide you through each stitch, ensuring that you enjoy the process from start to finish.
Don’t worry if you’re new to crochet; this project is designed to be beginner-friendly while still allowing you to express your creativity! Embrace the joy of crafting as you watch your panda come to life, and share the love with family and friends. So grab your hook, yarn, and let’s start crocheting this adorable plushie together!
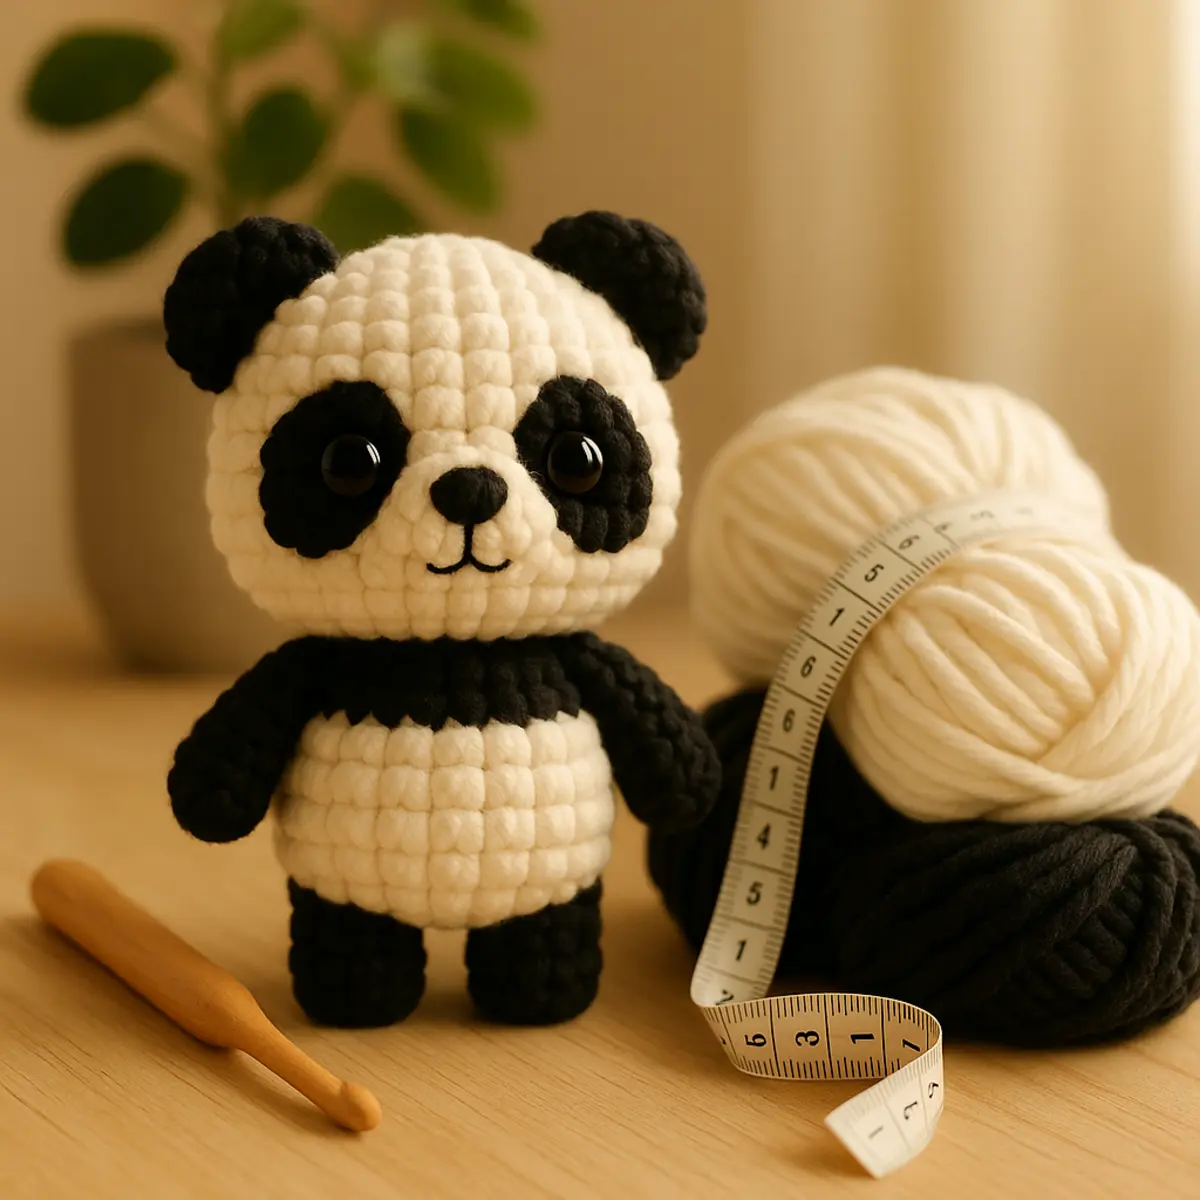
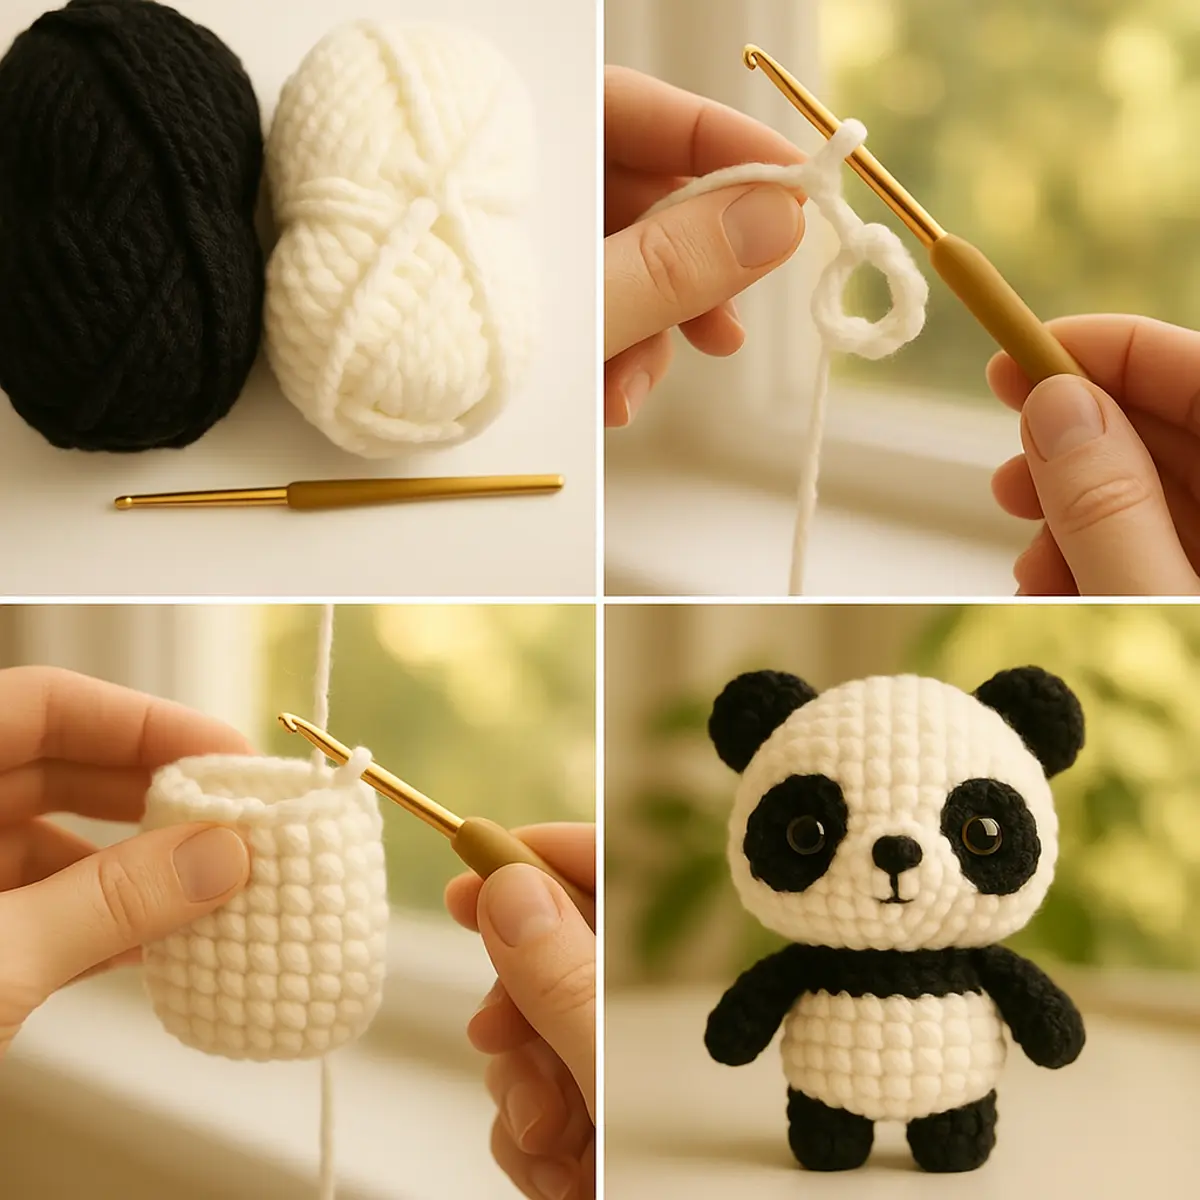
This delightful free panda crochet pattern is a fantastic project for both beginners and crochet enthusiasts, guiding you to create an adorable Amigurumi plushie that embodies charm and coziness. Using Cotton Sport Weight yarn in classic black and white, along with a 2.5 mm hook, this step-by-step tutorial includes a video to help you as you crochet the panda’s huggable body, cute face with safety eyes, and cozy ears. When finished, your panda will measure approximately 10 cm (4 inches), making it perfect for gifting, decoration, or just a lovely companion to brighten up any space!
Materials Needed
Gathering the right supplies is essential for creating your adorable panda bear Amigurumi plushie. This collection of materials will ensure your project runs smoothly and is enjoyable from start to finish. Let’s dive into what you’ll need!
- Yarn: You’ll need Cotton Sport Weight yarn in two colors: White (Yarn and Colors Must Have) for the base and Black (Yarn and Colors Must Have) for the accents. These yarns provide a softer finish, making your panda plushie both cute and huggable.
- Synthetic Poly Filling: This is used to stuff your panda, giving it that delightful plushie feel.
- Crochet Hooks: Have three different sizes ready: 2.5 mm for the Cotton Sport Weight yarn, 3.5 mm for Chenille DK yarn, and 5.0 mm for the Chenille Super Bulky yarn. Each size complements the yarn weight, helping you achieve the intended dimensions and texture.
- Safety Eyes: Two pairs are required: 7 mm for the head and 15 mm for an extra large feature. These add life to your panda, making it irresistibly cute!
- Chenille DK Yarn: This yarn will be used to create the snout and additional plush features. Its softness adds an extra layer of cuddly goodness.
- Chenille Super Bulky Yarn: Perfect for parts requiring a chunkier fabric—this gives your panda enhanced stability and structure.
- Scissors: To cut your yarn as needed for clean finishing touches.
- Tapestry Needles: A blunt-point needle, preferably size 16 or 17, is essential for weaving in ends and sewing pieces together without snagging the yarn.
- Pins: Useful for holding pieces in place while you sew, ensuring precise placement of eyes and limbs.
Pro Tip: If you’re considering yarn substitutions, make sure to keep the same weight and texture for the best results. It’s also a great idea to play around with colors to make your panda unique while maintaining its charming essence!
Abbreviations
This pattern is written in standard US terms, commonly used in crochet patterns.
- ch: Chain
- dc: Double Crochet
- dec: Decrease – to decrease the number of stitches by crocheting two stitches together.
- hdc: Half Double Crochet
- inc: Increase – to increase the number of stitches by adding two stitches in the same stitch.
- magic ring: A method for starting in the round that allows for a tight center.
- rnd: Round
- sc: Single Crochet
- st: Stitch
- sl st: Slip Stitch
Step-by-Step Tutorial
Eyepatch 2x
For the panda’s striking eyes, start by making two eyepatches. This small yet important detail will bring your plushie to life!
- Use black yarn: Take your black yarn and create a magic ring.
- Rnd 1: Inside the magic ring, crochet 2 single crochets (sc), followed by 1 half double crochet (hdc), then 2 double crochets (dc), again 1 half double crochet (hdc), and finish with 2 single crochets (sc). You should have a total of 8 stitches after this round.
- Invisible fasten off: To keep your eyepatch neat, use an invisible fasten-off technique.
- Put a safety eye: Gently place a safety eye through the middle of the magic ring. Do not attach the washer yet.
Expected Result: You should have two matching eyepatches ready for the panda’s face!
Head
The head of your panda will be the largest portion, full of personality and charm!
- Rnd 1: Begin with a magic ring and crochet 8 single crochets (sc) into it. (8)
- Rnd 2: Increase by crocheting 1 single crochet in each stitch for 8 stitches (16).
- Rnd 3: Crochet 1 single crochet in the next 3 stitches, then 1 increase and repeat this 4 times. (20)
- Rnd 4: Crochet 1 single crochet in the next 4 stitches, then 1 increase and repeat this 4 times. (24)
- Rnd 5: Crochet 1 single crochet in the next 3 stitches, then 1 increase and repeat this 6 times. (30)
- Rnd 6: Crochet 1 single crochet in all 30 stitches. (30)
- Rnd 7: Crochet 1 single crochet in the next 4 stitches, then 1 increase and repeat this 6 times. (36)
- Rnd 8: Crochet 1 single crochet in the next 11 stitches, then 1 increase and repeat this 3 times. (39)
- Rnd 9-11: Crochet 1 single crochet in all 39 stitches. (39)
- Rnd 12: Crochet 1 single crochet in the next 11 stitches, then 1 decrease and repeat this 3 times. (36)
- Attach safety eyes: Position the safety eyes with eyepatches between rounds 9 and 10, spaced 5 stitches apart.
- Rnd 13: Crochet 1 single crochet in the next 4 stitches, then 1 decrease and repeat this 6 times. (30)
- Rnd 14: Crochet 1 single crochet in the next 3 stitches, then 1 decrease and repeat this 6 times. (24)
- Rnd 15: Crochet 1 single crochet in the next stitch, then 1 decrease and repeat this 8 times. (16)
- Stuff the head: Gently stuff the head to give it shape.
- Rnd 16: Decrease by crocheting 1 decrease 8 times. (8)
- Fasten off: Cut the yarn, leaving a long tail for sewing.
Expected Result: At this stage, your panda’s head should be fully formed and stuffed, ready for the snout!
Snout
The snout is where the panda’s adorable face starts to come together!
- Use white yarn: Grab your white yarn to make the snout.
- Rnd 1: Start with a magic ring and crochet 6 single crochets (sc) into it. (6)
- Rnd 2: Increase by crocheting 1 increase for every stitch. (12)
- Rnd 3: Crochet 1 single crochet in all 12 stitches. (12)
- Sew the snout: Position the snout between rounds 9 and 14 of the head, and embroider the nose for added detail.
Expected Result: The snout should be securely attached to the head, giving your panda a delightful face!
Ears 2x
Now let’s create those lovable ears that every panda has!
- Use black yarn: Start your first ear with black yarn.
- Rnd 1: Make a magic ring and crochet 8 single crochets (sc) into it. (8)
- Rnd 2-3: Continue to crochet 1 single crochet in all 8 stitches for 2 rounds. (8)
- Sew the ears: Attach the ears to the head between rounds 3 and 7, spacing them evenly.
Expected Result: You should have two soft, rounded ears ready to make your panda look more adorable!
Body
The body will bring your panda all together, making it wonderfully cuddly!
- First make two legs: Start with one leg using black yarn and make a magic ring, crocheting 8 single crochets (sc) into it.
- Rnd 2-4: Continue crocheting 1 single crochet in all 8 stitches for 3 rounds. (8 each round)
- Fasten off: Finish the first leg and cut the yarn.
- Repeat: For the second leg, repeat rounds 1-4 without fastening off.
- Change to white yarn: Switch to white yarn and crochet around both legs to connect them.
- (Continue following the detailed body instructions: Keep adding rounds according to the specific instructions in the original pattern.)
Expected Result: Your panda’s body should start taking shape, appearing ready to stand!
Assembly
Finally, it’s time to assemble your adorable panda!
- Sew the body to the head: Securely attach the body to the head, ensuring it is well-positioned.
- Attach arms, tail, and facial features: Sew them on according to your preference, making your panda even cuter!
- Final touches: Consider embroidering a white stripe along the eyes for an extra touch.
Expected Result: Your panda plushie should resemble a lovable creature, ready to brighten anyone’s day!
Frequently Asked Questions
- Q: What is the best yarn for this panda crochet pattern?
A: For this project, we recommend using Cotton Sport Weight yarn in white and black, as it provides a soft texture and great stitch definition, perfect for amigurumi. - Q: Can I use a different size crochet hook?
A: While we suggest a 2.5 mm hook for the Cotton Sport Weight yarn, you can use one size larger or smaller if you’re aiming for a different finished size. Just be sure to check your gauge! - Q: How do I secure the safety eyes?
A: It’s important to place safety eyes between rounds 9 and 10 of the head, 5 stitches apart, and to attach them firmly with the washer afterward. This ensures the eyes remain secure for safety, especially if your plushie will be handled by small children. - Q: What can I use if I don’t have Chenille yarn?
A: If you don’t have Chenille DK or Super Bulky yarn, you can substitute it with another soft yarn; just keep in mind to maintain the intended size by checking your gauge regularly. - Q: What are the advantages of using synthetic poly filling?
A: Synthetic poly filling is ideal for stuffing your panda plushie as it’s lightweight, hypoallergenic, and keeps its shape well. It creates a cuddly texture that enhances the overall look of your finished project. - Q: Is there a video tutorial available for this pattern?
A: Yes! There is a full video tutorial linked in the article that guides you through each step of making your adorable panda plushie!
Congratulations on completing your adorable panda crochet project! You’ve not only crafted a charming piece, but you’ve also added a touch of joy to your crochet repertoire. We can’t wait to see how your creation turned out, so don’t forget to share your work with fellow crafters in our community!
If you loved making this, you should also check out our easy crochet flower, try your hand at simple crochet flowers, or explore our collection of flower patterns for your next project!
Leave a Reply