
Setting the stage for a whimsical crafting adventure, I found myself in need of a charming little gift that would spread smiles and warmth. Enter the Free Crochet Mini Rubber Duck pattern! This delightful amigurumi project is perfect for crochet enthusiasts of all skill levels, especially beginners eager to make something cuddly and quick. With just a bit of yellow yarn, you can create a soft ducky companion that captures the playful essence of bath time fun. Not only is this pattern a great way to use up yarn scraps, but it also offers the joy of gifting a handmade treasure that’s sure to be cherished. So grab your hook, let’s bring this adorable duck to life, and fill your space with warmth and cheer!
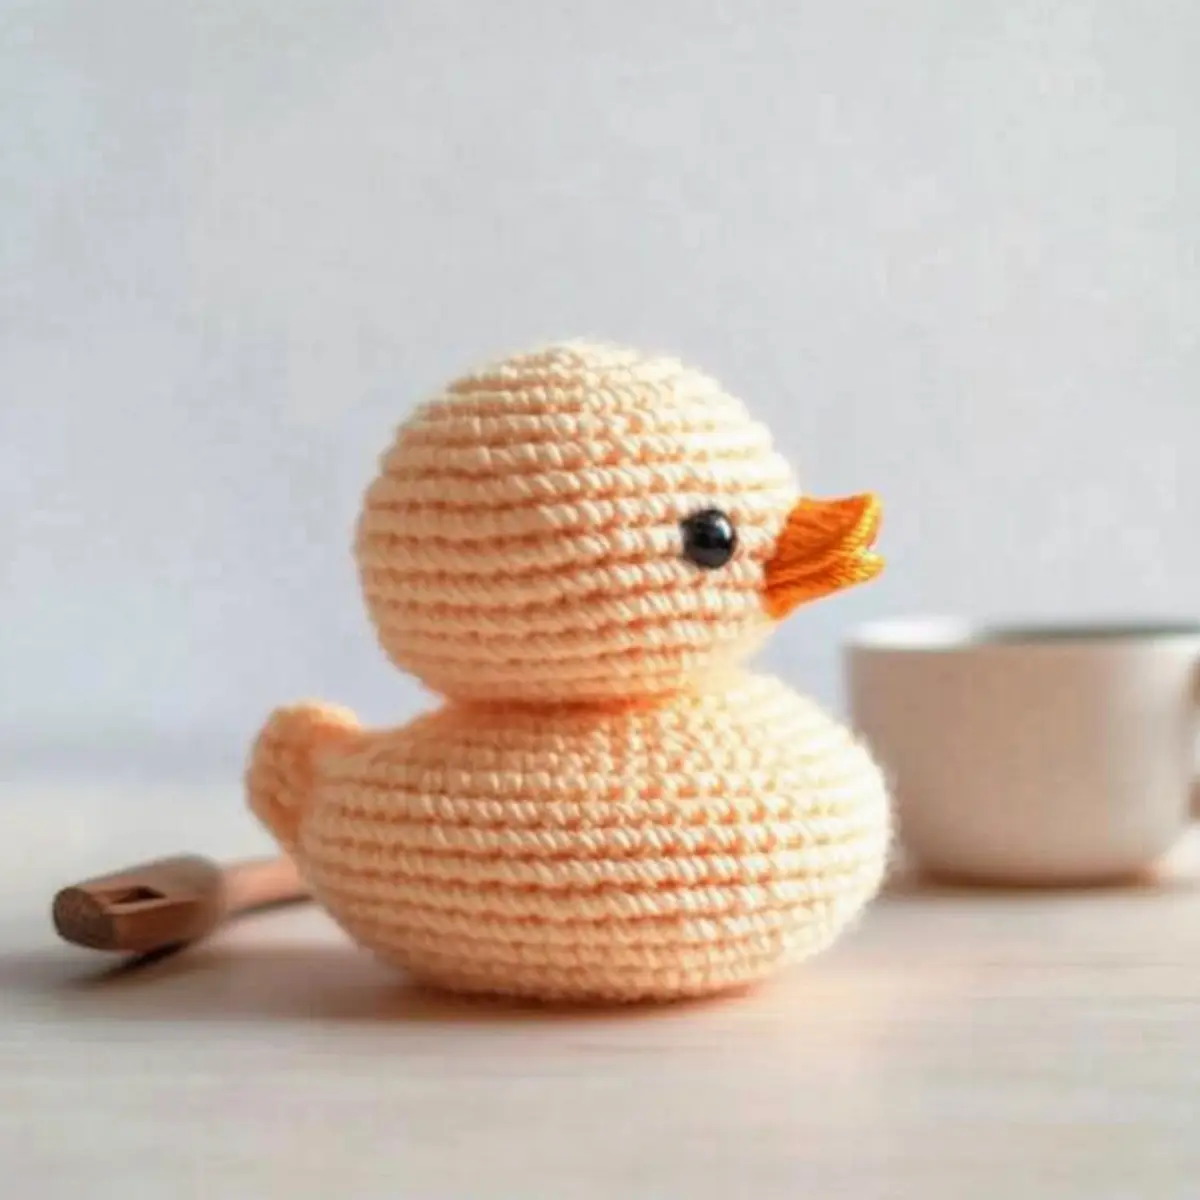
Mini Rubber Duck Materials & Tools
Note: Gather your supplies and get ready to create this delightful amigurumi that’s perfect for beginners!
Yarn
- Worsted Weight Yellow Yarn – You’ll need approximately 50 meters to make the whole ducky.
Tools & Notions
- 3.5 mm (E/4) Hook – This size is perfect for creating a snug stitch that holds its shape.
- Tapestry Needle – Use this for sewing all the cute parts together.
- Safety Eyes (optional) – Add these for a whimsical touch to your duck, ensuring they’re secure before gifting to make it safe for little ones.
Why is this crochet duck so special?
Cuddly Creation: This Mini Rubber Duck is not only a delightful project but also a snugly companion, perfect for little hands or as a cozy decor piece!
Quick to Craft: With its simple stitches, this beginner-friendly pattern can be completed in just a few hours, making it an ideal last-minute gift.
Fun Variations: Feel free to let your creativity soar by customizing colors or adding playful features, giving each duck its own unique personality!
Perfect for All Skills: Whether you’re a novice or a seasoned pro, the satisfying process of crafting this charming toy guarantees enjoyment for everyone.
Joyful Giving: Handmade gifts have a special warmth, and this amigurumi duck makes for a heartfelt present that’s both functional and adorable – a true keepsake!
Dive into making this whimsical project while exploring our other adorable ideas like the Free Amigurumi Bear Pattern or discover more about amigurumi techniques with our handy guide on Crochet Basics!
Gauge & Sizing Notes
Don’t skip the gauge swatch! It’s essential for ensuring your Amigurumi Mini Rubber Duck turns out just right. Aim for a gauge of 4×4 inches (10×10 cm) = 16 single crochets by 18 rows. This measurement helps you maintain the proper size and tension for your cuddly creation. If you find your tension is too tight or loose, you can easily adjust your size by changing your hook. For a larger duck, increase your starting chain in multiples of 6 for the body. If your swatch is smaller than the recommended measurements, simply go up a hook size to achieve the perfect fit for your adorable Mini Rubber Duck!
Step‑by‑Step Pattern for Amigurumi Mini Rubber Duck
Round 1: Starting the Body
Begin your Mini Rubber Duck by creating a magic ring. Inside the ring, work 6 single crochet (sc) stitches, pulling the ring tight to close. As you progress, your work should form a small circle, laying the foundation for the duck’s body. Remember to count your stitches so you have (6 sts) total in this round.
Round 2: Increasing the Base
For Round 2, place 2 sc in each stitch around, increasing the size of your duck’s body. This means you’ll work an increase in each of the 6 stitches, resulting in a total of 12 stitches by the end. Your round should appear rounder and fuller, signifying the growth of your amigurumi creation (12 sts).
Round 3: Continuing to Increase
In Round 3, work 1 sc in the first stitch, then 2 sc in the next stitch and repeat this pattern around. You’ll have a mix of single crochet and increases expanding the base of your duck. By the end of this round, you should have 18 stitches (18 sts), keeping your work firm and rounded.
Round 4: Shaping the Body
For Round 4, continue by doing 1 sc in the first two stitches and then 2 sc in the next. Repeat this pattern all the way around to broaden the body of your Mini Rubber Duck. At the end, you will have 24 stitches (24 sts), and your work should be forming a lovely rounded shape.
Round 5-8: Creating the Body Height
From Round 5 to Round 8, simply work 1 sc in each stitch around without increasing. This will give your duck the height it needs for cuddly proportions. After Round 8, your piece should stand tall and sturdy, showcasing 24 stitches in each round. It’s a great time to check the shape, ensuring it appears smooth and well-defined.
Round 9: Beginning the Head
Now we transition to the head! Start Round 9 by working 1 sc in each of the next 12 stitches, switch to 2 sc in the next for the front of the head, followed by another 12 sc to complete the round. This will start to shape the head, totaling 26 stitches (26 sts) with a nice rounded top area.
Round 10: Adding More Height
For Round 10, do 1 sc in each stitch around, focusing on maintaining the integrity of the head as it grows. Each stitch helps define the adorable round shape of your Mini Rubber Duck. You should finish this round with the same 26 stitches (26 sts), getting closer to completing the head.
Round 11: Shaping the Head
Continue shaping the head in Round 11 with 1 sc in the first 12 stitches, then 2 sc in the next stitch. Repeat this sequence around. This round increases to create a dome-like shape on top of your duck’s head. By the end, you should have 38 stitches (38 sts) with a lovely curve.
Round 12: Finalizing the Head
In Round 12, work 1 sc in the first 18 stitches, followed by 2 sc in the next. Finish the round by working the remaining stitches, contouring the head beautifully. You’ll complete Round 12 with 42 stitches (42 sts) as the head shape rounds out sweetly, ready for features.
Wings (Make 2): Crafting the Wings
For each wing, start by chaining 4, then work 1 dc in the 4th ch from the hook, followed by 1 hdc in the next chain and 1 sc in the last chain. Transitioning into a flattish wing-like shape, repeat this process for a total of 5 stitches for both wings (5 sts). Finish and weave in ends.
Beak: Crafting the Beak
Using orange yarn, chain 3 to begin the beak. Work 1 sc in the 2nd chain from the hook, followed by 1 hdc in the last chain. This will give the beak a triangular shape. By the end, your beak should have 3 stitches (3 sts), ready to attach to your adorable duck.
Step 10: Assembly of the Duck
To assemble your Mini Rubber Duck, securely sew the head to the body using a tapestry needle. Attach the wings on either side, positioning them for a playful look. Lastly, sew the beak on the front of the head and add safety eyes if desired to give your duck character. Your project is now complete and ready to spread joy!
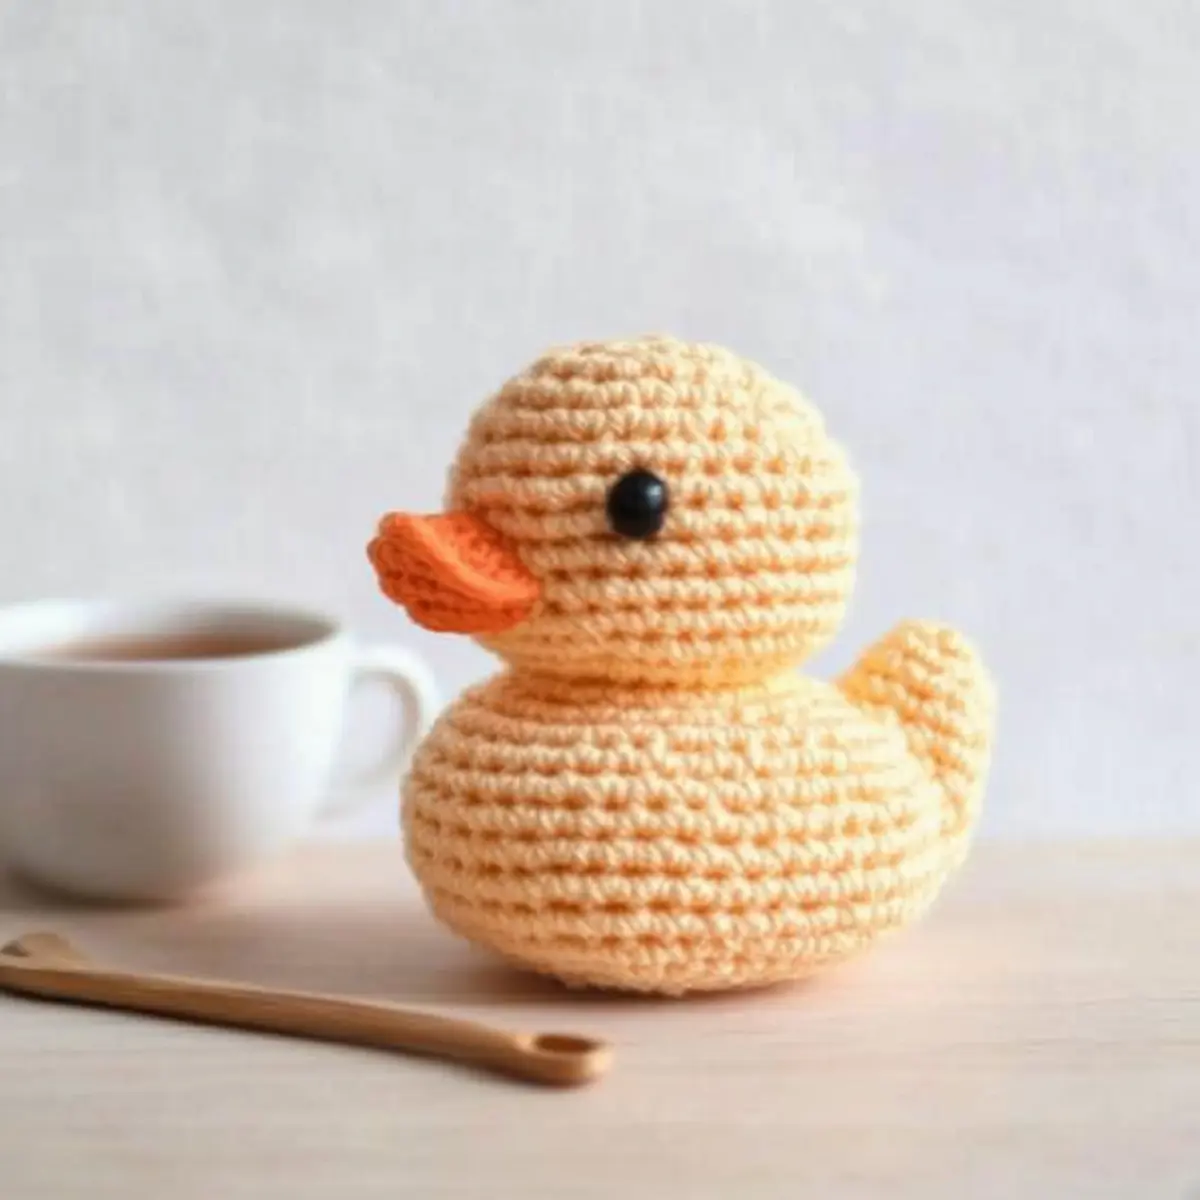
Expert Tips for Amigurumi Duck
-
Stitch Counting: Always count your stitches after each round to avoid losing track. This ensures your duck maintains its lovely shape throughout the project.
-
Keeping Tension Even: Maintain consistent tension when crocheting to create a smooth and cohesive texture. Uneven tension can lead to a misshapen final product.
-
Secure Finishing: Use slip knots to finish off each section securely. This helps prevent any unraveling and keeps your amigurumi duck cuddly and intact.
-
Seam Alignment: When assembling, position each piece carefully before sewing. Take a moment to confirm the wings and beak’s placement for a balanced look.
-
Safety First: If using safety eyes, ensure they are firmly attached to avoid any choking hazards, especially if your finished duck is intended for young children.
How to Wash and Care for Your Mini Rubber Duck
-
Hand Washing: Gently hand wash your Mini Rubber Duck in cold water with mild soap. This helps maintain the softness of the yarn and prevents any unwanted felting.
-
Avoid Agitation: When cleaning, avoid vigorous scrubbing or agitation to keep your duck’s shape intact and prevent pilling.
-
Drying: Lay your duck flat on a clean towel to dry. This preserves its adorable form and prevents stretching while drying.
-
Storage: Store your finished amigurumi duck in a cool, dry place to keep it safe from moisture and dust, ensuring it remains a cherished cuddly companion.
Variations & Substitutions for Amigurumi Duck
Get ready to unleash your creativity as you personalize this adorable crochet duck!
-
Color Swaps: Brighten your creation by using any color yarn for a unique twist—think pastel pinks or vibrant blues!
-
Yarn Weight Change: Opt for lighter or heavier yarn to alter the size. For a larger duck, explore bulky yarn options.
-
Pattern Mix: Combine this duck with other patterns, like the Free Amigurumi Bear Pattern, for an engaging toy set that delights any child.
-
Stripes & Speckles: Introducing stripes or speckled yarn creates a visually enchanting look. Alternate colors for a playful finish that adds charm!
-
Adding Texture: Incorporate a fluffy yarn for a softer feel or consider attaching wings with fringe for a whimsical flair—who doesn’t love a bit of fun texture?
-
Beak Twist: Use a contrasting yarn for the beak to create delightful visual interest; a bright white or deep orange can make it pop!
-
Safety Variation: For a unique finish, craft eyes with felt instead of safety eyes, providing a sweet, handcrafted appeal, especially for young users.
-
Larger Size Options: To make a bigger toy, simply crochet with a larger hook size or use a thicker yarn. Adjustments can bring a whole new life to your duck!
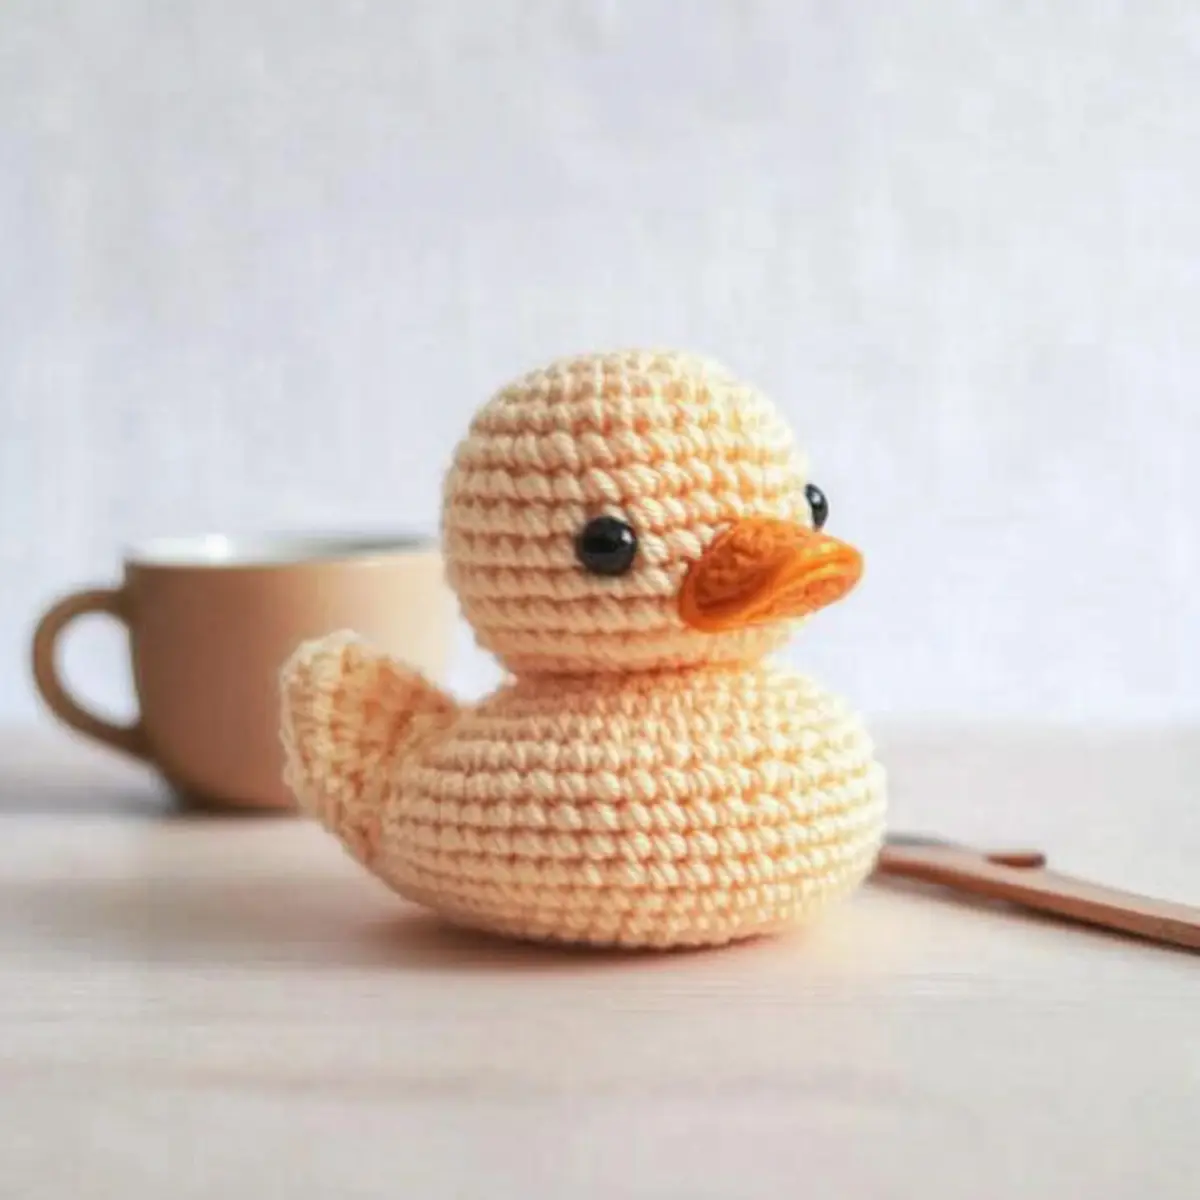
Amigurumi Mini Rubber Duck FAQs
Can I substitute the yarn for this project?
Absolutely! While the pattern calls for worsted weight yellow yarn, you can use other types of yarn as long as you match the thickness. For a softer or plush feel, consider using a worsted-weight cotton or acrylic blend. Just remember that different yarn fibers may affect how your duck holds its shape!
How can I adjust the size of my mini duck?
To make your duck larger or smaller, you can switch to a different yarn weight or adjust your hook size accordingly. For example, using thicker yarn with a larger hook will create a bigger duck. If you prefer a smaller version, try a lighter yarn with a smaller hook. Just keep in mind to retain the proportions of each part for the best results!
Why is my work curling up?
Don’t panic! Curling can sometimes happen if your tension is too tight or if you’re working in the round without appropriate stitch counts. Make sure you’re counting your stitches properly and check your tension. If your work resembles a bowl, try loosening your grip and keeping your stitches consistent.
What size hook should I use?
For the mini rubber duck pattern, a 3.5 mm (E/4) hook is recommended. However, if you use a different yarn weight, you may want to adjust your hook size accordingly. Always check your gauge with a swatch before starting to ensure your final duck will match the desired size!
How do I fix dropped stitches?
It’s an easy fix! If you notice a dropped stitch, simply pull out the last few stitches to where it happened. Use your hook to pick up the dropped stitch by inserting it through the stitch and working a single crochet or slip stitch to secure it back into place. Just be careful to maintain your pattern and stitch count!
What care instructions should I follow for my mini rubber duck?
To keep your adorable creation looking fresh, hand wash it in cold water with gentle soap and lay it flat to dry. This will help maintain its shape and softness, ensuring that your duck remains a cherished keepsake for years to come!
Leave a Reply