
As I rummaged through my yarn stash, a glimmer of inspiration struck me—what could be more delightful for Halloween than a charming little ghost? This Free Beginner-Friendly Amigurumi Little Ghost Pattern is your ticket to crafting a whimsical decoration that captures the spirit of the season. Whether you’re a seasoned crocheter or just starting, this adorably spooky project is designed to be quick and easy, making it perfect for last-minute festive touches around the house. Plus, it works up beautifully with just a few skeins of sport weight yarn, making it a fantastic stash-buster. So, grab your crochet hook and join me in bringing this playful ghost to life—let’s create something that adds a sparkle of joy to your Halloween celebrations!
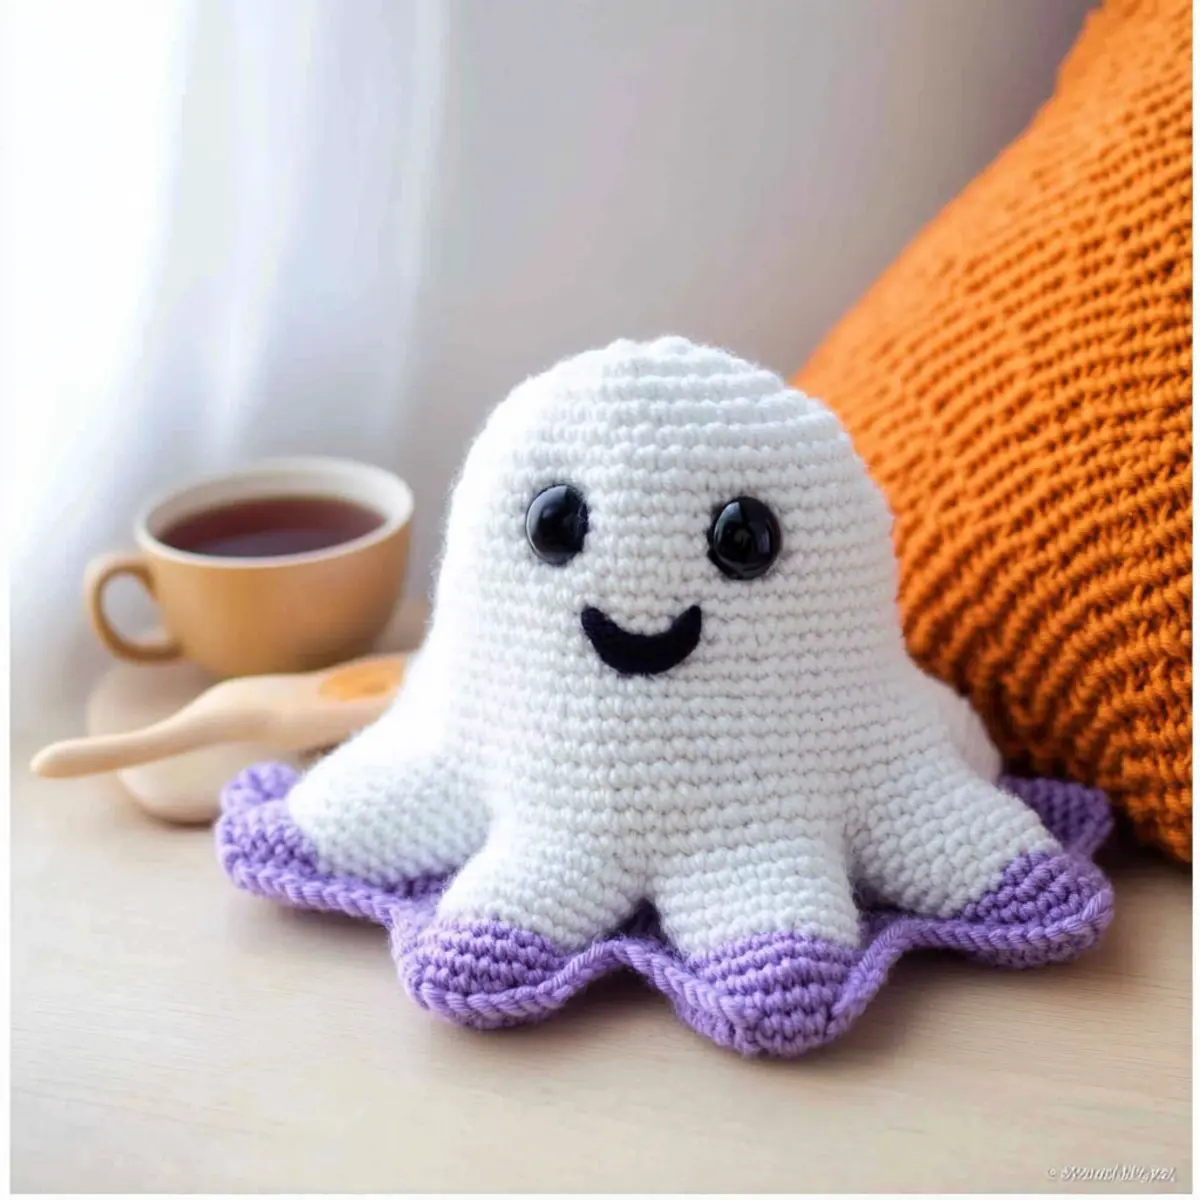
Amigurumi Little Ghost Materials & Tools
-
Yarn
-
Sport Weight Yarn (Yarnart Jeans) – You’ll need 50g/160m each of white (Yarnart Jeans 62), purple (Yarnart Jeans 50), and orange (Yarnart Jeans 77) for a charming ghost.
-
Hook
-
2 mm (US B/1) Hook – This size creates the perfect tightness for the amigurumi structure.
-
Notions
-
Black Thread – Use this for adding those cute embroidered eyes and mouth.
-
Polyester Fiber Fill – A lovely lightweight stuffing to give your little ghost its squishy shape.
-
Tapestry Needle – Essential for assembly and weaving in those pesky yarn ends.
Craft this adorable free amigurumi pattern with ease using these materials to create a spooktacular Halloween decoration!
Why Is This Pattern Perfect for Beginners?
Ease of Use: This pattern is designed specifically for beginners, featuring simple stitches like single crochet and magical rings that will boost your confidence as you crochet your little ghost.
Quick Project: With just a few hours of crafting time, you’ll have a delightful Halloween decoration ready to show off. Perfect for those looking for a fun, quick project!
Adorable Design: The cute, whimsical shape and squishy texture will charm everyone who sees it. It’s an eye-catching decoration that adds a festive touch to your home.
Creative Freedom: You can easily customize your ghost with different yarn colors, giving you the option to mix and match your favorite shades to create a unique piece.
Perfectly Portable: Small enough to carry around, this project can be worked on wherever you go, making it ideal for crafting on the couch, in a café, or during a relaxing evening.
Dive into your crochet journey with our charming Amigurumi Ghost! For more easy and fun Halloween crafts, check out this beginner-friendly pumpkin pattern.
Gauge & Sizing Notes
Don’t skip the gauge swatch! Ensuring your tension is correct is vital for achieving the perfect look and feel for your Amigurumi Little Ghost. For this project, aim for a gauge measurement of 4×4 inches (10×10 cm) = 16 single crochets by 18 rows. If you’re looking to adjust the size, increase your starting chain in multiples of 6 for a wider ghost or add rounds if you prefer a taller version. If you find that your swatch is smaller than this, simply go up a hook size to loosen your tension. Remember, checking your gauge now will lead to a delightful finished ghost that’s just the right size for your Halloween decor!
Step‑by‑Step Pattern for Amigurumi Little Ghost
Row 1: Create the Magic Ring
With white yarn, create a magic ring (MR). Crochet 6 single crochets (sc) into the magic ring and pull the tail to close the ring. This will form the base of your Amigurumi Little Ghost. Your work should start to shape into a small circle (6 sts).
Row 2: Increase to Expand the Body
In this round, you will start increasing the ghost’s body. Work 2 sc in each stitch around (12 sts). Remember to mark your round with a stitch marker if needed. Your piece should begin to puff out slightly.
Row 3: Continue Building the Body
For this round, crochet 1 sc in the first stitch, then 2 sc in the next stitch. Repeat this sequence around (18 sts). The body of your ghost should be nicely rounding out, with visible increases creating a soft dome shape.
Row 4: More Increases
Continue to shape your Amigurumi Little Ghost by following the pattern of 1 sc in the next 2 stitches and 2 sc in the following stitch. Repeat this around (24 sts). Your work should continue to grow in width, preparing for the body’s height.
Row 5: Stabilize the Body
Now, crochet 1 sc in each stitch around (24 sts). This will help stabilize your ghost’s shape as you build upwards. Ensure it’s even all around, giving a more uniform appearance as you progress.
Row 6: Begin Adding Height
For this round, crochet 1 sc in each stitch around (24 sts). Keeping a steady tension, your ghost is starting to take on a tall shape, perfect for spooky decorations.
Row 7: Increase the Height of the Body
Work a round of 1 sc in the first 3 stitches and then 2 sc in the next (repeat around) (30 sts). The ghost is beginning to look more pronounced, and you can see the shape developing beautifully.
Row 8: Even Out the Shape
Work 1 sc in each stitch around (30 sts). This will create a solid base for your ghost’s upper half, maintaining its plush structure as you continue.
Row 9: Prepare for Stuffing
For this round, crochet 1 sc in the first 4 stitches, then 2 sc in the next (repeat) (36 sts). At this point, your ghost should be tall, and it’s time to stuff the upper 2/3 with polyester fiber fill.
Row 10: Complete the Body
Finish with another round of 1 sc in each stitch around (36 sts). Your work should have a rounded shape at the top, resembling the ghost’s head.
Step 11: Close the Bottom
To close off, work a round of 1 sc in the first 5 stitches, then 1 dec (decrease) (repeat) (30 sts). This forms the base of your Amigurumi Little Ghost, tightening it as you finish the body.
Step 12: Finalize the Shape
For the last round of the body, crochet 1 sc in the first 3 stitches, then decrease (repeat) (24 sts). Now, your ghost should have a nice curvy shape, ready for the assembly.
Step 13: Create the Hat
Switch to purple yarn and start with a magic ring (MR) with 6 sc. This will begin the ghost’s whimsical hat, making it stand out joyfully.
Step 14: Build Up the Hat
Work 2 sc in each stitch around (12 sts). This creates the foundation of the hat, giving it a firm base that will later be topped with orange.
Step 15: Transition to Orange Hat
Change to orange yarn. In this round, work 1 sc in each stitch around (12 sts). Your ghost’s outfit is now developing a playful color contrast!
Step 16: Final Hat Rounds
Continue with 1 sc in each stitch around for the next round (12 sts). The hat should look puffy and round, ready to be attached to your ghost.
Step 17: Attach the Hat
Sew the hat to the top of the head, tilting it slightly for extra character. This adds personality to your Amigurumi Little Ghost, making it ready for Halloween charm!
Step 18: Embroider the Face
Using black thread, embroider the eyes on round 9 and the mouth on round 12. This final touch will bring your ghost to life, enhancing its adorable expression.
Step 19: Add the Arms
For the arms, attach yarn to your desired stitch and crochet 3 sc, then fasten off. Position the arms forward on each side to give your ghost a playful lean. This will complete the design nicely!
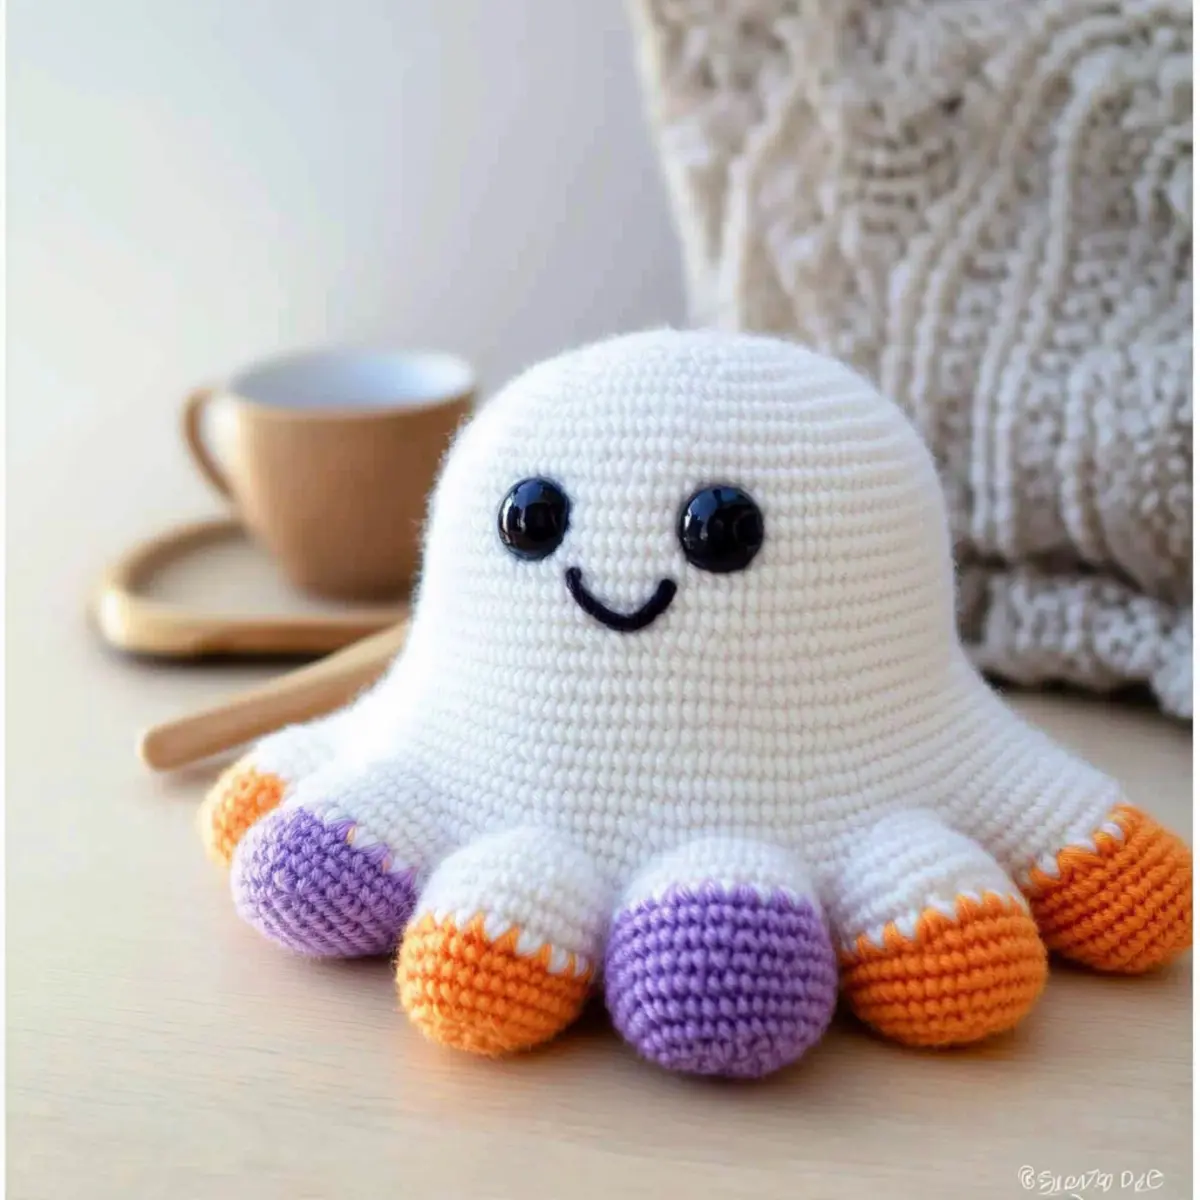
Variations & Substitutions for Your Amigurumi Ghost
Customize your little ghost to reflect your personal style and creativity with these delightful variations!
-
Yarn Weight Swaps: Experiment with a thicker yarn for a larger ghost. A worsted weight yarn can create a cozy, plush effect.
-
Color Combinations: Swap the traditional white for pastel colors or black for a spooky twist; don’t shy away from vibrant shades that pop!
-
Fiber Alternatives: Use cotton yarn instead of acrylic for a more breathable ghost. It also gives a unique texture that can elevate your design.
-
Height Adjustments: Increase rounds in the body or hat to create a taller ghost. Alternate adding a round or two for different heights among a group of ghosts.
-
Adding Texture: Enhance your ghost’s look by integrating a fringe around the hat or along the edges. It adds flair and whimsy to your creation.
-
Unique Embellishments: Attach a tiny scarf using leftover yarn scraps to give your ghost a character. You could even crochet mini accessories, like a tiny pumpkin!
-
Play with the Base: Instead of a flat base, give your ghost a slightly rounded bottom to create a more playful appearance. This will add extra charm to your design!
-
Decorative Borders: Consider adding a contrasting border around the hat or body with a slip stitch to sharpen the overall look. It’s a simple way to elevate your ghost’s design.
By experimenting with these variations, your Amigurumi ghosts will become distinct pieces to celebrate Halloween in style. For additional inspiration, explore ideas like this adorable crochet pumpkin pattern to create a cohesive Halloween display!
Expert Tips for Amigurumi Ghost
-
Count Your Stitches: Regularly count your stitches at the end of each round to avoid losing shape and ensure uniformity in your ghost’s form.
-
Tension Matters: Maintain consistent tension throughout your project. Uneven tension can lead to a misshapen ghost that may not stand on its own.
-
Secure the Magic Ring: Make sure your magic ring is tightly closed. A loose ring can cause gaps, which may detract from the finished look of your adorable ghost.
-
Stuff Adequately: Stuff the body just enough to maintain its shape without making it too stiff. Avoid overstuffing the base, ensuring it remains stable and can stand upright.
-
Finishing Touches: Weave in all loose ends securely. This step not only helps your ghost look neat but also prevents any unraveling during play or display.
-
Experiment Freely: Don’t hesitate to play around with colors or add unique accessories. Personalizing your ghost can make it a special decoration cherished for years to come.
Enjoy crafting this fun amigurumi pattern, and let your creativity shine!
How to Wash and Care for Your Amigurumi Little Ghost
-
Machine Washing: Use a gentle cycle with cold water if absolutely necessary. Always place your Amigurumi Little Ghost in a mesh garment bag to avoid snagging or agitation that could cause pilling.
-
Hand Washing: For the best care, hand wash your ghost in cold water with a mild detergent. Gently squeeze to clean, avoiding twisting or wringing which may distort its shape.
-
Drying/Blocking: After washing, lay your little ghost flat on a clean towel to air dry. This helps maintain its adorable form and squishy texture without the risk of shrinking or damage.
-
Storage: Store your Amigurumi Little Ghost in a cool, dry place away from direct sunlight. Ensure it’s in a dust-free environment to keep it looking fresh for many Halloweens to come!
Amigurumi Little Ghost FAQs
Can I use different yarn instead of sport weight?
Absolutely! While this pattern is designed for sport weight yarn, you can use whatever you have on hand. Just remember, if you swap for a thicker yarn, you might need to adjust the hook size and your stitch count might change slightly.
How can I make my ghost larger or smaller?
It’s easy to adjust the size of your Amigurumi ghost! For a larger ghost, simply add more rounds to the body and hat before attaching. To make it smaller, remove a round or two. Just remember, each round should have the same number of stitches to keep your shape consistent!
Why is my ghost curling up at the edges?
Don’t panic! If your work is curling like a bowl, it’s often due to tight tension or too few stitches in a round. Take a look at your tension; loosening up a bit can help, and be sure you’re following the stitch counts accurately in the pattern.
What size hook should I use for this pattern?
For the Amigurumi Little Ghost, a 2 mm hook (US B/1) is recommended. Using the correct hook size is important to achieve the desired density and squishiness of your ghost. If you find your stitches are too loose or tight, you might want to try a different hook size to match your tension.
How do I fix dropped stitches?
It’s an easy fix! Simply locate the dropped stitch, grab your tapestry needle, and pull the yarn up through the stitch to the top. Then, use your needle to weave it back into the fabric securely. Make sure to double-check your stitch count afterward!
Can I wash my finished ghost?
Yes! But be gentle. It’s best to hand wash your Amigurumi ghost in cold water and lay it flat to air dry. This helps maintain its shape and keeps your yarn looking fresh and fabulous!
Leave a Reply