
As the days grow shorter and crisper, I find myself longing to bring the essence of autumn indoors. Recently, I crafted a Charming Fall Leaf Garland, and let me tell you, it was a delightful journey! This crochet project not only adds a touch of seasonal beauty to your home but also serves as a wonderful opportunity to enrich your crochet skills. One of the best things about this fall leaf garland is how quickly it comes together, making it a perfect weekend project for both beginners and seasoned crafters. Plus, it’s a fantastic stash-buster, allowing you to use those leftover skeins of autumn colors that have been languishing in your closet. I love how this garland instantly infuses a cozy, festive spirit into any space—just imagine draping it across your mantel or window! And the beauty doesn’t stop there; you have the freedom to customize the colors to perfectly match your decor. So, whether you’re preparing for a cozy gathering or simply want to enjoy the warm hues of fall, I’m excited to share this project with you. What delightful variations will you create?
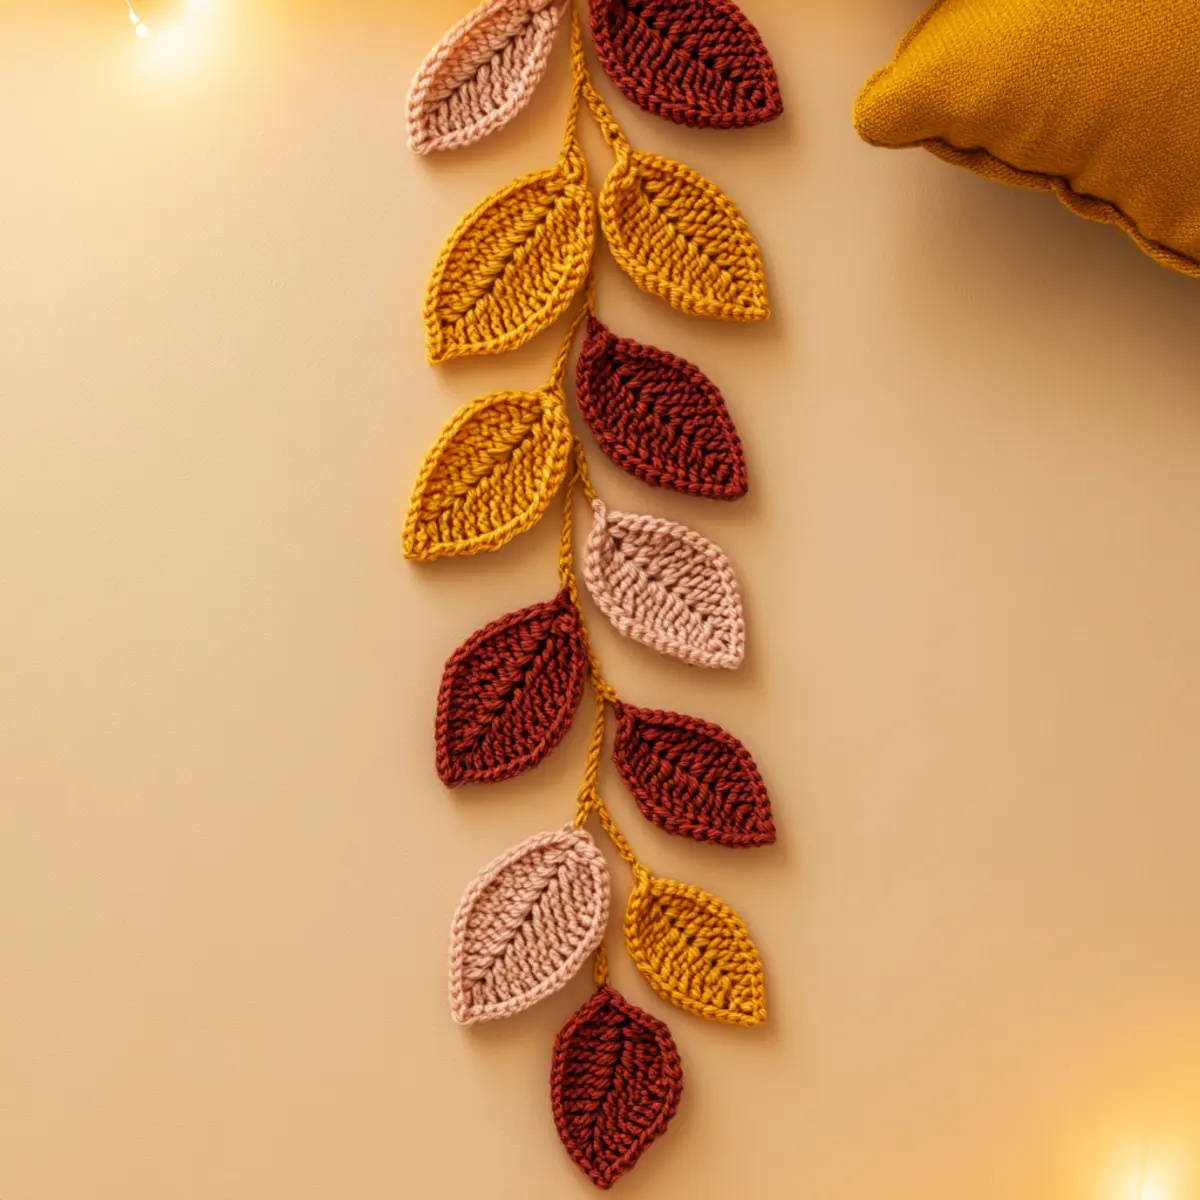
Fall Leaf Garland Materials & Tools
Yarn
Medium weight worsted yarn – Approximately 200-300 yards total for a striking fall leaf garland.
Color suggestions – Use acrylic or cotton blends for a combination of durability and softness, perfect for hanging decor.
Tools & Notions
Crochet hook (4.5 to 5.0 mm) – A G/6 to H/8 hook is essential for crafting your leaves with ease.
Tapestry needle – Utilize this for weaving in ends and making your final garland look polished.
Stitch markers – Keep track of your leaves and ensure uniformity in sizing by marking your stitches as you go.
Why You’ll Love This Pattern
Versatile and easy to customize, the Charming Fall Leaf Garland allows you to play with colors that resonate with your unique style. Simplicity is at the heart of this project; the clear steps guide you through crafting beautifully shaped leaves with ease. This pattern is a perfect stash-buster, perfect for using up yarn remnants, as you can choose any shade from fiery red to soft gold, giving your garland a personalized touch. Plus, with its aesthetic appeal, this charming decor elevates your home instantly, capturing the essence of the season. Not only does it create a warm ambiance, but it also serves as a delightful exercise in crocheting various leaf designs, making it ideal for both beginner and experienced crafters. Explore more with these crochet patterns and transform your creative process into something truly special!
Gauge & Sizing Notes for Fall Leaf Garland
Checking your tension is crucial in this project to ensure that your leaves maintain a consistent size throughout your charming fall leaf garland. A standard gauge swatch should measure 4×4 inches (10×10 cm) in dc to ensure a well-structured leaf. If your swatch doesn’t match the tension, adjust your hook size: use a smaller hook for tighter stitches or a larger hook for looser stitches. You can resize your garland by altering the starting chain to accommodate more or fewer leaves—just remember to keep a distance of about 6-10 inches between each leaf for a flowing effect. This flexibility allows you to customize the length of your garland, making it perfect for various spaces. Remember, the number of leaves you make will also affect the overall look, so choose a pattern that best fits your home decor and vision for this beautiful fall leaf garland.
Step-by-Step Pattern for Fall Leaf Garland
Row 1: Create Foundation Chain
Begin by crocheting a foundation chain that measures about 5-6 feet in length, depending on how many leaves you want to include. This starting length ensures there is ample room to arrange your leaves with desirable spacing once they are complete.
Row 2: Magic Ring for Leaf Start
To make your first leaf, start with a magic ring. This technique helps create a tight center that will form the leaf’s tip. Pull the loop to tighten, making sure to leave enough space for your initial stitches.
Row 3: Begin Leaf Body
Chain 2 (counts as first dc), then work 9 dc into the magic ring, totaling 10 dc. Pull the magic ring tight so that the stitches form a small circle. This forms the foundation of your first leaf and gives it a cozy, rounded appearance.
Row 4: Create Leaf Shape
For the second round of your leaf, work 1 dc into the first dc, followed by 2 dc into each of the next 9 dc. You should now have 19 dc. This increases the leaf’s width while maintaining a smooth shape for your decorative piece.
Row 5: Form the Leaf Edges
Next, chain 1 and turn your leaf. Now, work 1 sc into the first dc, followed by 1 sl st into each remaining dc. This gives your leaf a delicate finish that beautifully highlights its shape and contours.
Row 6: Continue Making Leaves
Repeat Rows 2-5 to create additional leaves. Aim for 5-10 leaves total for a balanced look. Use different shades of yarn to mimic the vibrant colors of fall. This variety will add depth and joy to your leaf garland.
Row 7: Block the Leaves
Once all leaves are created, consider blocking them to enhance their shapes. Lightly steam or wet block them flat until they dry; this will prevent curling and help maintain their given form.
Row 8: Prepare the Garland String
While leaves dry, take your foundation chain and prepare to attach the leaves. You can use a length of sturdy yarn or string, ensuring it matches the garland’s overall aesthetic. Make sure it’s strong enough to support the weight of the leaves.
Row 9: Attach Leaves to String
Using a tapestry needle, thread the garland securely through the bases of each leaf, spacing them out as desired. Secure each leaf using a sl st to keep them from sliding. It’s essential to keep even spacing to achieve a polished look.
Row 10: Final Touches
After attaching all leaves, examine your garland for any adjustments needed in spacing. Add a few mini pom-poms or beads to intersperse between the leaves if desired to enhance visual interest and a creative flair throughout your fall leaf garland.
Row 11: Display Your Garland
Finally, it’s time to hang your charming fall leaf garland! Drape it across a mantle, window, or even outdoors if weather permits. The vibrant colors and careful stitches will bring warmth and joy to your autumn celebrations.
Row 12: Enjoy Your Work
Take a moment to admire your handiwork. You’ve created a meaningful piece that not only beautifies your home but also showcases your crochet skills. This fall leaf garland is sure to be a delightful conversation starter this season.
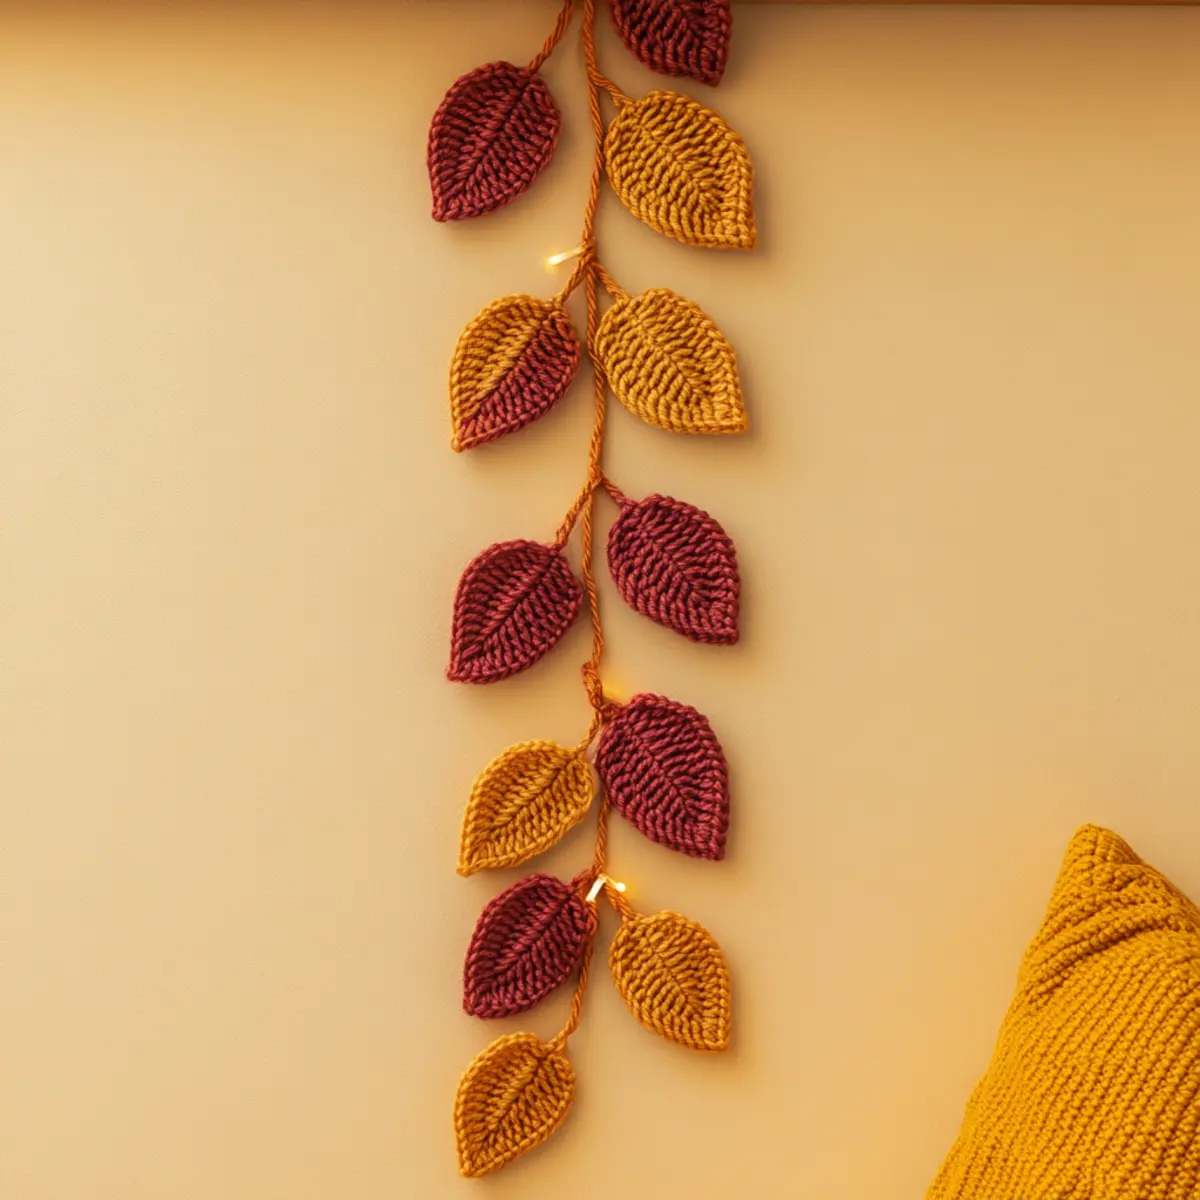
How to Wash and Care for Your Fall Leaf Garland
Machine Washing: Cold, delicate cycle only if necessary; otherwise, spot clean. Machine washing can cause yarn to fray or distort the overall shape of your garland.
Hand Washing: Use lukewarm water with a gentle detergent. Gently agitate your garland to remove any dust or spots, ensuring not to twist or pull the yarn aggressively.
Drying: Always lay your garland flat to dry. Avoid hangers or clips, as they can stretch the yarn and alter the beautiful leaf shapes.
Storage: Store your fall leaf garland in a cool, dry place. Fold it gently or lay it flat in a box to maintain its shape and prevent any damage over time.
fall leaf garland
Feel free to customize your project to reflect your unique style and preferences!
- Yarn options: Opt for a blend of cotton or bamboo for a softer touch and eco-friendly choice.
- Color combinations: Use pastel or neon shades for a whimsical spring version, perfect for brightening up your decor.
- Size adjustments: Make smaller leaves for a more delicate garland or larger leaves for a bold statement piece; both options bring distinct visual impact.
- Texture variety: Incorporate different stitch techniques, such as bobbles or shells, to create a textured look and enhance the tactile experience.
- Seasonal adaptations: Add flowers for spring or snowflakes for winter, giving you year-round charm while adapting the base garland technique.
Consider experimenting with differing leaf shapes too; this approach can introduce rhythm and variety to your design. Grouping leaves into clusters rather than a straight line can create a more dynamic and eye-catching display. Don’t forget to explore possibilities with additional yarns for enhancing the visual complexity and character of your garland.
- Embellishments: Add beads or bells to the tips of leaves for a festive flair. Simple beads that reflect sunlight will give your garland an enchanting sparkle.
Expert Tips for the Best Fall Leaf Garland
Stay Focused: Keep track of each leaf’s count using stitch markers to avoid losing your count and maintain consistency.
Foundation Chain Check: Ensure your foundation chain is the right length for your garland by measuring it against the desired final look, avoiding a tight or uneven display.
Leaf Shape Perfection: When crocheting your leaves, use the magic ring technique for a centered and professional finish, preventing any floppy tips.
Consistent Tension: Maintain even tension while crocheting to prevent your leaves from differing in size—this creates a polished and professional appearance.
Blocking Benefits: Don’t skip blocking! This crucial step helps shape your leaves, preventing any curling and ensuring they lay flat and look consistent once attached.
Creative Experimentation: Try mixing colors and leaf shapes to personalize your fall leaf garland, making each piece uniquely yours and enhancing its visual appeal.
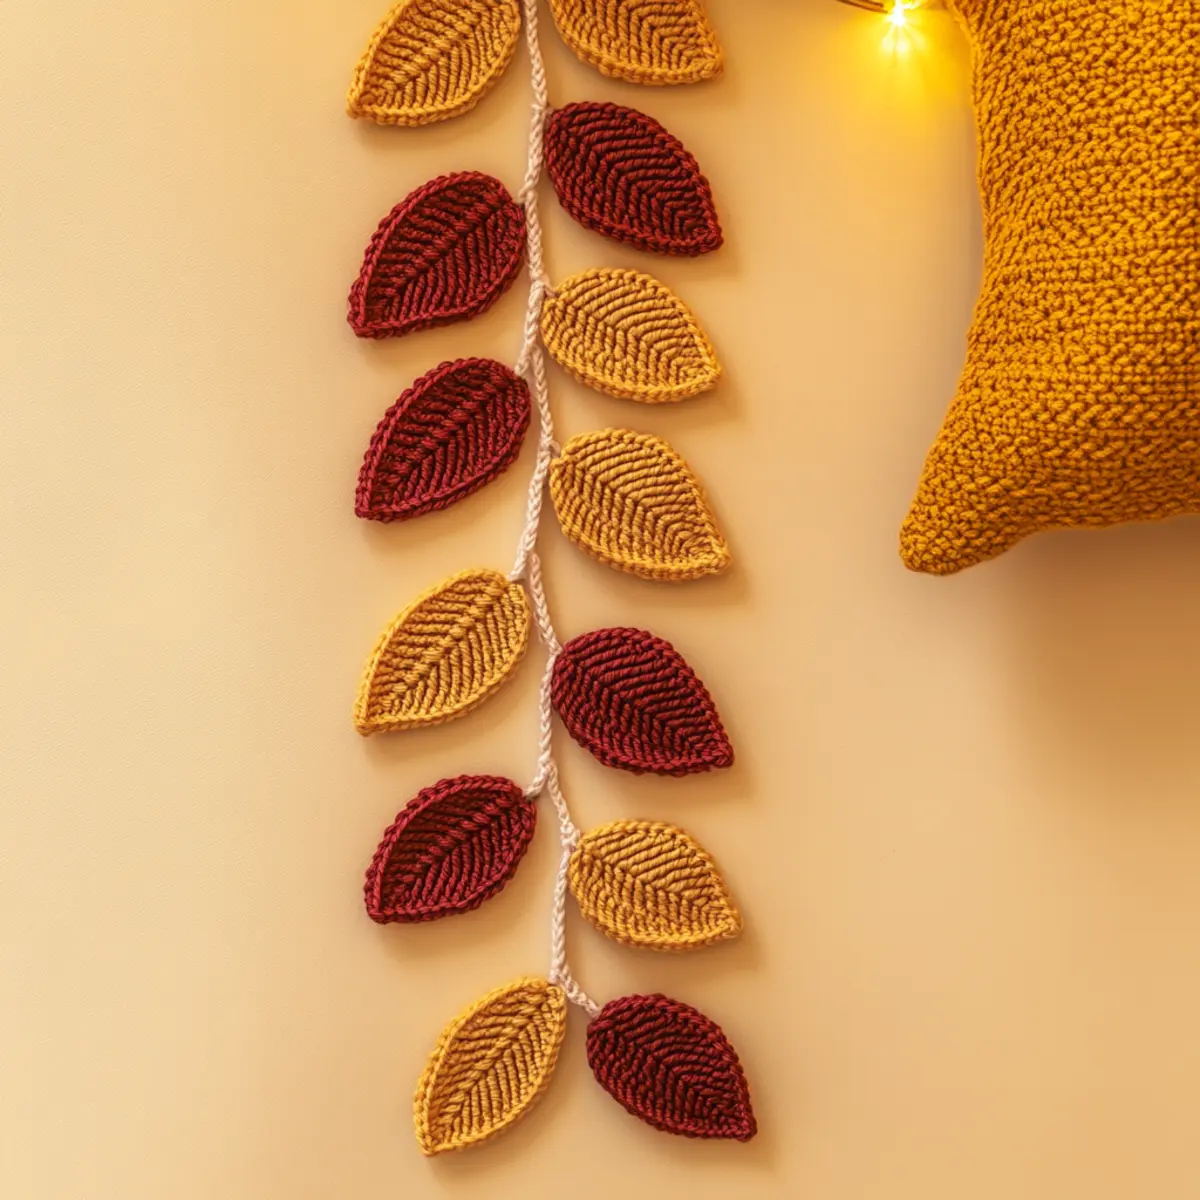
Fall Leaf Garland FAQs
Can I use different yarn types for the garland?
Absolutely! While medium weight worsted yarn works best, feel free to use any colorful yarn you have on hand. Just ensure it’s easy to work with and compatible with your crochet hook size.
How do I adjust the sizing of my fall leaf garland?
To modify the size, adjust the foundation chain length based on how many leaves you’d like and how far apart you want them. A typical spacing is about 6-10 inches between each leaf for a flowing effect.
What if my leaves start to curl?
Don’t panic! You can block them after crochet. Lightly steam or wet block them flat until dry, as this will help them lay better and maintain their shape.
Which hook size should I use for the best results?
Using a hook in the range of 4.5 mm to 5.0 mm (G/6 to H/8) creates a well-structured leaf. If your stitches seem too tight or too loose, consider adjusting your hook size accordingly.
Can I add different decorations to my garland?
Definitely! Consider adding beads, small pom-poms, or even lights in between the leaves for an extra touch of charm. Personalizing your garland enhances its festive spirit.
How can I store my fall leaf garland when not in use?
Store your garland folded neatly in a cool, dry place, or even flat in a box. Avoid hanging it, as this could stretch and distort the leaf shapes.
Leave a Reply