
As I sat on my sunny porch, a cozy blanket draped over my legs, I couldn’t help but feel inspired to tackle one of crochet’s most fundamental techniques: increasing. This essential skill opens the door to a world of creativity, allowing you to create everything from charming amigurumi to chic bags and stylish garments. You’ll love how this beginner-friendly guide on “Essential Increases in Crochet: Master Any Stitch” makes the process not only simple but also satisfying. With just a couple of extra stitches, you’ll effortlessly widen your projects, creating neat and professional shapes that dazzle. Plus, it’s a fantastic way to use up yarn scraps in your stash! Ready to expand your crochet horizons? Let’s dive in and uncover the secrets to mastering increases together!
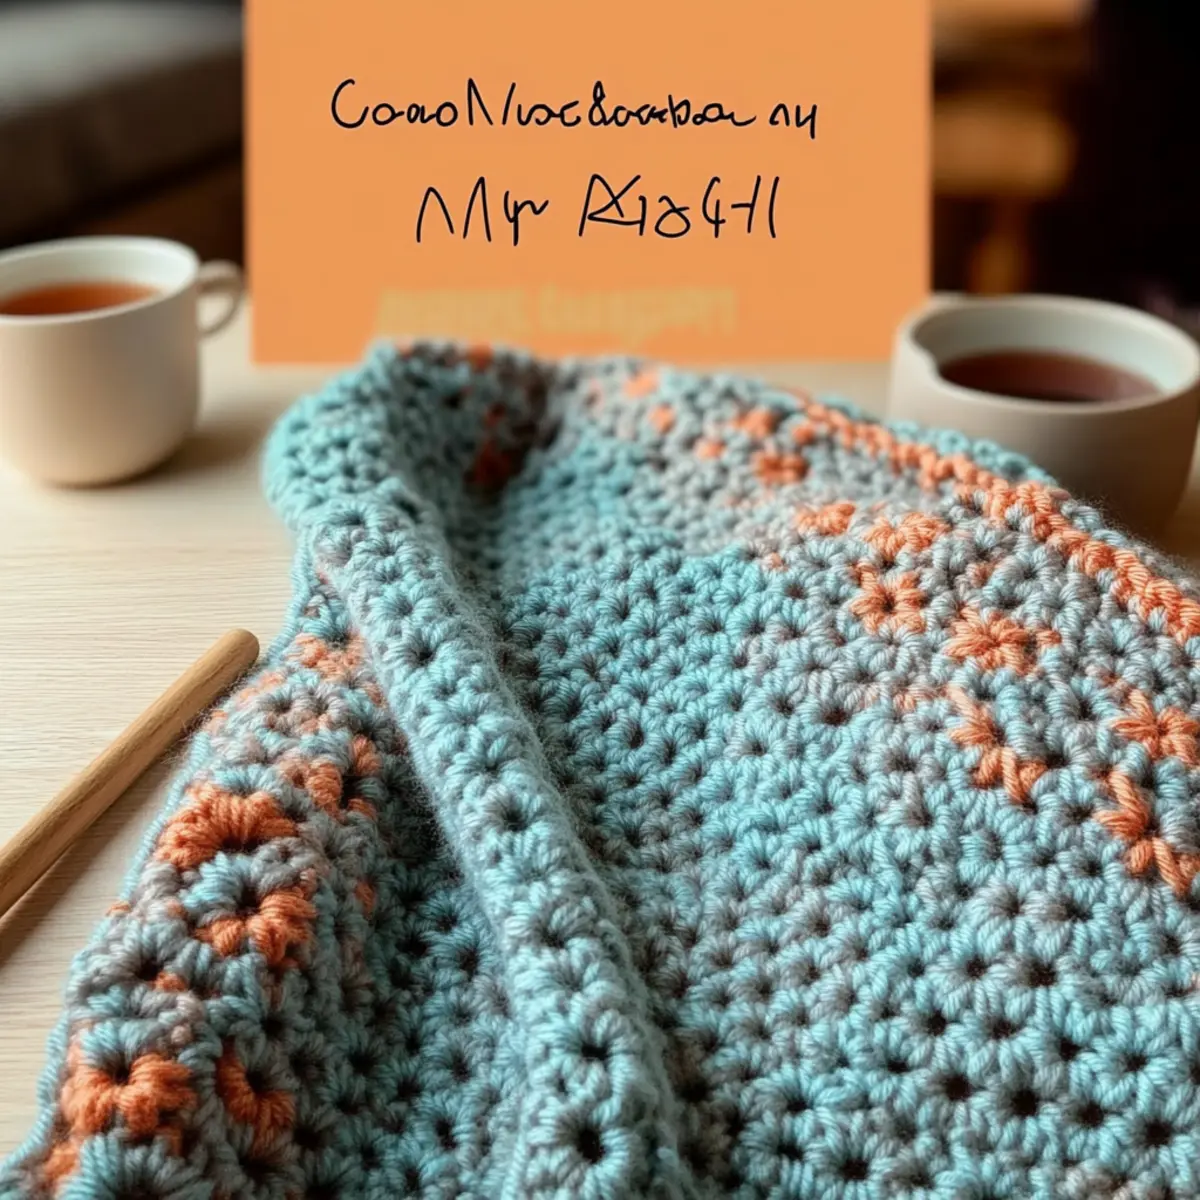
Master Essential Increases in Crochet Materials & Tools
• Get ready to explore the world of crochet increases with these essential supplies!
Yarn
- Any Yarn Weight – Use the yarn weight that suits your project; the increasing technique adapts beautifully to any thickness!
Tools & Notions
- Appropriate Crochet Hook – Select a hook size that matches your selected yarn; typically, a 4.0mm (G) to 5.5mm (I) works well for most beginners.
- Tapestry Needle – Essential for weaving in ends and finishing off your projects neatly.
- Stitch Markers (optional) – Helpful for tracking pattern repeats and ensuring your increases are on point!
With just these simple materials, you’ll be all set to master those essential increases in crochet!
Why Are Increases So Important in Crochet?
Essential Technique: Mastering increases is crucial for creating beautiful shapes in your crochet projects, enabling you to transition from flat to dimensional designs seamlessly.
Perfect for Beginners: This beginner-friendly skill opens numerous doors in your crafting journey, perfect for creating amigurumi, bags, or garments effortlessly.
Versatile Applications: You can adapt this technique for various patterns, allowing you to customize your projects with ease. Dive deeper into other shaping techniques to enhance your crochet repertoire.
Satisfying Results: Experience the joy of creating perfectly shaped items with just a couple of extra stitches, transforming your projects from basic to breathtaking.
Stash-Friendly: It’s a fantastic way to use up leftover yarn and unleash your creativity. Don’t forget to check out our guide on how to choose the right yarn for your next creation!
Gauge & Sizing Notes
Don’t skip the gauge swatch! Checking your tension is vital when mastering increases in crochet to ensure your projects come out just right. For this technique, a standard gauge measurement is 4×4 inches (10×10 cm) square = 14 double crochets by 8 rows. If you’re hoping to customize the size of your piece, remember to adjust your starting chain or rounds in multiples of 2 for the increases. If your swatch ends up smaller than expected, simply switch to a larger hook size for a looser tension, or if it’s too large, go down a hook size. Embrace the journey of finding your perfect gauge with increases in crochet to create stunning shapes!
Step‑by‑Step Pattern for Essential Increases in Crochet
Row 1: Foundation Chain
Start by making a slip knot and chaining 10 stitches (ch 10). This will form the foundation of your work. Be sure to keep your tension even, as a consistent chain will create a neat base for your increases. Your work should lay flat and should measure about 3 inches wide.
Row 2: First Single Crochet Increase
In the second chain from the hook, work one single crochet (sc) and then, into the same chain, work another single crochet (sc). You’ve just created your first increase! Continue this pattern, placing two single crochets in each chain across the row. Your stitch count should now be 18 stitches (18 sts) by the end of this row, and your work should begin to widen noticeably.
Row 3: Continuing the Increases
Now, chain 1 and turn your work. This row will include your increases again. In the first stitch, work one single crochet (sc), and in the next stitch, work two single crochets (sc, inc). Continue this pattern of one single crochet followed by an increase in the next stitch across the row for a total of 27 stitches (27 sts). Your work should have a slight curvature as it expands.
Row 4: Building with Double Crochet Increases
To add texture, chain 3 and turn your work. Begin by working one double crochet (dc) in the first stitch, followed by two double crochets (dc, inc) into the next stitch. Repeat this across the row. You’ll see your piece starting to take on a dome shape with increases. Your stitch count should reach 36 double crochets (36 sts) by the end of this round.
Row 5: Shaping Further
After chaining 3, turn your work again. In the first stitch, work one double crochet (dc), then in the next stitch, work two double crochets (dc, inc). Continue this pattern across the row until you finish with 54 double crochets (54 sts). Your project should start to significantly curve upwards, creating a lovely rounded silhouette.
Step 6: Finalizing the Increase Section
Chain 1 and turn your work. For the last row of increases, in the first stitch, work one double crochet (dc), one double crochet in the next stitch, and increase in the following stitch (dc, inc). Repeat all the way across to finish this section. Your total stitch count should be 72 double crochets (72 sts). This completes your increase section, providing a beautiful base for your next crochet project.
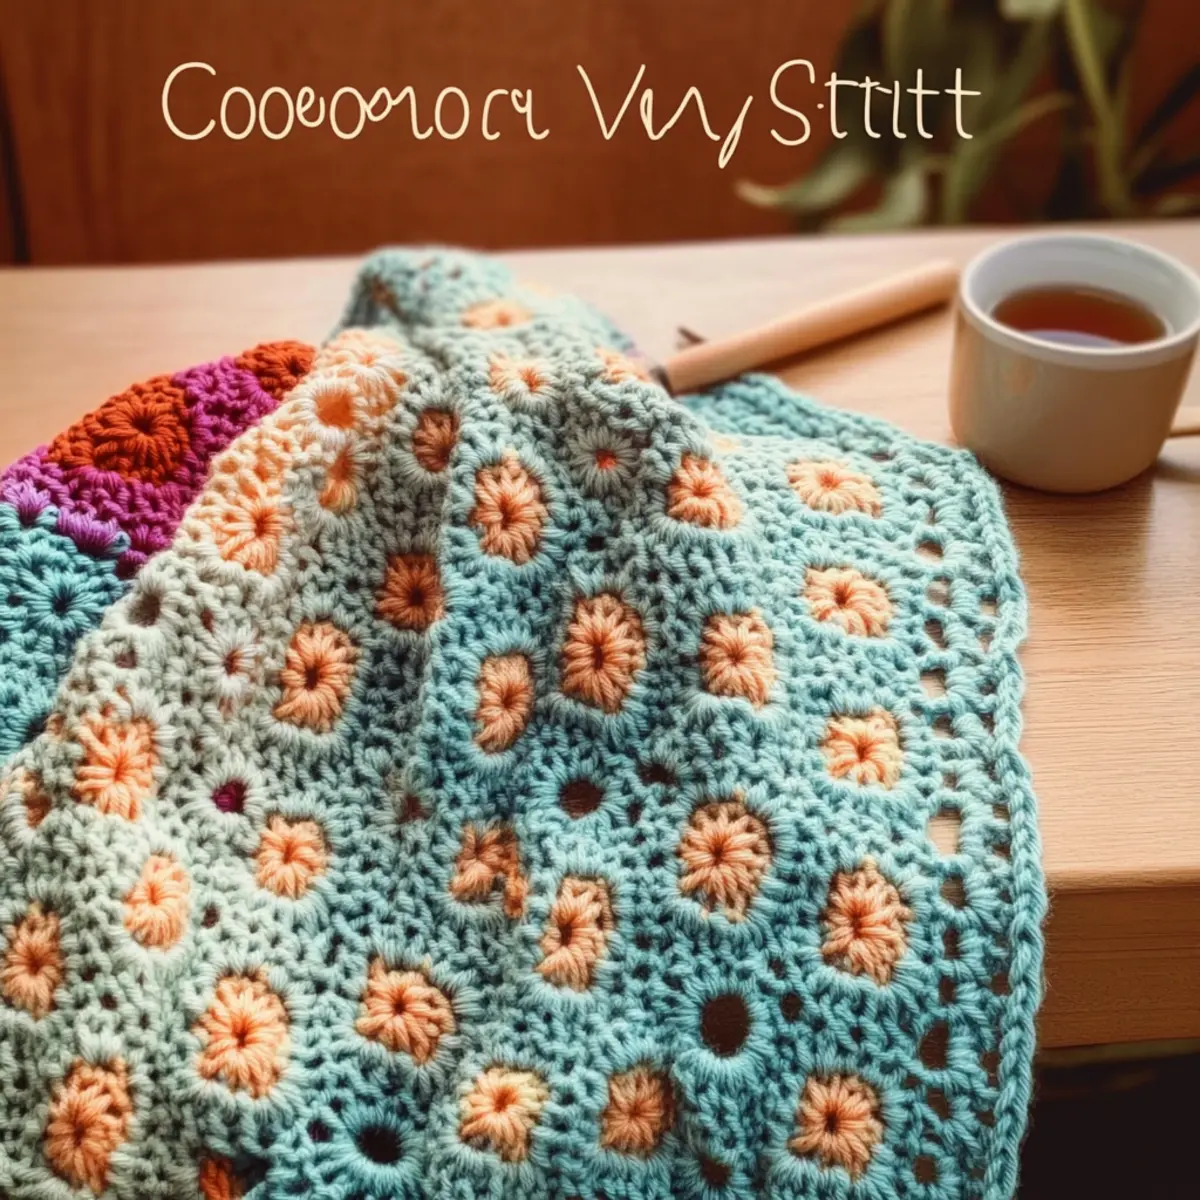
Care Instructions for Your Crochet Projects
-
Machine Washing: Use cool water on a gentle cycle to protect your crochet piece. Be sure to place your project in a mesh laundry bag to minimize agitation and prevent stretching.
-
Hand Washing: For best results, gently wash your crochet in cool water with a mild detergent. Swirl it softly—avoid rubbing or twisting, as this can lead to distortion of your beautiful shapes.
-
Drying/Blocking: Lay your finished project flat on a clean towel to dry. If you want to maintain or enhance the shape, consider lightly blocking by pinning it to a flat surface until fully dry.
-
Storage: Store your crochet creations in a cool, dry place away from direct sunlight. Use breathable bags to keep dust away while allowing your projects to breathe, ensuring longevity.
Expert Tips for Perfect Increases
-
Keep Count: Regularly count your stitches to prevent losing your place. A missed count can lead to imbalances in your project’s shape.
-
Avoid Overcrowding: Be cautious about fitting too many increases in a small space, as this can cause puckering. Focus on even spacing.
-
Use Stitch Markers: Consider using stitch markers to track increases easily in each round or row, especially for complex patterns.
-
Finish Neatly: To make your increases look professional, ensure the stitches are uniform in height and tension, which enhances the overall appearance of your project.
-
Practice Makes Perfect: Try out your increases on a scrap piece before diving into your main project. It’s a great way to perfect your technique!
-
Relax Your Grip: Keep your tension relaxed while working on increases. Being too tight can lead to snags and uneven shapes in your work.
Increases in Crochet Variations
Feel free to explore these delightful variations to personalize your crochet projects.
-
Yarn Weight Swaps: Switch to a thicker yarn for a more textured look or a lighter one for delicate items. The choice of yarn can dramatically alter the feel of your finished project.
-
Fiber Alternatives: Experiment with cotton instead of acrylic for a breathable summer bag. Each fiber brings its unique qualities, enhancing the overall aesthetic.
-
Color-Blocking Ideas: Try introducing a new color every few increases for a fun and trendy effect. This simple twist can turn a standard piece into a vibrant work of art!
-
Sizing Adjustments: Increase the number of stitches in a grouping for larger pieces, or opt for fewer increases to create compact designs. Crafting your size opens up a world of possibilities.
-
Textured Modifications: Add pom-poms or fringe along the edges for a playful touch. These additions bring character and depth, taking your project from basic to extraordinary.
-
Double Crochet Variation: Use double crochet stitches for your increases to achieve a bulkier effect, perfect for warm winter wear. This can help you create coziness with added plushness.
-
Border Enhancements: Finish your piece with a decorative border after increasing to polish it off beautifully. A border can frame your work and add a finished look that elevates your project.
-
Layered Techniques: Combine different increase techniques in one project for unique shapes and surfaces. Mixing styles can result in an extraordinary, artisanal feel to your work.
While you’re at it, don’t miss our guide on stitch markers to help track your progress effortlessly! Each variation you try will enhance your skills and allow for endless creativity.
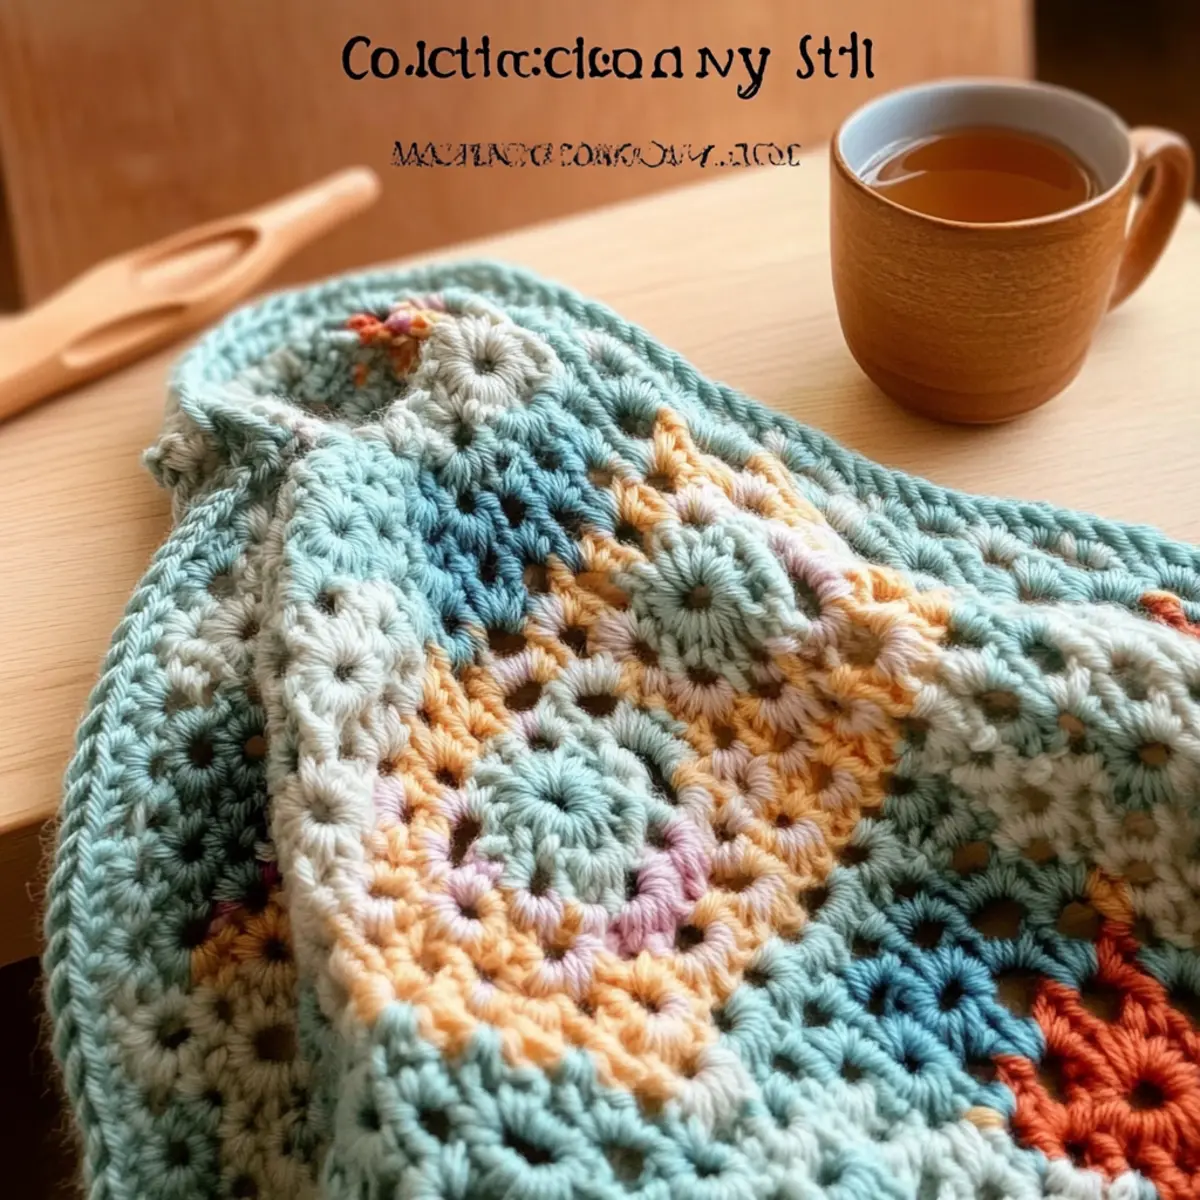
Essential Increases in Crochet: Master Any Stitch FAQs
Can I substitute yarn for this project?
Absolutely! The increasing technique can be used with any yarn weight. Just keep in mind that if you decide to swap acrylic for cotton or a thicker yarn, you may need to adjust your hook size for the best results.
How do I adjust the size of my project using increases?
Don’t panic! To make your project bigger, simply increase in more stitches where indicated. For a smaller project, reduce the number of increases as per your pattern requirements. It’s a simple adjustment that can change everything!
Why is my work curling when I increase?
If your crochet is curling, it might be due to over-tightening your stitches or too many increases in a small area. Try loosening your grip and ensure you’re spreading those increases out evenly. This should help flatten things out!
What hook size should I use for increases?
The hook size you choose depends on your yarn weight. Always refer to the yarn label for recommendations, but a good rule of thumb is to use a hook one size larger than suggested to give your increases room to breathe.
How do I fix dropped stitches while increasing?
It’s an easy fix! Simply locate the dropped stitch and use your tapestry needle to weave it back up to the proper position. Make sure to follow the flow of your stitches to keep everything looking neat and clean.
Can I practice increases on a scrap piece?
Yes, absolutely! In fact, I recommend it. Practicing on a scrap piece allows you to perfect your technique without the pressure of a main project. Plus, it’s a great opportunity to see how different yarns and hook sizes affect your increases!
Leave a Reply