
There’s something uniquely delightful about crafting an adorable plush friend, especially when that friend is an Emotional Support Chicken! This beginner-friendly amigurumi project is not just a quick way to embrace your creativity; it’s also a soft, squishy companion designed to brighten your day. With just a few simple stitches using super bulky yarn, you’ll whip up this charming chicken in no time. Not only is this pattern perfect for building your crochet confidence, but it also offers endless possibilities for customization—think colorful flocks or quirky features that reflect your personality. So, let’s gather our supplies, set aside a little time, and dive into this whimsical world of crochet that promises both comfort and joy. Are you ready to create your own cuddly comforter?
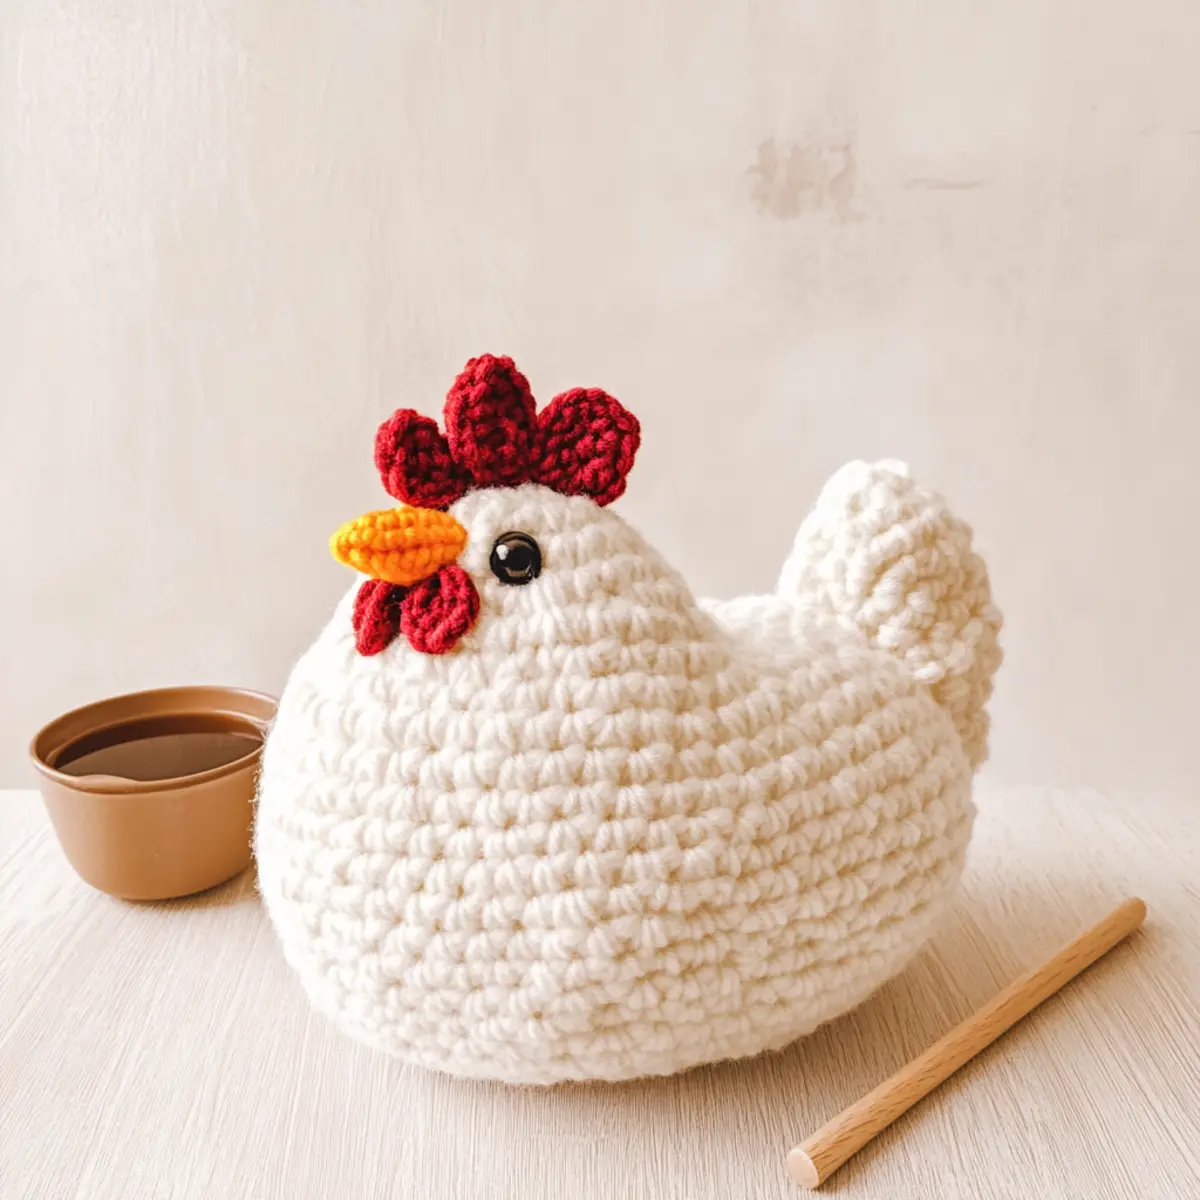
Emotional Support Chicken Materials & Tools
Get ready to gather your supplies for this cozy, cheerful project!
Yarn
- Super Bulky Chenille Yarn – Approximately 100 yards (93 meters) is needed; Bernat Blanket is a fantastic choice for its softness!
- Scraps of Red Yarn – A small amount for the comb; it can really pop against your chicken’s body color.
- Scraps of Orange Yarn – A bit is needed for the beak, adding a playful touch to your creation.
Tools & Notions
- 6 mm (J/10) Crochet Hook – The perfect size for working with chunky yarn and making those plush stitches.
- 12 mm Safety Eyes – Choose these for a cute and whimsical look, especially for your chicken’s face!
- Yarn Needle (Tapestry Needle) – Essential for weaving in ends and finishing your project beautifully.
- Polyfil Stuffing – Use to fill your chicken for a huggable finish that provides comfort.
- Stitch Markers – Locking ones are ideal to help keep track of your rounds as you crochet.
Let your creativity flow and enjoy crafting your Emotional Support Chicken!
Why Is This Chicken So Special?
Beginner-Friendly: Whether you’re new to crochet or a seasoned pro, this pattern welcomes all skill levels, making it a perfect choice for anyone eager to create.
Quick and Enjoyable: With just a few hours of work, you’ll transform super bulky yarn into a delightful plush companion that’s sure to bring smiles.
Customizable Creations: Feel free to get creative! Use unique yarn colors to craft an entire flock of Emotional Support Chickens that showcase your personality and style.
Huggable Texture: The plush, squishy feel of the finished chicken makes it the ideal cuddle buddy, offering warmth and comfort.
Perfect Gift Idea: Spread joy by gifting this cheerful chicken to friends or family as a thoughtful gesture during difficult times; they’re bound to appreciate this adorable creation!
Embrace the joy of crafting and consider checking out our guide on amigurumi techniques to refine your skills further!
Gauge & Sizing Notes
Don’t skip the gauge swatch! Ensuring your tension is just right is key when crocheting your Emotional Support Chicken, as it affects the final size and overall look of your plush creation. For this project, your gauge should measure 4×4 inches (10×10 cm) as 14 single crochets by 8 rows. If you find that your swatch is off, adjusting the size is simple: to make your chicken larger, increase your starting chain in multiples of 6, while for a smaller chicken, decrease your starting stitches. If your swatch is too small, try using a larger hook size; crochet can vary from one hook to another, so don’t worry—finding the perfect fit for your Emotional Support Chicken is part of the crafting journey!
Step‑by‑Step Pattern for Emotional Support Chicken
Row 1: Magic Ring & First Stitches
Start your Emotional Support Chicken by creating a magic ring. Work 7 single crochets (sc) into the ring, pulling it tight to close (7 sts). This will form the base of your chicken, and the magic ring creates a seamless start.
Row 2: Increasing Round
Now, let’s make your chicken a little plump! Work 2 sc in each stitch around for a full round (14 sts). At this stage, your work should begin to curve, giving the chicken a round shape.
Row 3: Continuing to Expand
For this round, you’ll work an increase pattern. Start with 1 sc in the first stitch, then 2 sc in the next (1 sc, inc) across the round (21 sts). Your chicken should start to look more defined and rounded at this point.
Row 4: More Increases
Continue increasing by working (2 sc, inc) all around the round (28 sts). This will help your Emotional Support Chicken gain some size and fullness.
Row 5: Solid Base Formation
Switch to a round of single crochet to build the body. Work 1 sc in each stitch around (28 sts). This round settles the increases, providing a solid structure as we continue to shape the body.
Rows 6-9: Building Height
For the next four rounds, work 1 sc in every stitch around for a total of four rounds (28 sts each). Your chicken should now be getting taller and more plushy, perfect for snuggles!
Row 10: Preparing for Decrease
Now, we will start to decrease some stitches. Work (2 sc, dec) all around this round (21 sts). As you decrease, your chicken will start to shape into its final form, looking more like a cuddly companion.
Row 11: Reducing Further
Continue decreasing with (1 sc, dec) around the round (14 sts). Stuff your Emotional Support Chicken as you go; it should become round and huggable with each added bit of stuffing.
Row 12: Final Closing Round
Finish off with a round of (dec) around (7 sts). Your chicken’s form will be quite snug now, and it should stand freely. Tightly close the magic ring and weave in any loose ends.
Step 1: Beak and Comb
For the beak, use orange yarn to create a tiny triangle using 3 sc, then slip stitch to attach between the safety eyes. For the comb, chain 8 in red yarn, then return with slip stitches into the back loops only. Attach this stylized piece on top with a slip stitch.
Step 2: Assembly
Finally, carefully stuff the chicken if you haven’t yet; aim for a plush and cuddly shape. Make sure everything is securely closed, and adjust any features for symmetry. Your Emotional Support Chicken is now complete and ready to bring comfort!
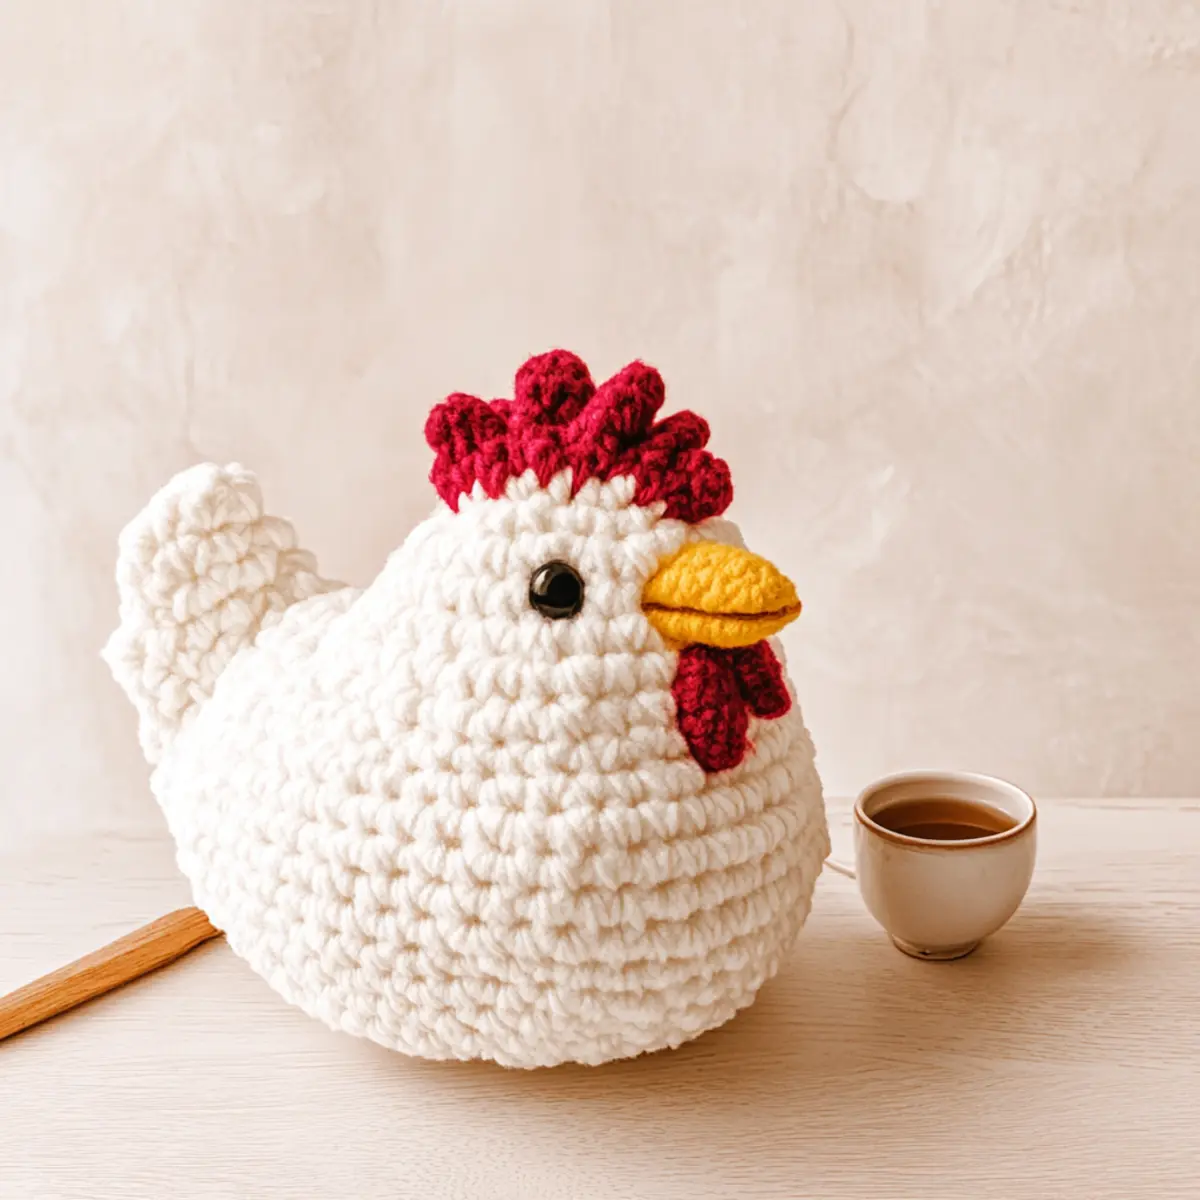
Variations & Substitutions for Emotional Support Chicken
Feel free to let your creativity soar while crafting your Emotional Support Chicken with delightful customization options!
-
Yarn Weight Swaps: Experiment with bulky cotton yarn for a lighter chicken that’s perfect for warmer climates. The texture will remain plush yet breathable.
-
Color-Blocking Fun: Use two contrasting colors for the body, such as a sunny yellow and a soft white, to create a striking visual appeal. Playful patterns add charm!
-
Textured Comb: Instead of a traditional comb, try using a textured yarn with a fun pattern. This will bring depth and personality to your chicken.
-
Height Adjustments: Add extra rounds to the body for a tall chicken or skip rounds for a chubbier look. Cohesion in sizes among a flock can be visually delightful!
-
Fiber Alternatives: Swap out super bulky yarn with a super soft acrylic for the same huggable result but with a different feel. Both options give their unique characteristics!
-
Custom Embellishments: Use tiny buttons, bows, or stitched designs on the belly to make each chicken uniquely yours. This adds personal touches that truly elevate your creation.
-
Pom-Pom Accents: Add pom-poms to the tail or feet for a playful element that enhances whimsy. It’s a simple way to introduce fun without extra crochet headaches!
-
Whimsical Eyes: Instead of classic safety eyes, consider using oversized buttons or embroidered faces. This will give your chicken a quirky and cheerful expression.
Embrace the joy of crafting and maybe guide your crochet journey with our tips on amigurumi personalization to make each plush creation truly special!
How to Wash and Care for Your Emotional Support Chicken
-
Hand Washing: Gently hand wash in cold water using mild soap to preserve the plush texture of your chicken. Avoid harsh detergents that could affect your yarn’s softness.
-
Avoid Agitation: When cleaning, avoid vigorous scrubbing or agitation to prevent felting or pilling. Treat your chicken with care for a long-lasting cuddle buddy.
-
Drying: After washing, lay your Emotional Support Chicken flat on a clean towel to dry. Reshape gently while damp to maintain its adorable form!
-
Storage: Keep your chicken in a cool, dry place away from direct sunlight to prevent fading of the vibrant colors and maintain its cuddly charm.
Expert Tips for Your Emotional Support Chicken
-
Count Stitches: Regularly check your stitch count at the end of each round to maintain the chicken’s shape and avoid any unexpected size discrepancies.
-
Gauge Matters: Although this pattern doesn’t require a specific gauge, working a tension swatch can help ensure that your stitches align perfectly with the chunky yarn, resulting in a plush finish.
-
Stuffing Technique: When filling your chicken, add polyfil gradually. This allows you to control the firmness and shape, ensuring a nicely rounded torso.
-
Safety First: If your plush chicken is a gift for a child under 3, consider skipping the safety eyes and embroidering eyes instead. This makes the chicken safe and sweet!
-
Creative Details: Don’t hesitate to improvise with your Emotional Support Chicken! Add unique details like funny eyes or vibrant combs to really make your design stand out while still keeping it beginner-friendly.
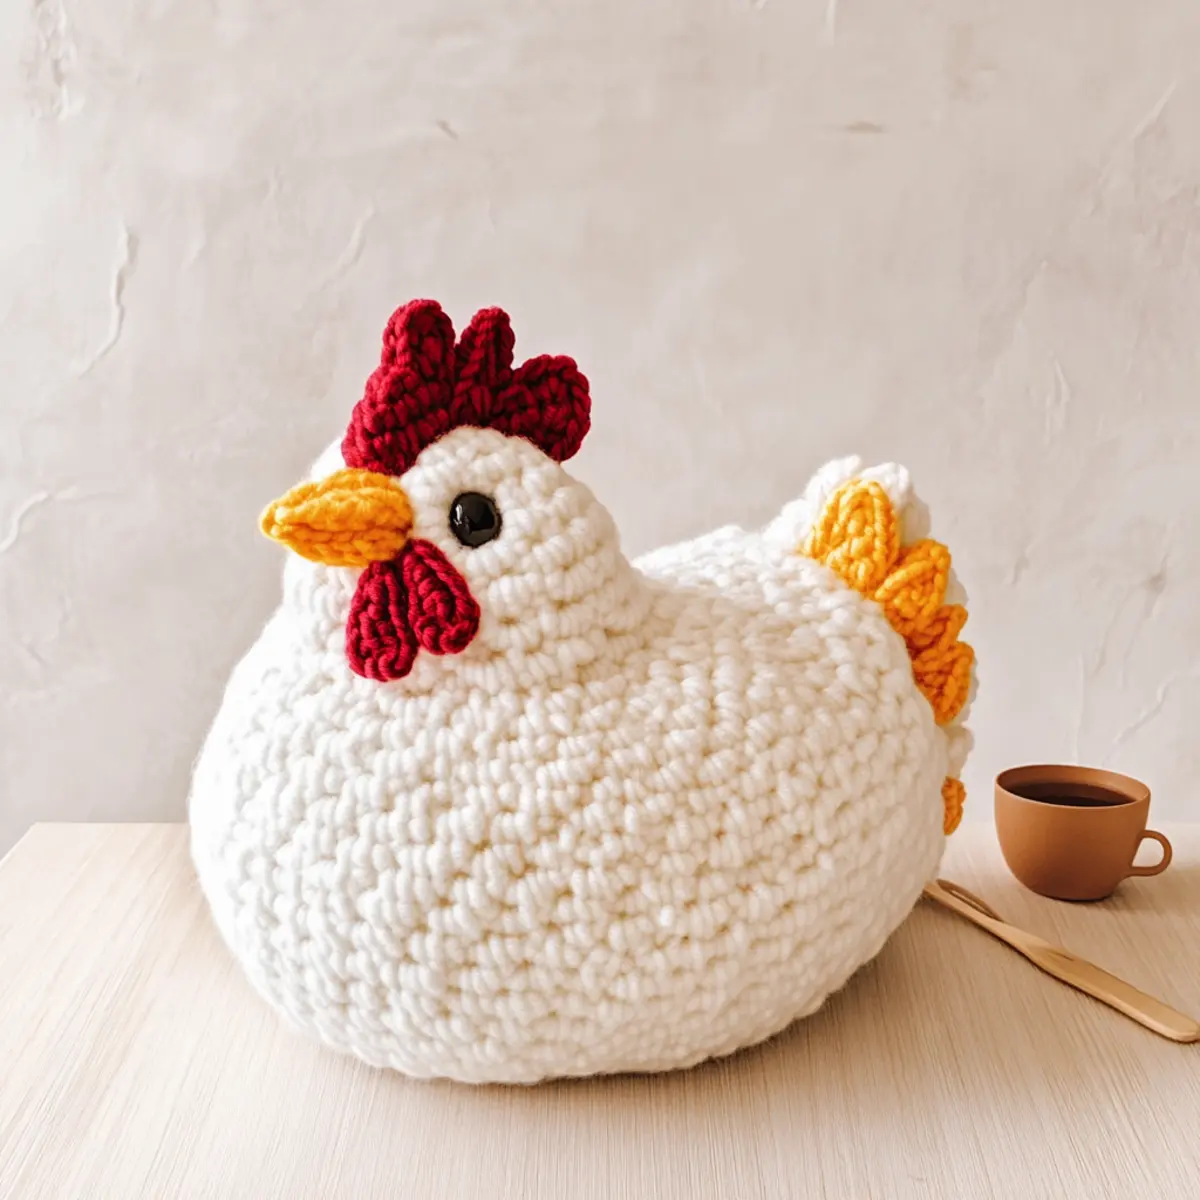
Plush Amigurumi Emotional Support Chicken FAQs
Can I use a different type of yarn instead of super bulky chenille?
Absolutely! While I recommend super bulky chenille for its plush texture, you can substitute with any bulky yarn. Just keep in mind that the finished size and softness may vary. If you’re using a lighter yarn, consider adjusting your hook size to maintain that lovely squishiness!
How do I make my chicken bigger or smaller?
It’s quite simple! To increase the size, just add more rounds to the body section. Aim for an even increase: every additional round can include 1 sc followed by an increase to keep the shape balanced. If you want it smaller, reduce the number of rounds or stitches in your circular increases.
Why does my work keep curling at the edges?
Don’t panic! This can happen if your stitches are too tight or if you inadvertently skipped stitches. Make sure to check your tension and relax your hands as you crochet. If your circle is buckling like a bowl, try adding a few more increase rounds!
What hook size should I use for this pattern?
For this plush chicken, a 6 mm (J/10) hook is recommended. This size works perfectly with super bulky yarn to create that lovely plush feel while allowing for easy maneuvering—especially important for beginners!
How can I avoid dropped stitches while crocheting?
To prevent dropped stitches, always take your time and check your work after each round. If you notice a missed stitch, simply unravel a few stitches back to that point and re-crochet. Additionally, using stitch markers can help you stay on track and catch problems early.
Can I personalize the chicken’s features?
Of course! Embrace your creativity! You can adjust the eyes’ size, add fun accessories like bows or hats, or even use varied colors for a unique look. Just remember, each chicken you create can reflect your own style and warmth!
Leave a Reply