
Last-minute plans can often lead to a mini crisis, especially when you realize your favorite handbag doesn’t match your outfit! That’s where this Elegant One-Ball Crochet Handbag comes to the rescue. Designed to be beginner-friendly, this pattern not only works up quickly but also allows you to unleash your imagination with color combinations—perfect for crafters looking to express their unique style. With just one ball of t-shirt yarn, you can create a gorgeous accessory that’s both functional and fashionable, making it ideal for any occasion. So, whether you’re heading out for coffee or an evening out, this customizable handbag will elevate your look. Ready to dive in and create a bag that reflects your personality? Let’s stitch some magic together!
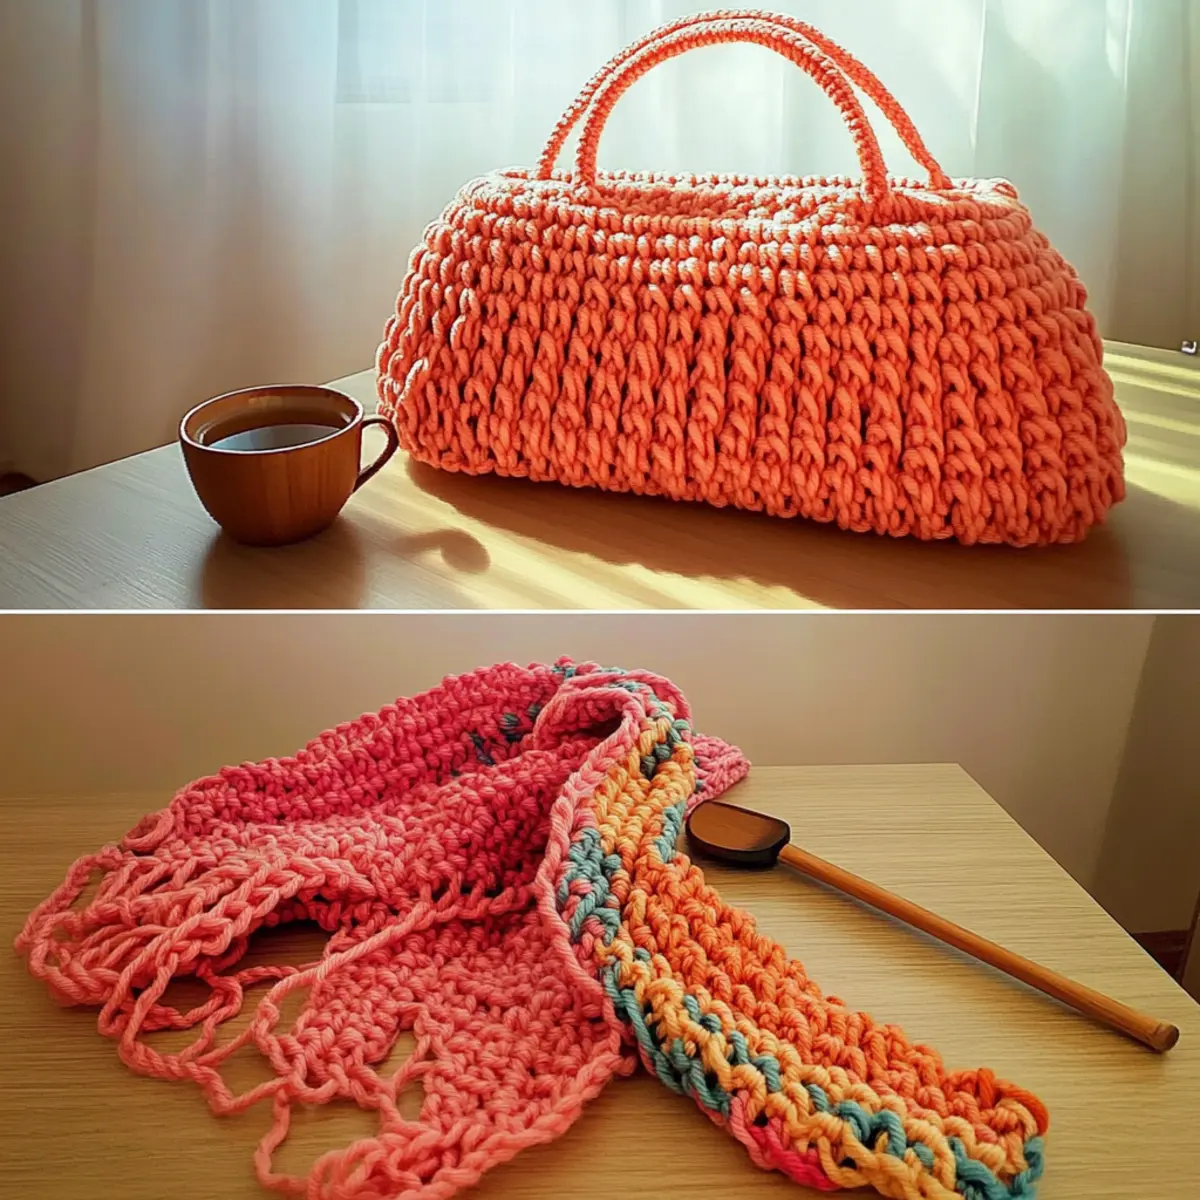
Chic Beginner-Friendly Crochet Handbag Materials & Tools
Note: This elegant one-ball crochet handbag combines style and functionality, making it a delightful project for crafters!
-
Yarn
-
T-shirt Yarn – Use medium weight (100-150 meters or around 110-165 yards) for a sturdy and stylish finish.
-
Tools & Notions
-
10 mm (US N-15) Hook – Large hook size allows for quick stitches, shaping the bag effortlessly.
-
Stitch Markers – Essential for marking stitch counts and keeping track of increases.
-
Tapestry Needle – Use for weaving in yarn ends neatly for a polished look.
-
Scissors – Handy for cutting yarn cleanly as you finish your project.
Why Is This Handbag So Special?
Beginner-Friendly: The straightforward design uses basic stitches, making it perfect for new crocheters eager to create something beautiful without feeling overwhelmed.
Quick to Complete: With just one ball of yarn needed, you can swiftly whip up this chic handbag, ideal for those last-minute outings or gifts.
Stylishly Customizable: Feel free to explore various color combinations or add your touch with a lining or pocket, showcasing your unique preferences.
Durable Fabric: Made from t-shirt yarn, this bag boasts a sturdy yet flexible texture, ensuring it holds its shape while remaining practical for daily use.
Aesthetic Appeal: The elegant design pairs perfectly with any outfit, making it a must-have accessory for both casual and dressy occasions.
Gauge & Sizing Notes
Don’t skip the gauge swatch! Ensuring your crochet tension is just right is essential for the Elegant One-Ball Crochet Handbag to have the perfect fit and structure. For this project, a standard gauge measurement is a 4×4 inch (10×10 cm) square that consists of 10 single crochets by 12 rows. If you want to adjust the size of your handbag, simply increase your starting chain in multiples of 3 to make it wider, or add additional rows as needed. If your tension swatch turns out too small, try switching to a larger hook size for a more spacious finish. Happy crocheting!
Step‑by‑Step Pattern for Elegant One-Ball Crochet Handbag
Row 1: Foundation Chain
Begin by chaining 31 stitches using your medium-weight t-shirt yarn. Starting from the second chain from the hook, single crochet (sc) in each stitch across the chain until you reach the end. Your work should measure approximately 30 stitches at the end of this row (30 sts).
Row 2: Back Loop Sc
Do not chain 1 to start Row 2. Instead, sc through the back loop only for the first 15 stitches to create a subtle texture. In the 15th stitch, perform an increase by making another sc in the same stitch before placing a stitch marker. Your work should start to cup slightly at this stage (16 sts).
Row 3: Repeat Back Loop Sc
Continue working in the same manner as Row 2: sc through the back loop for the first 15 stitches, then increase by sc in the marked stitch from the previous row. Be mindful of your stitch count as you create this beautiful fabric. At the end of this row, you should have 17 stitches (17 sts).
Row 4: Continuing Back Loop Sc
Repeat the pattern of Row 3 to gradually increase your stitch count. Sc through the back loop for 15 stitches, then place another increase in the marked stitch. This will help define the bag shape. Your work should now have a total of 18 stitches (18 sts).
Row 5: Roll into the Next Row
Keep the rhythm going! Sc in the back loop for 15 stitches once again, followed by another increase in the marked stitch. This row continues to grow your stitching into the handbag structure. Your total stitch count at this point should be 19 stitches (19 sts).
Row 6: Final Increase Row
As you approach the bag shape, repeat the method from Row 5, ensuring you sc through the back loop for 15 stitches and increase in the marker stitch. This step strengthens your base for stability. Your count will rise to 20 stitches by the end of this row (20 sts).
Row 7: Sc Without Increasing
For Row 7, maintain momentum by single crocheting in each stitch without any increases to form a more structured body. This section will help to balance out the handbag shape. Your stitch count remains consistent at 20 stitches (20 sts).
Rows 8-10: Repeat Sc
Continue working each row by sc in each stitch across without increases for three consecutive rows (Rows 8-10). This consistent stitching will help firm the bag’s body. After Row 10, your count will still total 20 stitches (20 sts).
Row 11: Begin Decreasing
Start reducing your stitch count to shape the handbag. In Row 11, omit a sc in two evenly spaced stitches while continuing to sc in the others. This technique will gradually create the bag’s form. Your total should now decrease to 18 stitches (18 sts).
Row 12: Continue Decreases
Repeat the decrease pattern from Row 11, being mindful to evenly omit stitches. Keeping the bag’s shape symmetrical is key. By the end of this row, you should have 16 stitches remaining (16 sts).
Step 13: Assembly
Fold your piece in half, aligning the edges. Begin slip stitching the seams together, taking care to keep everything aligned. Turn your handbag right side out, revealing your lovely design.
Step 14: Add Edging
To finish, crochet a simple border around the top edge of your handbag. You can use a shell stitch or standard sc to add a decorative touch while securing the shape. Your Elegant One-Ball Crochet Handbag is now ready to be used!
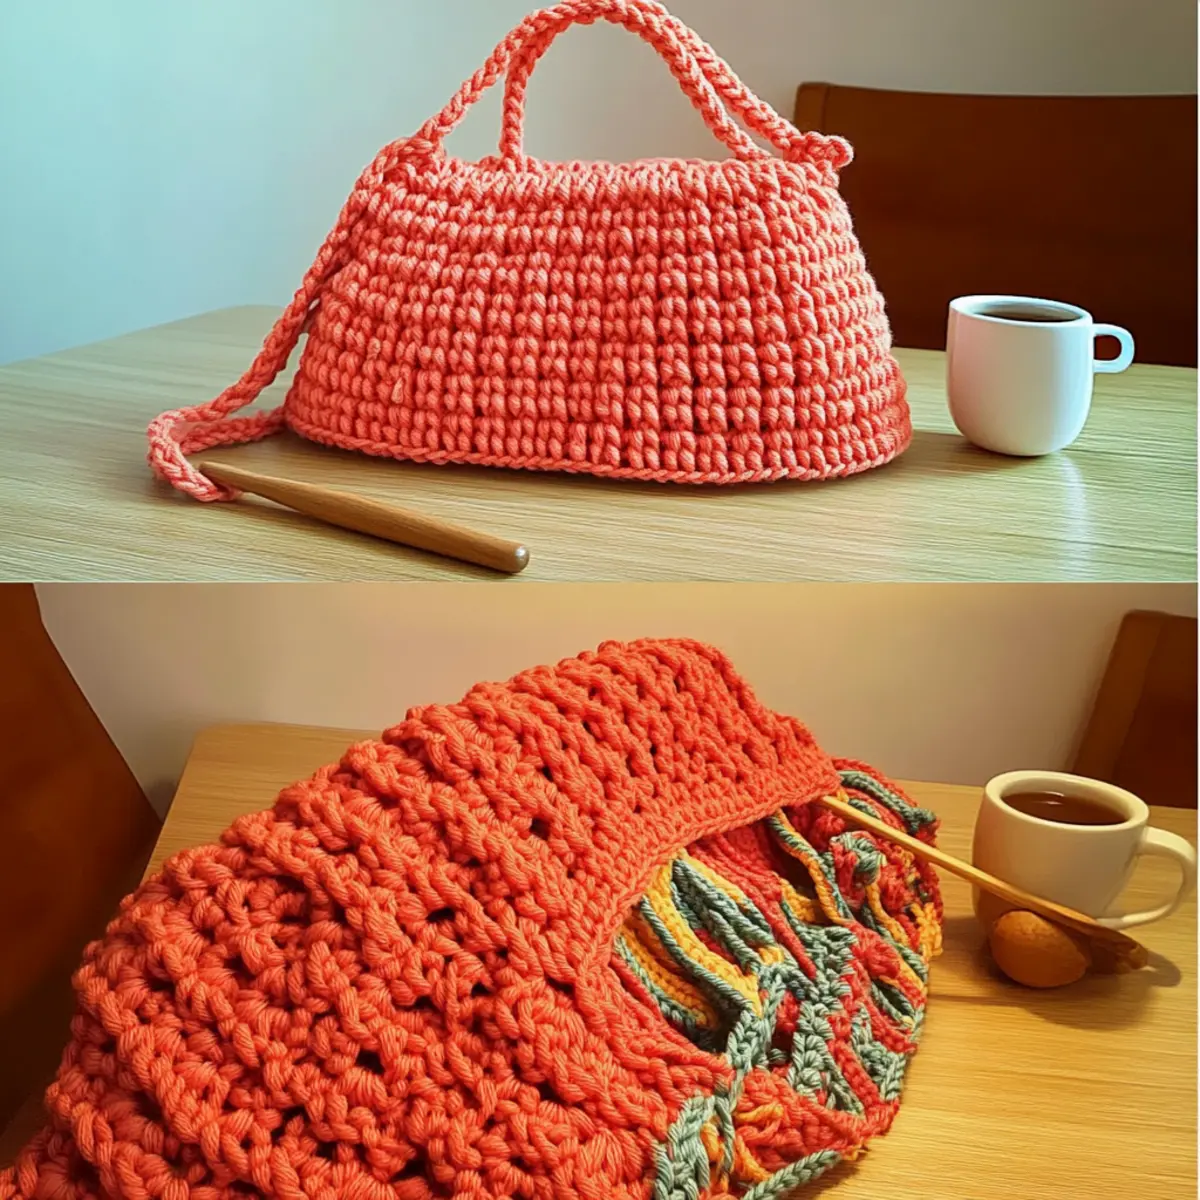
Expert Tips for the Best Handbag
-
Maintain Tension: Consistent tension is key to a neat finish. If you notice your stitches becoming too tight or loose, adjust your grip accordingly.
-
Count Your Stitches: Regularly count your stitches after each row to avoid losing count. This ensures your handbag maintains its elegant shape.
-
Keep Track of Increases: Use stitch markers to denote increases, especially on the 15th stitch. This will help you stay organized as you create your unique bag.
-
Seam Finishing: When joining seams, ensure the stitches align perfectly for a clean finish. Take your time to avoid any missed stitches.
-
Avoid Twisting: Be mindful of your foundation chain. A twisted chain can lead to uneven stitching, which can alter the beauty of your handbag.
-
Customize Carefully: While experimenting with colors, keep in mind that changing yarn types might affect your handbag’s final weight and structure, so check gauge if needed.
Variations & Substitutions for Crochet Handbag
Feel inspired to make this crochet handbag truly your own with some delightful variations!
-
Yarn Substitutions: Swap out t-shirt yarn for cotton or acrylic. This can change the bag’s texture and drape, achieving a different look.
-
Color Blocking: Choose two or more contrasting colors to create a fun color-blocked effect. This playful approach adds depth and personality to your design.
-
Size Adjustments: Modify the initial chain length or the number of rows to create a larger or smaller bag. Tailor the size to suit your needs perfectly.
-
Texture Enhancements: Consider incorporating a mix of stitches, like half double crochet or front post stitches, to add visual interest throughout the bag.
-
Add Embellishments: Adorn your handbag with a pom-pom, fringe, or a decorative border for an eye-catching finish. Personal touches elevate your handcrafted piece.
-
Lining Addition: Add a fabric lining to your bag for extra durability and a smooth interior. It also gives an opportunity to pair another fun pattern or color!
-
Interior Pocket: Include a simple pocket inside the bag for holding small items securely. This practical addition combines function with flair.
-
Experiment with Stiffness: Use a firmer yarn or a heavier weight yarn for a structured handbag. This change lends a more tailored feel to your overall design.
Feel free to explore these yarn substitutions and embellishment suggestions. Unleash your creativity while crafting a stunning piece that reflects your unique style!
Washing & Care Instructions for Your Elegant One-Ball Crochet Handbag
-
Hand Washing: Use cold water and a gentle detergent to hand wash your crocheted handbag. Avoid vigorous agitation to keep the yarn intact and prevent any felting or pilling.
-
Drying: Lay your handbag flat on a clean, dry towel to maintain its shape while drying. Avoid hanging it to prevent stretching or distortion in its form.
-
Storage: When not in use, store your handbag in a cool, dry place, ideally flat or in a fabric bag to keep it free from dust and humidity.
-
Spot Cleaning: For any minor stains, use a damp cloth with a gentle soap solution and dab the area instead of rubbing it, preserving the beauty of your elegant crochet handbag.
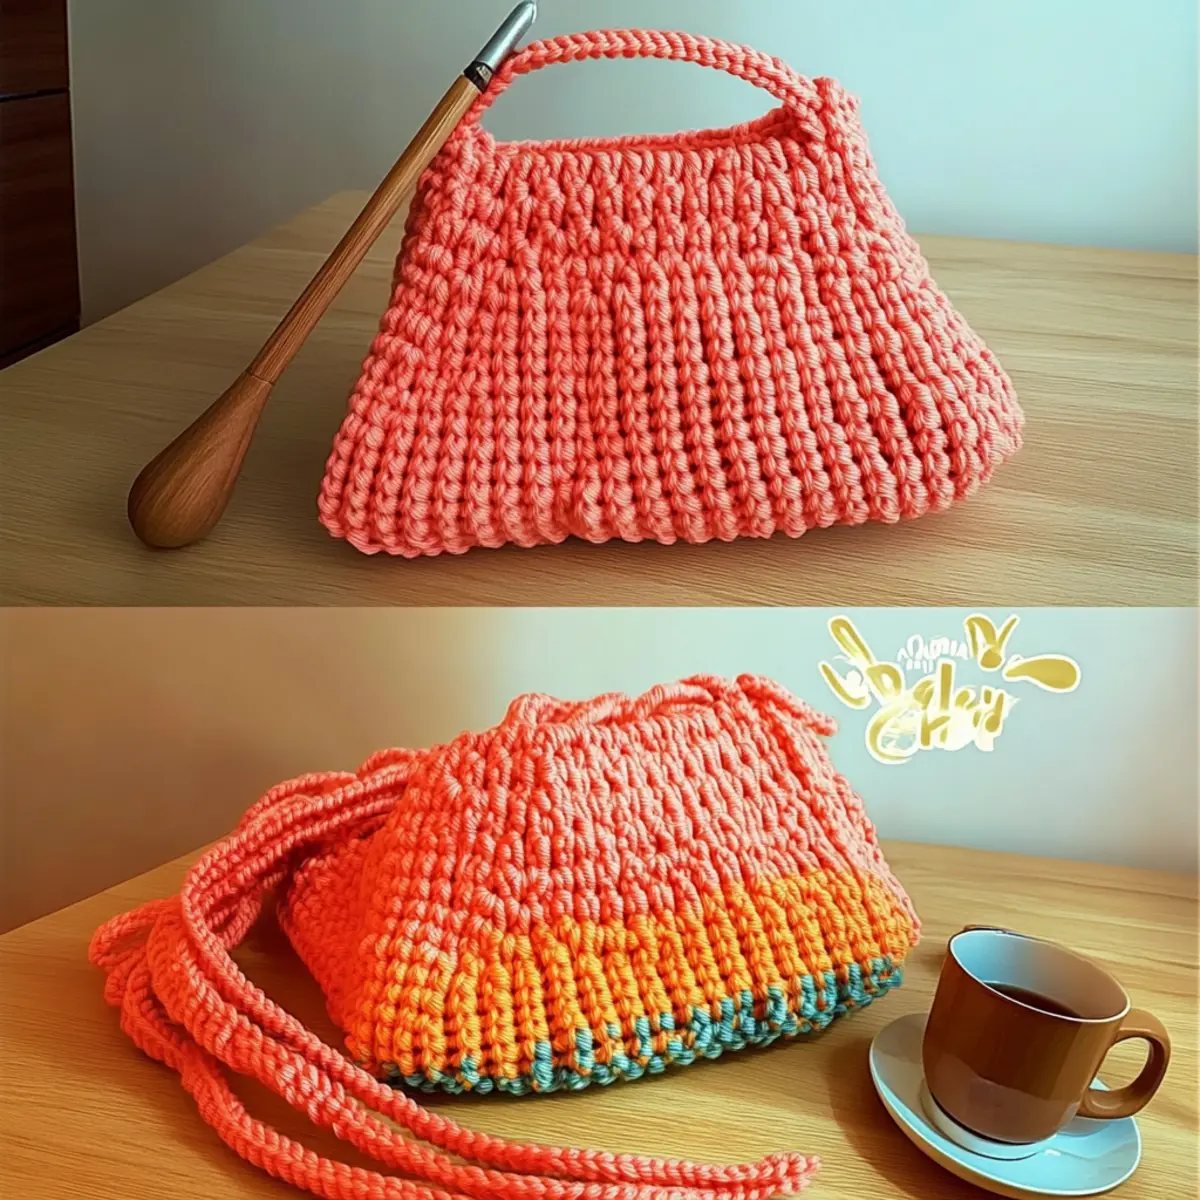
Elegant One-Ball Crochet Handbag FAQs
Can I substitute the t-shirt yarn with another type of yarn?
Absolutely! While t-shirt yarn provides a sturdy finish, you can substitute it with medium weight acrylic or cotton yarn. Just make sure to check your gauge as the texture and drape may vary.
How do I adjust the size of the handbag pattern?
Don’t panic! You can easily alter the size by changing the initial chain length. For a bigger bag, chain more (just remember to keep the chains in multiples of 3 + 1), and for a smaller handbag, reduce the chain length while maintaining the stitch count consistent throughout the rows.
Why is my work curling at the edges?
If your handbag is curling like a bowl, it’s likely due to uneven tension or not using the correct hook size. I recommend using the 10 mm hook specified in the pattern, as this creates larger stitches that help flatten the fabric.
How do I fix dropped stitches while crocheting?
It’s an easy fix! If you drop a stitch, gently pull the yarn to expose the incomplete stitch and use your crochet hook to work it back up. If multiple stitches have been dropped, you may need to unravel a few rows to correct the issue.
What hook size should I use if I can’t find a 10 mm hook?
If your local store lacks a 10 mm (US N-15) hook, you can opt for an 11 mm hook instead. Just remember this may change the gauge slightly, so check your tension with a swatch to ensure the handbag retains its intended look and shape.
How can I add pockets or linings to my handbag?
Great question! To add an internal pocket, crochet a small rectangle using the same stitch pattern and attach it before you seam the bag together. For a lining, cut fabric to fit the interior, then hand-stitch it in place for a polished finish.
Leave a Reply