
As I sat curled up with my latest yarn creation, the soothing rhythm of my hook clicked away, reminding me why I fell in love with crochet in the first place. Today, I’m eager to share my Easy Solid Granny Square Crochet Pattern, an absolute gem perfect for beginners eager to explore this timeless craft. With its versatile design featuring fewer open spaces, these solid squares are not only quick to whip up but also superb for creating cozy blankets, trendy bags, or stylish sweaters. Plus, I’ve made sure to include step-by-step instructions along with a video tutorial for those who find visual guidance inspiring. It’s time to grab your favorite yarn and discover how rewarding it feels to create these charming squares; let’s start stitching!
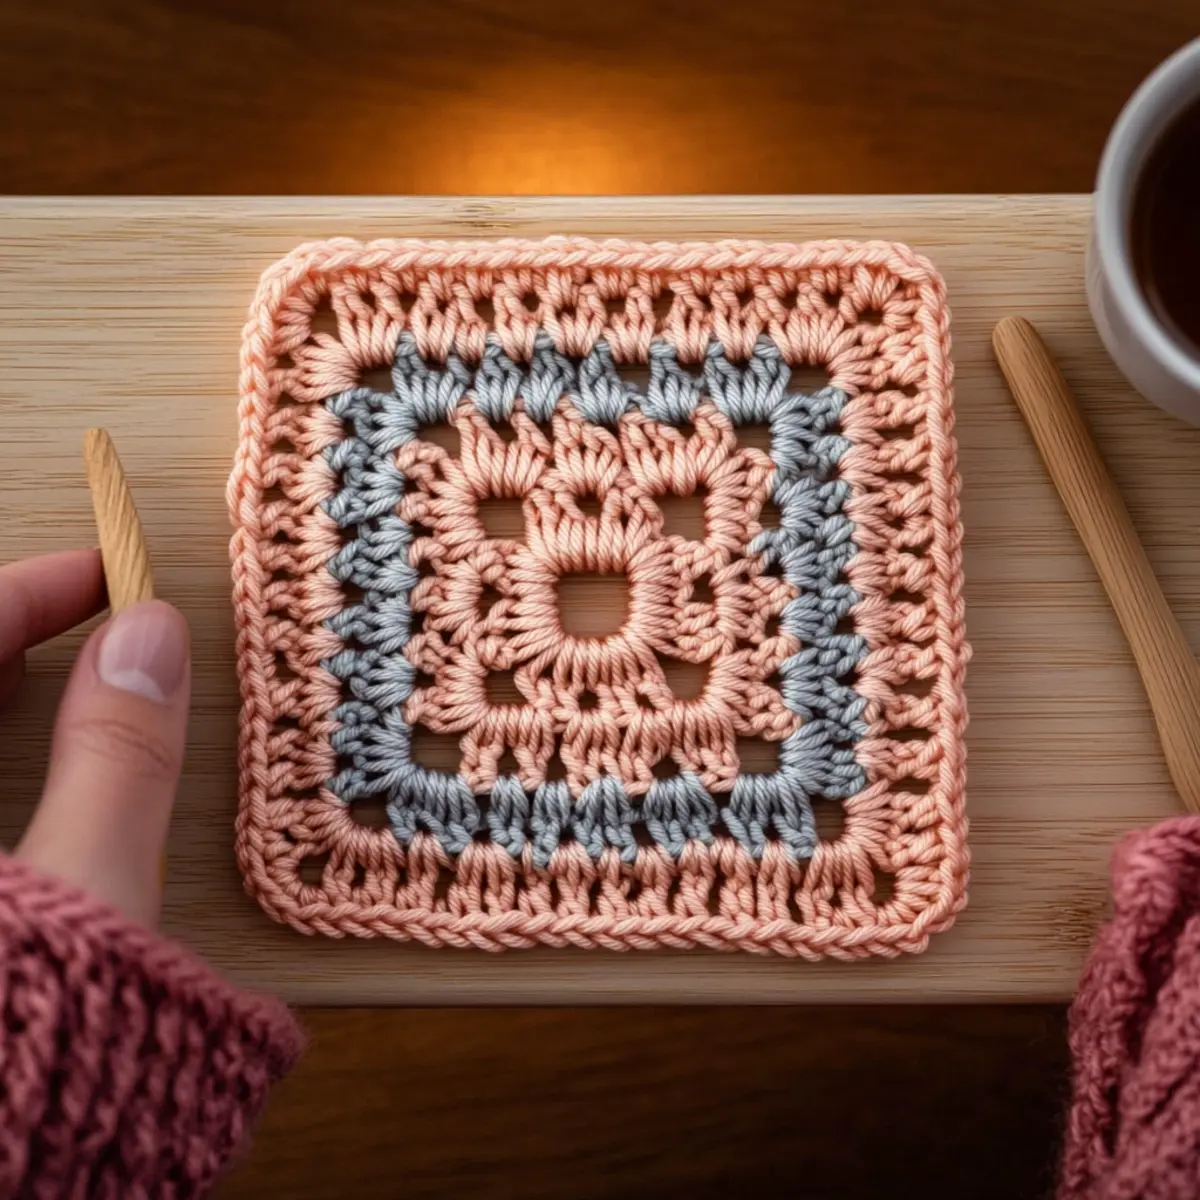
Solid Granny Square Materials & Tools
Note: Gather these supplies to start your beautiful solid granny squares!
-
Yarn
-
Worsted Weight Yarn – Approximately 10 grams (about 18 yards) per square; acrylic is recommended for its durability and ease of washing.
-
Tools & Notions
-
5.0 mm (H-8) Hook – This size is perfect for creating the soft drapes of your solid granny squares.
-
Yarn Needle – Essential for weaving in ends to keep your project neat and tidy.
-
Stitch Markers (Optional) – Useful for keeping track of rounds and maintaining your work’s structure.
Let’s get crafting those lovely squares!
Why Are Solid Granny Squares So Enjoyable?
Beginner-Friendly: This pattern is perfect for novices, allowing you to master basic crochet skills while creating something delightful.
Quick Projects: You’ll rejoice in the speed of making these squares, which can be completed in no time!
Versatile Use: Ideal for various projects, from cozy blankets to functional bags and stylish sweaters, the possibilities are endless!
Simple Customization: Easily adjust your creation by adding rounds or changing colors for a unique touch. For more inspiration, check out my tips on customizing crochet projects.
Charming Aesthetic: The solid texture not only provides warmth but also an appealing look that enhances any decor.
Gauge & Sizing Notes
Don’t skip the gauge swatch! For this Easy Solid Granny Square Crochet Pattern, checking your tension is crucial to ensure your squares turn out the perfect size for your project. Aim for a standard gauge of 4×4 inches (10×10 cm) which should equal 14 double crochets by 8 rows. If you want a larger square, simply increase your starting chain by 4 stitches per side for each additional round you add. If your tension swatch is too small, don’t worry—if you crochet tightly, simply go up a hook size to achieve the desired measurements. Remember, getting your gauge right will lend that lovely finished look to your solid granny squares!
Step‑by‑Step Pattern for Easy Solid Granny Square
Round 1: Create the Foundation
Begin by making a magic ring or ch 4 and sl st to form a ring. Next, ch 3 (this counts as your first dc), and work 2 dc into the ring. Then, repeat ch 2, 3 dc into the ring a total of 2 times. Finish the round with a ch 2 and sl st to the 2nd dc to join. Your work should begin to form a small square shape (12 sts).
Round 2: Building the Corners
Slip stitch into the next dc to reach the corner ch 2 space. Work (ch 3, 1 dc, ch 2, 2 dc) in that corner space, creating a corner. Then, work 1 dc in the next 3 sts. Repeat (2 dc, ch 2, 2 dc) in each of the next corners a total of 2 times, and finish with a sl st to the 2nd dc to join. Your square should be widening nicely now (24 sts).
Round 3: Expanding the Square
Slip stitch into the corner ch 2 space again. In the same space, work (ch 3, 1 dc, ch 2, 2 dc). Then, work 1 dc in the next 7 sts, creating more length on each side. Repeat (2 dc, ch 2, 2 dc) in each corner for the next 2 corners. Complete the round by sl st to the 2nd dc to join and admire the growing size of your solid granny square (36 sts).
Round 4: Final Round
Slip stitch into the corner ch 2 space and work (ch 3, 1 dc, ch 2, 2 dc) in the same corner, just like before. Then, work 1 dc in the next 11 sts to further extend your square. Repeat (2 dc, ch 2, 2 dc) in each corner for the final corners. Complete your round with a sl st to the 2nd dc to join, or use an Invisible Join to finish off neatly. Your solid granny square should now be beautifully formed and ready for use (48 sts).
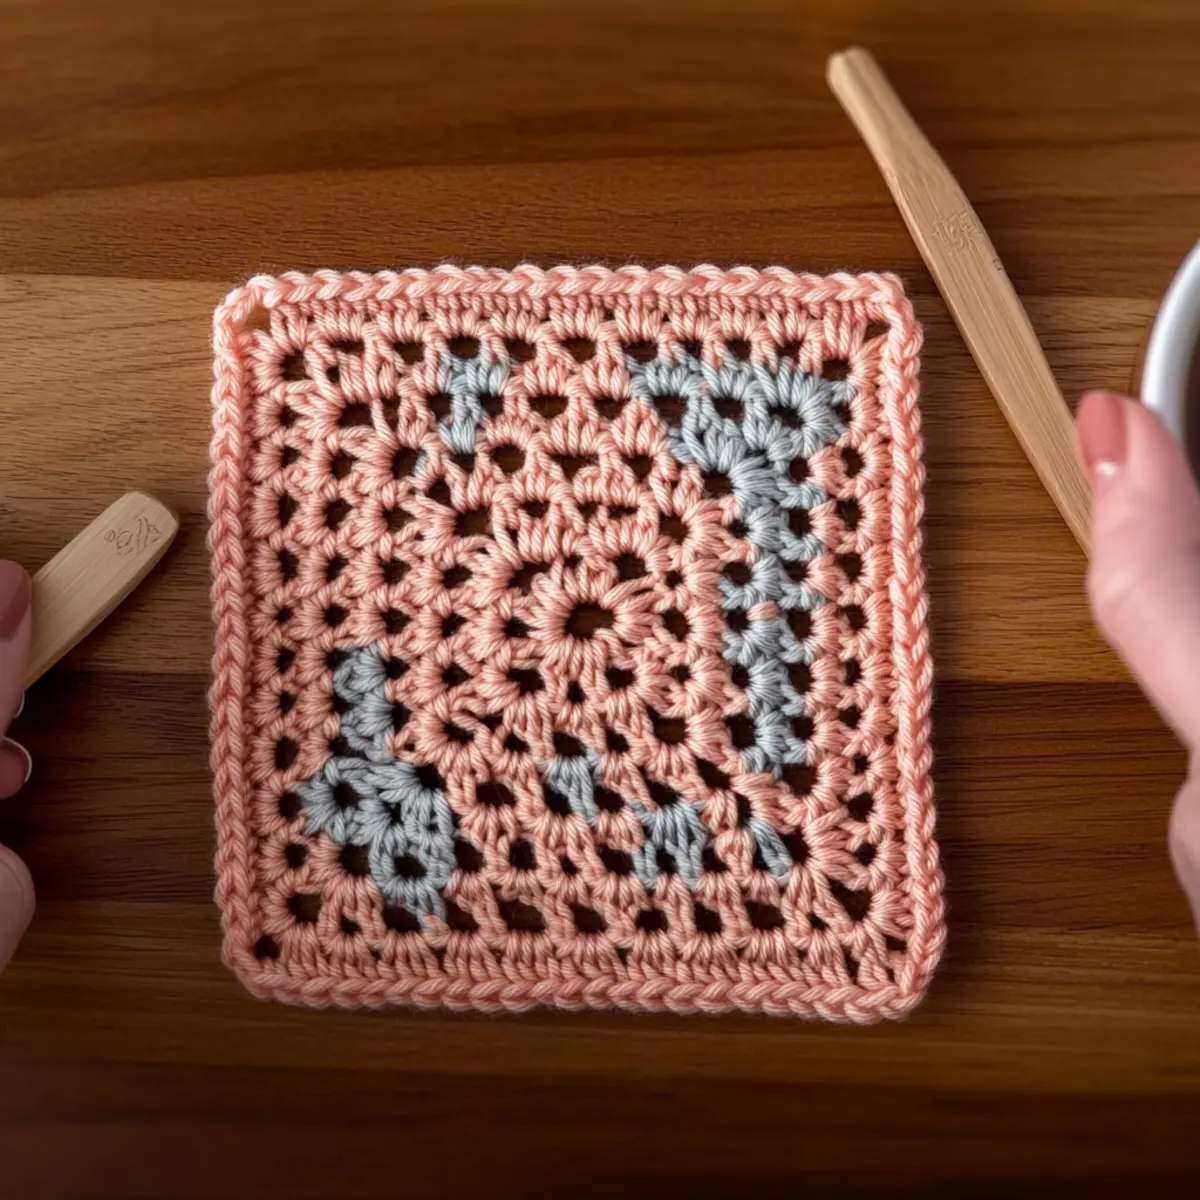
Expert Tips for Solid Granny Squares
-
Counting Stitches: Keep track: Use stitch markers to mark important stitches and prevent losing count, especially in the first few rounds.
-
Tension Consistency: Maintain even tension: Practice keeping your yarn tension consistent to ensure your solid granny squares come out uniform and lovely.
-
Avoiding Twisted Chains: Secure foundation: When starting, check your chain isn’t twisted before joining; this ensures the squares lie flat.
-
Finishing Touches: Weave in ends: Don’t forget to weave in yarn ends as you go to avoid a pile of loose threads and finish your squares neatly.
-
Blocking Importance: Block your squares: After finishing, block them to shape perfectly; this enhances their appearance and makes them easier to assemble in your project.
Solid Granny Square Variations
Feel the excitement of personalizing your crochet project by exploring these delightful variations!
-
Yarn Weight Swap: Use thicker yarn for a bulkier square or lighter yarn for a more delicate finish. This can completely transform the feel.
-
Fiber Alternatives: Try cotton yarn for a breathable texture, perfect for items like dishcloths, or stay with acrylic for warmth and durability in blankets.
-
Color-Blocking: Alternate colors every round or choose a color palette to create a striking visual effect. This adds personality to your solid granny squares.
-
Different Sizes: For larger squares, simply add more rounds by increasing 4 stitches for each side; tailor them to your project effortlessly.
-
Pom-Pom Finish: Add a whimsical touch by attaching pom-poms to the corners of your granny squares. It makes for a playful and charming look!
-
Fringe Delight: Incorporate fringe at the edges to add texture and flair. This small detail can elevate your finished piece!
-
Bordering Options: Finish with a contrasting or matching border for a polished look. Borders can unify your project and enhance its visual appeal.
-
Layering Squares: Combine multiple squares into one larger project—experiment with arrangement and colors for a stunning blanket or bags. For more detailed ideas, take a look at my thoughts on choosing crochet colors that inspire creativity!
Washing & Care Instructions for Easy Solid Granny Squares
-
Machine Washing: Use a gentle cycle with cold water for your solid granny squares made from acrylic yarn to prevent agitation, which can cause pilling.
-
Hand Washing: If preferred, gently hand wash your squares in cool water with mild detergent, avoiding any scrubbing to maintain their structure.
-
Drying/Blocking: Lay your squares flat to dry away from direct sunlight to maintain their shape and texture. Blocking can further enhance their appearance if needed.
-
Storage: Store your finished solid granny squares in a cool, dry place, preferably in a breathable bag to keep them dust-free and ready for your next project.
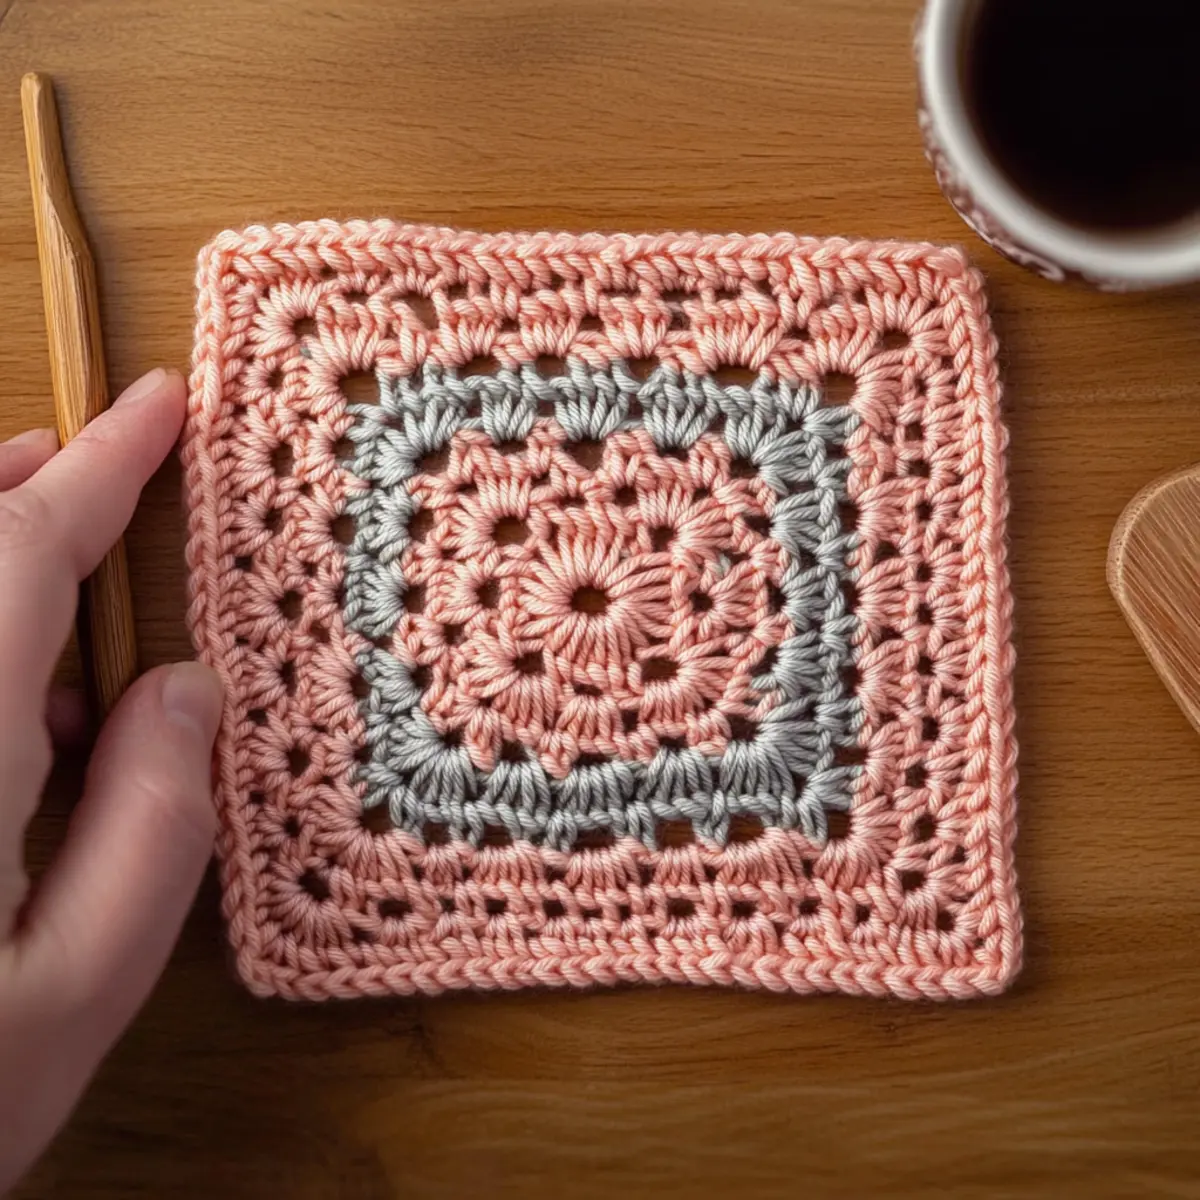
Easy Solid Granny Square Crochet Pattern FAQs
Can I substitute yarn for this pattern?
Absolutely! While I recommend using worsted weight (size 4) acrylic yarn for durability, feel free to substitute with cotton or another fiber. Just remember to adjust your gauge as needed!
How can I make my solid granny square bigger or smaller?
It’s super easy! To increase the size, add 4 stitches per side for each additional round. Just make sure to follow the pattern’s stitch counts in the corners to keep everything balanced.
Why is my solid granny square curling at the edges?
Don’t panic! If your square is curling like a bowl, it might be due to overly tight stitches. Make sure your tension is consistent and consider going up a hook size if needed to achieve a more relaxed fabric.
What hook size should I use for this pattern?
I recommend using a 5.0 mm (H-8) crochet hook for the best results! This size works well with worsted weight yarn, providing a nice, solid texture without being too tight.
How do I fix dropped stitches in my granny square?
It’s an easy fix! Simply take your crochet hook, pick up the dropped stitch, and pull the yarn through to re-create the stitch. You can secure it by working a small chain or slip stitch at the point of drop to hold it in place.
What should I do if my gauge doesn’t match?
If your gauge isn’t matching the recommended size, don’t worry! Simply adjust your hook size—bigger for a looser gauge, smaller for a tighter one—until your square measures about 4×4 inches for the perfect fit!
Leave a Reply