
Amid the whirlwind of daily life, there’s a simple joy in watching a project unfold under my fingertips, especially when it’s something practical like the Beginner-Friendly Easy Crochet Coaster with Scalloped Edges. This quick project not only brightens up my table but also makes for delightful gifts that are sure to impress. Featuring a charming floral design and just the right touch of lace, these coasters are a fantastic way for beginners to explore their creativity while using up their yarn stash. Plus, with minimal cotton requirements, you can whip up a batch in no time—perfect for those last-minute host or hostess gifts! So grab your yarn and hook, and let’s dive into the delightful world of crochet coasters together!
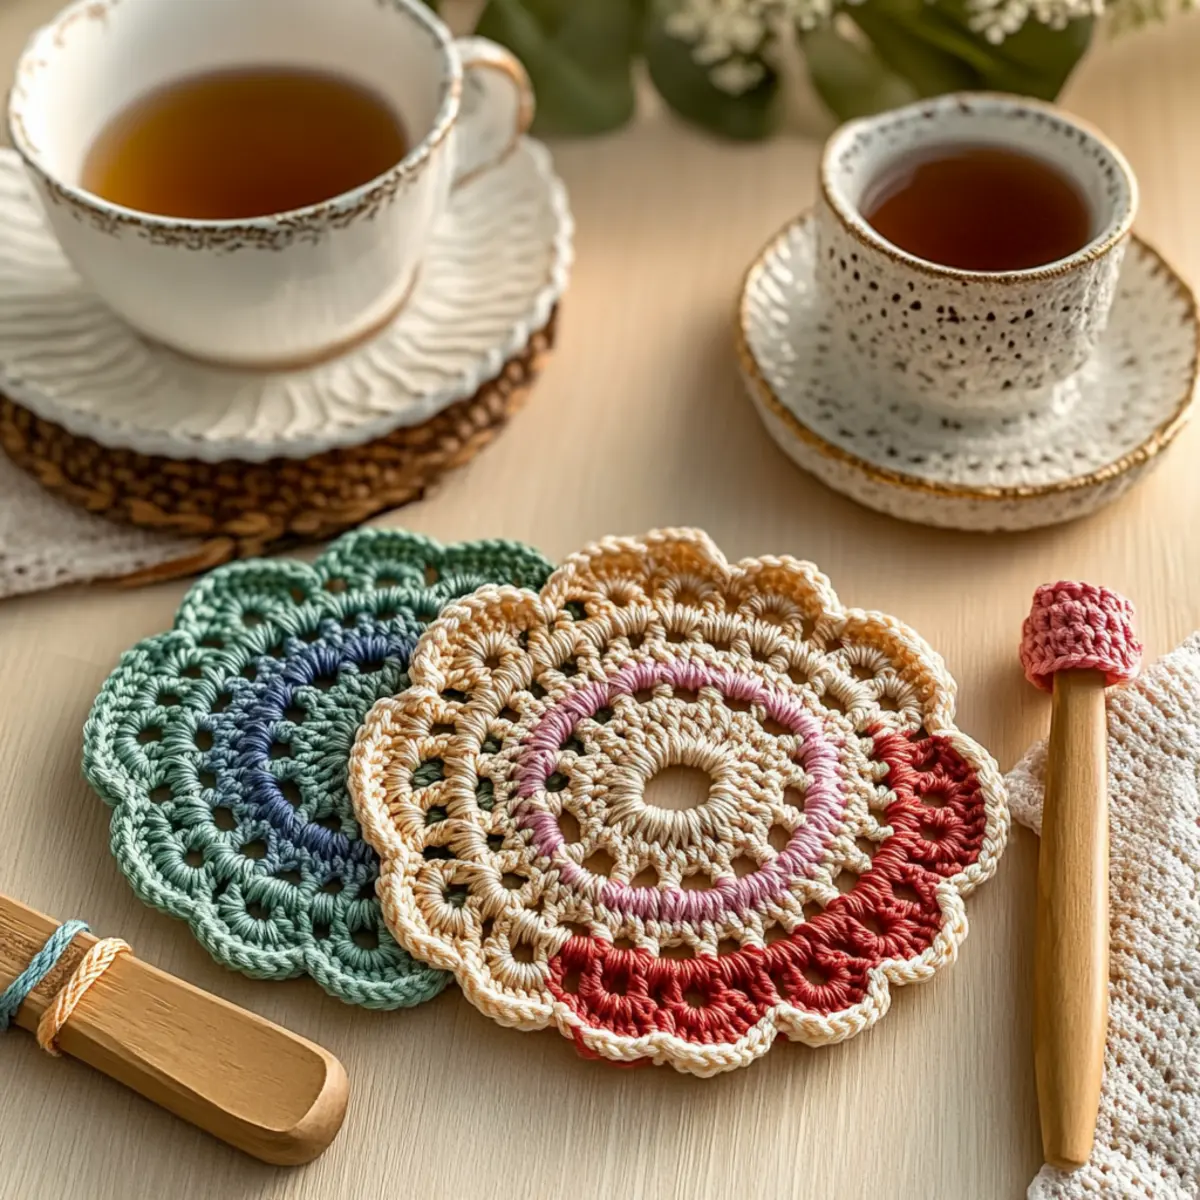
Easy Crochet Coaster Materials & Tools
Get ready to create your beautiful coasters with these essential materials!
Yarn
• Cotton Yarn – You’ll need about 50 yards of worsted weight cotton yarn, perfect for durability and moisture absorption.
Tools & Notions
• 4.0mm (G-6) Hook – This size is ideal for achieving the right tension with your cotton yarn.
• Stitch Markers – Keep track of your rounds easily, especially as you build on the floral design.
• Tapestry Needle – Use this for weaving in all your ends for a tidy finish!
Surround yourself with these materials and let your creativity bloom as you craft your Easy Crochet Coaster!
Why Choose This Crochet Coaster Pattern?
Versatility: This pattern isn’t just a coaster; it’s a delightful canvas for your creativity! With simple adjustments, you can create coasters that match any décor or season.
Quick & Easy: Perfect for beginners, this project features basic stitches and minimal yarn, making it a quick win for both new and seasoned crafters.
Charming Design: The floral-inspired scalloped edges add a touch of elegance to your coffee table, ensuring these coasters are as beautiful as they are practical.
Eco-Friendly Gift: Impress friends and family with handmade gifts! These coasters are a thoughtful, practical gift that shows you care while helping to reduce waste.
Stash-Busting Delight: Use up leftover cotton yarn with this project, turning those small amounts into beautiful, functional home décor.
So gather your supplies and check out our expert tips for crochet beginners to get started on your coaster journey!
Gauge & Sizing Notes
Don’t skip the gauge swatch! Ensuring your tension is just right is essential for the Beginner-Friendly Easy Crochet Coaster with Scalloped Edges to turn out as beautifully as intended. Achieve a standard gauge of 4×4 inch (10×10 cm) square = 14 double crochets by 8 rows. If you prefer a larger coaster, increase your starting chain in multiples of 6, adding 2 for the final count. If your swatch ends up smaller than expected, simply try going up a hook size to loosen your stitches. Remember, the perfect gauge ensures your coasters are both functional and stunning!
Step‑by‑Step Pattern for Easy Crochet Coaster with Scalloped Edges
Step 1: Create the Magic Ring
Begin by creating a magic ring. Ch 3 (counts as 1 dc), then work 15 more dc into the ring for a total of 16 dc. Pull the tail to tighten the ring, and your first round should be a solid circle. Join with a sl st to the top of the starting ch 3 (16 sts).
Round 2: Forming V-Groups
Ch 1 (does not count as a stitch), and then make a V-group by working 1 dc, ch 1, 1 dc into the first stitch. Repeat this V-group in each of the next stitches around. At the end, join with a sl st to the top of the first V-group. You should have 16 V-groups in total, giving your work a lovely textured appearance.
Round 3: Creating Decorative Shells
Ch 1 (does not count as a stitch), then in the first chain-1 space, work 2 dc, ch 1, 2 dc. This completes your first shell. Continue this process, creating shells in each of the chain-1 spaces around. Join with a sl st into the top of the first shell you made. Your coaster should have 16 shells at this point, enhancing the floral look.
Round 4: Adding Chain Spaces
Ch 1 (does not count as a stitch) and make a shell in the first chain-1 space as before. However, this time ch 2 after each shell, skipping over the next shell before making the following shell in the next chain-1 space. Repeat around and join with a sl st. You should be able to see a wavy pattern begin to form as the coaster blossoms.
Round 5: Continuing Shells and Chains
Repeat the pattern established in Round 4, ch 1 before each shell and remember to ch 2 between shells. Be sure to join with a sl st after completing the round. This creates a delightful wave effect at the edge of your coaster, adding to its scalloped design. The count remains consistent with your previously established shells.
Round 6: Finalizing the Scalloped Edges
Ch 1 (does not count as a stitch), then create your shells in each chain-1 space as you did in previous rounds. This round will further solidify the scalloped edges. Join with a sl st to the top of the first shell. By now, your Easy Crochet Coaster should be shaped beautifully, with defined scallops adding to its charm.
Step 7: Finishing Touches
To finish, fasten off your yarn and weave in all ends using a tapestry needle. Make sure to block your coaster gently to enhance the lace details and scalloped edges. Your finished Easy Crochet Coaster is not only practical but also a lovely piece of art ready to grace your home or serve as a thoughtful gift.
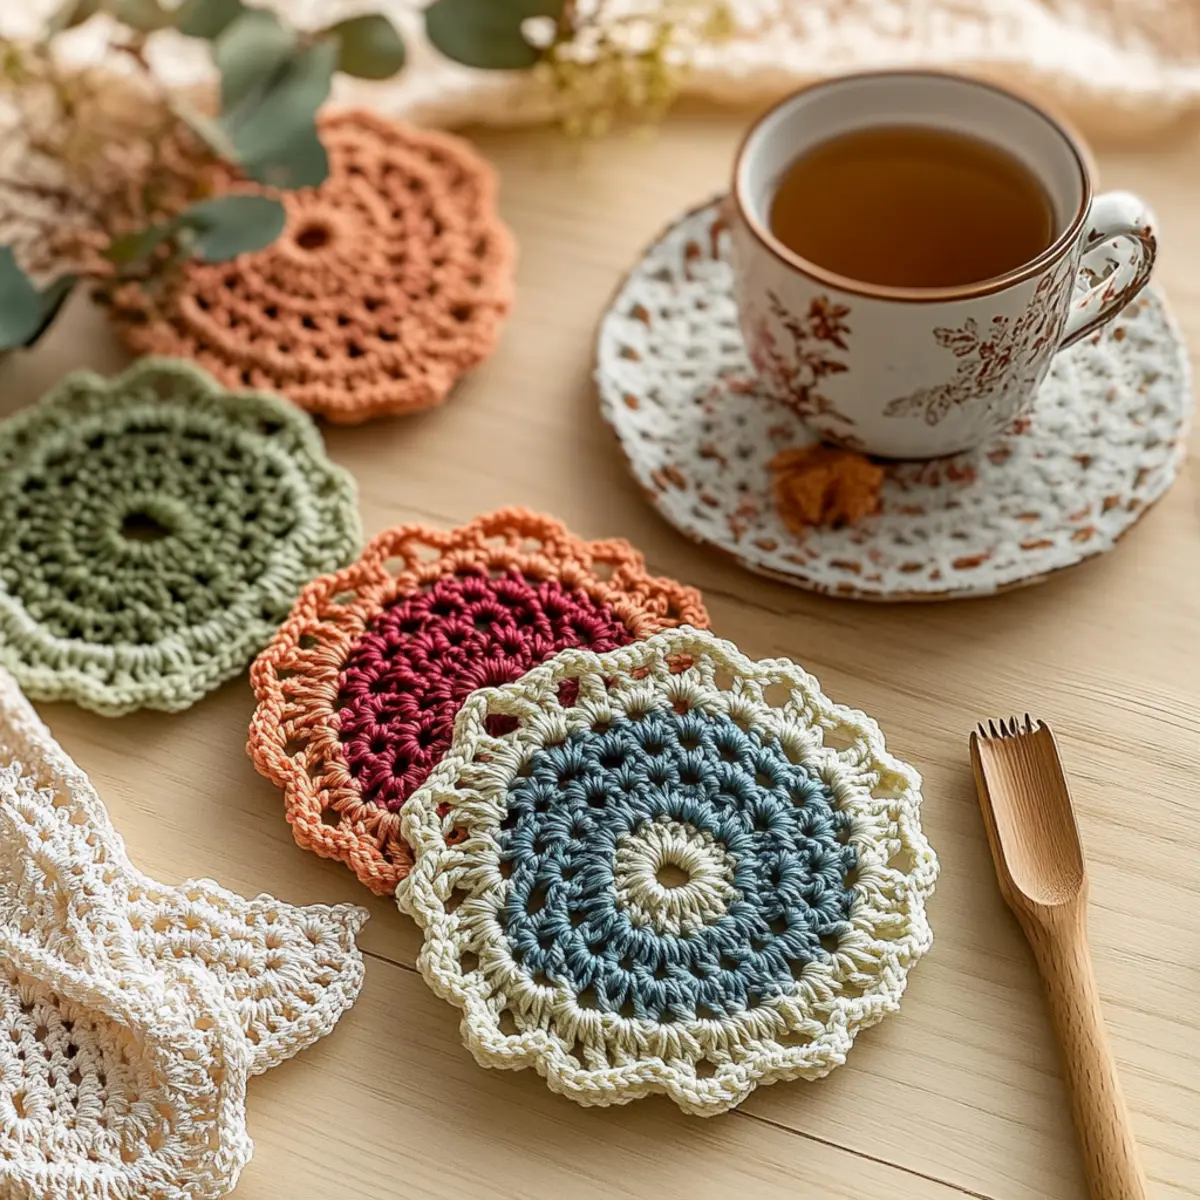
Washing & Care for Your Easy Crochet Coaster
Machine Washing: Use a gentle cycle with cold water to keep the integrity of the cotton yarn intact. This helps prevent any unwanted felting or pilling.
Drying: Always lay your coasters flat to dry, avoiding direct sunlight to maintain the color and shape of your beautiful floral design.
Storage: Store your finished coasters in a cool, dry place. Avoid stacking them directly on top of one another to prevent creases and maintain their scalloped edges.
Blocking: After washing, gently block your coasters to enhance the lace detail and achieve that perfect, polished look you desire for your home décor.
Expert Tips for Easy Crochet Coaster
• Stitch Counting: Always count your stitches at the end of each round. This helps you maintain the coaster’s shape and prevents it from becoming uneven.
• Tension Matters: If your coaster starts to curl, try loosening your tension or switch to a larger hook size for better results.
• Magic Ring Technique: Perfect your magic ring! This foundational skill ensures a neat center for your coaster, giving it a polished look.
• Seamless Finishing: When you’re done, take a moment to weave in your ends carefully. This ensures your coaster looks tidy and lasts longer.
• Gentle Blocking: To enhance those lovely scalloped edges, gently block your finished coaster. This simple step brings out the lace details beautifully and makes your project stand out.
Easy Crochet Coaster Variations & Substitutions
Explore the creative possibilities as you customize this crochet pattern to make it uniquely yours!
-
Yarn Substitutions: Swap cotton for a bamboo blend for a lush, softer feel. It adds a unique sheen while remaining moisture-absorbent.
Experimenting with different fibers can yield delightful differences—think about how a silk blend could elevate the coaster’s elegance! -
Color-Blocking Options: Use three different colors to create a vibrant, eye-catching design. Each round can feature a new color to delight the eyes and suit your personal style.
The rhythm of changing colors not only livens up your project, but it also reinvigorates your crochet journey. -
Size Adjustments: Want larger coasters? Simply increase the number of initial stitches or add additional rounds. A perfect way to adapt for larger mugs or full tea sets!
Altering the size can create unique gifts that cater to family preferences. -
Texture Additions: Add a fun fringe around the edges for a playful touch. Just a few extra chains will transform your coaster into a boho masterpiece.
This small adjustment can convey a breeze of creativity—as if each stitch tells a story! -
Seasonal Themes: Customize your coasters with holiday-specific colors or motifs, like pastels for Easter or rich hues for fall.
Sharing themed coasters can spark joy during seasonal gatherings—imagine the warmth they bring to your home! -
Different Yarn Weights: Play with lighter yarns, such as sport weight, for beloved daintier coasters that double as delicate décor pieces.
A lighter yarn can create a new aesthetic and add charm to your projects. -
Decorative Borders: Finish with a simple scalloped or picot border for a polished look. This enhances the crochet’s charm while adding an elegant flair.
Your coasters will stand out as works of art, perfect for showcasing your skill. -
Pom-Pom Accents: Attach tiny pom-poms at the corners for an adorable finish. Use contrasting colors to make them pop!
This delightful detail can highlight your creativity and bring smiles to everyone’s day.
Feel inspired? For more creative tips, check out our guide on finding the perfect yarn to suit your next project!
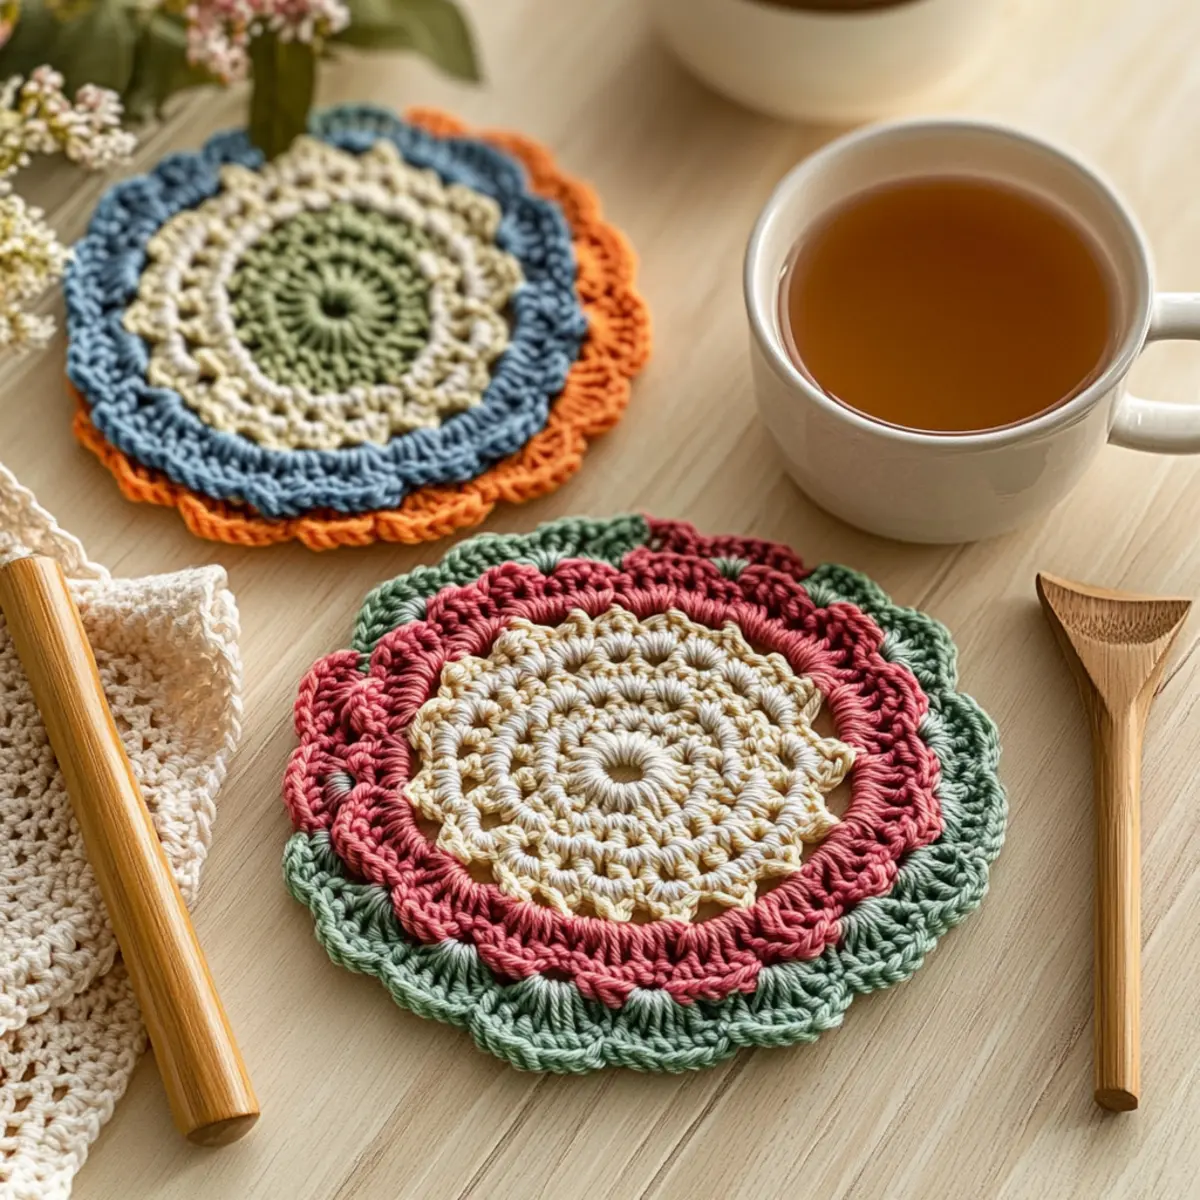
Easy Crochet Coaster with Scalloped Edges FAQs
Can I use a different yarn instead of cotton?
Absolutely! While cotton is recommended for its durability and moisture absorption, you can use acrylic or a cotton blend. Keep in mind that other fibers may change the texture or absorbency of your coaster, but it can still work beautifully.
How can I adjust the size of my coaster?
To make your coaster bigger, simply start with a larger magic ring and add additional stitches in the foundation. For a smaller coaster, you can reduce the starting stitches or skip rounds in the shell stitch section. Just remember to keep the design balanced!
Why is my coaster curling at the edges?
Don’t panic! A curled coaster often means your tension is too tight. Try loosening your grip on the yarn or switching to a larger hook size. You can also gently block your finished coaster to help it lay flat, enhancing those scalloped edges.
What hook size should I use for this pattern?
For this Easy Crochet Coaster, a 4.0 mm (G-6) hook is recommended. However, feel free to try a different hook size based on your yarn choice and personal tension. Just ensure you maintain gauge for the best results!
How do I fix dropped stitches in my coaster?
It’s an easy fix! If you notice a dropped stitch, simply use your tapestry needle to pull the yarn back through the last row to reintroduce it. Make sure to weave it in securely so your coaster remains intact and looks polished.
What’s the best way to wash and care for my coasters?
Treat your coasters with care by machine washing them on a gentle cycle. To preserve their shape and texture, lay them flat to dry. This way, they’ll maintain their beauty and functionality for a long time!
Leave a Reply