
As I sifted through my yarn stash, a delightful thought crossed my mind—what could be more charming than an Easy Crochet Baby Dress to celebrate the littlest ones in our lives? This cozy pattern features a top-down construction that makes it perfect for beginners, allowing you to craft a lovely garment with a textured skirt in no time. Available in four adorable sizes, it’s not just a sweet gift for parents-to-be, but also a chance for you to express your creativity with fun color combinations. Whether you’re preparing for a baby shower or simply want to create a special outfit for your own little angel, this quick and enjoyable project is sure to bring smiles all around. So, grab your favorite yarn and let’s get started on making this enchanting dress that will surely make hearts flutter!
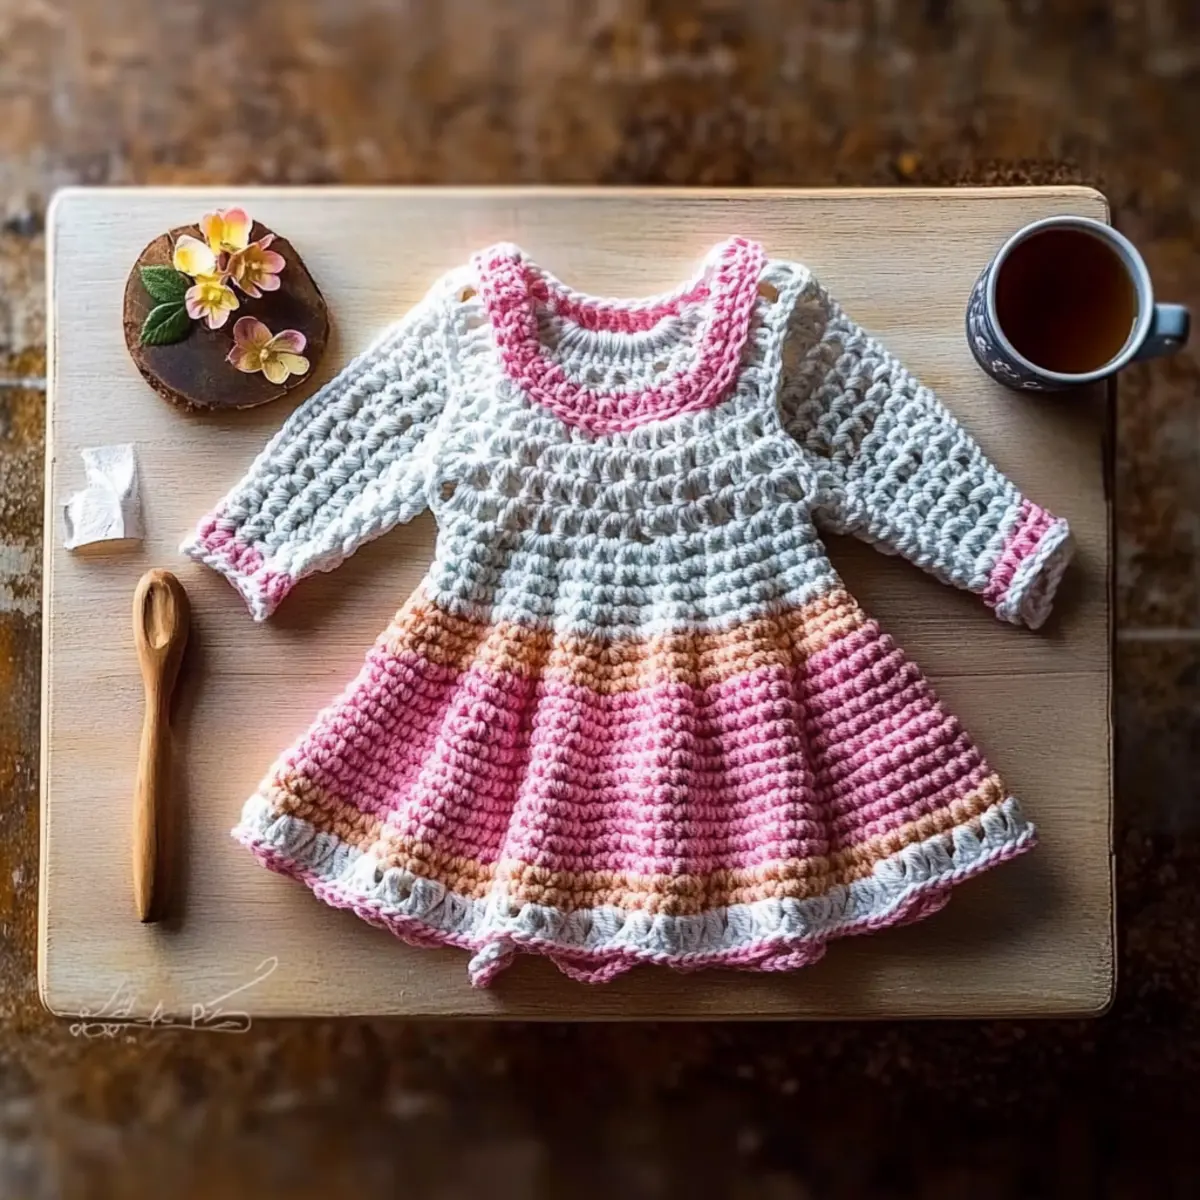
Easy Crochet Baby Dress Materials & Tools
Create your very own cozy masterpiece with these essential materials!
Yarn
• Lightweight Yarn – Choose a soft, breathable yarn suitable for babies; you’ll need:
- Newborn: 1 x ball (Color A); 1 x ball (Color B)
- 0-3 months: 1 x ball (Color A); 1 x ball (Color B)
- 3-6 months: 1 x ball (Color A); 1 x ball (Color B)
- 6-12 months: 1 x ball (Color A); 2 x balls (Color B)
Tools & Notions
• E (3.5 mm) Hook – This size is perfect for crocheting the yoke.
• G (4 mm) Hook – Use this size for the skirt to achieve luscious texture.
• Stitch Markers – Keep track of your stitches and rows with ease.
• Tapestry Needle – Ideal for weaving in ends and sewing buttons.
• Three Buttons – Select cute buttons for the back closure that match your color theme.
Dive into creating this easy crochet baby dress; it’s a delightful project made for both comfort and style!
Why Is This Baby Dress Pattern a Must-Try?
Endearing: This Easy Crochet Baby Dress is not just adorable; it’s designed to be a cherished piece for any little one.
Beginner-Friendly: Packed with only essential stitches, crafters of all skill levels can create stunning results without feeling overwhelmed.
Quick-to-Make: The top-down construction allows for swift progress, perfect for last-minute gifts or when you want to see results fast!
Customizable: Easily switch colors and embellish as desired—imagine adding matching booties or bonnets for a complete ensemble!
Delightful Texture: The skirt’s textured effect is visually captivating while ensuring comfort for the baby. Explore more about adding embellishments to personalize your creation.
Perfectly Sized: Available in four sizes, this dress adapts to grow with the child, making it an excellent gift that will be used and treasured.
Gauge & Sizing Notes
Don’t skip the gauge swatch! Checking your crochet gauge is essential for creating the perfect Easy Crochet Baby Dress, as it ensures your finished garment fits just right. For this pattern, your gauge should be 20 stitches and 11 rows in a 4×4 inch (10×10 cm) square using double crochet. If you want to adjust the size, you can make the dress larger or smaller by changing your starting chain in multiples of 20 or by adding or removing rows in the skirt section. If your swatch is too tight or too loose, simply try a different hook size—if it’s too small, go up a hook size, and if it’s too big, go down a size. Happy crocheting!
Step‑by‑Step Pattern for Adorable Easy Crochet Baby Dress
Row 1: Yoke Foundation
Begin by making a chain of 50 (or your desired starting width based on size). Join with a slip stitch (sl st) to form a loop. Next, chain 3 to begin your first double crochet (dc). Work 1 dc into each chain around, joining with a sl st to the top of your initial chain 3 (50 sts). Your work should form a neat circle, ready for the yoke construction.
Row 2: Yoke Expansion
Chain 3 to start the next row, then work 1 dc in the same stitch. Next, skip the next stitch, and work 2 dc into the following stitch. Repeat from * to the end, ensuring to finish with a sl st into the top of the chain 3 (75 sts). Your yoke should now begin to flare out slightly as you create a lovely base for the dress.
Row 3: Texture Creation
Chain 1 and turn your work. Next, work 1 V-stitch (1 dc, ch 1, 1 dc) in the first space, then skip 1 dc, and 1 V-stitch in the next stitch. Continue this pattern around, joining with a sl st (38 V-stitches). You’ll notice the lovely texture starting to form on the yoke, providing an inviting detail for the baby dress.
Row 4: Split for Armholes
Chain 1 and work 1 V-stitch in the first stitch. Then, continue working V-stitches until there are 10 stitches left. Here, skip the next 10 sts to create the armhole before continuing with 1 V-stitch in the remaining stitches. Close with a sl st (38 total). You should now see openings for the armholes, providing room for movement.
Row 5: Continue the Skirt
Join Color B now with a sl st. Chain 1 and begin working 2 dc in each V-stitch around. This row will add beautiful texture while forming a fuller skirt for the dress, finishing with a sl st at the top of your first dc (76 sts). The skirt should start to drape elegantly, creating that charming flow.
Row 6: Shell Stitch Design
Chain 3 to start the next round, and work 5 dc in the next stitch (this creates a shell). Skip the next 2 stitches, then work a shell in the following stitch. Repeat around, ensuring the shells are evenly spaced, and join with a sl st (25 shells). Your skirt will become delightfully textured as these shells come together.
Row 7: Post Stitches for Depth
Chain 2 and work 1 front post double crochet (fpdc) around the first dc of the previous shell. Then, work 1 back post double crochet (bpdc) around the next shell. Alternate between these stitches around, making sure to finish with a sl st into the top of the initial chain 2 (76 sts). You should see a beautiful, raised texture emerging.
Step 8: Edging Rows
For edging, switch back to Color A. Start with a chain 1 and work a round of single crochet (sc) in every stitch. Make 3 sc in each corner for shaping, and remember to create buttonholes if needed. Join with a sl st to the first sc (around 76 sts). Your dress will now be nicely finished with crisp edges to enhance its overall look.
Step 9: Assembly of Finishing Touches
To complete your Adorable Easy Crochet Baby Dress, sew on the buttons along the back opening. Weave in all ends using a tapestry needle, ensuring a tidy finish. Consider lightly blocking your dress to settle the stitches and enhance the beautiful textured appearance, making it perfect for gift-giving or a sweet outfit for your little one.
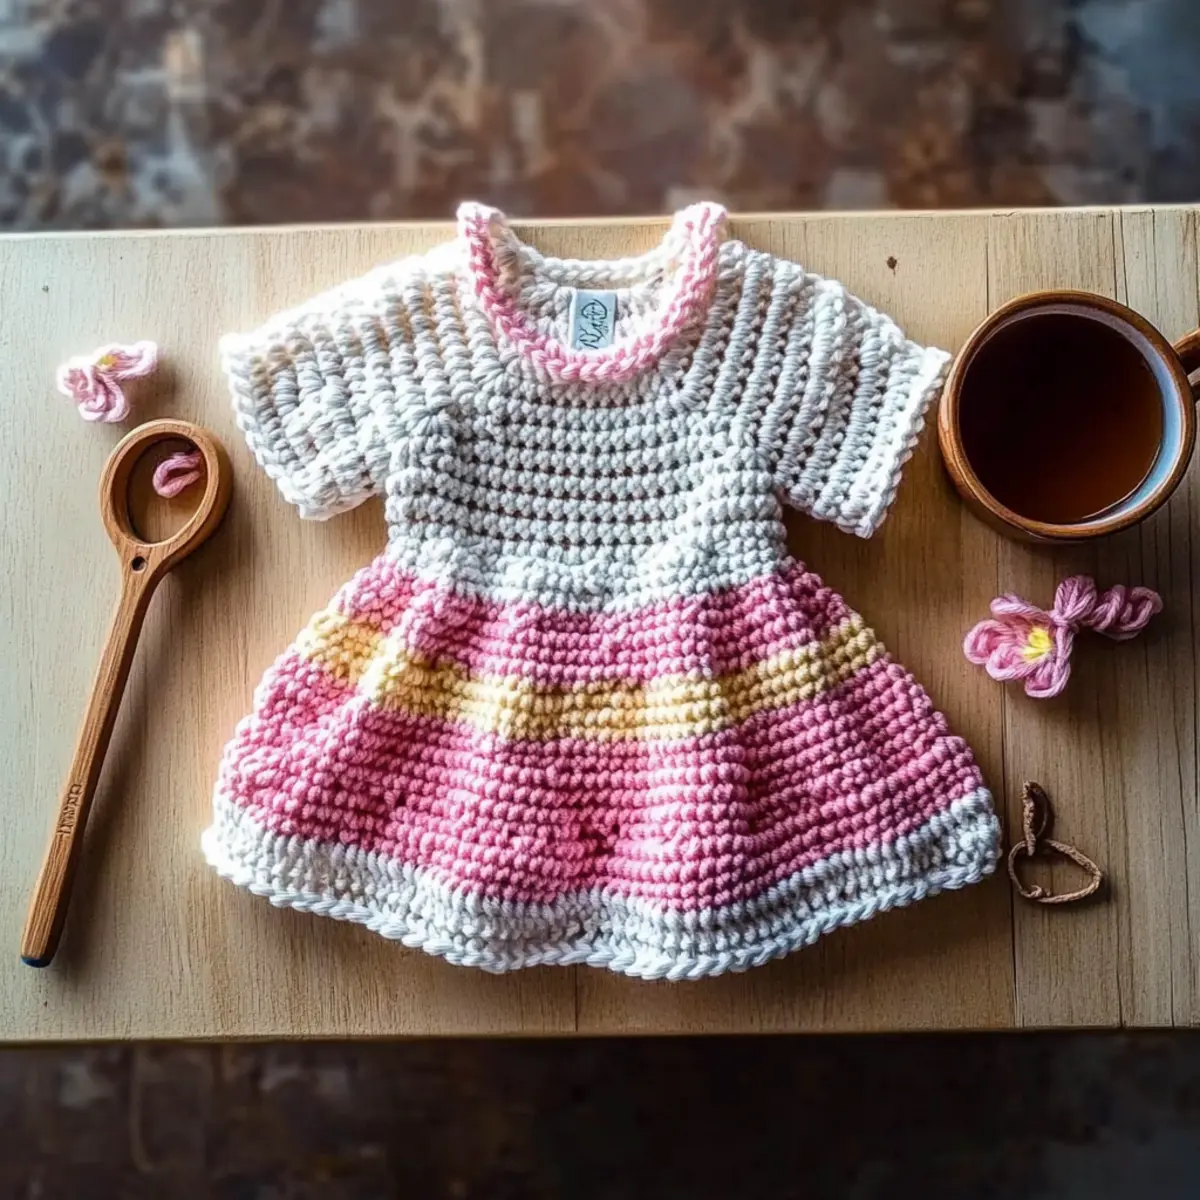
Easy Crochet Baby Dress Variations
Get ready to infuse your crochet project with a touch of personal flair! Let your creativity shine through these delightful variations.
-
Yarn Weight Swap: Experiment with a heavier yarn for a cozy feel in cooler seasons. Just adjust your hook size accordingly!
-
Fiber Alternatives: Consider using a soft organic cotton instead of acrylic for a breathable option, perfect for babies’ sensitive skin. It feels wonderful against delicate skin and can enhance texture.
-
Color Block Delight: Alternate yarn colors for the skirt and yoke; try a pastel palette for a fresh spring look or vibrant hues for a fun pop! This can create a stunning visual along with the textured skirt.
-
Sizing Adjustments: To make a looser fit, simply increase chain stitches in the yoke. This will still maintain the gorgeous shape of the dress, allowing more room for growth.
-
Textured Edging: Add a lovely scalloped border around the neck and sleeves to enhance the overall design. These small details truly elevate the charm of your garment.
-
Fringe Fun: Incorporate cute fringe at the hem of the skirt for a whimsical twist! This could add a playful motion as the little one toddles around.
-
3D Bow Embellishments: Craft adorable bows for the shoulders or front of the dress using leftover yarn. They add an extra layer of cuteness and show off your crafting skills!
-
Matching Accessories: Crochet a miniature bonnet or booties to create a complete outfit. The possibilities are endless, transforming your dress into a cherished ensemble. Check out ideas for fun matching accessories to elevate your gift!
Expert Tips for Your Crochet Baby Dress
-
Check Your Tension: Testing your gauge before starting ensures accurate sizing. Adjust your hook if your tension differs from the recommended gauge.
-
Count Carefully: Keep track of your stitch count at the end of each row. It helps maintain an even shape and avoids unexpected gaps or tight spots.
-
Block Your Work: Consider blocking the finished dress to enhance its appearance. This process can improve the drape and texture of your Easy Crochet Baby Dress.
-
Finishing Touches: When adding buttons, remember to space them evenly for a neat look. Use a tapestry needle for secure stitching.
-
Watch for Twists: During the yoke construction, prevent twisting your foundation chain. Take time to lay it flat before starting your first row.
How to Wash and Care for Your Easy Crochet Baby Dress
-
Hand Washing: Gently hand wash your Easy Crochet Baby Dress in cold water with mild detergent to preserve its texture and vibrant colors. Avoid wringing or twisting.
-
Drying: Lay the dress flat on a clean, dry towel to shape and air dry, preventing stretching or misshaping. Never hang it up, as this may distort the garment.
-
Storage: Store the dress in a cool, dry place folded neatly to avoid creases. Keep it away from direct sunlight to prevent fading.
-
Blocking: Lightly steam block the dress if necessary to enhance the shape and smooth out any uneven stitches. This simple step can make your creation look professional!
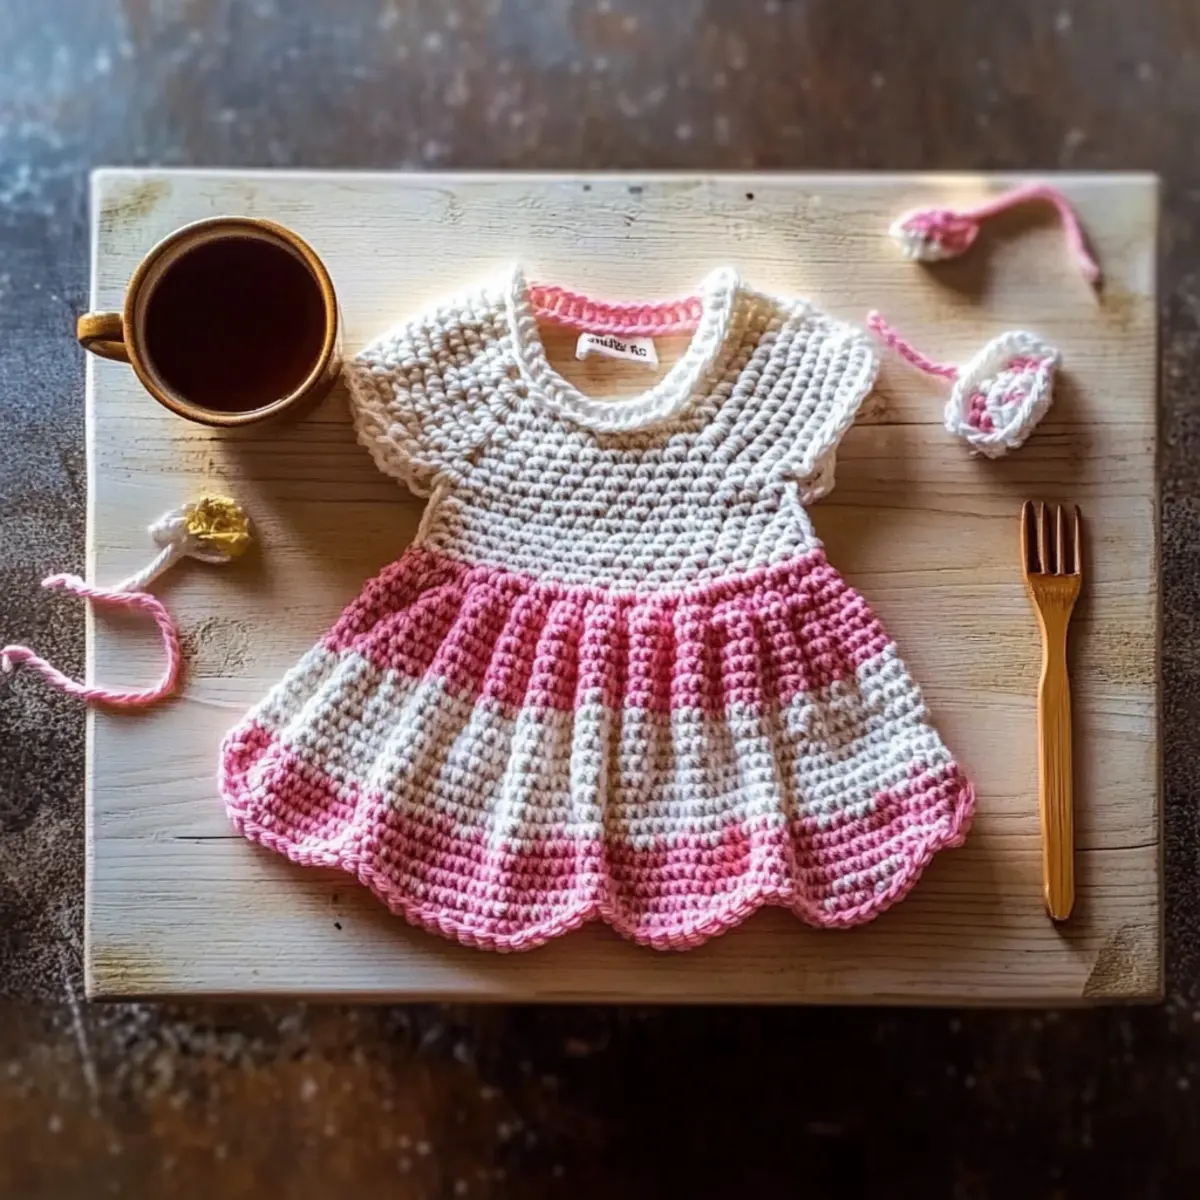
Easy Crochet Baby Dress FAQs
Can I substitute the yarn for this crochet baby dress?
Absolutely! While the pattern is designed with lightweight yarn in mind, you can substitute acrylic for cotton or any similar weight yarn. Just remember that the drape may change slightly depending on your choice, so I recommend checking your gauge to ensure the fit remains true to size.
How can I adjust the sizing of the Easy Crochet Baby Dress?
Don’t panic! To make the dress smaller or larger, you can modify the row count in the yoke or add stitches to the skirt section. For example, if you’re aiming for a looser fit, simply add a few extra stitches in multiples of 3 when starting your skirt. Always try it on your little one as you go!
Why is my crochet baby dress curling at the edges?
If your dress is curling like a bowl, it might be due to tension issues. I suggest checking your gauge again and making sure you’re using the recommended hook size. Another tip is to add a few rows of a single crochet stitch at the end to create a border that helps flatten those edges.
What size hook should I use for the skirt section?
For the Easy Crochet Baby Dress, I recommend using a G (4 mm) hook for the skirt. This allows the textured stitches to show beautifully! If you find the skirt is turning out too tight or too loose, feel free to adjust your hook size accordingly while paying attention to your gauge.
How do I fix a dropped stitch in my crochet project?
It’s an easy fix! Simply use a tapestry needle to catch the dropped stitch and weave it back into place. If you’re concerned about it happening again, take the time to count your stitches after each row. This practice can help you catch mistakes early before they become larger issues.
Can I add embellishments to the crochet baby dress?
Definitely! Adding embellishments like a 3D bow or small flowers can personalize your dress and make it even more special. Just keep in mind the overall design and how your chosen embellishments will fit with the texture of the skirt!
Leave a Reply