
As I sat on my cozy couch, surrounded by vibrant yarn and the gentle hum of my favorite music, inspiration struck: the beautiful Diamond Granny Square. This isn’t your typical granny square; it captivates with its textured geometric design and striking diamond center that can elevate any project. Perfect for those looking to hone their skills, this pattern combines tall stitches with clever skips for a stunning relief that plays beautifully with light. Not only is it a captivating challenge, but the Diamond Granny Square is also a fantastic stash-buster and a chic addition to your home décor or wardrobe. I can’t wait to share this pattern with you, so let’s dive in and transform those yarn-balls into something truly magnificent!
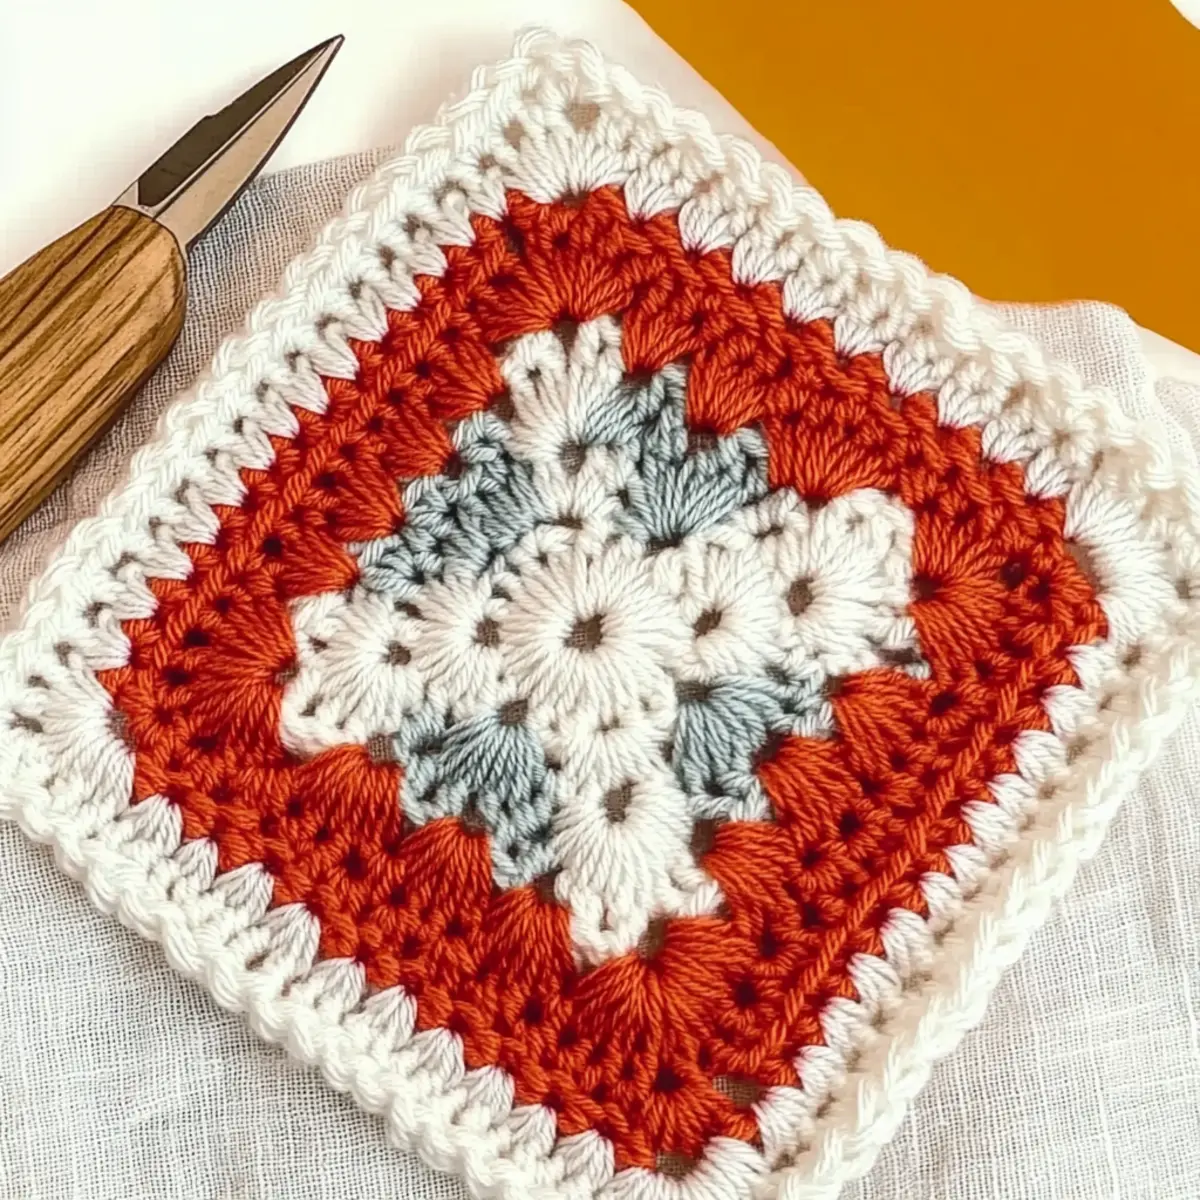
Diamond Granny Square Materials & Tools
Elevate your crochet game with the right supplies!
Yarn
• Worsted Weight Yarn – Approximately 150-200 yards (137-183 meters) needed, depending on how many squares you plan to create.
Tools & Notions
• 5.5mm (US I-9) Hook – This size helps achieve a well-defined stitch appearance for the Diamond Granny Square.
• Stitch Markers – Essential for keeping track of rounds and ensuring neat, organized stitching.
• Tapestry Needle – Perfect for weaving in ends for a polished finish once your squares are complete.
• Blocking Mats & Pins – Crucial for shaping squares accurately, so they lie flat and have crisp angles.
Why Is the Diamond Granny Square Special?
Unique Design: The Diamond Granny Square offers a refreshing twist on traditional granny squares with its stunning geometric motifs that draw the eye and enhance any crochet project.
Textured Appeal: The use of tall stitches creates a captivating texture, making this square not just beautiful, but also an engaging project to crochet.
Skill Enhancement: Perfect for those ready to level up, this pattern invites you to practice advanced techniques, such as treble and double treble stitches, expanding your crochet repertoire.
Versatile Uses: Whether for a cozy throw blanket, stylish wearable art, or unique home decor, the design adapts seamlessly to any project you envision!
Stash-Busting Potential: Use up those leftover yarns from your collection—this pattern is ideal for reducing waste while creating something stunning. Embrace the versatility of different colors and textures with each square!
Dive deeper into home decor ideas using these squares to spark your creativity!
Gauge & Sizing Notes
Don’t skip the gauge swatch! It’s essential to ensure your Diamond Granny Square maintains the intended dimensions and texture. A standard gauge for this project should measure 4×4 inches (10×10 cm), achieving 14 double crochets and 8 rows. If your gauge is off, you can adjust the size of your squares by modifying the starting chain; for example, to make your square larger, increase your initial chain in multiples of 6 + 2. If you find your tension is too tight and your swatch is smaller than expected, simply try going up a hook size to achieve that beautiful, crisp geometric design. Happy crocheting!
Step‑by‑Step Pattern for Diamond Granny Square
Round 1: Start the Foundation
Begin with a magic ring (MR). Chain 3 (Ch×3) to count as your first double crochet (Dc), then work 2 more Dc into the MR. Next, chain 2 (Ch×2), and in the ring, repeat [Dc×3, Ch×2] three times for the diamond shape. Slip stitch (Sl.st) to join at the top of the starting Ch (this should create 12 Dc total, and your work should form a small cup).
Round 2: Creating Texture
Chain 2 (Ch×2) and then in the first space, work [(Dc×2, Treble crochet (Tr), Ch, Tr, Dc×2) skip 1 (k1), Half double crochet (Hdc) ×2]. In the next space, work (Hdc×2, Dc×2, Hdc×2) skipping 1 stitch. Repeat this sequence twice, ending with a Sl.st to close the round. Your work should now have defined texture that begins to resemble the diamond shape (totaling approximately 24 sts).
Round 3: Expanding the Motif
Start with a [Single crochet (Sc), Hdc, Dc, (Tr×2), (Double Treble crochet (Dtr), Ch×2, Dtr), (Tr×2), Dc, Hdc] in the first space and repeat this pattern for a total of four times. Each cluster should create a pronounced diamond form; finish with a Sl.st to close this round. Your piece will feature more intricate designs taking shape (you should have 32 sts total).
Round 4: Finalizing the Square
Begin Round 4 with (Ch×3, Dc, Ch×2, Dc×2) in the first chain space. Then work 11 more Dc in the space around the square, creating that beautiful edge. In the next two spaces, repeat [(Dc×2, Ch×2, Dc×2)], and create 11 Dc in each space as you go along. Conclude with a Sl.st to join. This round will complete the stylish brim of the Diamond Granny Square, giving it a perfect finished size of approximately 4 to 5 inches (depending on your yarn and hook).
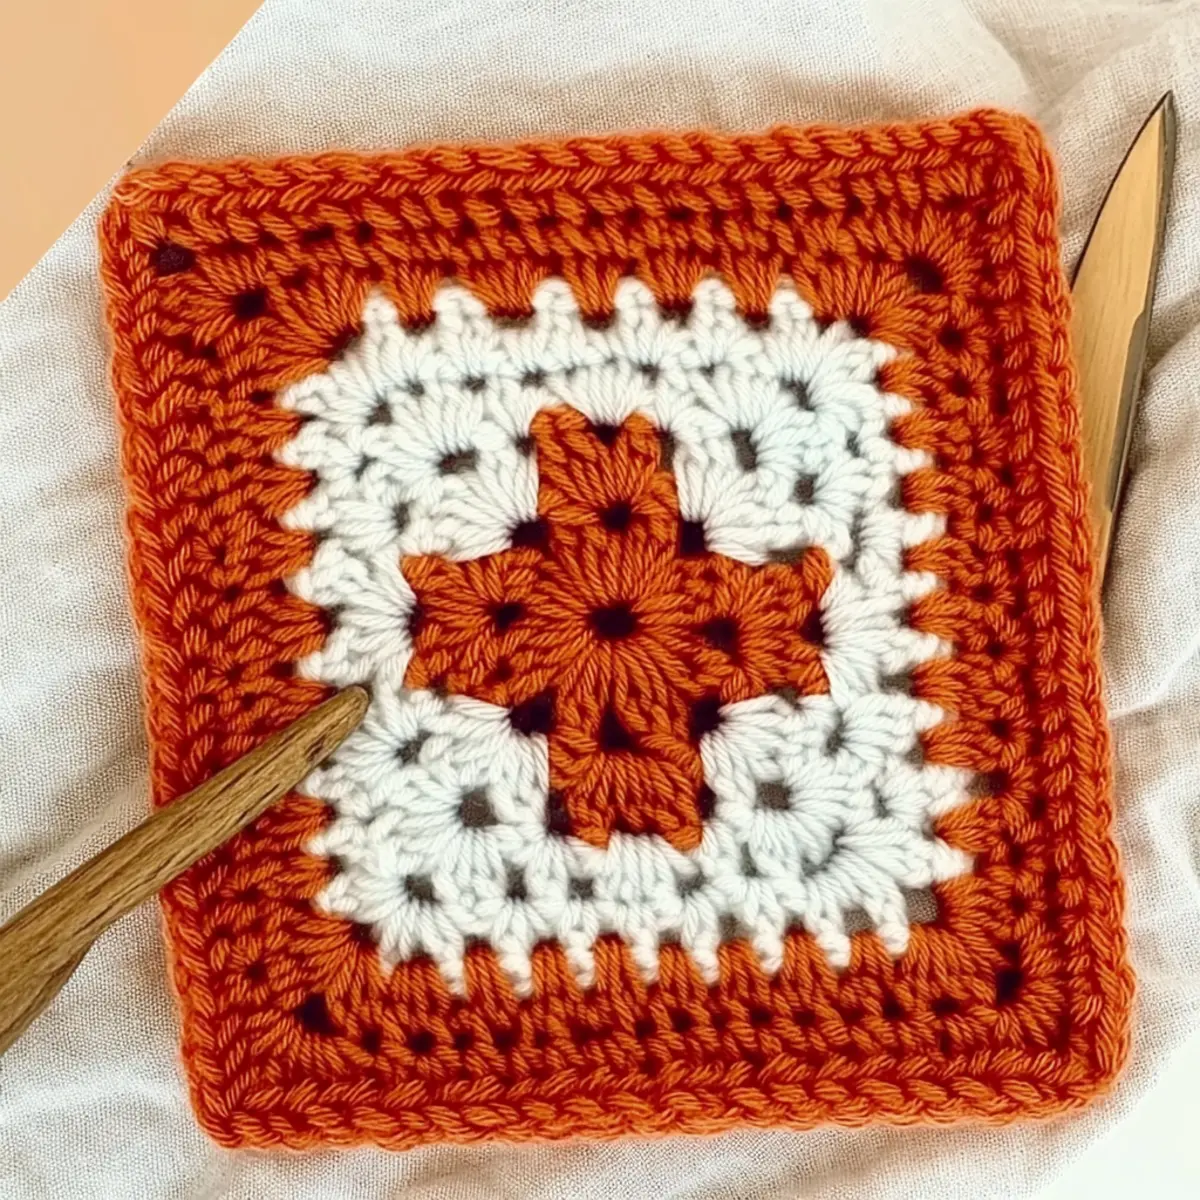
How to Wash and Care for Your Diamond Granny Square
-
Hand Washing: Gently soak your Diamond Granny Square in cold water with a mild detergent for about 10-15 minutes to preserve its shape and texture.
-
Avoid Agitation: When rinsing, avoid excessive agitation to prevent felting or pilling; simply press the water out gently without wringing or twisting.
-
Drying/Blocking: Lay your square flat on a clean towel or blocking mats to dry. Pin the edges for a crisp shape and allow it to air dry completely, avoiding direct sunlight.
-
Storage: Store your completed squares in a cool, dry place. Keep them folded or laid flat, preventing creasing or deformation to maintain their beautiful geometric design.
Expert Tips for the Diamond Granny Square
-
Stay Mindful of Tension: Check your gauge before starting. Consistent tension in Rounds 2 and 3 helps maintain the geometric design and ensures proper fit.
-
Count Your Stitches: It’s easy to lose count, especially with tall stitches. Keep a stitch marker on the last stitch of each round to avoid confusion.
-
Avoid Dropping Stitches: Pay extra attention to yarn overs when working tall stitches, as dropping stitches can affect the overall texture of the square.
-
Seamless Joining: To create a perfectly seamless look when joining squares, explore techniques like whip stitch or slip stitch joining for a professional finish.
-
Blocking is Key: Don’t skip the blocking step! It shapes the squares and enhances the diamond motifs, giving them a polished, crisp finish.
Diamond Granny Square Variations
Invite your creativity to blossom with these exciting variations tailored just for you!
-
Larger Squares:
Increase the drama by adding extra rounds of double crochet for a grander square. This allows your project to evolve beautifully, turning simple patterns into statement pieces. -
Fiber Alternatives:
Swap wool for cotton to give your square a lighter, breezier feel—perfect for summer projects. Feel the difference in texture and drape, allowing your squares to adapt to any season. -
Color-Blocking Ideas:
Combine bold colors in alternating squares for a fresh, contemporary design. Experimenting with hues can transform the final piece into a vibrant masterpiece bursting with energy! -
Textured Borders:
Add scalloped or shell borders to your completed squares for an elegant touch. A simple border can enhance the overall look, drawing the eye to your meticulous stitching. -
Pom-Poms & Fringe:
Attach playful pom-poms or trendy fringe to the corners for a whimsical flair. These tiny details breathe life into your crochet, making each square as unique as your personality! -
Mixed Yarn Weights:
Experiment with different yarn weights within the same project, creating a delightful texture contrast. Just imagine the richness of a thicker yarn accentuating a delicate square! -
Adjust Sizing:
Modify your hook size to create a tighter or looser finish and adjust the square’s dimensions. Play with your tension, and you’ll find countless possibilities at your fingertips! -
Seasonal Themes:
Introduce seasonal or holiday colors to your squares for themed projects. Whether it’s warm reds for winter or lively pastels for spring, the joy is in tailoring your work to the moment!
Take your crafting further with these variations, and don’t forget to explore home decor ideas where your stunning Diamond Granny Squares can shine even brighter!
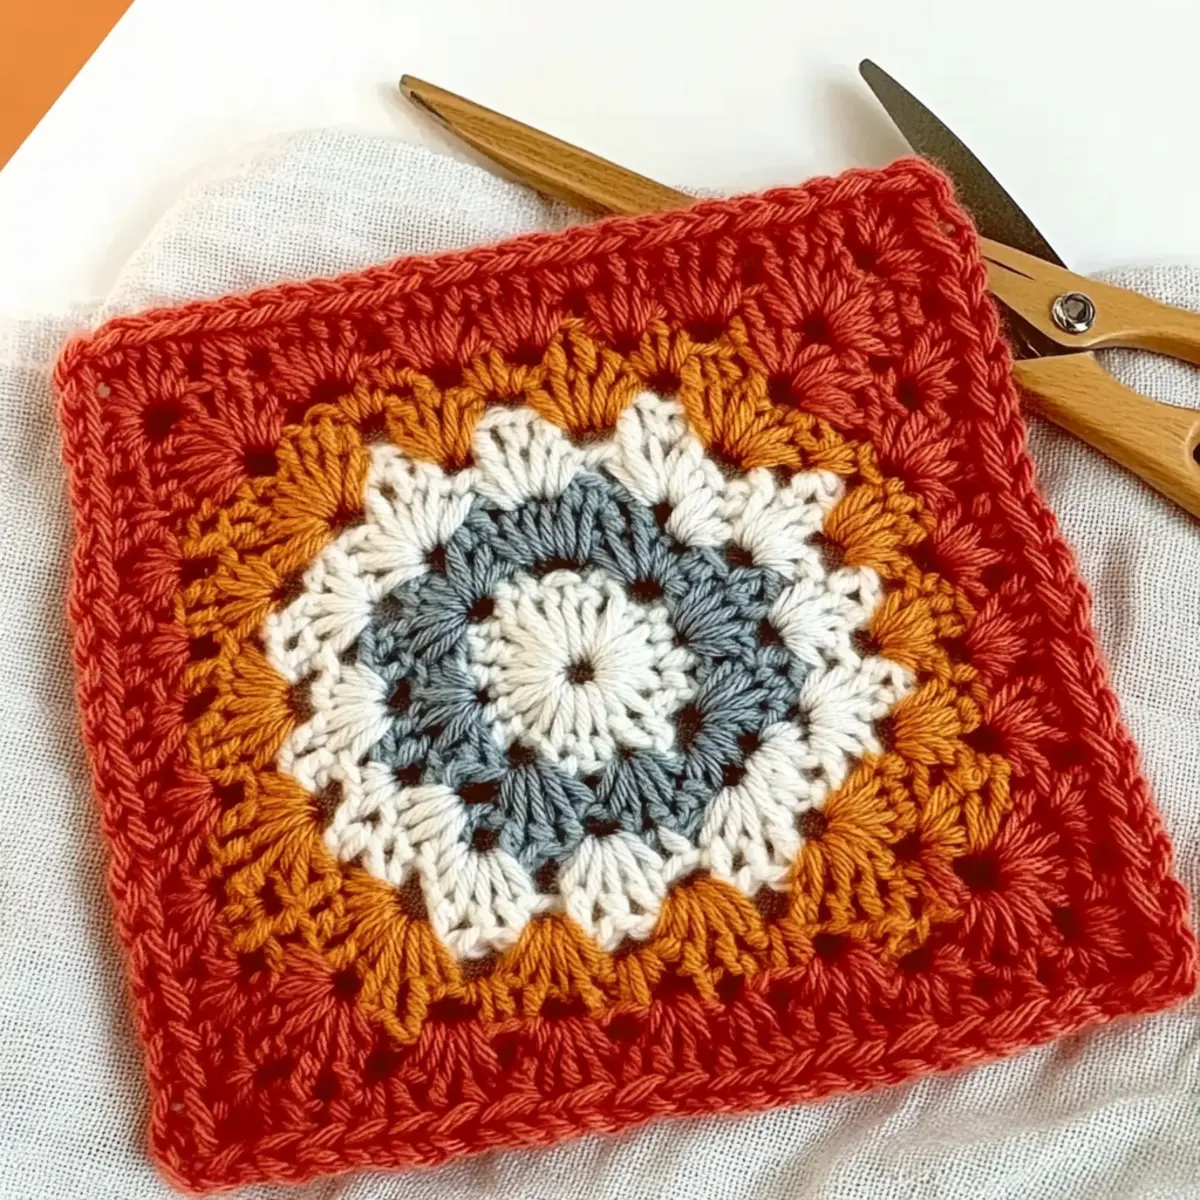
Diamond Granny Square: A Textured Geometric Motif FAQs
Can I substitute different yarns for the Diamond Granny Square?
Absolutely! While worsted weight yarn is recommended for the best results, you can substitute other yarn types. Keep in mind, though, that this may change the size and texture of your squares. For instance, using a lighter yarn like DK could result in a more delicate square—just be sure to check your gauge!
How do I adjust the size of my Diamond Granny Square?
If you want to make your square larger, try adding extra rounds of double crochet following the same pattern. Conversely, to make it smaller, you can skip rounds or decrease the number of double crochets in your rows. Just remember to keep an eye on your gauge to maintain that lovely diamond shape!
Why is my work curling at the edges?
Don’t panic! Curling can happen when tension is too tight or if you haven’t blocked your square yet. First, check your tension on the taller stitches, particularly in Rounds 2 and 3. Once you’re done crocheting, try blocking your square to help it lay flat—the results can be quite magical!
What hook size should I use for the Diamond Granny Square?
For this pattern, a 5.5 mm (US I-9) hook is recommended to achieve defined stitches. However, if you crochet tightly, consider using a slightly larger hook to help loosen your tension and create that gorgeous geometric design!
How do I fix a dropped stitch in my square?
It’s an easy fix! If you notice a dropped stitch, simply use a tapestry needle to weave it back into the last round where it belongs. Gently pull on the yarn to tighten it up—but be careful not to make it too tight; you want to maintain that lovely texture!
What’s the best way to join my Diamond Granny Squares?
For a seamless finish, I recommend exploring different joining techniques like whip stitch or slip stitch joining. These methods help maintain the clean geometric edges and prevent any bulky seams. Each will give your project a wonderfully polished look!
Leave a Reply