
There’s something magical about crafting a lightweight tunic that carries the essence of summer with you wherever you go. The Customizable Beach Day Cover-Up Tunic is perfect for those sun-soaked outings, effortlessly layering over your favorite bathing suit or a casual tee. Not only is this pattern a breeze to create, but it’s also designed to fit a variety of sizes, making it versatile for everyone in your life. Whether you’re planning your beach day or just looking for a cozy garment to wear all year round, this tunic offers a chic deep V neckline that elevates any outfit while ensuring you feel completely comfortable. Let’s dive into this delightful project and make something that’s bound to turn heads and keep you feeling fabulous!
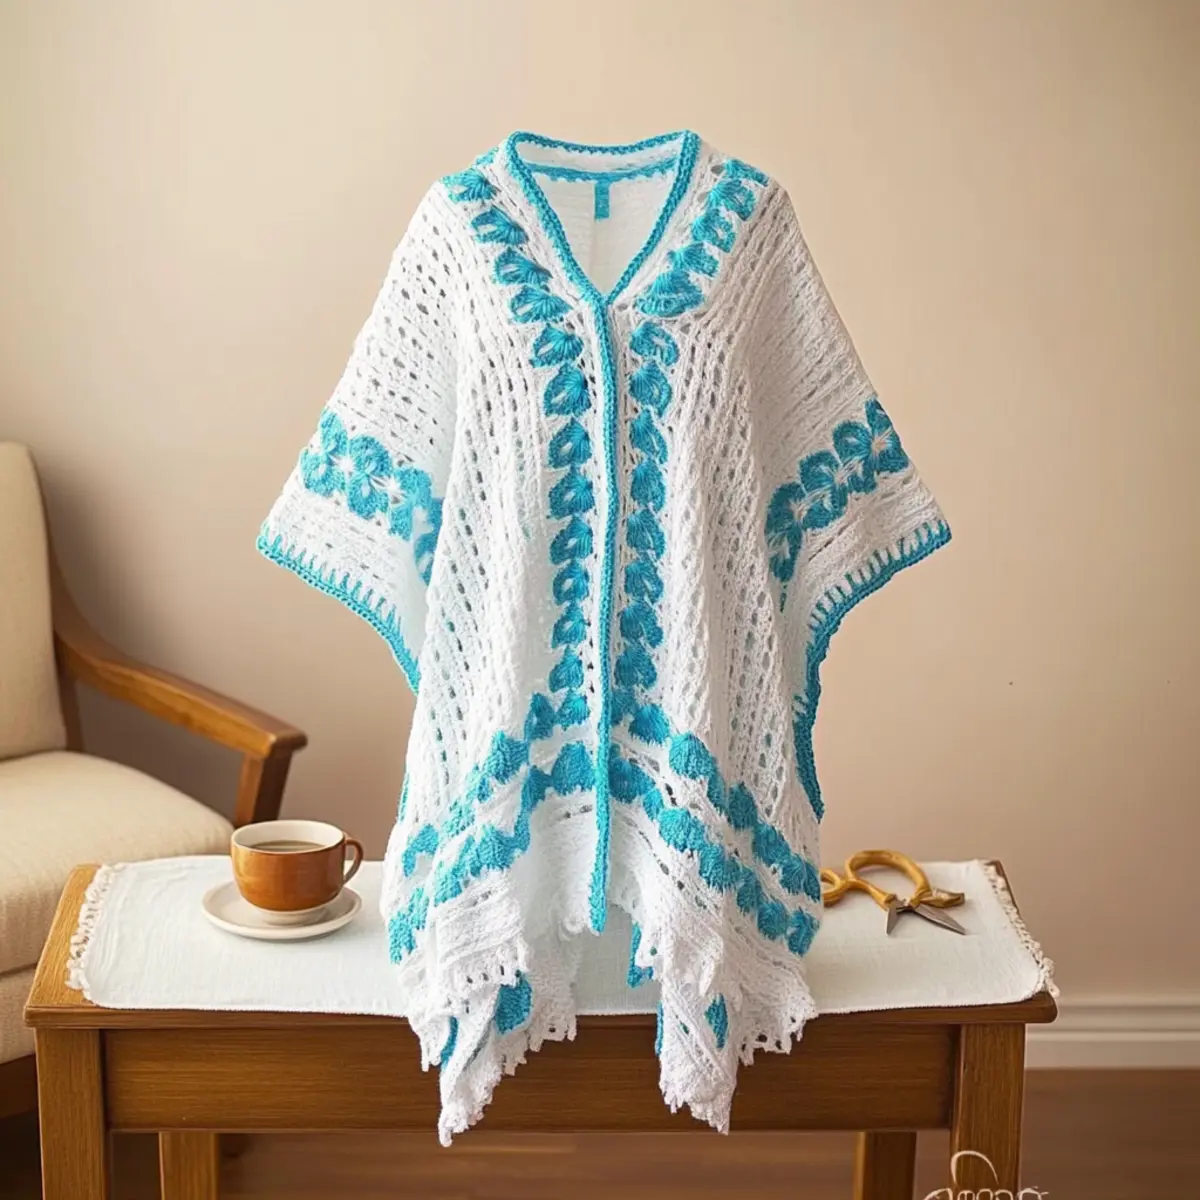
Beach Day Cover-Up Tunic Materials & Tools
Get ready to create your own stunning cover-up!
Yarn
- Premier Cotton Fair – You’ll need 3 balls of White and 2 balls of Turquoise for a beautiful blend that’s perfect for year-round use.
Tools & Notions
- G (4.0 mm) Crochet Hook – This is your magic wand for creating that lovely drape; adjust if necessary for your tension.
- Stitch Markers – To keep track of your rows and color changes effortlessly!
- Tapestry Needle – Essential for weaving in those loose ends and finishing your project beautifully.
Why is This Tunic a Must-Crochet?
Versatile Design: The Customizable Beach Day Cover-Up Tunic is perfect for layering over swimsuits, making it an essential for beach trips or casual outings.
Lightweight Fabric: Crafted with a blend of cotton and acrylic, this tunic is not only airy but also comfortable enough to wear year-round.
Easy Customization: Tailor the length and colors to suit your unique style! It’s a fantastic way to use up leftover yarn or showcase your favorite shades.
Fashion Forward: The elegant deep V neckline adds a trendy touch, ensuring you’re not just comfortable but also stylish wherever you go.
Beginner Friendly: This pattern uses simple stitches and techniques, making it accessible for crocheters at any skill level. Plus, if you’re new to terms like Foundation Double Crochet, you can always refer to helpful video tutorials.
Perfect for Gifting: Craft one for a loved one, and you’ll have a thoughtful gift that’s both practical and stylish!
Gauge & Sizing Notes
Don’t skip the gauge swatch! It’s crucial for ensuring your Customizable Beach Day Cover-Up Tunic fits perfectly. The standard gauge you should aim for is 18 double crochets by 10 rows in a 4×4 inch (10×10 cm) square. To make this tunic wider, increase your starting chain in multiples of 8; each increment adds approximately 1.75 inches to the width. If your tension doesn’t match this gauge and your swatch is too small, don’t worry! Simply go up a hook size to achieve the desired fit. Happy crocheting, and enjoy creating your perfect cover-up!
Step‑by‑Step Pattern for Customizable Beach Day Cover-Up Tunic
Row 1: Chain and Foundation
Begin by chaining 307. Once you have your chain, double crochet (dc) in the 4th chain from the hook. Continue to dc across the remaining chains to the end. This establishes your first row of the Customizable Beach Day Cover-Up Tunic. At the end of this row, you should have a total of 304 dc (304 sts).
Row 2: Establishing the Pattern
Chain 3 (counts as first dc), turn your work, and dc in the next st. *Skip the next stitch, dc in the following stitch; repeat from * across the row. This row creates a lovely open pattern allowing for breathability. Your work should start to show a pattern, with 152 dc and 152 skipped stitches by the end of the row (304 sts total).
Row 3: Continue the Open Stitch Pattern
Chain 3, turn your work, and dc in the next 2 stitches. *Chain 1, skip the next dc, dc in the next; repeat from * across. This builds on the open stitch design, keeping your tunic lightweight. You will end the row with 152 open stitches (304 sts total). Your work should feel airy and flexible.
Row 4: Repeat Pattern for Texture
Chain 3, turn, and dc in the next stitch. *Skip the chain-1 space, dc in the next stitch; repeat from * across. This row maintains the established design while ensuring consistency. Your stitch count remains the same at 304 sts. Visually, the pattern should begin to take on a lovely texture.
Row 5–39: Build the Body of the Tunic
Repeat Rows 2 through 4 until you reach a total of 39 rows. Adjust your stitch count if necessary to achieve your desired tunic width. The Customizable Beach Day Cover-Up Tunic will start to take shape, and you’ll love how light and airy it feels.
Step 1: Second Panel Start
Now it’s time to create the second panel. Join Color 1 at the right side of the first panel. Chain 3 and dc in the next available stitch, following the pattern established in the first panel. This panel mirrors the first and maintains the same stitch count across the rows. You should see a cohesive look forming.
Step 2: Repeat Rows
Continue following the established pattern for the second panel, repeating Rows 2 through 39. Your work should look seamless between the two panels. After completing both panels, check for stitch counts and visual consistency to ensure both sides match beautifully.
Step 3: Finish Hemline
To finish the hemline, chain 1 and sc around the entire bottom edge of the tunic. This will secure the edges and provide a polished look. Make sure to evenly distribute the sc stitches, creating a clean finish without puckering. Your work should lay flat, showcasing the tunic’s lovely drape.
Step 4: Neckline Border
Join Color 2 at the center back of the tunic. Chain 1 and sc evenly around the neckline. This will add a touch of elegance and help define the deep V shape. As you work, make sure the border lies flat and does not pull the fabric inwards.
Step 5: Create the Belt
Finally, chain approximately 6 feet long using Color 2 for your belt. You can braid the chain if desired for added texture and style. Secure the ends and attach the belt to your tunic at the waist for the perfect finishing touch. Your Customizable Beach Day Cover-Up Tunic is now ready to shine!
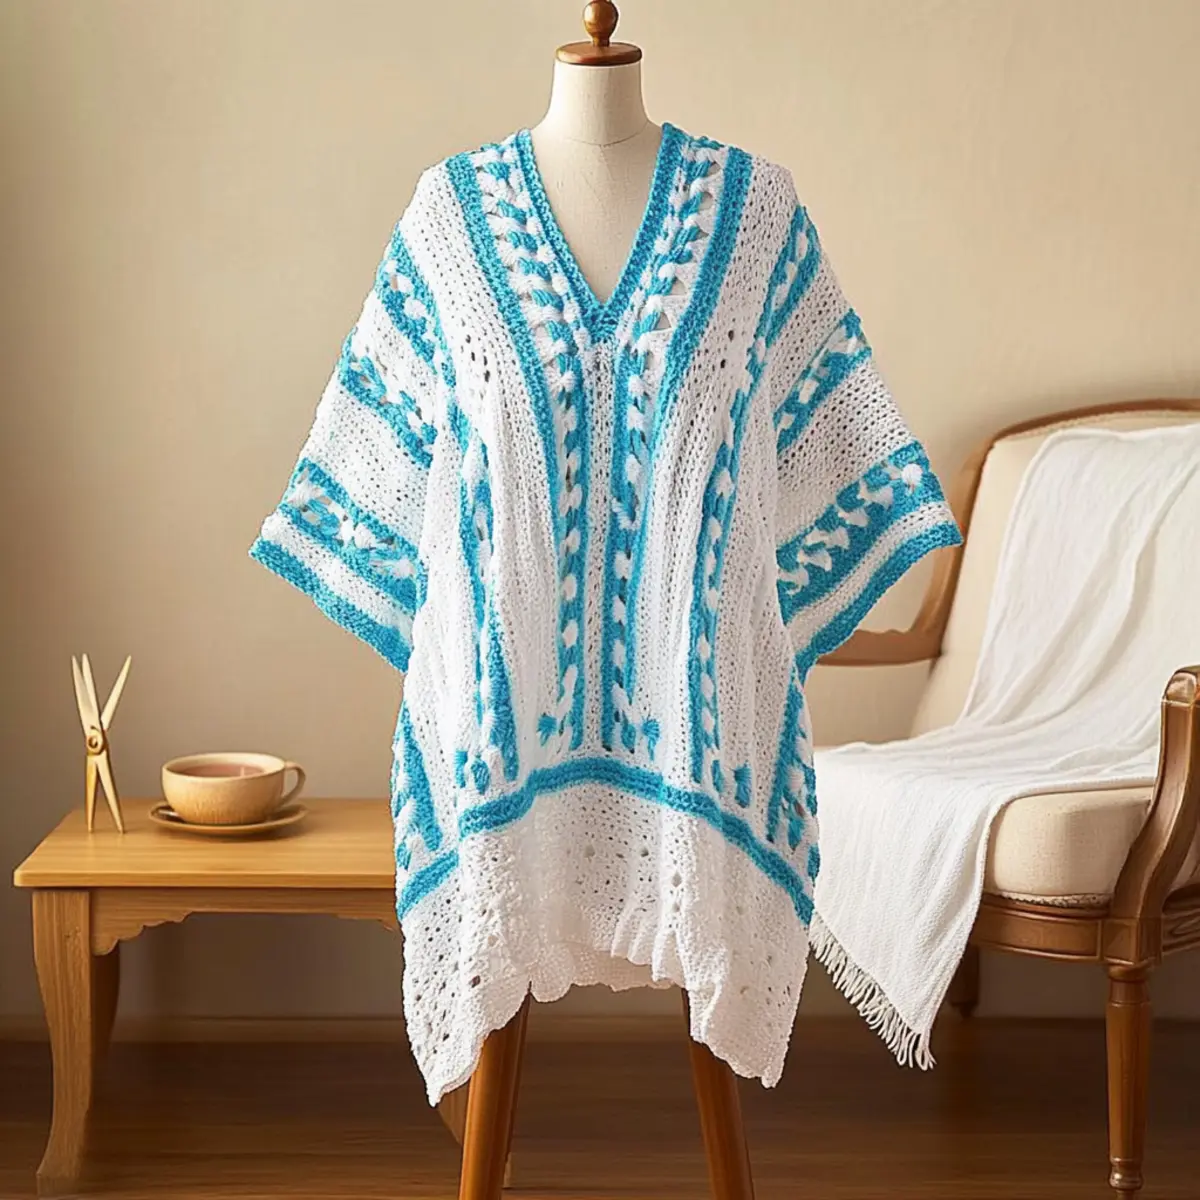
Variations & Substitutions for Customizable Cover-Up
Feel free to add your own flair to the crochet pattern and make it uniquely yours!
-
Yarn Substitutions: Try using Patons Silk Bamboo for a silky feel; just adjust your stitch count for the new yarn weight. Lighter fibers might give an entirely fresh look while maintaining breathability.
-
Color Pop: Mix in bold colors to surprise and delight! Consider adding stripes or blocks of different hues like Coral or Lemonade for a fun summer vibe.
-
Texture Twist: Use a textured yarn for added depth; imagine how lovely Berroco Vintage would look! This subtle change could elevate your tunic to a new level of cozy luxury.
-
Length Adjustments: To customize the length, add more rows or remove some before completing the hemline. This small tweak can transform the entire silhouette.
-
Size Variations: Embrace inclusivity! Refer to the sizing options for different body types, ensuring comfort for everyone, whether petite or plus-sized.
-
Fringe Finishing: For a trendy spin, add a fringe detail along the hemline. It can give the tunic a playful and bohemian touch that’s perfect for beach days.
-
Chic Belt Ideas: Experiment with different belts! Braid a matching color or even a contrasting tone for a stylish waist accent. The right belt can elevate your cover-up from ordinary to fabulous.
-
Neckline Embellishments: Consider adding a delicate edging around the neckline with a contrasting color or a different stitch pattern. This personal touch can elevate the allure of your cover-up!
By exploring these variations, you can tailor this tunic to your heart’s content and share this delightful project with fellow crafters. Don’t forget to check out more customization tips, or share your unique designs with our crafting community!
Expert Tips for the Beach Day Cover-Up
-
Stay Tension Consistent: Keep an eye on your tension; consistent stitches will ensure a well-fitting tunic. If your fabric feels tight or loose, adjust your hook size accordingly.
-
Count Those Stitches: Count your stitches at the end of each row to maintain the correct shape and dimensions of your customizable cover-up. It’s easy to lose track, so don’t skip this step!
-
Secure Your Ends: Weave in loose ends using a tapestry needle to finish your project neatly. This will help maintain the sleek look of your beach day cover-up and ensure durability.
-
Use Stitch Markers: Place stitch markers at crucial points when changing colors or starting new sections. This helpful tip will keep your fabric orientation consistent.
-
Block for Best Results: After finishing, consider blocking your tunic to smooth out any uneven areas and enhance the final drape. This lightweight cover-up will look even more fabulous after a good blocking!
Care Instructions for Your Beach Day Cover-Up
Machine Washing: Use a gentle cycle with cold water to protect the fibers of your customizable Beach Day Cover-Up. This helps maintain its lightweight texture and vibrant colors.
Hand Washing: For extra care, hand wash with a mild detergent. Gently agitate the water to avoid felting, ensuring that your beautiful tunic stays in top condition.
Drying/Blocking: Lay the tunic flat on a clean towel to dry, reshaping the neckline and hem for a polished finish. This prevents stretching and keeps the elegant drape intact.
Storage: When not in use, fold your cover-up neatly and store it in a cool, dry place. Avoid hanging, as it may stretch out the fabric over time.
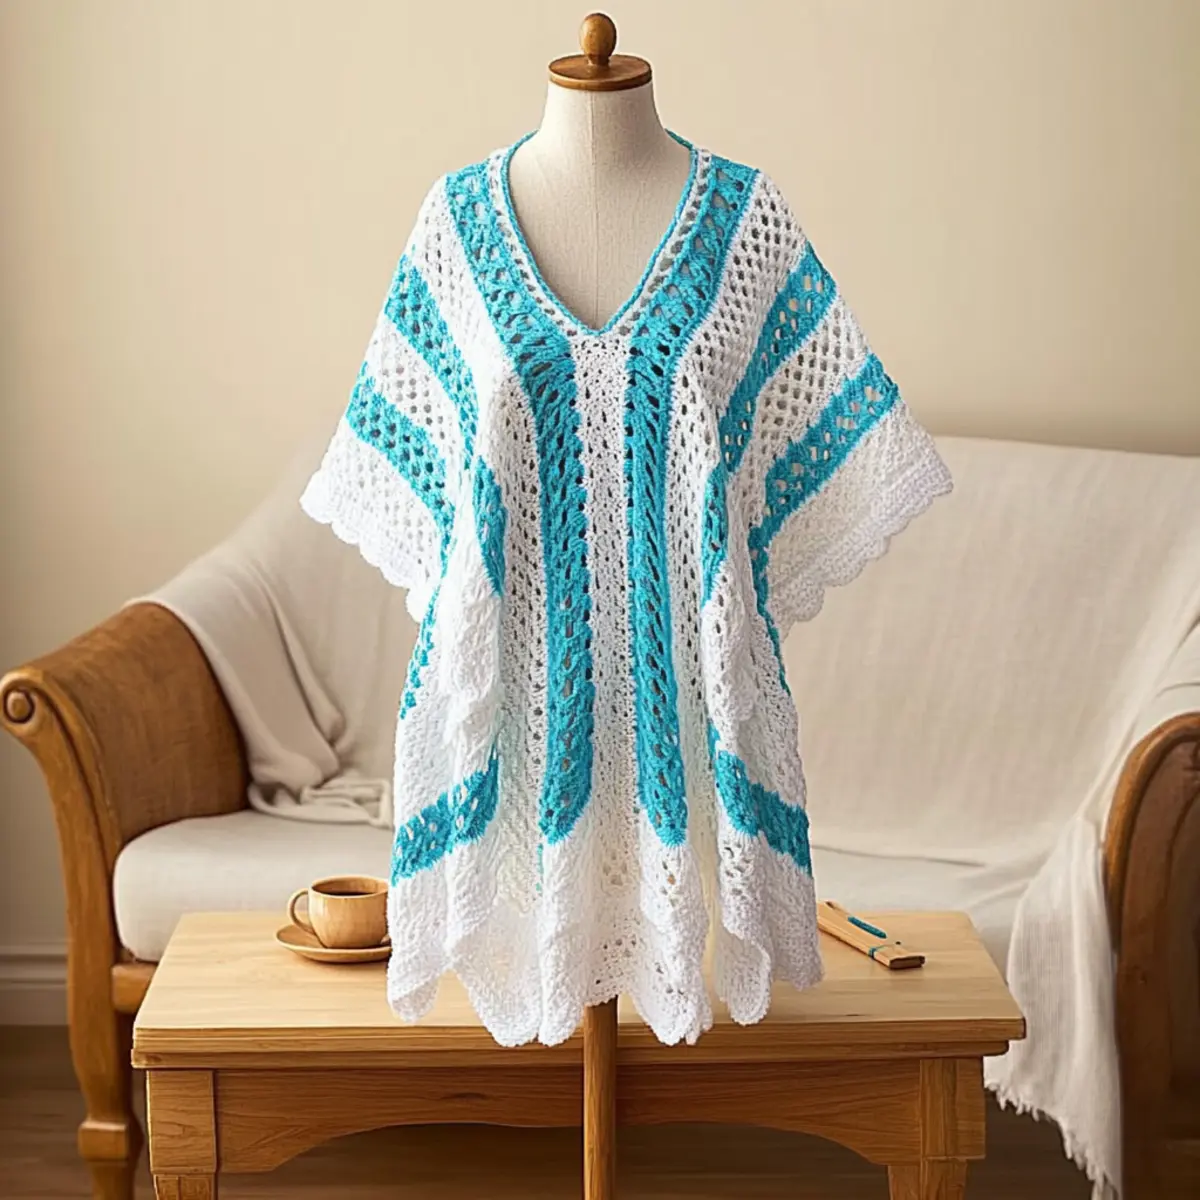
Customizable Beach Day Cover-Up Tunic FAQs
Can I substitute different yarn types for the cover-up?
Absolutely! While I recommend using Premier Cotton Fair for its lightweight and breathable properties, you can experiment with other yarns too. If you prefer a different texture, lighter weights like Patons Silk Bamboo work beautifully, just remember to adjust your stitch count accordingly for the desired fit.
How do I adjust the size of the tunic if I want it bigger or smaller?
No problem! You can customize your tunic size easily. If you want it larger, increase the number of chains with increments of 8 for every 1.75 inches you want to add. For a smaller size, simply decrease the number of chains or adjust the number of rows. Always check your gauge to ensure a proper fit!
Why does my work keep curling, especially at the edges?
Don’t panic! Curling often happens if your tension is too tight or if you’re not using the correct stitches for your fabric type. Make sure you’re counting your stitches and using stitch markers as needed. If your cover-up is curling like a bowl, try switching to a larger hook size to loosen the tension.
What size hook should I use for this pattern?
For this cover-up, I recommend a size G (4.0 mm) crochet hook. However, if you notice your stitches are either too tight or too loose, feel free to adjust to a different hook size to achieve the perfect tension for your yarn.
How can I fix dropped stitches in my cover-up?
It’s an easy fix! If you notice a dropped stitch, simply use a tapestry needle to pull the yarn from the drop back up through the stitch above. If it’s a significant drop, you might need to rip back a row or two to properly re-establish your stitches. Just take it slow, and you’ll get it back on track!
What if I want to add a design or pattern to my tunic?
Oh, the possibilities are endless! You can introduce stripes of different colors or alternate textured yarns for visual interest. Just adjust your row counts and remember to stay consistent with your gauge to maintain the overall shape of your cover-up. Happy crafting!
Leave a Reply