
As I settled into my favorite cozy nook with a cup of tea, the world outside faded away, leaving only the gentle rhythm of my crochet hook. That’s when I stumbled upon the delightful Cross Flower Granny Square pattern, a floral masterpiece that effortlessly transforms simple stitches into a dimensional treasure. This charming project is perfect for beginners, offering a fun opportunity to explore vibrant color combinations that can elevate any space. Not only does this granny square work up quickly, but it also doubles as a thoughtful gift that showcases your handmade touch. With a visual appeal that brings warmth and character into your home, I can’t wait to share this engaging pattern with you. Are you ready to weave your own memories into each stitch? Let’s dive into the world of floral crochet magic together!
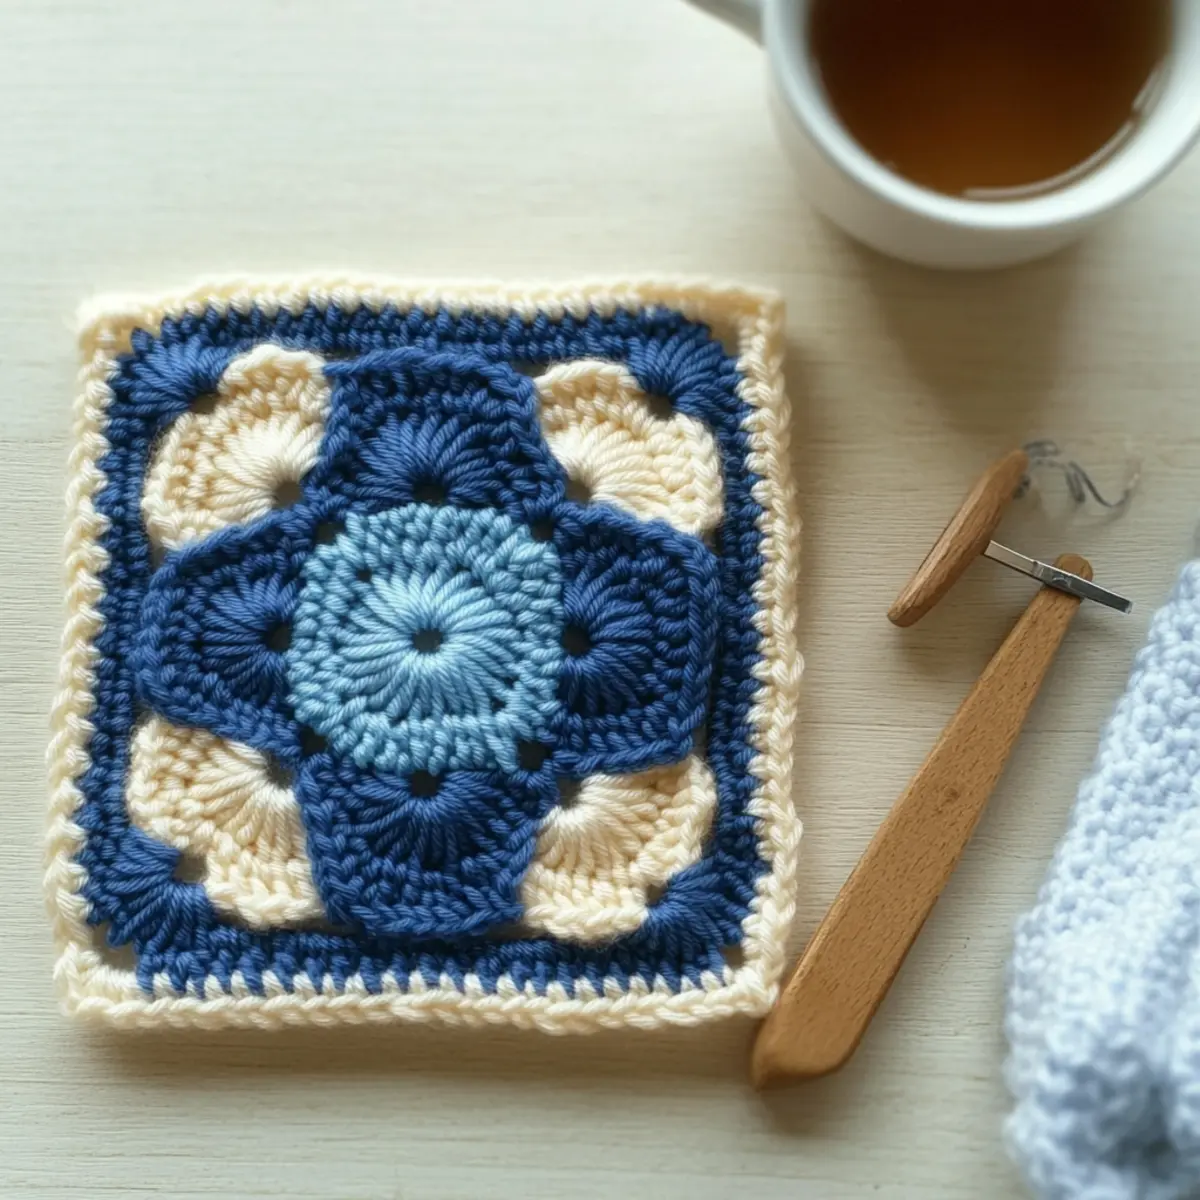
Cross Flower Granny Square Materials & Tools
- Yarn
- Light DK Sport Weight Yarn – 2 colors are recommended for creating the vibrant floral design.
- Hook
- 3.00 mm (US D/3) Hook – Perfectly sized to ensure your crochet squares are consistent and beautifully crafted.
- Notions
- Darning Needle – Essential for weaving in ends to give your finished piece a polished look.
- Scissors – Keep handy for snipping yarn as you work on your engaging Cross Flower Granny Square.
- Stitch Markers (optional) – Helpful for tracking rounds, especially as the pattern becomes more intricate.
Why Is This Granny Square Special?
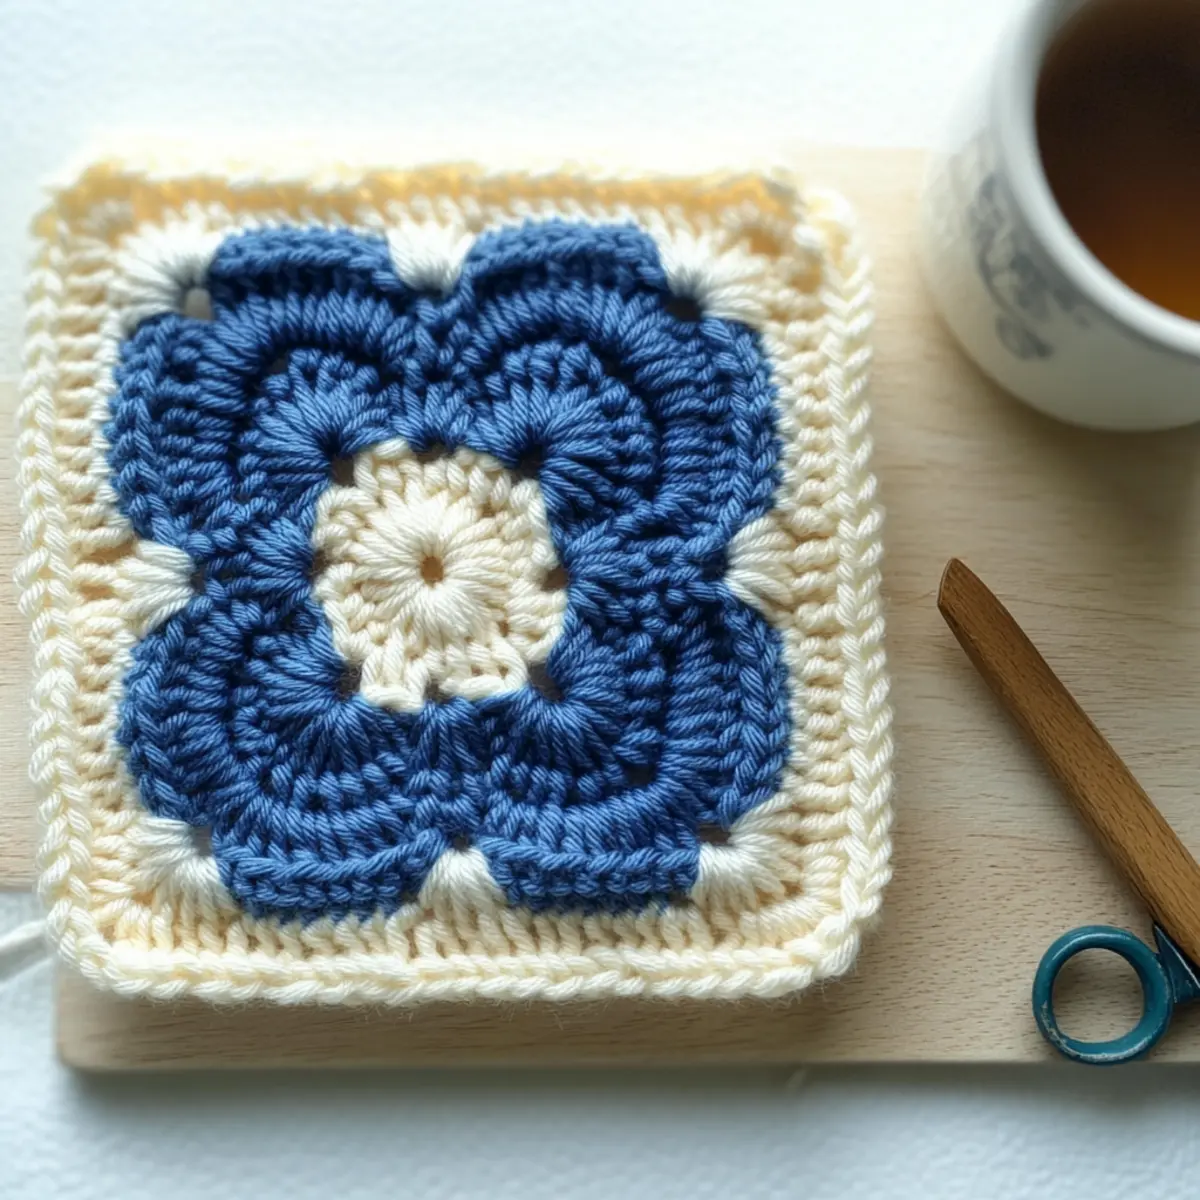
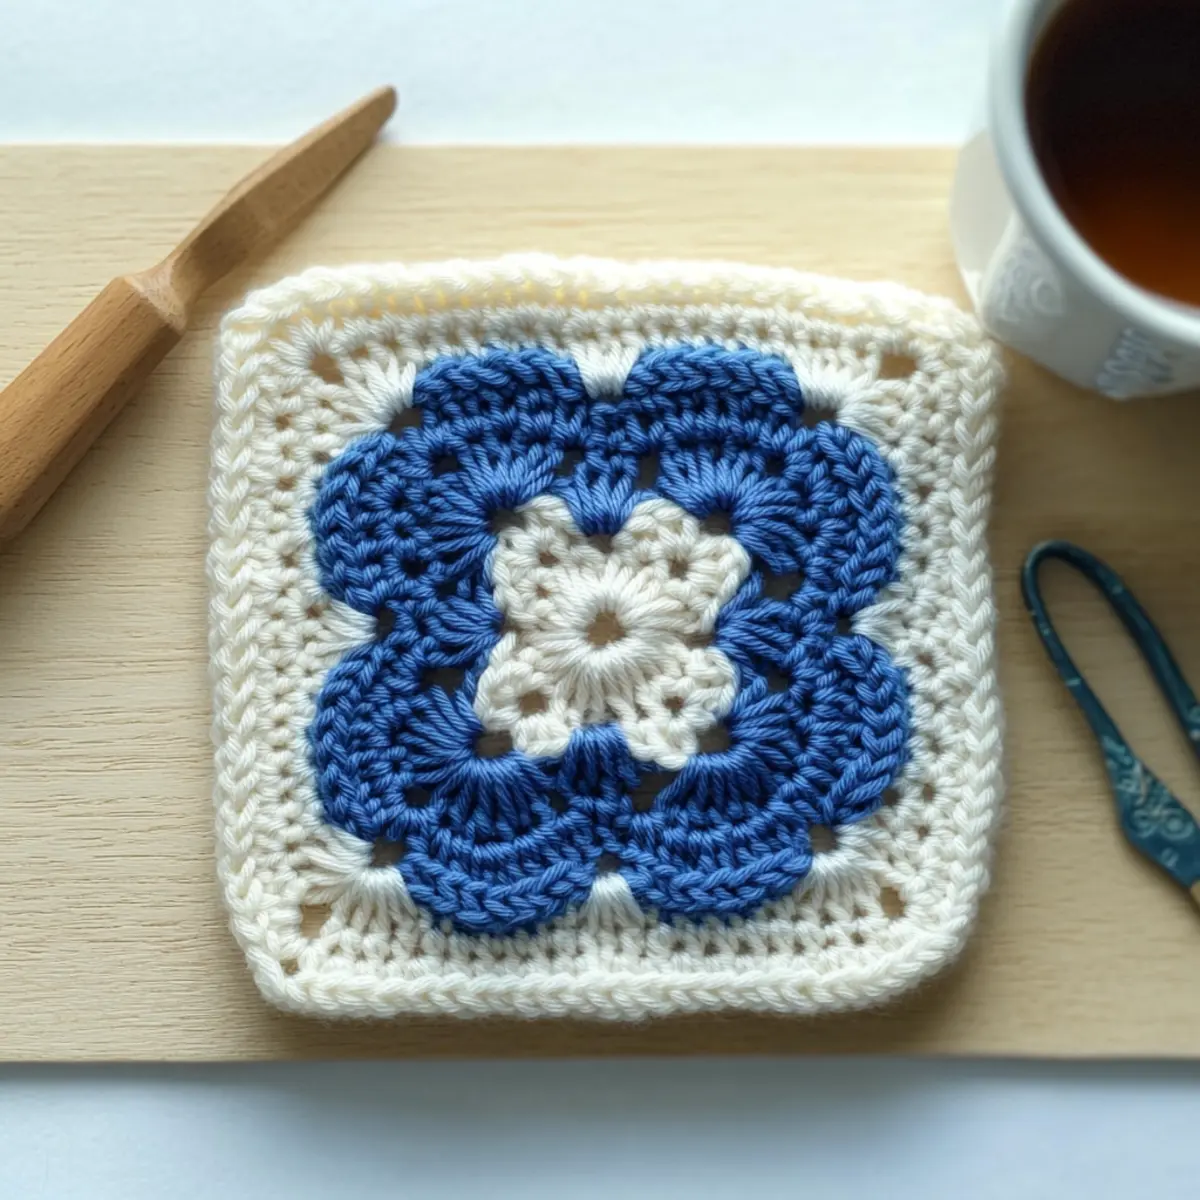
Dimensional Design: The Cross Flower Granny Square features heart-shaped petals that create an eye-catching 3D effect, making it a stunning addition to any project.
Beginner-Friendly: Easy to follow, the pattern includes step-by-step instructions and a video tutorial, ensuring that even novice crafters can stitch their way to success.
Texture Galore: The mix of stitches delivers a delightful texture that truly brings your projects to life, making each piece feel unique.
Versatile Project: Use this lovely granny square for blankets, coasters, or even wall art! The possibilities are endless with just a couple of yarn colors.
Quick to Create: Perfect for those moments when you need a crafting fix, this square works up in no time, making it an ideal last-minute gift.
Explore more about yarn choices and personalize your creations with our tips on color combinations! You’ll be amazed at how this pattern can transform your crochet journey!
Gauge & Sizing Notes
Don’t skip the gauge swatch! It’s crucial for the Cross Flower Granny Square, as it ensures your finished piece matches the intended size and texture. A standard gauge measurement for this project is a 4×4 inch (10×10 cm) square equaling 12 double crochets by 10 rows. If you want to make your granny square larger, adjust the starting chain in multiples of 4 plus 2, allowing you that extra space for your beautiful floral design. Conversely, if your tension doesn’t match—perhaps your swatch is a bit smaller—try going up a hook size to achieve the perfect fit and maintain that dreamy dimensional look in your work!
Step‑by‑Step Pattern for Cross Flower Granny Square
Round 1: Start the Square
Begin by making a magic ring. Chain 3 (counts as 1 dc), then work 11 dc into the ring. Pull the magic ring tight to close, and join with a sl st to the top of the initial ch-3. Your work should form a tight circle with a total of 12 sts.
Round 2: Flower Center
Chain 2 (counts as 1 hdc), then make 1 hdc in the same stitch. Work 2 hdc in each of the next 11 stitches around. Join with a sl st to the top of the initial ch-2. The round will have 24 hdc, giving a lovely puffed center.
Round 3: Petal Formation
Chain 1 (does not count as a stitch), then sc in the next stitch, hdc in the next stitch, 2 dc in the next stitch, hdc in the next stitch, sc in the next stitch—this completes one petal. Repeat from * to * around for a total of 6 petals. Join with a sl st to the first sc. Your work should form a lovely flared structure.
Round 4: Petal Detail
Chain 1, then sc in the first sc, hdc in hdc, (2 dc, ch 2, 2 dc) in the next dc for the petal tip. Repeat from * to * around. Join with a sl st to first sc. The petals will appear more pronounced and dimensional with a total of 6 petal tips created.
Round 5: Shape the Edges
Chain 1, then work 1 sc in the first 2 stitches. In the next stitch (petal tip), work a shell by doing (2 dc, ch 2, 2 dc). In the next 2 stitches, work sc. Repeat this sequence around. Join with a sl st to the first sc, with your work now featuring rounded edges.
Round 6: Increase and Decrease
Chain 1 and work 1 sc in the first 4 stitches. In the next stitch, make a shell for the petal tip as before. Then sc in the next 4 stitches. Repeat this sequence around. Join with a sl st to the first sc, maintaining the shape while slightly increasing the overall width.
Round 7: Finalizing the Shape
Chain 1, then sc in the first 5 stitches. Create a shell in the next stitch, followed by sc in the next 5 stitches. Repeat this process around your granny square. Join with a sl st to the initial sc. The square will begin to resemble its final form with more vibrant dimensions.
Round 8: Textured Edge
Chain 1, then work 1 sc in each of the first 6 stitches, placing a shell in the next. Continue sc in the next 6 stitches and repeat around. Join with a sl st to the first sc, resulting in a stabilized border around your Cross Flower Granny Square.
Round 9: Adding the Border
Chain 1, and in the first stitch, work 1 sc. Then, in the next stitch, work 1 hdc, followed by 2 dc in the next. In the next 4 stitches, do 1 sc each. Repeat this around. Join with a sl st to the first sc—ensuring each corner has two increases to keep the shape squared.
Round 10: Final Border Rounds
Continue with a chain 1. Work 1 sc in the first 7 stitches, place a shell in the next, then sc in the subsequent 7 stitches. Repeat this process. Join with a sl st to the first sc. This final round rounds off your square beautifully, contributing to a durable finish.
Round 11: Last Finishing Touches
To finish, chain 1, sc in the first 8 stitches, then follow with a shell. After the shell, sc in the last 8 stitches. Finish with a sl st to the top of the first sc. Your Cross Flower Granny Square is now complete, showcasing lovely dimensional flowers perfect for any project!
Care Instructions for Cross Flower Granny Square
-
Hand Washing: Gently wash your Cross Flower Granny Square in cold water with a mild detergent. Avoid agitating, as this can lead to felting or pilling, preserving its beautiful texture.
-
Machine Washing: If you prefer machine washing, use a gentle cycle with cold water and place the square in a mesh laundry bag to minimize any potential damage.
-
Drying: After washing, lay your granny square flat on a clean towel to dry. Avoid hanging, which can distort its shape and design.
-
Storage: Keep your finished piece stored in a cool, dry place, away from direct sunlight. This helps maintain color vibrancy and prevents any waxy build-up over time.
Expert Tips for the Cross Flower Granny Square
-
Count Every Stitch: Always double-check your stitch count at the end of each round to ensure your square maintains its perfect shape.
-
Tension Matters: If your fabric feels too loose, switch to a smaller hook size to achieve the right tension and a crisp finish.
-
Use the Third Loop: For a beautifully defined edge on the border, remember to work into the third loop of your stitches.
-
Secure Your Ends: Weave in your yarn tails carefully using a darning needle to keep your granny square looking neat and polished.
-
Experiment Freely: Don’t shy away from mixing colors! Play with contrasting shades for vibrant combinations that bring your project to life.
Embrace these helpful tips to enhance your crafting experience with the Cross Flower Granny Square!
Variations & Substitutions for Cross Flower Granny Square
Customize your crochet journey by adding personal touches that reflect your style and creativity!
-
Yarn Weight Swaps: Explore using medium-weight yarn for a chunkier, cozy feel. This shift will create a more substantial square ideal for blankets.
-
Fiber Alternatives: Try using cotton for a more breathable square or acrylic for an easy-care option. Both choices create lovely textures but differ in final touch.
-
Color Blocking: Mix and match colors between the rounds for a unique striped effect. A playful combination of bright and pastel shades adds visual drama!
-
Size Adjustments: Add extra rounds to create larger squares perfect for blankets. A few additional rows can transform this design into a stunning centerpiece!
-
Texture Modifications: Enhance your square with fringe on two sides for a bohemian vibe. This simple addition elevates your piece into a gorgeous statement item!
-
Pom-Pom Accents: Attach playful pom-poms to the corners to add a touch of whimsy. It’s an easy way to inject personality into your crochet creations!
-
Border Variations: Experiment with different stitch types in the border for added character. You could include shell stitches or clusters to create a luscious finish!
-
Seasonal Themes: Change your color choices based on the season, like pastel shades for spring or warm tones for fall. The versatility of this pattern shines through with simple swaps!
For more inspiration, consider our comprehensive guide on color combinations that will spark your creativity and bring your crafting dreams to life!
Cross Flower Granny Square FAQs
Can I use a different type of yarn for this pattern?
Absolutely! You can experiment with other types of yarn, such as cotton instead of acrylic, to achieve a different texture and drape. Just make sure the weight is similar to Light DK sport weight to maintain the overall dimensions of your granny square.
How can I make the Cross Flower Granny Square larger or smaller?
To adjust the size of your granny square, simply add or subtract rounds. Each additional round will make the square larger, while reducing rounds will make it smaller. If you choose to increase size, remember that you’ll need more yarn and adjust your stitch counts accordingly for balance.
Why is my granny square curling?
Don’t panic! Curling is a common issue. This usually happens when your tension is too tight or if you’re using a hook that’s too small for your yarn. Try switching to a larger hook or relaxing your tension to help flatten out those edges.
What hook size should I use for this pattern?
The recommended hook size is 3.00 mm (US D/3), which is perfect for achieving the right gauge with Light DK sport weight yarn. If you find your work is coming out too loose or tight, it’s perfectly fine to try a different size hook for a better fit.
How do I fix dropped stitches?
It’s an easy fix! Simply pick up the dropped stitch using your hook and pull the running yarn back up to the top of the work. You can then crochet it back into place by following the stitch pattern. If it’s a larger jump, you may need to unravel a few rounds to get back on track.
What is the gauge for the Cross Flower Granny Square?
While a precise gauge isn’t specified, a standard gauge for DK sport weight is about 12 stitches by 10 rows over a 4-inch square. To ensure your final square measures correctly, always check your gauge before starting and adjust your hook size if needed.
Leave a Reply