
If you’re looking for a delightful project that’s both quick and delightful, this simple crochet turtle pattern is turtle-ly awesome! Perfect for beginners and intermediate crocheters alike, crafting this adorable turtle will bring joy to anyone, whether as a charming decor piece or a heartfelt gift.
Using super bulky weight yarn in soft greens and browns, this crochet turtle features a plush, textured shell and a friendly face, complete with embroidered safety eyes. The construction is straightforward, allowing you to create a whimsical addition to your collection while honing your skills. With just a few basic stitches and easy assembly, you’ll be amazed at how quickly this little critter takes shape.
No need to worry about complicated techniques; this project is designed to be fun and fulfilling! It embodies a cozy vibe that radiates warmth and charm. So grab your 7mm hook and some yarn, and let’s get stitching – your new turtle friend is waiting to come to life!
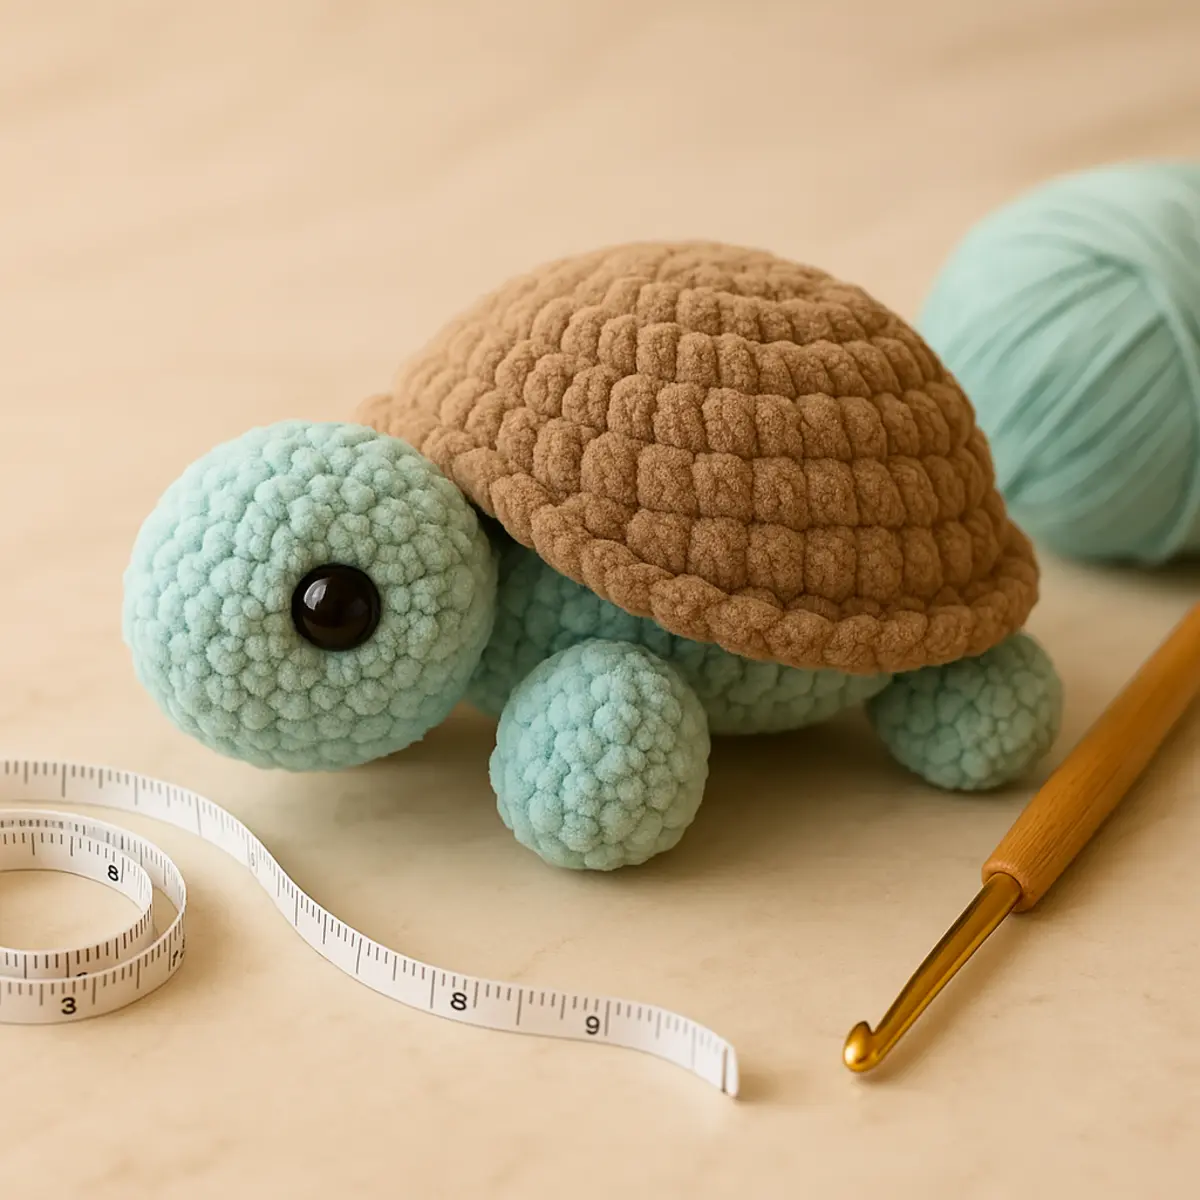
This engaging crochet turtle pattern is perfect for beginners and intermediate crafters who are eager to whip up an adorable creature that’s both cute and cozy! Utilizing super bulky weight yarn in soft greens and browns, along with a 7 mm crochet hook, this tutorial guides you step-by-step through creating a friendly turtle with a plush textured shell and charming safety eyes. With simple stitches and assembly techniques, you can quickly create a delightful addition to your decor or a heartfelt gift that is sure to bring joy to anyone who encounters it!
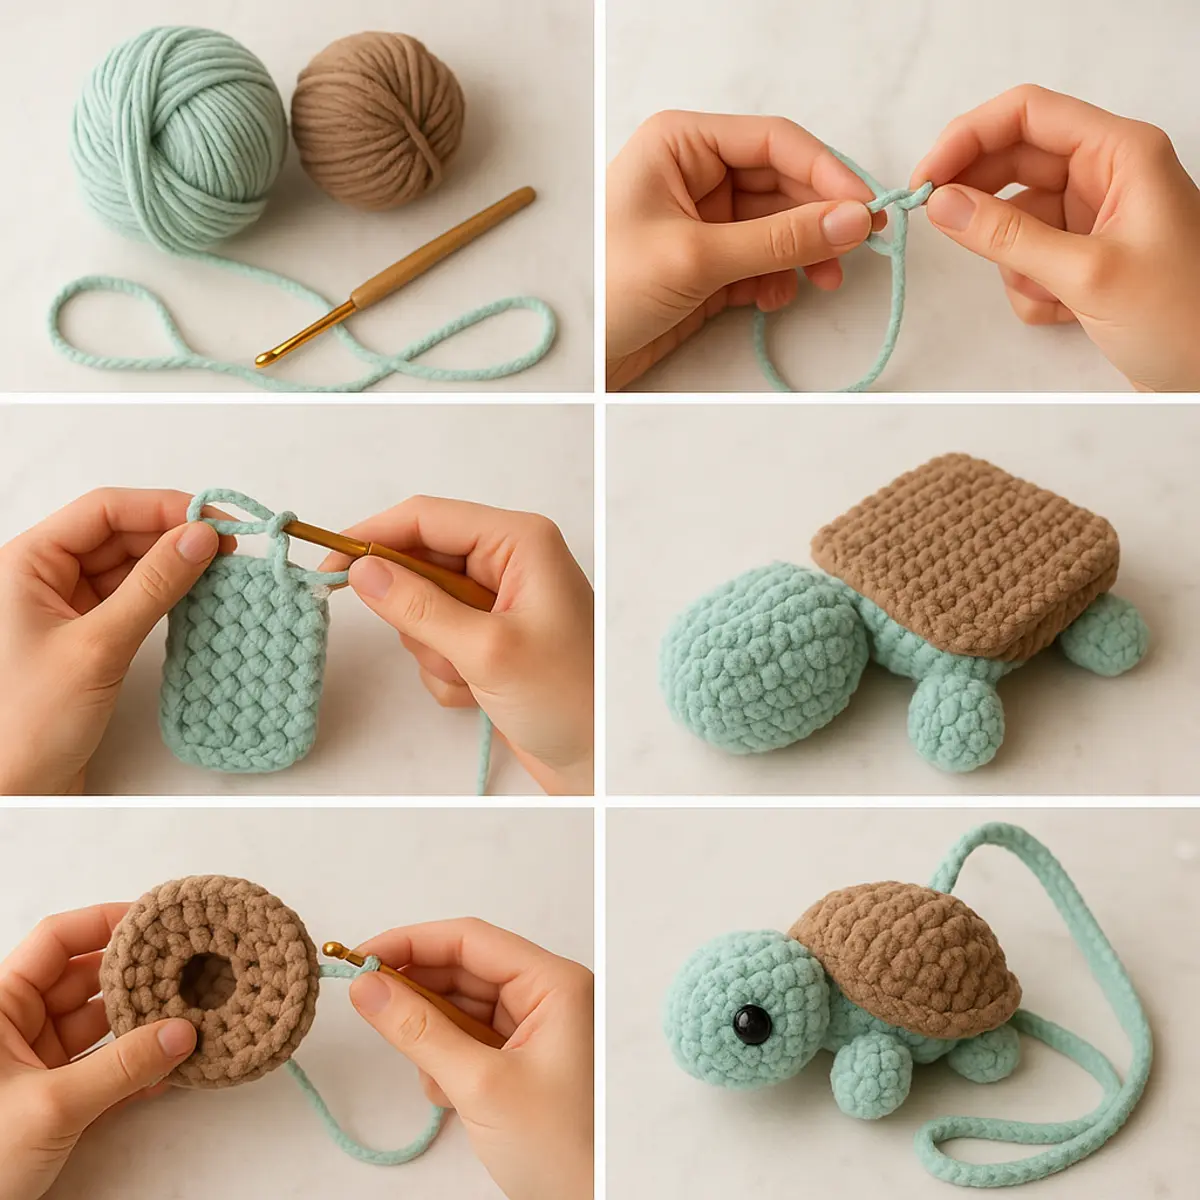
Materials Needed
To embark on your crochet journey and create this delightful turtle, you’ll need to gather a few essential supplies. Having the right tools and materials will set you up for success and make the process enjoyable. Let’s dive into what you’ll need!
- Yarn: Super Bulky Weight Yarn (#6) in Green and Brown – The thicker yarn allows for a quick and sturdy construction, perfect for our turtle’s shell and body.
- Crochet Hook: 7 mm – This size is ideal for working with super bulky yarn, providing just the right tension for a plush finish.
- Safety Eyes: Two 18 mm – These will give your turtle a charming personality, ensuring it looks adorable and whimsical.
- Stuffing: To fill your turtle, giving it a lovely rounded shape and a cuddly feel.
- Yarn Needle: Essential for weaving in ends and sewing parts together securely.
- Scissors: To cut your yarn cleanly when finishing off.
- Stitch Markers (Optional): Handy for keeping track of your rounds, especially if you’re new to crochet.
- Pins (Optional): Useful for securing pieces together during assembly before sewing.
Pro Tip: Don’t hesitate to mix colors! Choosing a bright yellow or a soft blue for your turtle can make it even more unique. Just ensure that whatever yarn you choose matches the super bulky thickness for the best results.
Abbreviations
This crochet turtle pattern is written in standard US terms, which is common across most crochet patterns.
- BLO: Back Loop Only – refers to working in only the back loop of a stitch, leaving the front loop untouched.
- ch: Chain
- DEC: Decrease – a technique to reduce the number of stitches by crocheting two stitches together.
- FO: Fasten Off – to finish your work by cutting the yarn and securing the last stitch.
- FLO: Front Loop Only – refers to working in only the front loop of a stitch, leaving the back loop untouched.
- INC: Increase – a technique to add a stitch, typically done by crocheting two stitches into one stitch.
- MR: Magic Ring – a technique for creating a tight, adjustable loop to start crocheting in the round.
- R: Round/Row – refers to a single complete pass in a circular or linear crochet project.
- SC: Single Crochet – a basic crochet stitch that creates a tight and dense fabric.
Body
Start by creating the main part of your turtle, which forms the shell.
- R1: 7 SC in a MR: Begin by creating a magic ring (MR) and work 7 single crochets (SC) into the ring. Pull the yarn to close the ring. This will form a small circle.
- R2: [INC] x 7 (14): In this round, you will increase your stitches. For each stitch in the previous round, work 2 SC, resulting in a total of 14 stitches.
- R3: [SC, INC] x 7 (21): In this round, alternate between 1 SC and 1 increase (INC) around the circle. You should end up with 21 stitches.
- R4: 21 SC (21): Work a round of 21 single crochets to maintain stitch count.
- R5: [2 SC, INC] x 7 (28): In this row, alternate 2 SC followed by an increase 7 times to achieve a total of 28 stitches.
- R6-9: 28 SC (28): For the next 4 rounds, continue to work 28 SC in each round. This builds the height of your turtle’s shell.
- R10: In FLO, 28 SC (28): Switch to front loop only (FLO) for this round, working 28 single crochets.
- Change color to Green: It’s time to make the turtle’s shell green! Switch yarn to the green color.
- R11: In BLO of R9, 28 SC (28): For this round, use the back loop only (BLO) of round 9 while working 28 SC.
- R12: [2 SC, DEC] x 7 (21): Start decreasing. After 2 SC, perform a decrease around the round to end with 21 stitches.
- R13: [SC, DEC] x 7 (14): Again, alternate between 1 SC and 1 decrease to reach 14 stitches.
- Start stuffing the shell: Before you close up the turtle, make sure to stuff it generously with stuffing to give it shape.
- R14: [DEC] x 7 (7): Perform 7 decreases to reduce your stitches to just 7.
- FO with a long tail for sewing: Fasten off, leaving a long tail of yarn for sewing the body closed.
- Finish stuffing: Ensure that the turtle’s shell is adequately stuffed before closing.
- Sew the body closed with leftover yarn tail: Using your yarn needle, weave the tail through the remaining stitches and pull tight to close.
Professional Tip: By the end of this body section, your turtle should look like a round, cute shell, ready for legs and a head!
Head
Your turtle’s head is vital for its charm, so let’s create it!
- Using Green: Ensure to use the same green yarn for consistency.
- R1: 7 SC in a MR: Just like with the body, start with a magic ring and work 7 SC into the ring.
- R2: [INC] x 7 (14): Increase each stitch again to create more space for the turtle’s head, ending with 14 stitches.
- R3-5: 14 SC (14) – 3 Rounds: Work in a total of 3 rounds of 14 SC to build the head’s height.
- R6: [DEC] x 7 (7): Finish the head with decreases to reduce to 7 stitches, creating a rounded shape.
- Attach the eyes: Securely position the safety eyes between rounds 3 and 4 on opposite sides of the head.
- FO leaving a long tail for sewing: Fasten off, leaving another long tail for the attachment to the body.
Expected Result: Your head should look round and ready to be attached to the body!
Tail
The tail adds character to your turtle, let’s whip this up!
- Using Green: Continue with the same yarn.
- R1: 4 SC in a MR: Start with a magic ring, working 4 SC into it.
- R2-3: 4 SC (4) – 2 Rounds: Work 2 more rounds of 4 SC to create the tail.
- FO leaving a long tail for sewing: Fasten off, once again leaving a long tail for sewing.
Professional Tip: Your tail should be small and pointy, giving your turtle a cute appearance!
Legs (Make 4)
Let’s create the legs so your turtle can crawl!
- Using Green: Grab your green yarn again.
- R1: 6 SC in a MR: Start with a magic ring of 6 SC.
- R2-4: 6 SC (6) – 3 Rounds: Work three rounds of 6 SC to build sturdy legs.
- FO leaving a long tail for sewing: Again, fasten off with a long tail for attaching.
Expected Result: After making 4 legs, they should be small enough to fit perfectly on your turtle’s body!
Assembly
Now, let’s put our turtle together and bring it to life!
- Stuff the head: Ensure the head is filled with stuffing for a nice shape.
- Sew the head onto the body: Position the head where the top overlaps with the brown of the shell and the bottom with the green belly. Securely sew it on.
- Do NOT stuff the tail: Keep the tail flat by pinching it closed and sewing directly across from the head.
- Sew two legs onto each side of the turtle’s head: Sew them in between rounds 10 and 11 of the body for stability.
- Sew the last two legs onto each side of the tail: Similarly, attach them in between rounds 10 and 11 at the back of the turtle.
Professional Tip: Adjust the positioning of the head and legs to give your turtle the personality you desire!
Frequently Asked Questions
-
What size is the finished turtle?
The finished size is not specified, but using Super Bulky Weight Yarn (#6) with a 7 mm hook will create a cute, plump turtle.
-
Can I use a different yarn weight?
While you can use a different yarn weight, it’s important to keep in mind that this will affect the finished size and the overall appearance of your turtle. Always check your gauge to ensure a proper fit.
-
How do I attach the safety eyes securely?
To attach the safety eyes, insert them between rounds 3 and 4 of the head before fastening off. Ensure they are pushed in firmly to avoid them coming loose.
-
What type of stuffing is best for this project?
Polyester fiberfill is a great option for stuffing, as it’s soft, lightweight, and machine washable. Choose a fiberfill that maintains its shape well to keep your turtle looking adorable!
-
Are stitch markers really necessary?
While stitch markers are optional, they can be extremely helpful for keeping track of your rounds, especially as you work with multiple parts like the legs, head, and body.
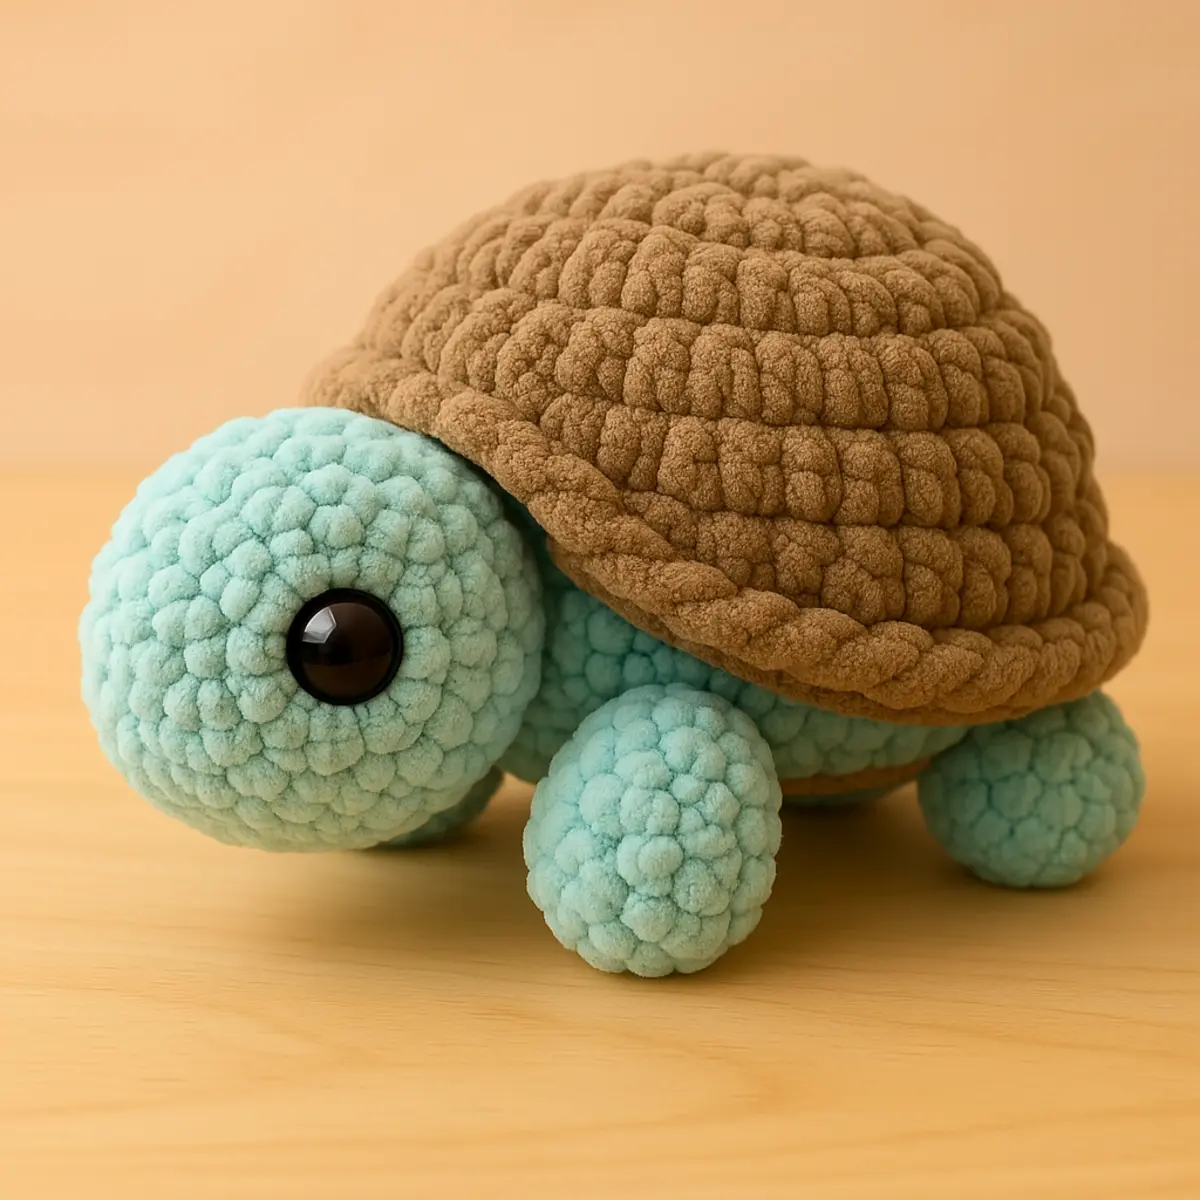
Congratulations on completing your adorable Crochet Turtle! It’s a delightful project that showcases your skills and creativity. Be sure to show off your beautiful creation to family and friends, and don’t forget to share it with the crochet community—your unique spin on this pattern can inspire others!
If you loved making this, you should also check out our easy crochet flower, try your hand at simple crochet flowers, or explore our flowers category!
Leave a Reply