
Every stitch of crochet whispers a story, and understanding the turning chain is the key to creating those beautiful tales. As a beginner, grappling with whether that little chain counts as a stitch can be perplexing, but don’t worry! In my latest guide, “Mastering the Crochet Turning Chain: Essential Tips for Beginners,” you’ll discover how to navigate this fundamental technique with ease. This beginner-friendly tutorial not only clarifies the turning chain concept but also ensures you achieve neater edges and perfect stitch placement in your projects. Plus, mastering this skill will elevate your crochet game and boost your confidence in every piece you create. Let’s dive into the world of crochet basics and unlock the secrets behind that all-important turning chain, making your crafting journey all the more enjoyable.
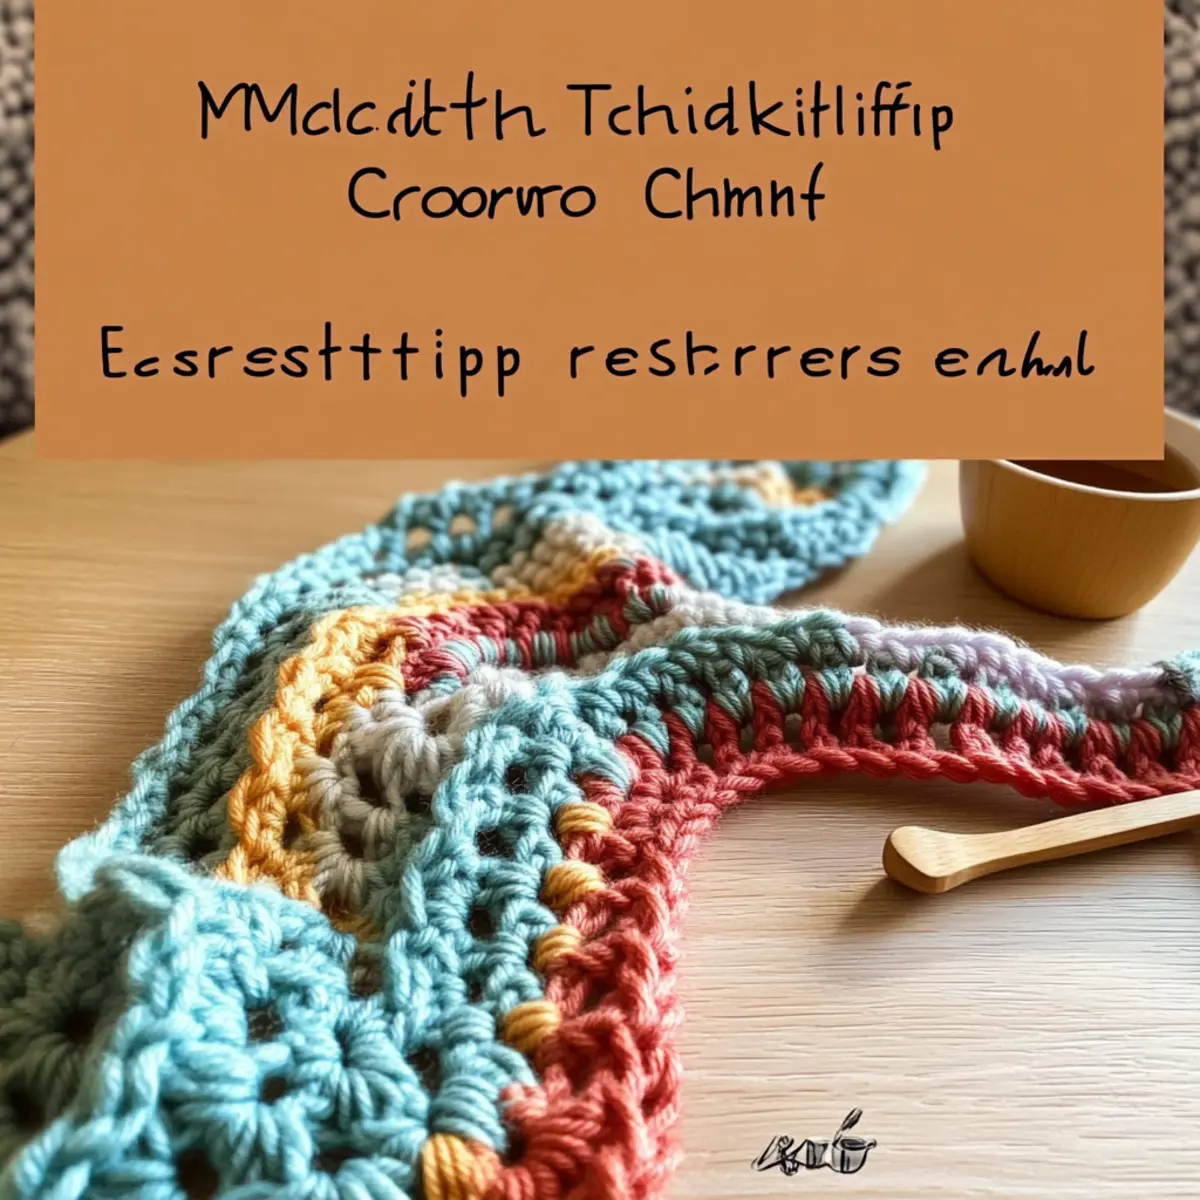
Crochet Turning Chain Materials & Tools
This tutorial will guide you through the essential materials you’ll need to master the crochet turning chain!
Notions
• Stitch Markers – Use these to mark your starting point in each row, helping to track your progress easily.
• Tapestry Needle – Essential for weaving in ends once your project is complete, ensuring a polished finish.
Feel free to choose any yarn and hook combination for your practice, but remember that your choice should match your skill and project needs!
Why is the Turning Chain Important?
Understanding the turning chain is essential for every crocheter, especially beginners. Confidence boost: Mastering this concept ensures your projects maintain a neat edge and precise stitch placement, elevating your crochet game. Simplicity: The instructions are easy to follow, making this technique accessible for all skill levels. Practicing variations with different stitches helps you grasp its impact on row appearance. For more tips on mastering crochet techniques, be sure to check out essential tips for beginners.
Gauge & Sizing Notes
Don’t skip the gauge swatch! Checking your crochet gauge is essential for achieving the perfect size in your projects, especially when mastering the crochet turning chain. A standard gauge measurement for this technique is a 4×4 inch (10×10 cm) square that equals 14 single crochets by 16 rows. If you want to make your piece larger or a smaller size, you can adjust your starting chain by adding or subtracting in multiples of 2. Remember, if your swatch is too small, simply try going up a hook size to loosen your tension. Taking a moment to verify your tension will ensure your finished project has that beautifully crafted look you envision!
Step‑by‑Step Pattern for Mastering the Crochet Turning Chain: Essential Tips for Beginners
Row 1: Foundation Chain
Begin by creating a foundation chain of your desired length, making sure to use a loose tension for easy turning. For instance, if working in double crochet for your first project, chain 10. After chaining, yarn over and insert your hook into the fourth chain from the hook to start your first stitch, ensuring your work stays flat and even.
Row 2: First Row of Double Crochet
Yarn over and pull through the stitch, then complete your first double crochet (dc) by yarn over again and pulling through the two loops on your hook. Continue making double crochets into each chain across the row. Your stitches should sit neatly next to each other, and you should have a total of 8 double crochets by the end of this row (8 dc).
Row 3: Adding the Turning Chain
After finishing your first row, turn your work to begin the next row. Since you’re working with double crochet, yarn over and create a turning chain of two (ch 2). This chain should rise to the height of your double crochet stitches, ensuring a consistent and professional look as you move into the next row.
Row 4: Second Row of Double Crochet
Insert your hook into the top of the first double crochet from the previous row, yarn over, and pull through to start your second row. Complete the double crochet as before and continue along the row, placing a double crochet into each stitch from the previous row. This should lead to a total of 8 double crochets again (8 dc), and your work should appear uniform.
Row 5: Understanding Stitch Placement
When you reach the end of the row, check if your pattern states that the turning chain counts as your first stitch. If it does, crochet your first stitch into the next stitch after the turning chain to maintain proper stitch count. If not, place it directly into the top of the turning chain. This knowledge will keep your edges clean and consistent.
Row 6: Practice with Other Stitches
To further master the turning chain, practice with half double crochet (hdc) and single crochet (sc). For hdc, chain 2 as your turning chain and insert into the first stitch from the previous row to maintain shape. For sc, use a chain of 1. Experimenting with different stitches can show how the turning chain affects the overall look and drape of your project.
Step 7: Finalizing Your Technique
Continue practicing the turning chain by making swatches using various crochet stitches. This repetition will help solidify your understanding of where to place your stitches based on whether the turning chain counts. With time, you’ll achieve a beautifully finished edge on all your crochet projects, giving your work a polished and professional feel.
Care Instructions for Your Crochet Projects
-
Hand Washing: Gently hand wash your finished piece in cold water with mild detergent to maintain its shape and softness. Avoid twisting or wringing out to prevent stretching or distortion.
-
Drying/Blocking: Lay your crochet project flat on a clean, dry towel to air dry, reshaping it as needed. Blocking can help even out stitches and enhance the overall appearance of your creation.
-
Storage: Store your crochet projects in a cool, dry place, away from direct sunlight. Use breathable bags or containers to protect your work from dust and potential damage.
-
Attention to Fiber: If your project is made with delicate or specialty yarns, check the yarn label for specific care instructions to keep your crochet project looking its best.
Variations & Substitutions for Turning Chains
Embrace the joy of customization as you explore the endless possibilities of crochet turning chains!
-
Yarn Weight Swaps: Use a thicker yarn for a bulkier look. Just remember, a different weight may alter your stitch count.
-
Fiber Alternatives: Switch to cotton for a summer-friendly piece, or use wool for cozy winter projects. Each fiber brings a unique texture!
-
Color-Blocking Magic: Introduce a new color at the turning chain to create captivating stripes. This playful technique can transform your project into a vibrant masterpiece.
-
Sizing Adjustments: Increase or decrease the number of turning chains based on your desired height and pattern design. Tailor it to suit your needs, whether a snug fit or extravagant length.
-
Texture Additions: Experiment by adding a pom-pom or fringe after creating the turning chain. Texture brings depth and charm to your crochet piece.
-
Edging Elegance: Consider finishing off your project with a decorative border after the turning chains. This small touch can elevate your work from basic to beautiful.
-
Stitch Type Trials: Practice the turning chain with various stitches, like shells or bobbles. Different stitches yield distinctive effects, enhancing your crochet repertoire.
-
Visual Cues: Use different colored yarns to signify turning chains in swatches. This can help visualize their impact and bolster your learning process.
For additional support, don’t forget to check out our tips on mastering crochet techniques that will further enrich your crafting journey!
Expert Tips for Turning Chains
-
Stay Counted: Always check if your turning chain counts as a stitch based on your pattern’s instructions. Misplacing it can alter your row consistency.
-
Tension Matters: Keep tension consistent while working your turning chains. Too tight may cause an inability to crochet into them later; too loose can create gaps.
-
Mark Your Start: Use stitch markers to track your row starting point, especially helpful in longer projects where you may lose count of stitches.
-
Stitch Counting Reminder: Make note of your stitch count at the end of each row. Maintaining accurate counts helps prevent deviations that can frustrate beginners.
-
Practice Different Stitches: Experiment with turning chains using various stitches. This practice can provide insight into their effects on the overall design and drape of your projects.
Mastering the Crochet Turning Chain: Essential Tips for Beginners FAQs
Can I use a different yarn type for my project?
Absolutely! You can experiment with substitutions like swapping acrylic for cotton. Just keep in mind that yarn thickness may affect the size of your turning chains, and gauge might differ. Be sure to check your project’s tension and adjust hook size accordingly!
How can I make my project bigger or smaller?
If your pattern is adjustable, you can alter the size by adding or reducing stitches in increments based on your turning chain. For example, if your turning chain counts as a stitch, remember to adjust your row counts accordingly. If it doesn’t count, calculate your additions based on that.
Why is my work curling?
Don’t panic! Curling can occur if your first stitches after the turning chain are too tight or if you’re not using enough turning chains for your chosen stitch. Make sure you’re following the turning chain guidelines—like 2 chains for double crochet—and keep your tension consistent!
What size hook should I use for my turning chains?
It depends on your yarn choice! While there isn’t a one-size-fits-all answer, I recommend selecting a hook that matches your yarn label. This will ensure that your turning chains flow smoothly into the next row without hindering your stitch work.
How do I fix dropped stitches?
An easy fix! If you’ve realized you’ve dropped a stitch, grasp a tapestry needle and gently weave the end back through the stitches of your work. For future rows, stay focused on placement, especially when working into the top of the turning chains to maintain a solid structure.
Should I always mark my turning chains?
Yes, I encourage this practice! Using a stitch marker at the point where you start your next row will help you keep track of your work and boost your confidence in counting stitches, especially in lengthy projects. This can make your crochet experience much more enjoyable!
Leave a Reply