
As I was flipping through my collection of yarn, a vibrant idea sprang to life—creating a crochet tulip pattern that would bring spring indoors! These delightful tulips are not just a treat for the eyes but also a wonderful stash-buster, allowing you to use up yarn scraps while crafting something stunning. The whimsical design is perfectly beginner-friendly, making it easy for crafters of all skill levels to dive into floral crochet projects. Imagine a bouquet that never wilts, bringing color and cheer to your home all year round. There’s something special about personalizing your bouquet with your favorite shades and textures. Plus, these crochet tulips make heartfelt gifts for loved ones that can be cherished forever. I can’t wait to share how you can create this cheerful project! Will you choose pastels for a subtle look, or bold hues for a striking statement?
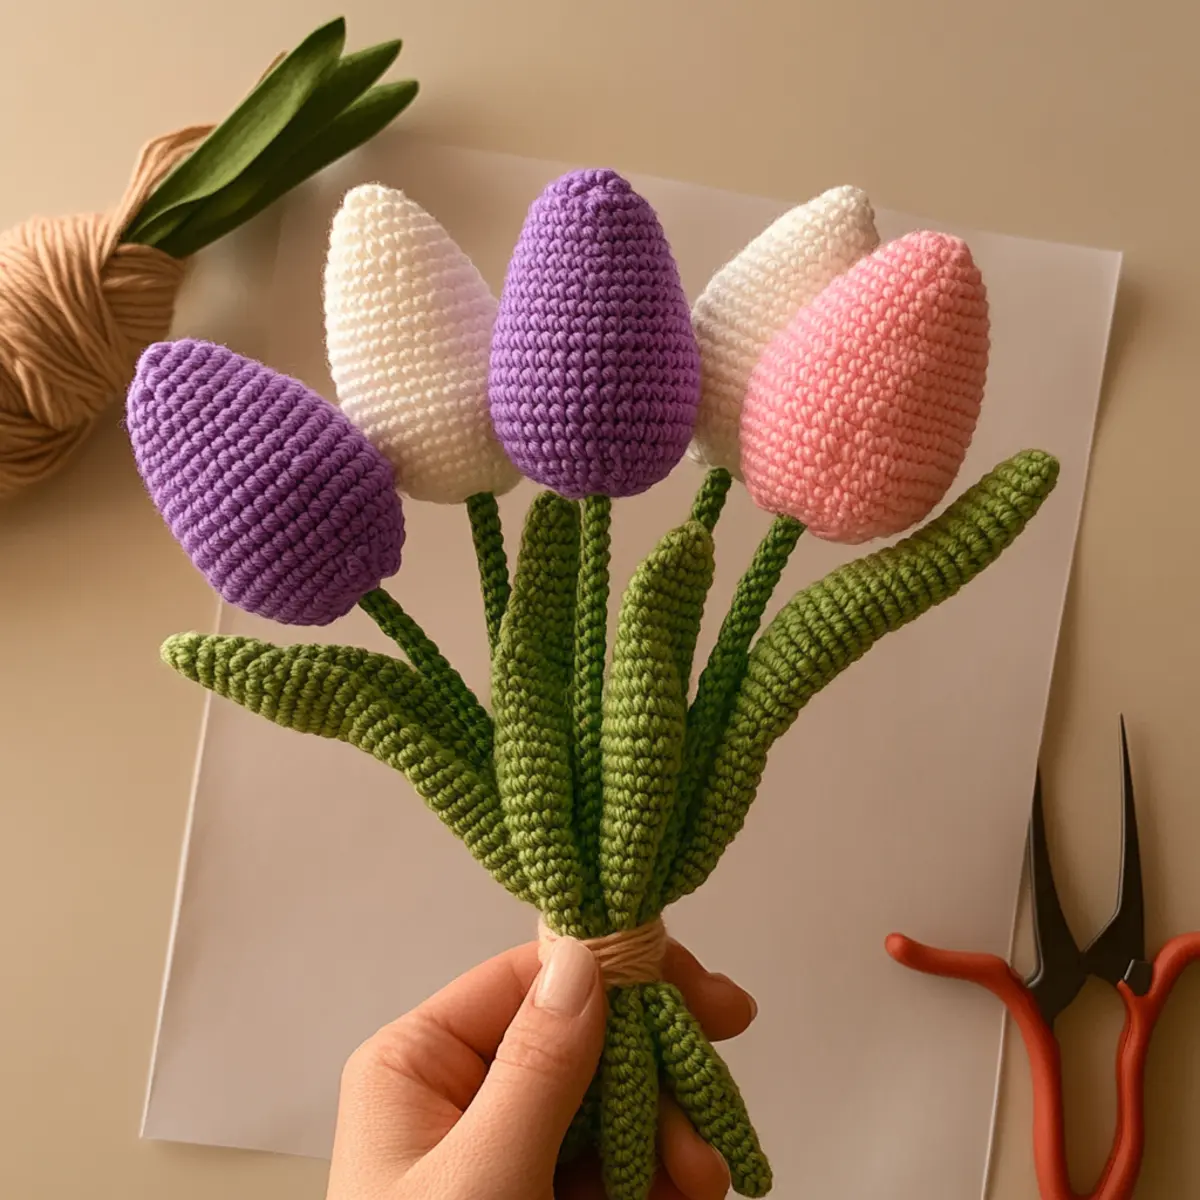
Crochet Tulip Pattern Materials & Tools
Yarn
Medium weight (worsted) cotton yarn – Approximately 100-150 yards in pink, purple, white, and green; essential for crafting the tulip pattern.
Tools & Notions
2.5 mm crochet hook (US size C) – Ideal for creating the delicate shapes of the tulip petals and leaves.
Floral wire – Use to support the tulip stems securely.
Scissors – Necessary for trimming yarn ends neatly.
Green floral tape (optional) – Helps to secure stems and give a more polished finish to your bouquet.
Yarn needle – Essential for weaving in any loose ends for a neat appearance.
Why You’ll Love This Pattern
Crafting these crochet tulips feels like magic. Each petal showcases your creativity, allowing you to experiment with colors and patterns. Beyond aesthetics, these flowers are practical! They bring the essence of spring into your home without the worry of wilting, making them a lasting decor choice. Customization is a breeze—you can adjust sizes or add embellishments, so each bouquet is uniquely yours. If you’re looking for more floral inspiration, check out the delightful Crochet Flowers for other projects. What’s more, this pattern is stash-friendly! With minimal yarn requirements, it’s perfect for using up those odds and ends you’ve been saving. Quick to make, you can whip up a bouquet in no time, adding a splash of joy to any occasion.
Gauge & Sizing Notes for Crochet Tulip Pattern
Checking your tension is crucial in this crochet tulip pattern to ensure each petal and leaf is uniform in size, creating a cohesive bouquet. Aim for a standard gauge of 4×4 inches (10×10 cm) with 18 stitches across for even petals. If your swatch doesn’t match, adjust your hook size or tension; this will give you the flexibility to modify your starting chain for larger or smaller flowers. For instance, if you prefer larger tulips, consider adding 6 extra chains to accommodate additional increases in subsequent rounds. By experimenting with yarn types, you can easily resize. Ensure that your finished tulips, approximately 6-8 inches tall, maintain a sturdy structure while exhibiting a soft drape. This pattern invites creativity, whether it’s adding embellishments or using alternative colors. Enjoy crafting a bouquet that lasts while showcasing your unique style!
Step-by-Step Pattern for Crochet Tulip Pattern
Row 1: Create Magic Ring
Start by making a magic ring. This will be the center of your tulip. Once your ring is formed, chain 2 to start your first round.
Row 2: First Petal Round
Into the magic ring, crochet 6 single crochet (sc) stitches. Pull the yarn tail to close the ring tightly, ensuring no gaps (6 sc).
Row 3: Increase for Petals
Now, crochet 2 sc in each of the 6 stitches around. This will create a fuller petal shape. You should now have 12 stitches (12 sc).
Row 4: Petal Shape
Next, work in the back loops only. Crochet 1 sc in the next stitch, 2 sc in the following stitch. Repeat around for a subtle petal wave (18 sc).
Row 5: Create Petal Points
To add dimension, crochet 1 sc in the next two stitches, 2 sc in the next stitch, continuing this until you complete the round. You’ll end up with 24 stitches (24 sc).
Row 6: Finish off Petal
Slip stitch into the first sc to join. For a rounded top, chain 1 and crochet a hdc in each stitch, focusing on creating a slight curve (24 hdc).
Row 7: Turn for Petal
To shape, chain 2 and turn your work. In the first st, crochet 1 hdc, 1 dc in next stitch. This will form a petal tip; repeat this around (24 total stitches).
Row 8: Finalize Petal
To close, slip stitch in the 1st dc. Cut your yarn and leave a long tail for assembly (24 total stitches).
Row 9: Crafting Leaves
For the leaves, start with a chain of 10. In the 2nd chain from hook, crochet an hdc, then sc in next two chains, dc in the next three, then backtrack with sc and hdc back to the base. Fasten off (1 leaf).
Row 10: Make Second Leaf
Repeat the leaf pattern to create your second leaf. Adjust your tension to ensure both leaves match in size. Fasten off and weave in ends (2 leaves total).
Row 11: Assembling Tulip
Now it’s time to assemble your tulip. Place the petals together overlapping slightly. Use your yarn needle to stitch around the base securely. Insert your floral wire as the tulip stem and wrap the yarn around tightly.
Row 12: Finishing Touches
This is your last step! Adjust the leaves by wrapping them around the stem and securing with green floral tape. Trim any excess yarn, ensuring your tulip is snug (1 complete tulip).
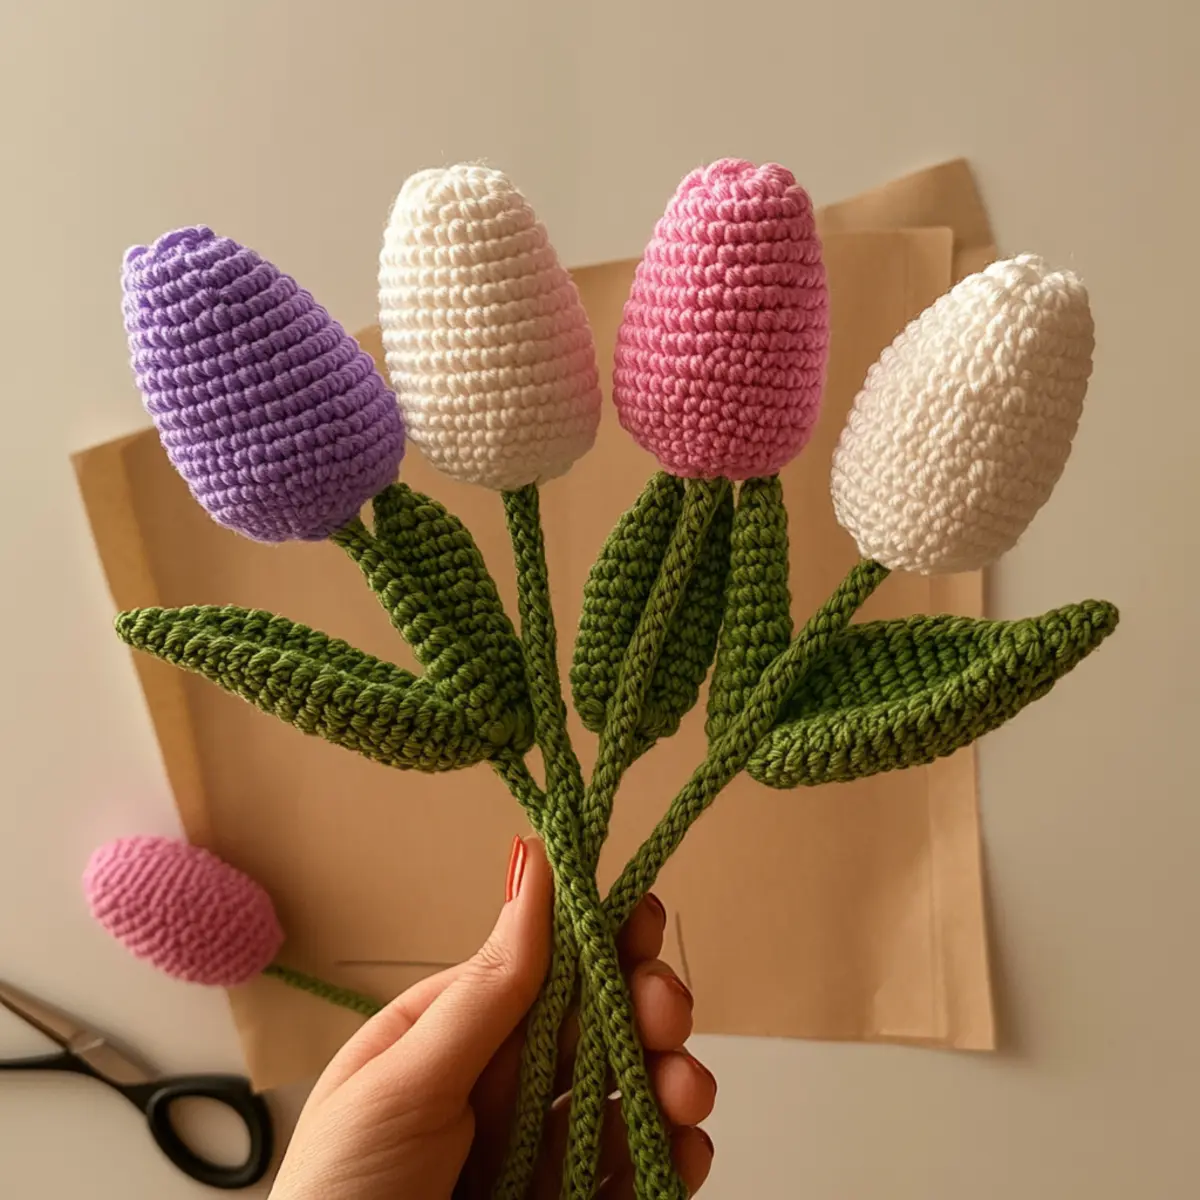
How to Wash and Care for Your Crochet Tulip Bouquet
Machine Washing: You can machine wash your tulips on a gentle cycle. Use cool water to prevent damage to the yarn.
Hand Washing: Alternatively, hand wash your crochet tulips in lukewarm water with mild detergent. Avoid twisting or wringing them out to prevent deformation.
Drying: Lay your tulips flat to dry on a clean towel. Avoid hanging them as it might stretch the yarn. Just reshape and let them air dry.
Storage: Keep your crochet tulips in a cool, dry place. Avoid direct sunlight to prevent color fading and preserve their vibrancy for years to come.
Expert Tips for the Best Crochet Tulip Pattern
Count Carefully: Always count your stitches meticulously, especially during shaping. Dropped stitches can lead to irregularities in your tulips.
Use Stitch Markers: Keep your place after increases or decreases with stitch markers. This will help you avoid losing count and keep your tulip petals even.
Maintain Tension: Ensure a consistent tension for uniform petals. If some are larger, it can disrupt the overall look of the bouquet.
Block Petals: After crocheting, block the petals to help them hold their shape. This enhances their appearance and structure.
Secure Assembly: When assembling the petals, make sure they overlap slightly and are secured tightly to avoid them detaching after completion.
Experiment with Colors: Feel free to try different color combinations for your tulip bouquet. This crochet tulip pattern is adaptable to your personal style and preferences.
Crochet Tulip Pattern Variations
Feel free to let your creativity blossom with these customizable options!
- Pastel Shades: Opt for soft pinks and pale yellows for a vintage, Easter-themed bouquet that’ll charm any room.
- Bold Colors: Use vibrant reds and oranges for a dramatic, eye-catching statement piece that stands out in any decor.
- Mixed Mediums: Combine crocheted tulips with fabric flowers or macramé elements for an eclectic and textural bouquet. Pairing different crafts adds visual interest and flair!
- Different Yarn Weights: Experiment with sport-weight or lace yarn to adjust the size of your tulips, creating a unique look and feel.
- Embellished Design: Add beads or embroidered details to petals for a truly one-of-a-kind floral arrangement that has dimension and character. Consider using a crochet flower pattern for more inspiration on embellishments.
- Leaf Variety: Instead of standard leaves, try creating some ruffled or pointed leaf shapes for a distinct touch. This can enhance the overall aesthetics significantly!
- Size Adjustment: If you’re looking to display in small spaces, adjust the pattern to create miniature tulips that are equally delightful.
- Layered Arrangements: Create a multi-layered bouquet by adding smaller tulips and varying stem lengths, allowing for depth and creativity in your display.
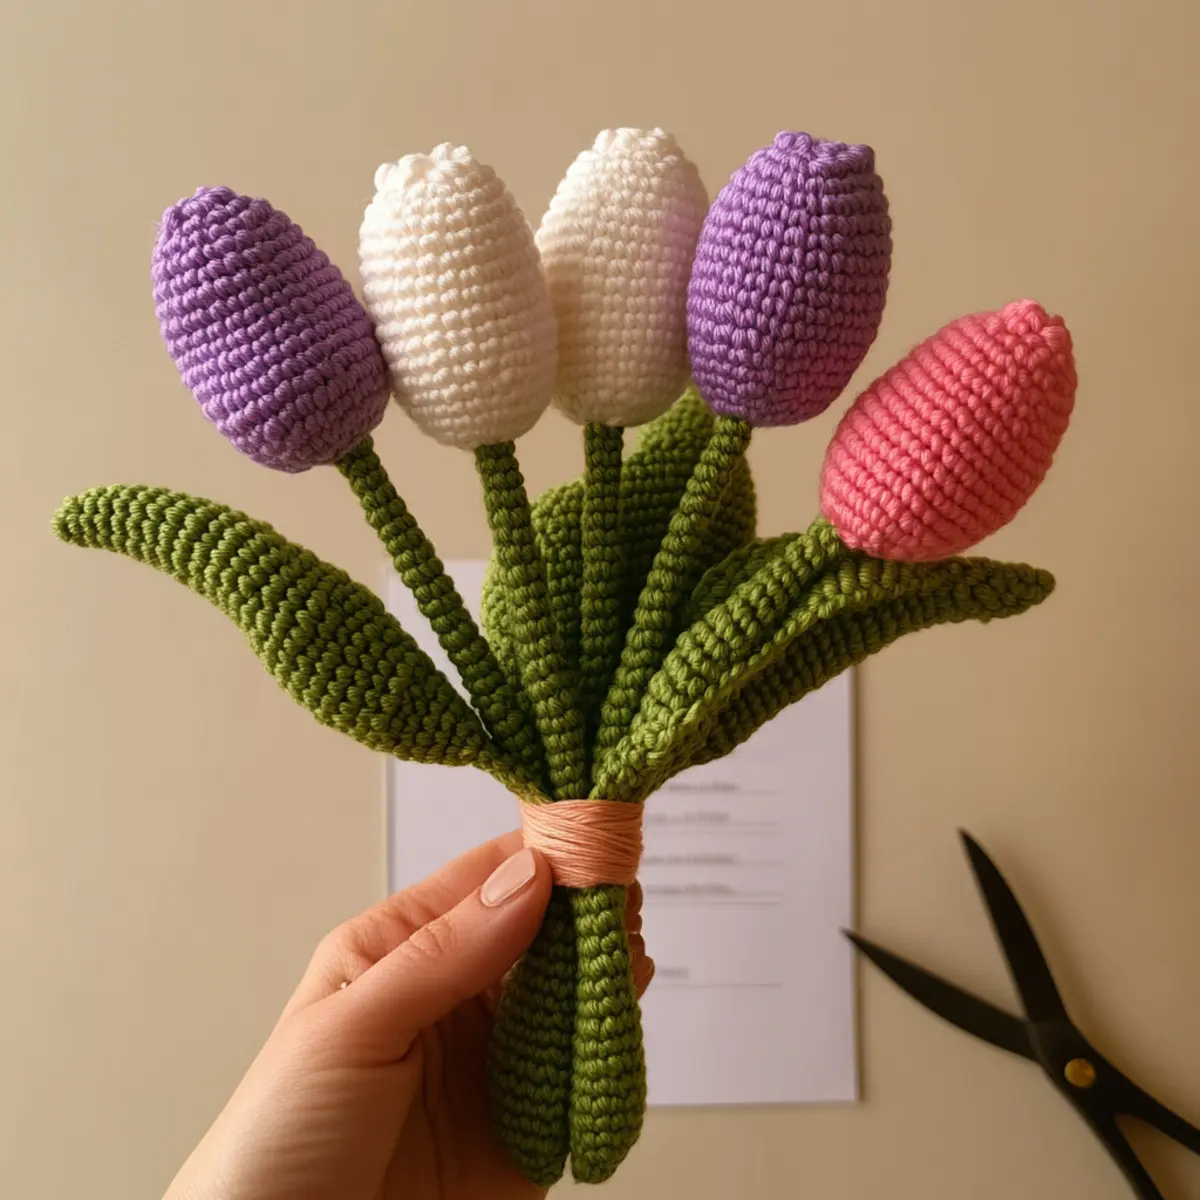
Crochet Tulip Pattern FAQs
Can I use different yarn weights?
Absolutely! While medium-weight cotton is suggested, sport-weight yarn can create more delicate tulips—just adjust the hook size accordingly.
What if my tulip keeps curling?
Don’t panic! Make sure you are crocheting with the correct tension and blocking the petals after finishing. Proper blocking can help eliminate curling.
Can I make the stems longer?
Yes, just increase the length of your floral wire and wrap additional yarn around it for support. Personalizing stem length can enhance your bouquet.
What hook size should I use?
Using a 2.5 mm crochet hook (US size C) creates detailed petals. If you find your tulips too small or large, consider adjusting the hook size accordingly.
Can I substitute yarn types?
Definitely! If you have a different type of yarn in your stash, just ensure it has a similar weight and texture so your tulips maintain their structure.
How can I troubleshoot dropped stitches?
Keep track of your stitch counts after every few rounds and use stitch markers to maintain your place—this helps reduce dropped stitches when you get engrossed in your project.
Leave a Reply